Wet-Setting Wool Yarn: Step-by-Step Guide for Balanced Handspun

One Method: Start to Finish with an Overspun Example

This month, I am continuing with my Fiber Arts Video series, this time about wet-setting handspun yarn. Last month, I gave an example of steam setting handspun yarn. However, wet setting is how I set most of my handspun. This example is for wool yarn.

Here are my steps for Setting Wool Handspun Yarn:

  • Prep yarn for its soak by tying off the skein in additional places to avoid tangling. I use ribbon or highway tape. If you choose to use yarn, be sure to use something that won’t felt to the skein, such as cotton
  • If you are dyeing more than one skein you can tie them together using the method above. Just make sure your sink is big enough to accommodate the amount of yarn for soaking
  • fill your sink (or tub, or basin) with hot tap water and add soap, such as Synthropol or blue Dawn dish detergent
  • Gently press the yarn into the hot water, and let soak for 20 or so minutes
  • Check the water. If it is clear from dye runoff and dirt, drain the water and rinse with the same temperature water
  • gently press and squeeze the water out of the skein(s) careful to not twist or tug
  • Take it outside for a good thwacking (optional)
  • Hang up to dry where there is good airflow

The Yarn

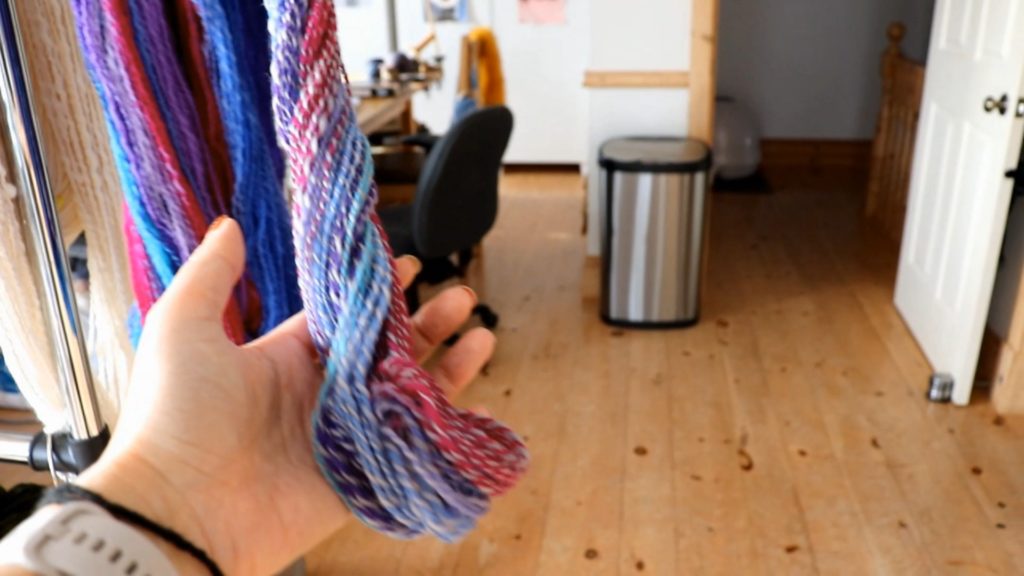
freshly spun yarn with extra twist before wet setting

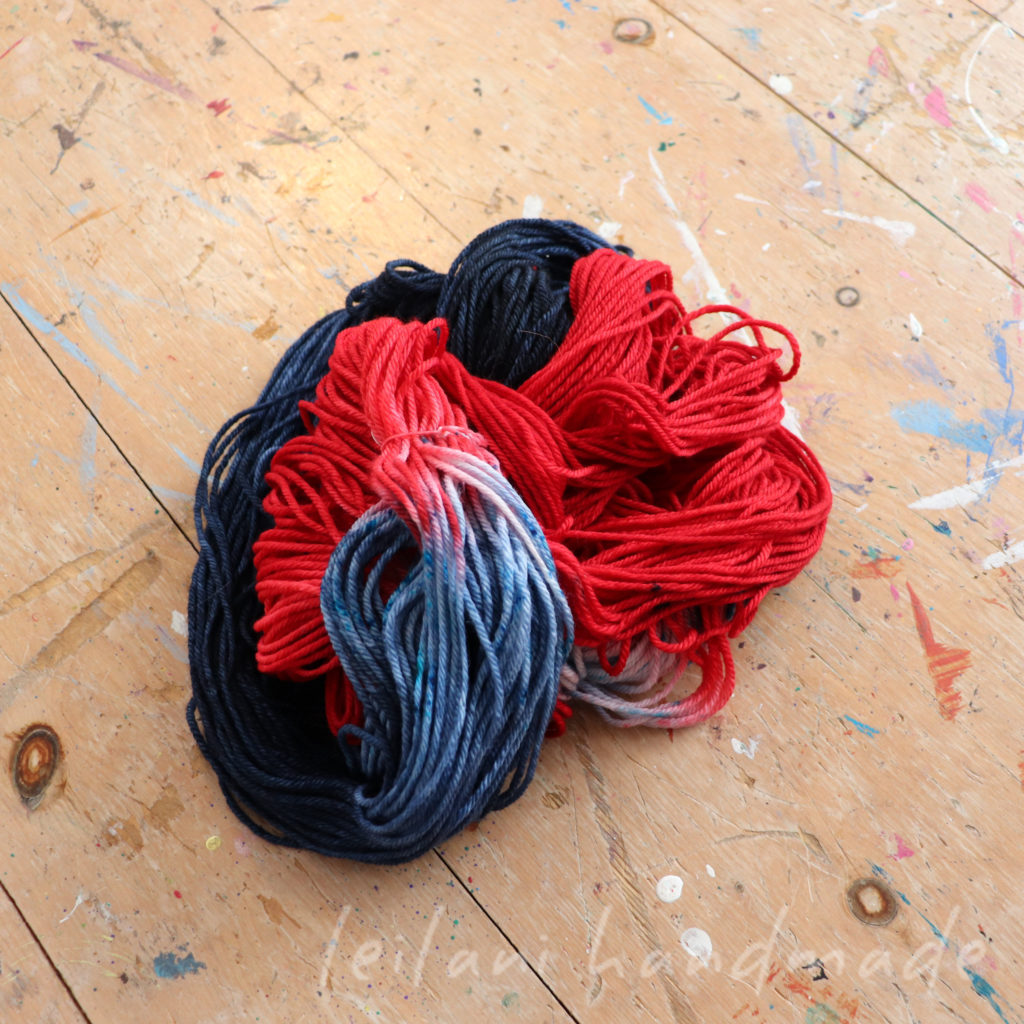
I spun a 2-ply merino roving top that I hand-dyed. There was a bit left over, so I decided to spin it with a grey singles I had spun quite awhile ago. I thought this would be a good example of an unbalanced yarn with extra twist, and how important wet setting is.

A Trial and Error Process

When I first started spinning, I would get dejected because the yarn would always have extra twist. So, I would ply looser, which doesn’t make for good yarn construction. Perplexed, I continued on, determined to get a properly balanced spun yarn. Two things I didn’t realize when I first started spinning:

  • Letting yarn rest on the bobbin for an extended period of time relaxes the twist
  • Wet-setting yarn will return that twist/energy into the singles

I’m self-taught, so no one told me this. Thus, I discovered all about twist and resting singles on my own! I’ve learned now to spin and ply much tighter than I thought necessary and to always set my yarn.

Soaking the Yarn

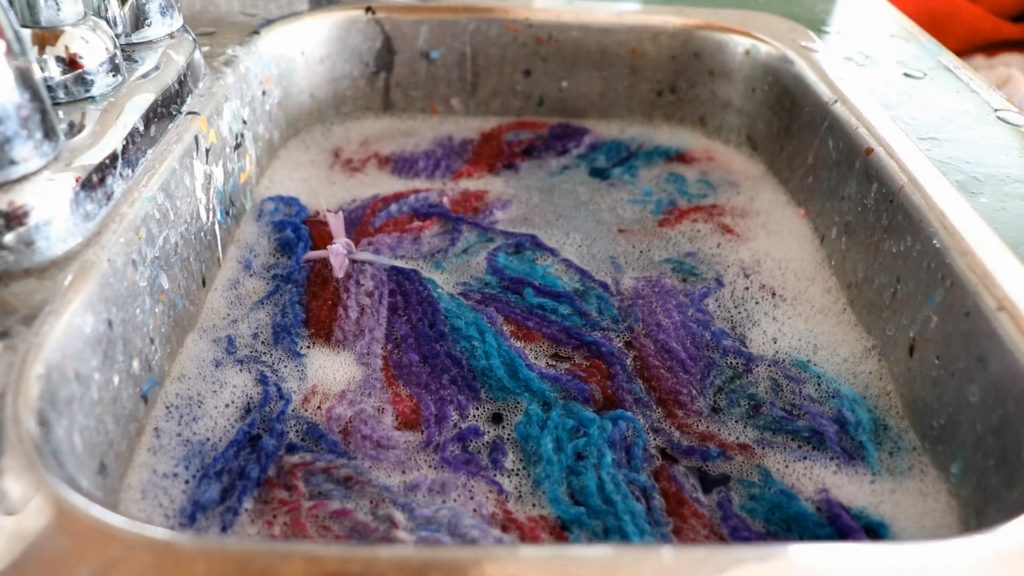
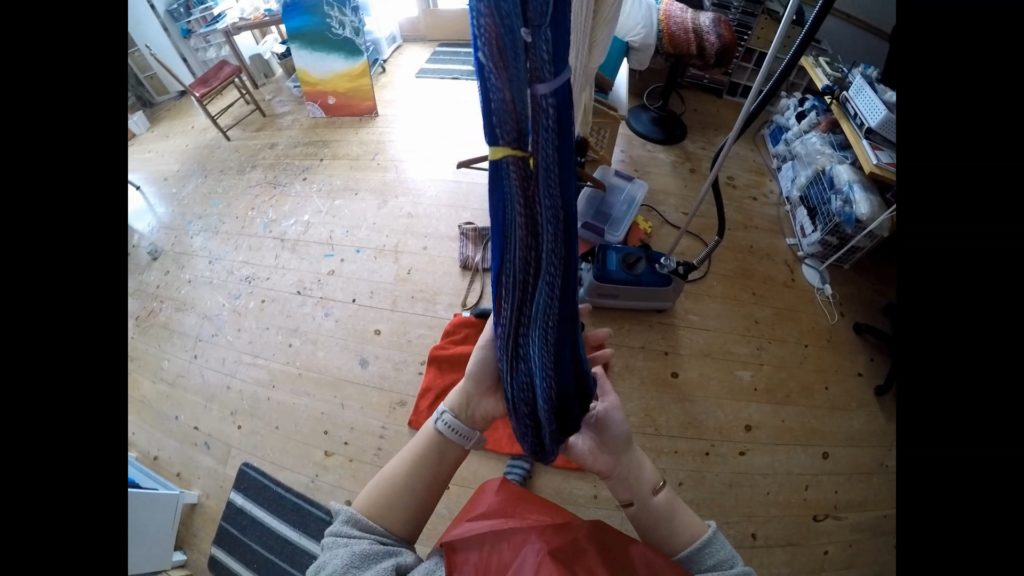
a sink of soapy water soaking handspun yarn

As I discussed in a previous blog post, you can steam-set yarn, and sometimes I do, but I always recommend wet-setting handspun for best results. It is an absolute must for unbalanced yarn/extra twist.

Here is the two skeins tied together and having a soak in soapy water for approximately 20 minutes.

Rinsing the Yarn

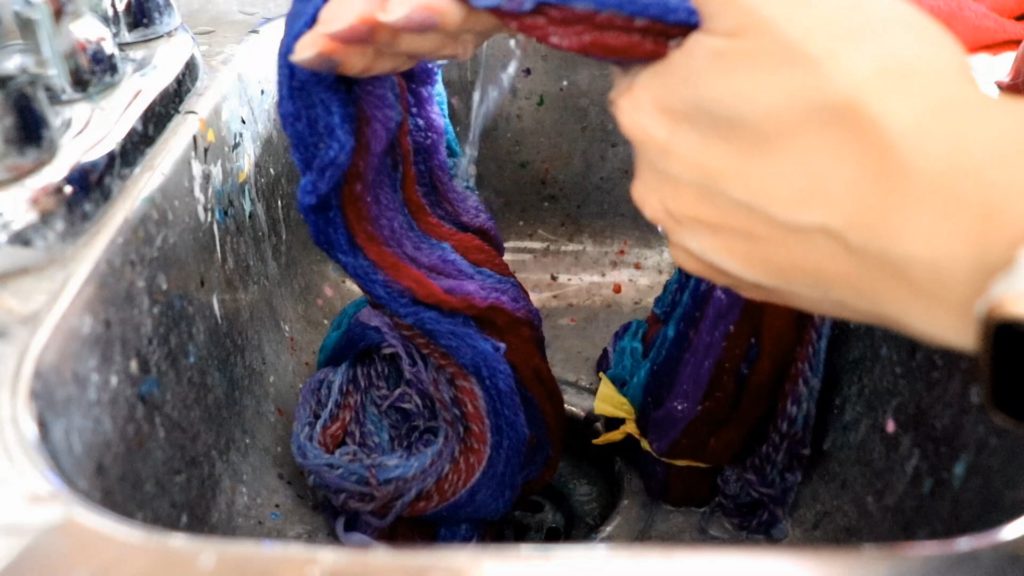
rinsing soap suds off soaked yarn

As there was no dye runoff in the water, I went ahead and rinsed the yarn carefully—no wringing or tugging/pulling. It’s not just about felting but about not overstretching the fibers. If you’ve ever hand-washed and dried a wool sweater, you get what I mean.

Thwacking

What is thwacking – and why do it?

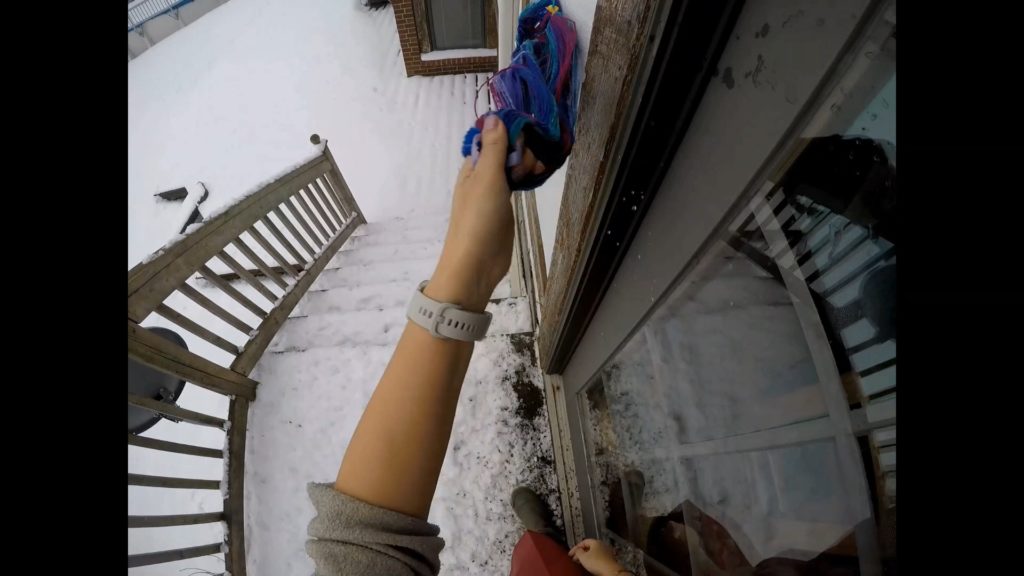
thwacking yarn on the side of the house :)

I probably wouldn’t have bothered thwacking this yarn if it was just the main skein since it was pretty balanced to begin with. Maybe just a quick snap between my hands, if that.

But I wanted to give an example of thwacking in the video, and since the small skein warrants a good thwack and is tied to the big one, I went ahead and gave it a good crack on the side of the house. My goodness. It’s so satisfying!

To Thwack or Not to Thwack

There are many opinions on why and when to thwack yarn, and even if you should. I started out making chunky textured art yarns, so thwacking was pretty much a given with those. It helps open the fibers and gives the yarn strength.

Since I started with thwacking as my foundation, I continued to do so, learning that some handspun yarns don’t take to it well. Take silk, for instance. It’s a sleek yarn that looks best when laid flat, and whacking it only makes the fibers go willy-nilly, leaving the yarn looking dull and less lustrous. So, I steam my silk handspun now.

I still like how my handspun wool yarns look after a good whacking. The plies seem to line up, and the yarn itself drapes nicely.

I usually opt not to thwack a wool yarn to save time when it is already pretty balanced.

Drying the Yarn

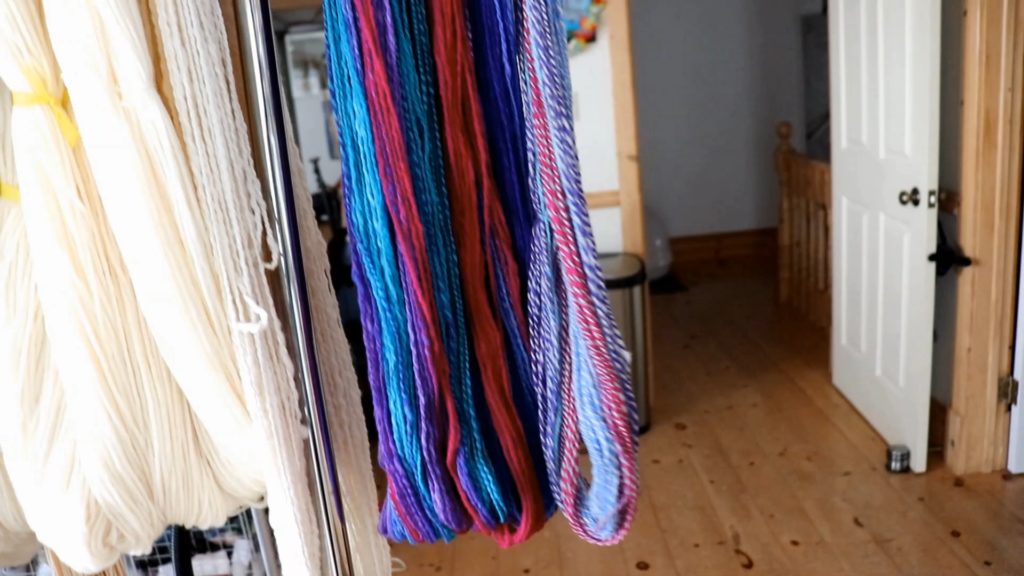
hanging yarn to dry

It’s June, and I have some roving outside drying in the sunshine as I type this. But this yarn was set in the winter, so I hung it up to dry inside. My studio is equipped with a heat pump, so hanging it here is the best option for me. Bathrooms never have enough airflow, from my experience, but if you need to use your shower to dry your yarn, be sure to run the fan to get some air circulating.

The yarn looks nice and balanced now, but it’s weighted down with water. Did I achieve balance on that extra skein?

The Final Product

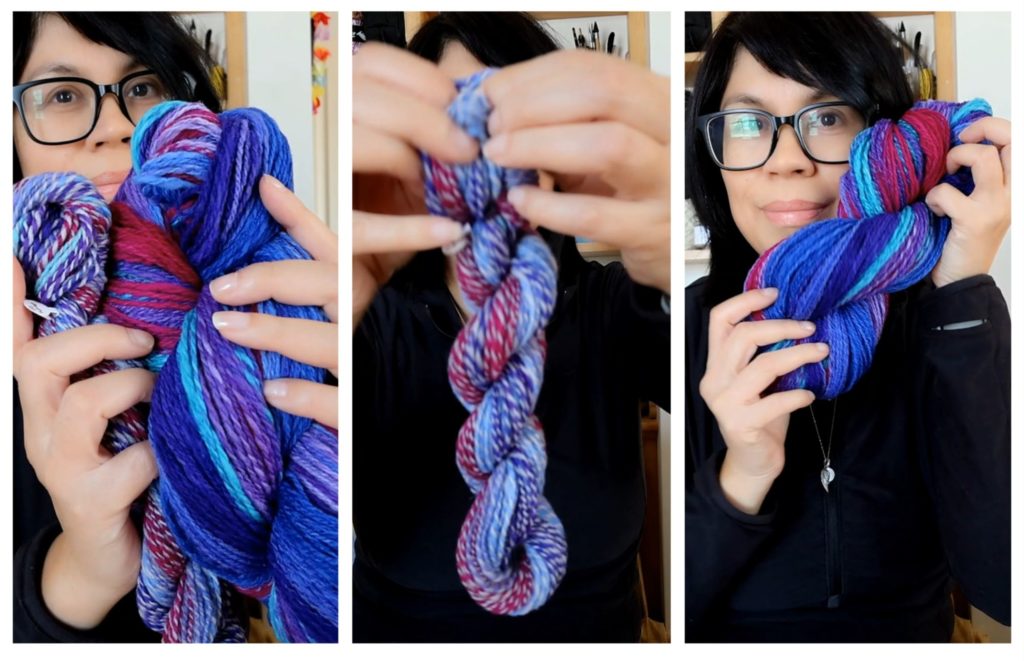
the now dry yarn

Here’s the finished product. There is still a very slight twist in the unbalanced bonus skein, but this is miles better than what it started out as. I wouldn’t hesitate to use this yarn.

This is why it’s important to set your handspun. Don’t judge it until you do. I don’t find the feeling of satisfaction or the beauty in the yarn is revealed until it’s set and dry!

Thanks for Watching/Reading

leilani holding the final product

I hope this quick video and post helps if you have any questions about wet setting yarn. I’m committed to making short videos that would be of interest to up-and-coming fiber artists.

Why I’m Sharing My Experience

I’m a self-taught spinner, so what I know is trial and error. I’m sure there are others out there who have a more scientific explanation for it all, but my goal in sharing my experiences is to encourage others to experiment and figure out what works for them.

I prefer to figure things out on my own rather than be told the “proper” way to do things. This is the only way that I have found my way in my craft, and made me passionate to keep learning.

Happy soaking/thwacking/experimenting! 😉

Until next time…

Leilani signature

Dyeing Wool Yarn Solid Black

My Method for Successful Dyeing with little to no fuss

When dyeing wool yarn or fiber, some colors can be more difficult than others. Two colors that can be challenging to fully exhaust are red and turquoise. The other that took me a while to dye successfully is black.

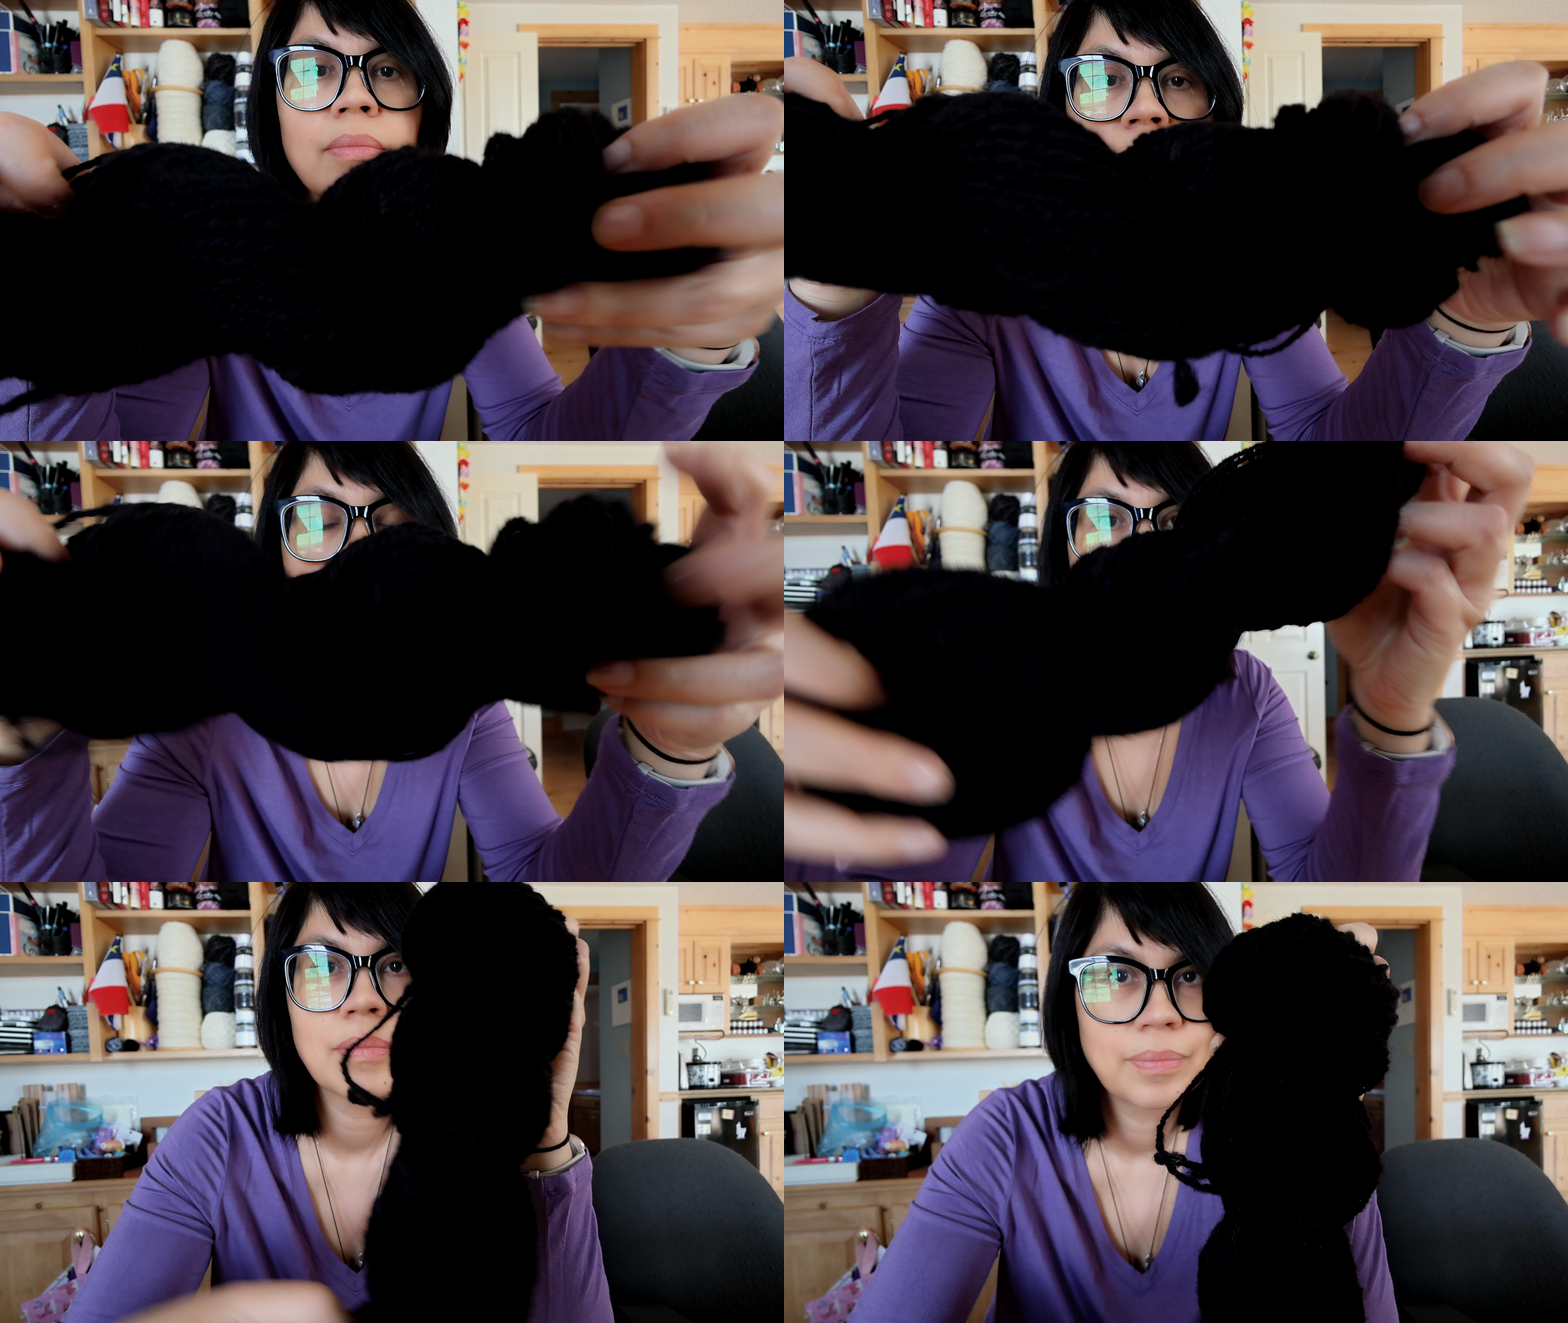
leilani with black yarn

When dyeing basic black, we can erroneously end up with a shade of grey, possibly because not enough dye was used or all the dye wasn’t exhausted into the yarn or fiber. Black is a spectrum of all shades, so sometimes the dominant colors will exhaust fully but leave other hues behind. For me, the best way to dye a color like black is low and slow. My slow dye method uses a crockpot. It works well for me every single time. Like most things in life, all good things come to those who wait.

I like this method because it’s easy for even new dyers to achieve successfully the first time. Plus, there’s no pre-mixing or need for pre-measuring ingredients ahead of time—just time and patience.

New to Making Videos

I’ve been trying my hand at making little instructional videos for the fiber and spinning community, and here’s another installment all about dyeing natural yarn black. In this case, I use a handspun Corriedale that was not set beforehand. I like to save time whenever possible, and the dyeing process will set the yarn since I must soak it anyway.

My fiber arts experience spans 12+ years, and being self-taught I feel the need to pass along my knowledge to support others in their fiber arts journey.

This particular video I decided to do without narrating, but added text on the screen to explain what I am doing. I’m trying out different styles of videos, and I liked leaving in the sounds involved with dyeing and just letting the video speak for itself.

Slow Dyeing

My preferred style of dyeing yarn and fiber in my home studio is “Slow Dyeing.” It involves a crockpot and time. This method works for me because I can pretty much set it and forget it. Instead of fussing over a dye pot, I can set the yarn in the dye and check on it whenever possible. For a busy maker mom like me, this method is great.

The only downside is you can’t be in a hurry. With patience, however, you get a perfectly dyed, fully exhausted dye pot with little to no setup. No (gasp!) math required. Just some basic knowledge of how much dye you should use for the size of skein/fiber dyed, the addition of citric acid, and even heat throughout.

The good news is that you can adjust as you go, so as long as you are patient, you should have perfectly dyed yarn.

In the video, I added the weight and size of the yarn I am dyeing basic black. Every brand of dye will differ, but this should give you a good idea of how much dye to use for 3.7oz of yarn or fiber.

What is your favorite method for dyeing basic black on wool yarn? Do you use a crockpot, steam in the oven or microwave, or a traditional dye pot? Maybe you find my method totally ridiculous, and that’s okay! Everyone needs to find the best way of honing their craft. I hope you enjoy the video, whether it inspires you or not. 🙂

Leilani signature

Hello, 2024 – January Studio Update

“Any new beginning is forged from the shards of the past, not from the abandonment of the past.”

– Craig D. Lounsbrough

The New Year is off to a Fast Start

I considered skipping this month’s update, as I realize we are at the month’s final days, and I had yet to do one. I (still) don’t have any new products developed. However, I have been inspired to do a bit of experimenting to offer a closer, more in-depth look at the studio behind the scenes. I’m in a great place in my life and finally have a clearer, more expansive view of how to step forward this year.

I am starting 2024 with this overwhelming feeling of gratitude for all areas of my life, and I want to fulfill a goal that I’ve had on my to-do list for many years. That is, to document myself more precisely at work so that you can get a better look at my creative process and, hopefully, inspire YOU to start or expand your creative journey.

This post lets me preview some content I will offer in the coming months. I’m including short snippets of videos I’m working on that will hopefully turn into longer posts. I’m getting more comfortable with the camera, especially speaking (I’ve always hated the sound of my voice!) and some light editing. Although it’s all new to me, putting another possible skill under my belt is rewarding.

The Making of a Keepsake Scarf

One of my favourite keepsake projects was this scarf I wove on my cute and straightforward Ashford SampleIt loom. I’m now making a secondary one with the leftover yarn, but smaller in size. In the video below, you will see a preview of the process.

Before Setting Handspun Yarn

The video below is an example of yarn that was spun and plied right away, vs. spinning and plying after some time. I will set these yarns, and we’ll see if there is any noticeable difference in the twist.

The setting and drying of these two yarns will be put together in a longer video.

Finishing Touches (Silent Video)

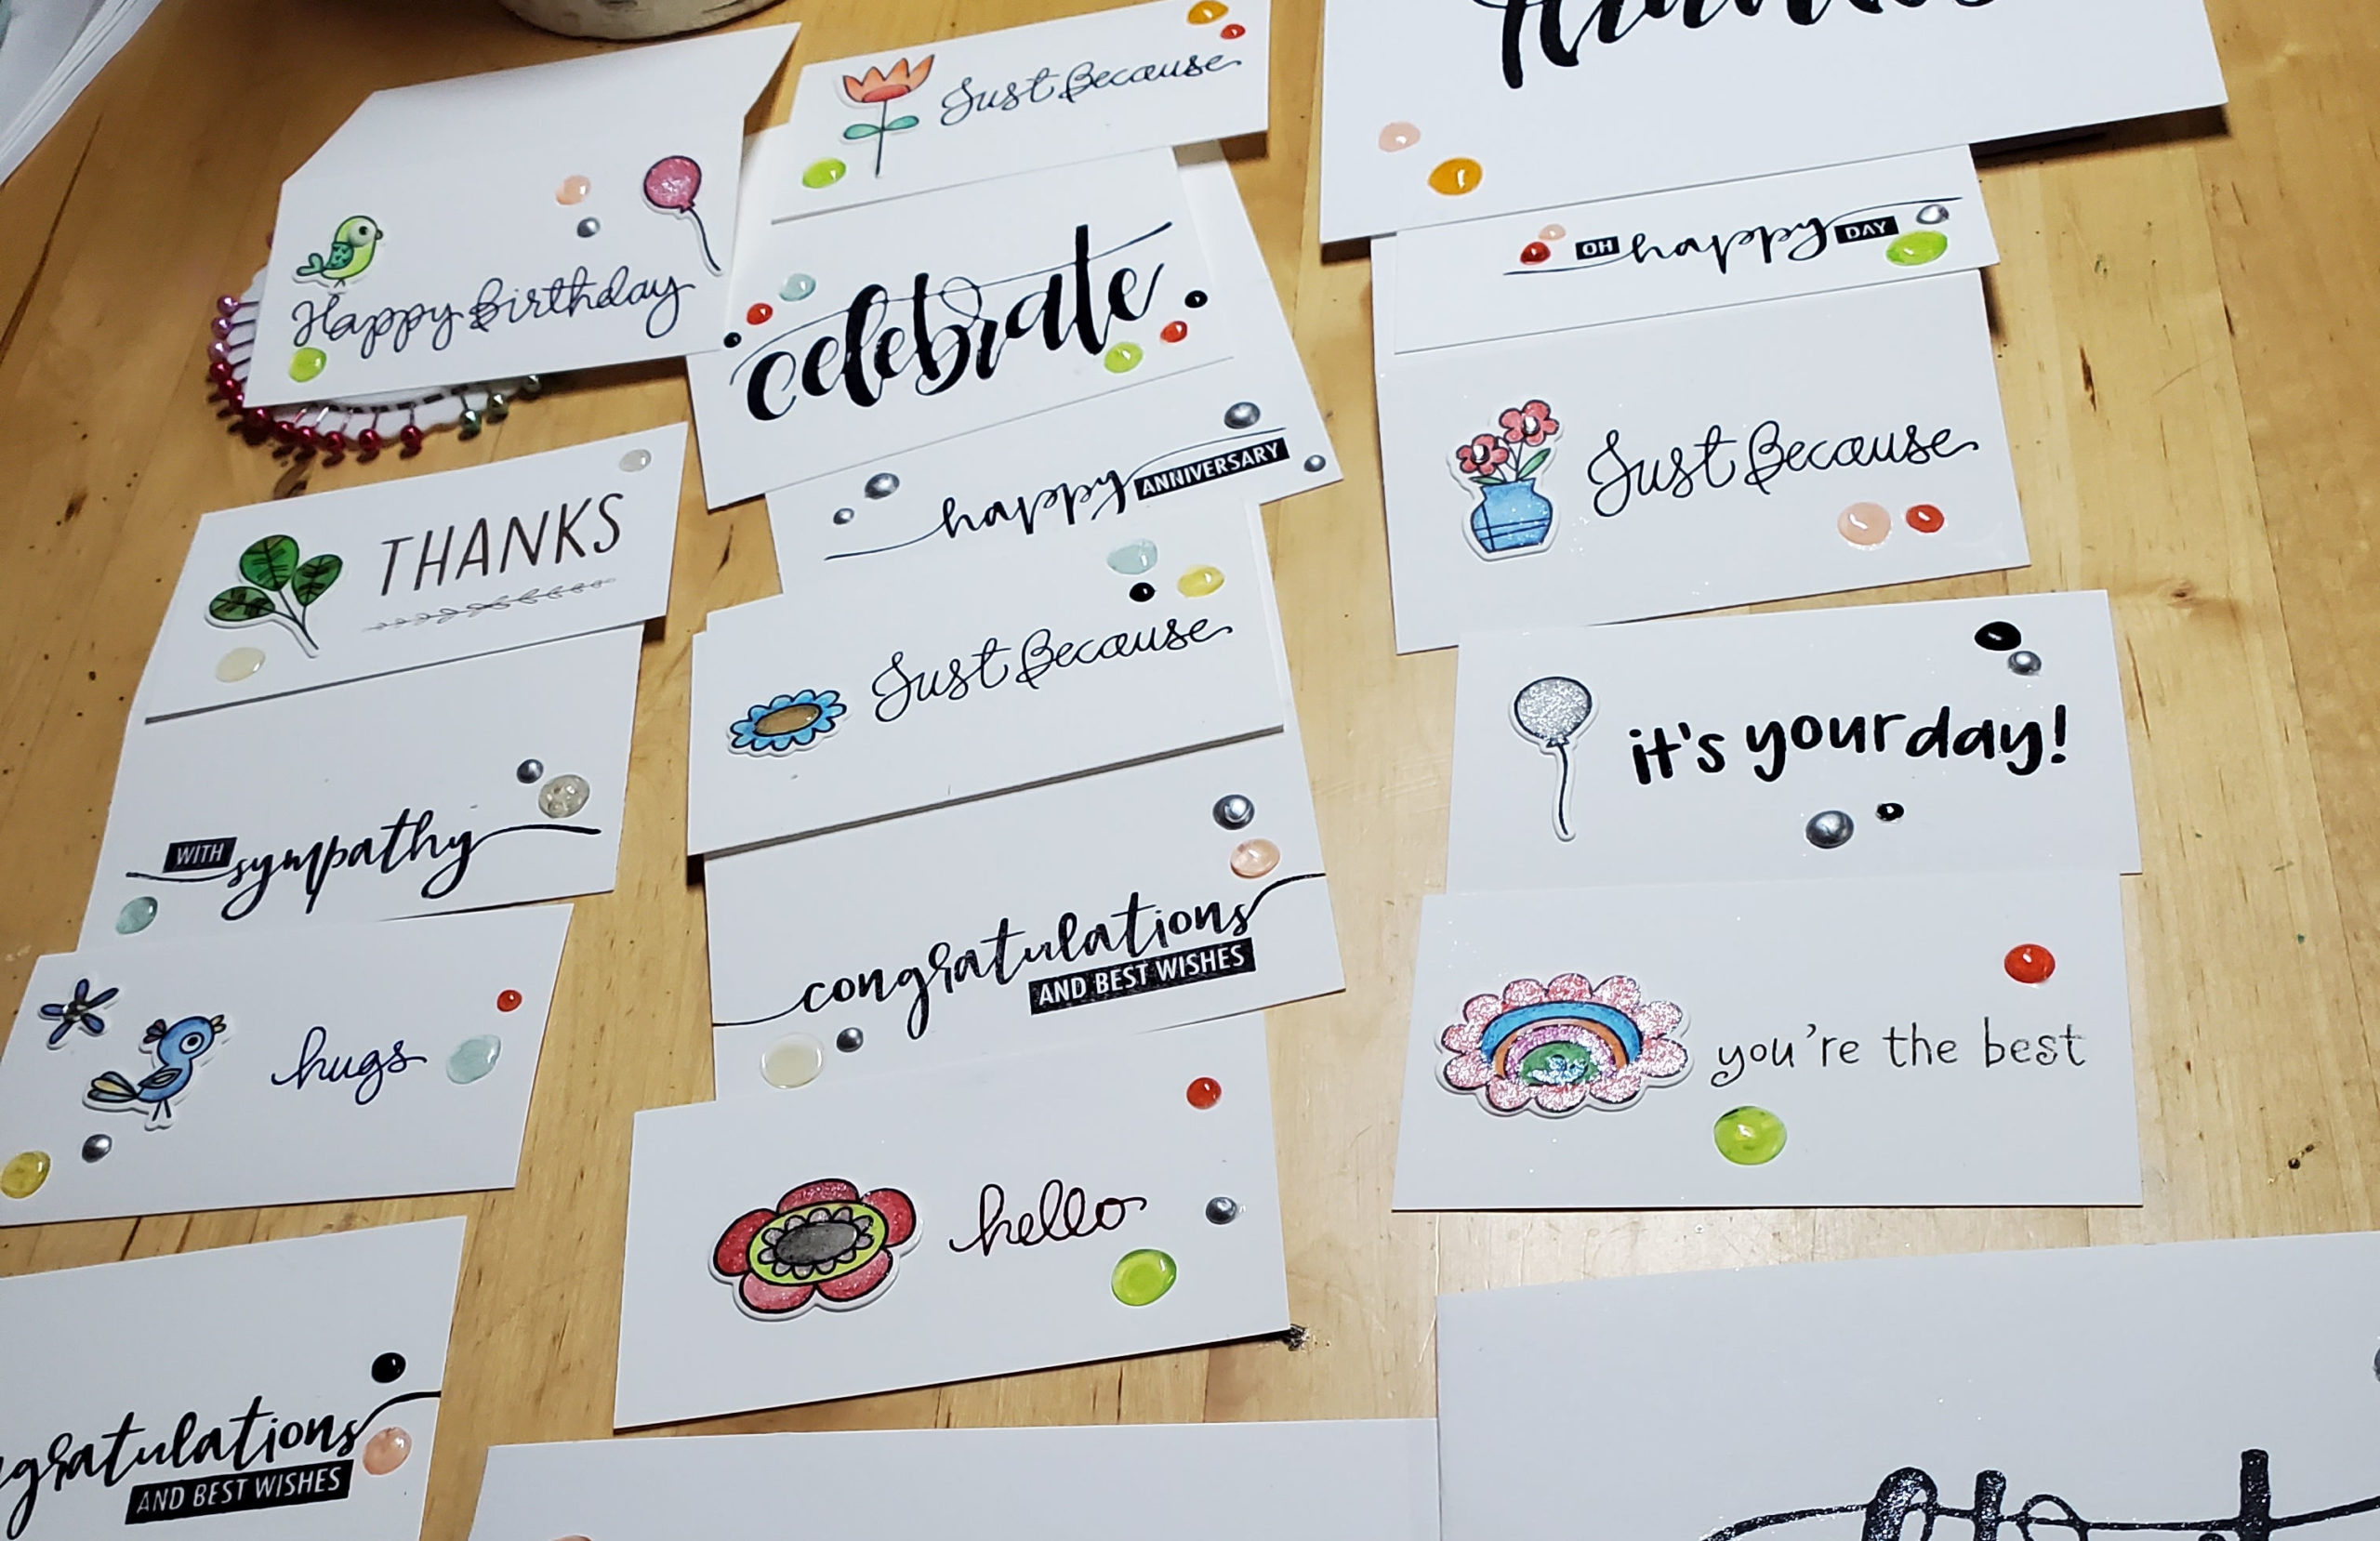
Here, I am in the middle of packaging a recent stitch marker order. This shows a finishing touch I put on the package before mailing it to the customer. I usually finish my stitch marker orders this way. Along with a handmade notecard, I tie a piece of leftover handspun yarn to make a mini package and attach a couple of extra markers as a small thank-you gift.

I often use older handspun that didn’t turn out so well. It’s perfect for decorative purposes, and I love that it doesn’t go to waste.

Etsy Change – Canada Buyers Only

Etsyshopscreenshot

I decided to offer shipping to Canadian addresses only for my Etsy shop, at least for now. There are a few reasons for this change. Partly because I want to concentrate more on the local market and partially because the market in the US is already so saturated on Etsy. There have also been some business decisions on the platform that have the potential to make it difficult for me to offer the personalized service I have come to expect in the cottage (handmade) industry. I will consider selling to the US again in the future. I doubt I will go back to selling internationally again. There have been too many lost packages in the past, and the shipping times are so long. It’s not to my level of customer service.

We are Not Amazon

To add a quick reminder, when you are shopping online from an independent business or individual, mainly an Artist or a Maker, we put our heart and soul into what we do. We are not a faceless brand inside a big corporation. There is a person on the other end who wants you to be delighted with your order but would like to be treated fairly as well. We cannot make our items for pennies or compete with the big guys regarding free two-day shipping or no-questions-asked refunds without receiving the item back. That is money out of our pockets and, thus, potentially food out of the mouths of our families. Many of us deeply discount our work to compete with the overseas knockoffs or just out of a passion to have others enjoy our work. (Never mind that much of our work is stolen to be mass-produced – but that is a post for another day.)

I’m mentioning this because I am deeply disturbed by the growing trend of abuse that sellers on platforms such as Etsy seem to be privy to. I’m not active on social media but keep tabs on several selling forums to support my fellow online sellers. Sure, there are scammers pretending to be handmade, but with a little due diligence, it should be pretty easy to spot. We don’t deserve to be treated like we are out to scam you; thus, you get to keep our goods free of charge.

Although I have not experienced this kind of behaviour myself, it makes me suspicious of selling online. Non-realistic delivery requirements, ordering items “by mistake,” not wanting to return the item for a refund, or simply making an excuse to get an item refunded without working it out with the seller makes it harder for us to provide our creations online. And (it goes without saying) abusive language and threats is totally uncalled for.

I have much to say on this topic, and perhaps I will write a separate post about it. Because it seems the public has forgotten that the people behind the goods being sold are your neighbours and peers. For those who are still passionate about handmade and supporting us, THANK YOU. It is appreciated more than you know.

The Natural Intuitive: Nurturing Your Intuitive Soul Course

Naturalintuitivetestimonial

Recently, I got the opportunity to give a new course a test drive for another local empath. Laura has created the perfect course for those ready to explore your intuition and nurture your soft side. If you are an empath like me, the world can be incredibly taxing and draining without the proper self-care. This course approaches the subject from a practical psychological point of view, so it’s very relatable to most, easy on the head and not too demanding or intimidating. If you want to hone your intuition or are simply curious, check it out! It’s currently being offered at a huge discount. 🙂

Vision Statement: Do you have one?

You’ve probably heard of a Mission Statement, but have you heard of a Vision Statement?

According to the Oxford Dictionary, a mission statement is a formal summary of the aims and values of a company, organization, or individual.

A Vision Statement, however, is an idealistic, inspirational statement on the emotional future of a group or individual. (I don’t know about the idealistic part – that sounds intimidating! But I guess you plan for perfection and get as close as possible.)

My Vision statement: To Inspire, Empower, Break the Rules, & Honor my Ancestors

To Inspire: My goal has always been to inspire others simply by how I live my life. Set the example and have a positive ripple effect on the world.

To Empower: through my experiences, I encourage and give others the confidence to try or accomplish a new skill or life improvement.

Break the Rules: When finding one’s path, it is not necessary to do things the “right” or expected way. This is so true with creating and crafting!

Honour my Ancestors: The more confident and at ease in my body I become, the more I am made aware of the women in my family tree who came before me. I honour them throughout my creativity and personal growth.

Do you have a Vision Statement for your life, or have you ever considered making one?

That’s all I got for now, friends. Until next time,

Leilani signature

February Vibes: Inner Work Creates Outer World

“What you’re looking for is not out there. It is in you.”

– Author Unknown

Keeping Busy…

It always fascinates and amuses me, when I tell people that I’ve had a full or busy week that their automatic response is to express pity or wish me “better days ahead”. I used to try to correct them by what I mean, but to them it just sounds like me justifying my miserable existence. 🤪🤣

In the studio. Never-ending list of tasks. Infinite creative possibilities.

These days, I just nod and smile. Little do they know, that I enjoy being busy with the things I love: being a mentor to my children, cooking meals for my family, sending a text to check in on a friend or relative, and of course my vast array of interests that make it seem like there is never enough hours in the day.

Creation with Purpose

I never create anything while in a bad mood. I tend to be in a meditative or at least a contemplative state as I work. To me it’s called: create with purpose. I know I am putting good vibes out in the world with every piece I make, with every yarn I spin. This philosophy won’t make sense to all if many, but it is what drives me to continue with my craft. With so much negativity in the world, much that I cannot control, creating something meaningful with purpose is in my control. So I leave social media and the mainstream media behind, and spend my time being inspired and loving life more.

Plying yarn on my SpinOlution wheel

A Clear Change

In the last couple of weeks, it became more clear how to structure my time and organize my products between the website and Etsy. Unfortunately smHauler has decided to close their doors as a promotional platform for handmade, which I can totally understand. So until I find the time to return to Ebay or another platform, It’s just here and Etsy for now.

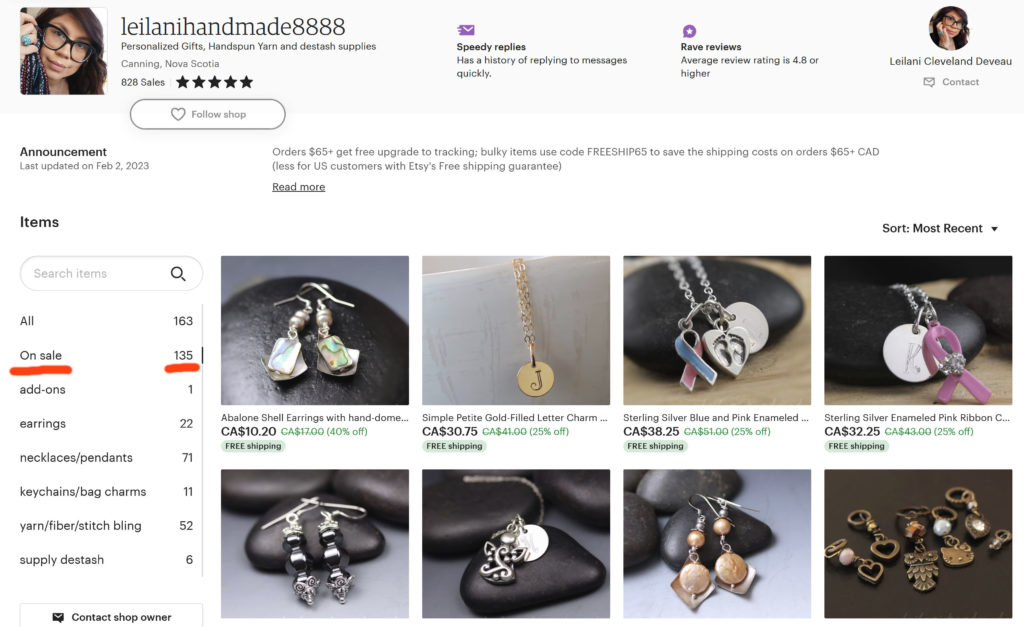
Etsy for Clearance, This website for new Items

Etsy will be my clearance house of sorts. When I have items that I want to clear out, I’ll list it on Etsy, and mark it down. Each month will be a different rotating sale.

The website will be where all new products will be featured, especially yarn and fiber items. If I feel I have been hanging on to an item too long and I need to clear it out, I’ll move it over to Etsy with a discount.

I won’t be unlisting not-on-sale items from Etsy that I’ve sold for years, though I may allow some of them to expire.

It’s tricky to have my pricing match Etsy when it comes to sales. I’m able to list items here slightly cheaper as there are no listing fees on my own website. Let me know if one of my items is cheaper on Etsy and I’d be happy to match it here.

If you are a US shopper, Etsy automatically converts my prices to USD, where the website is in CAD only. There is a converter at the bottom of the home page so you can calculate the cost in USD.

What’s New

I’ve been playing with color in the studio these past few weeks and I have several new indie dyed yarns as well as some revamped jewelry products.

New Hand Dyed Commercial Yarns

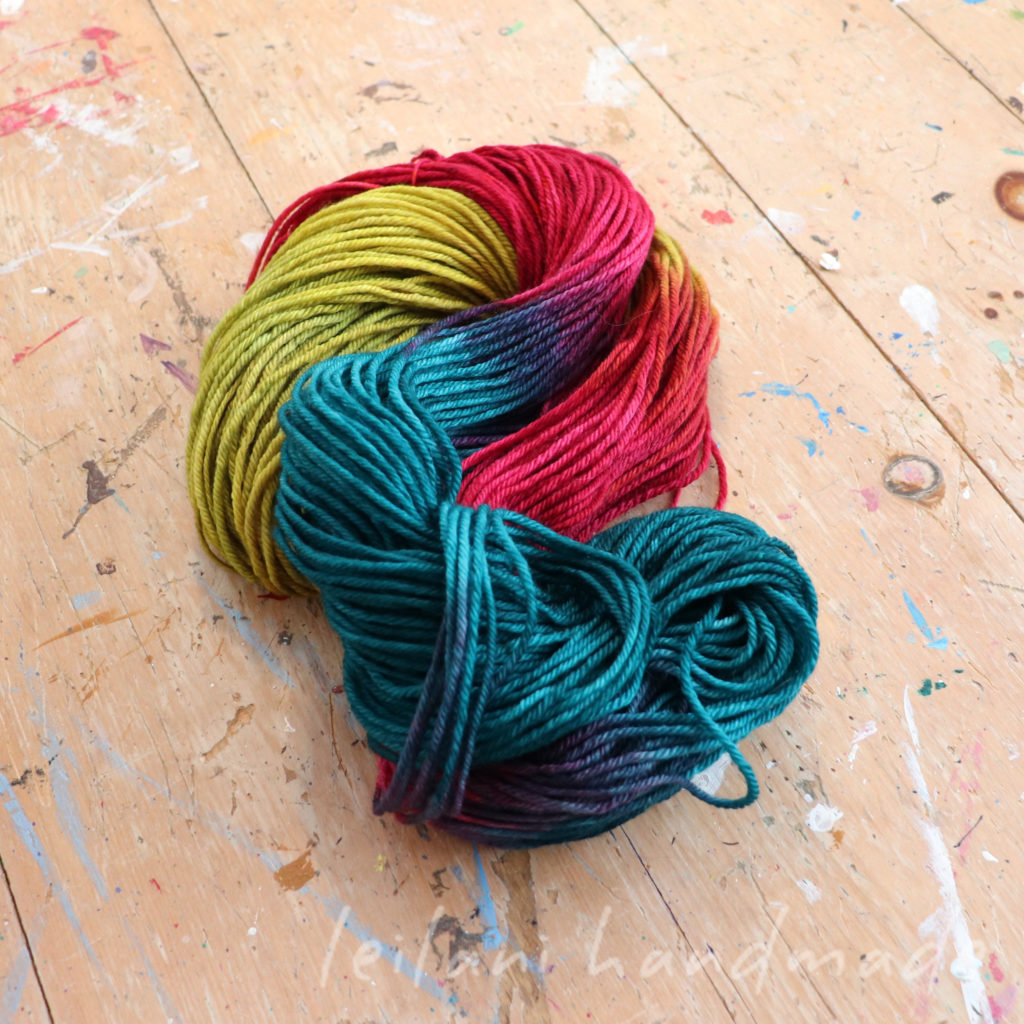
The commercial hand dyed section is starting to fill up with vibrant color! I want to be able to offer handspun and indie dyed commercial yarn for variety. Check out the Commercial Dyed Yarn section to see what’s new.

Revamped products available again

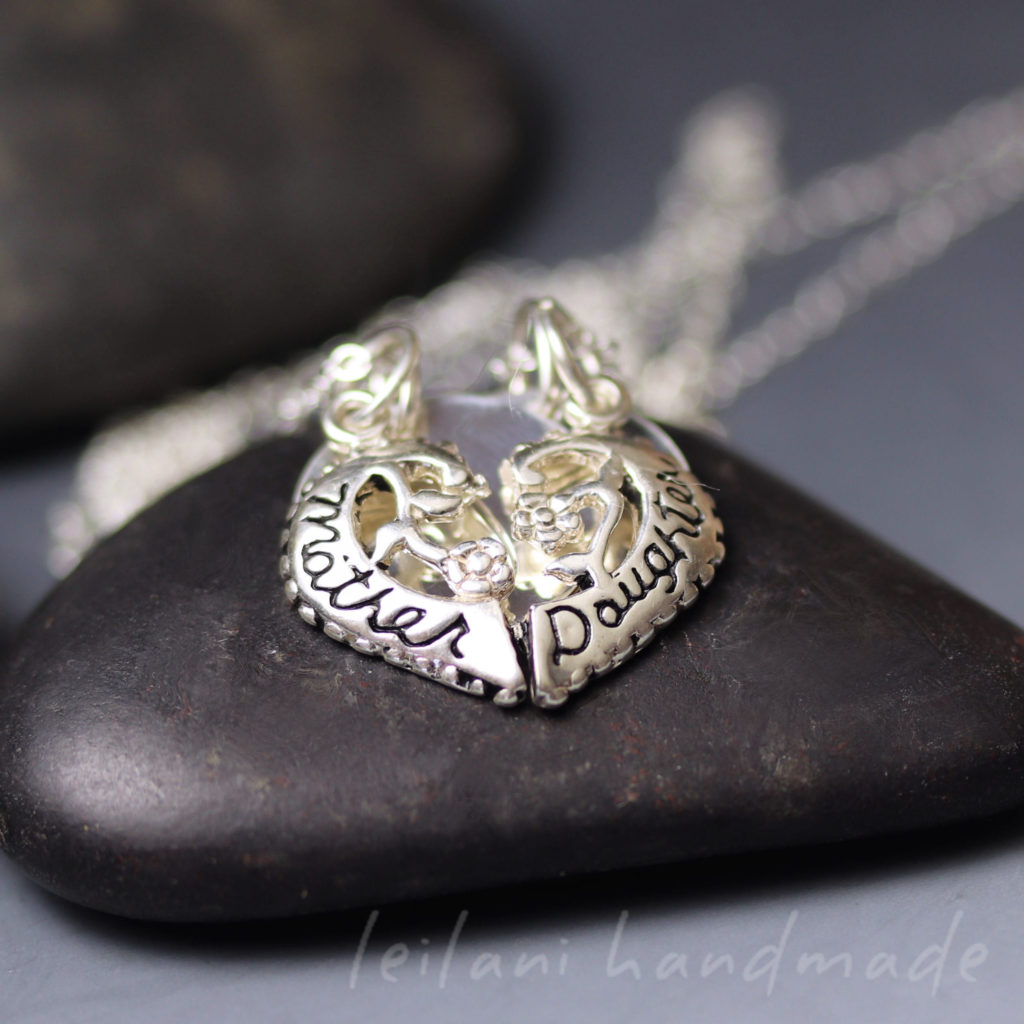
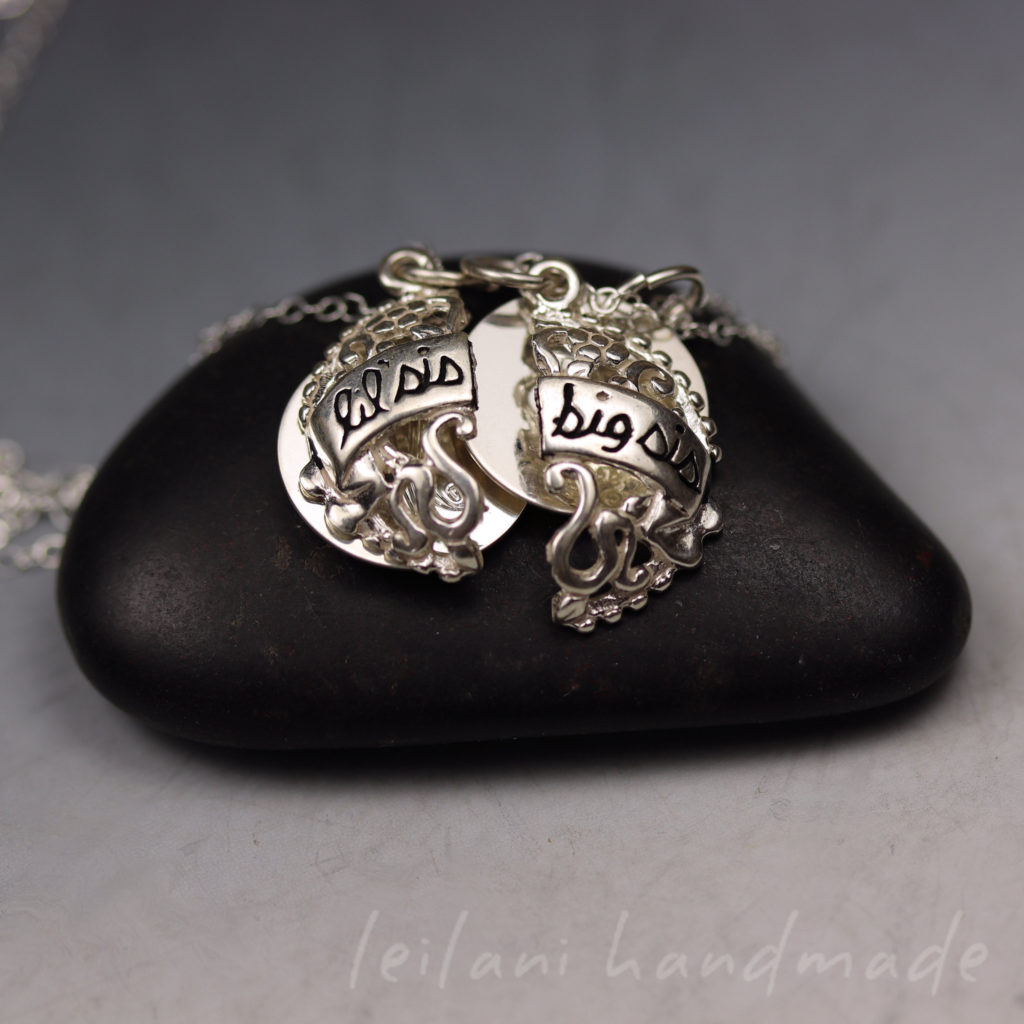
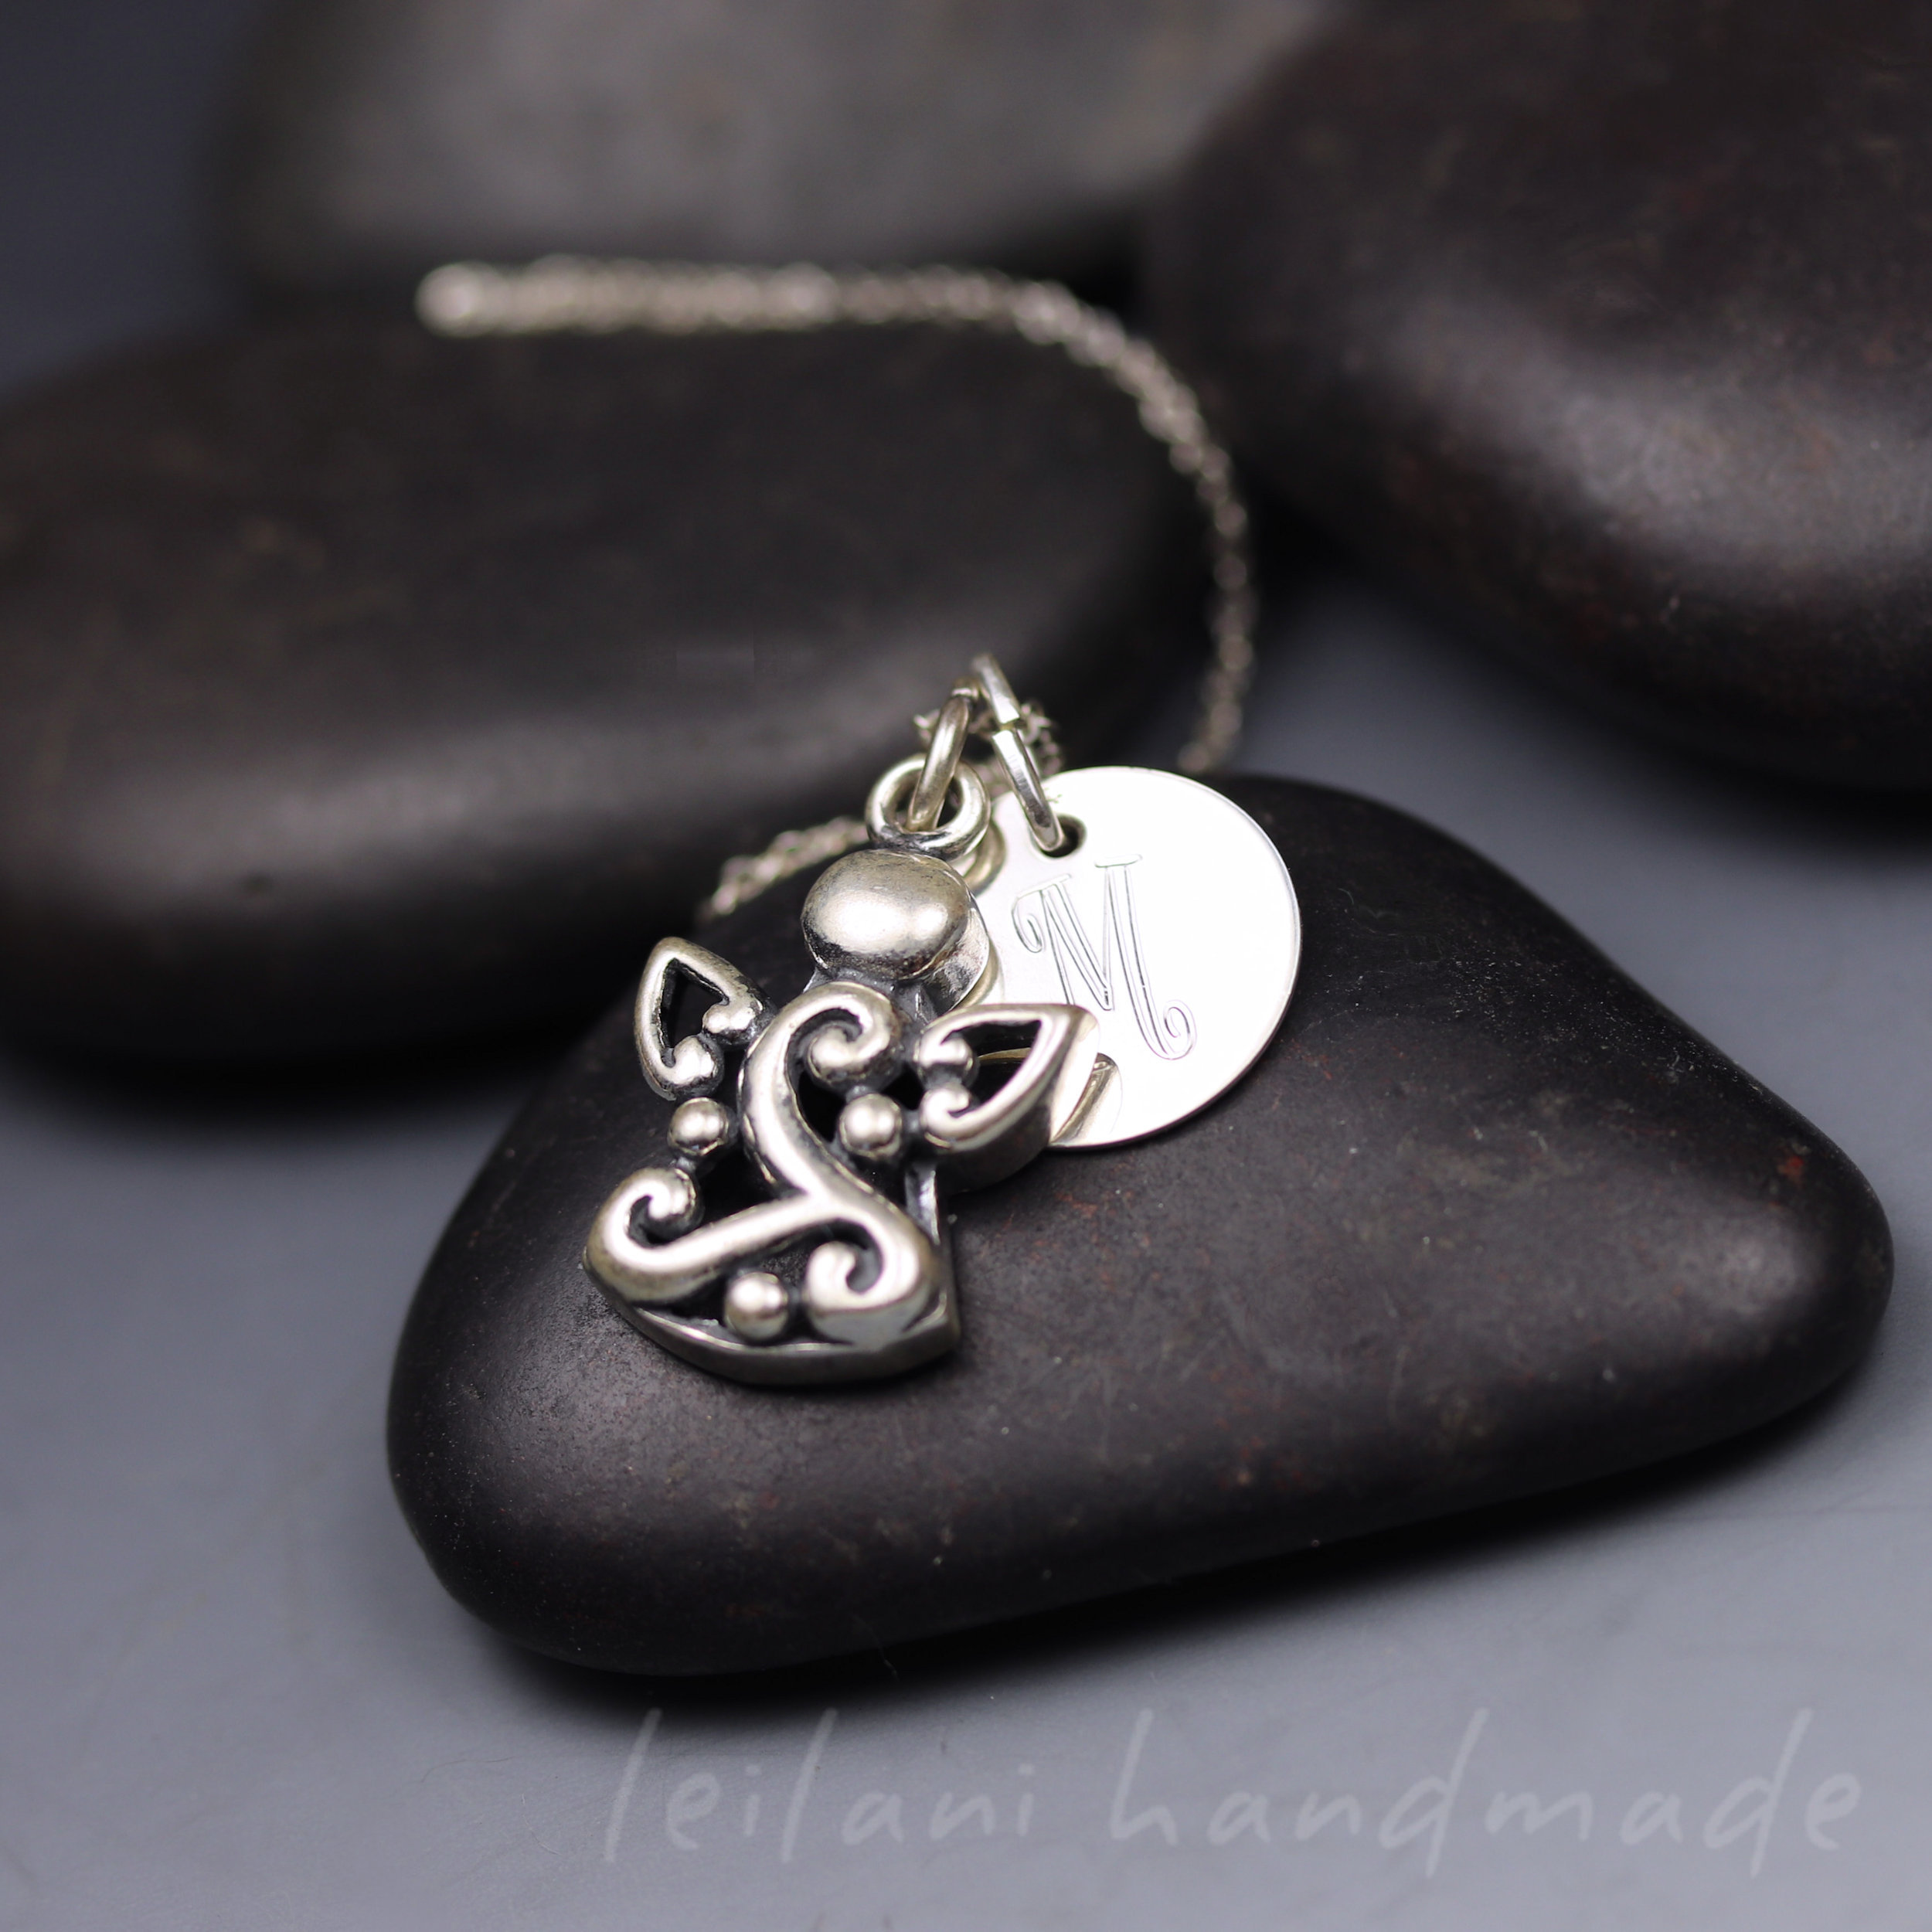
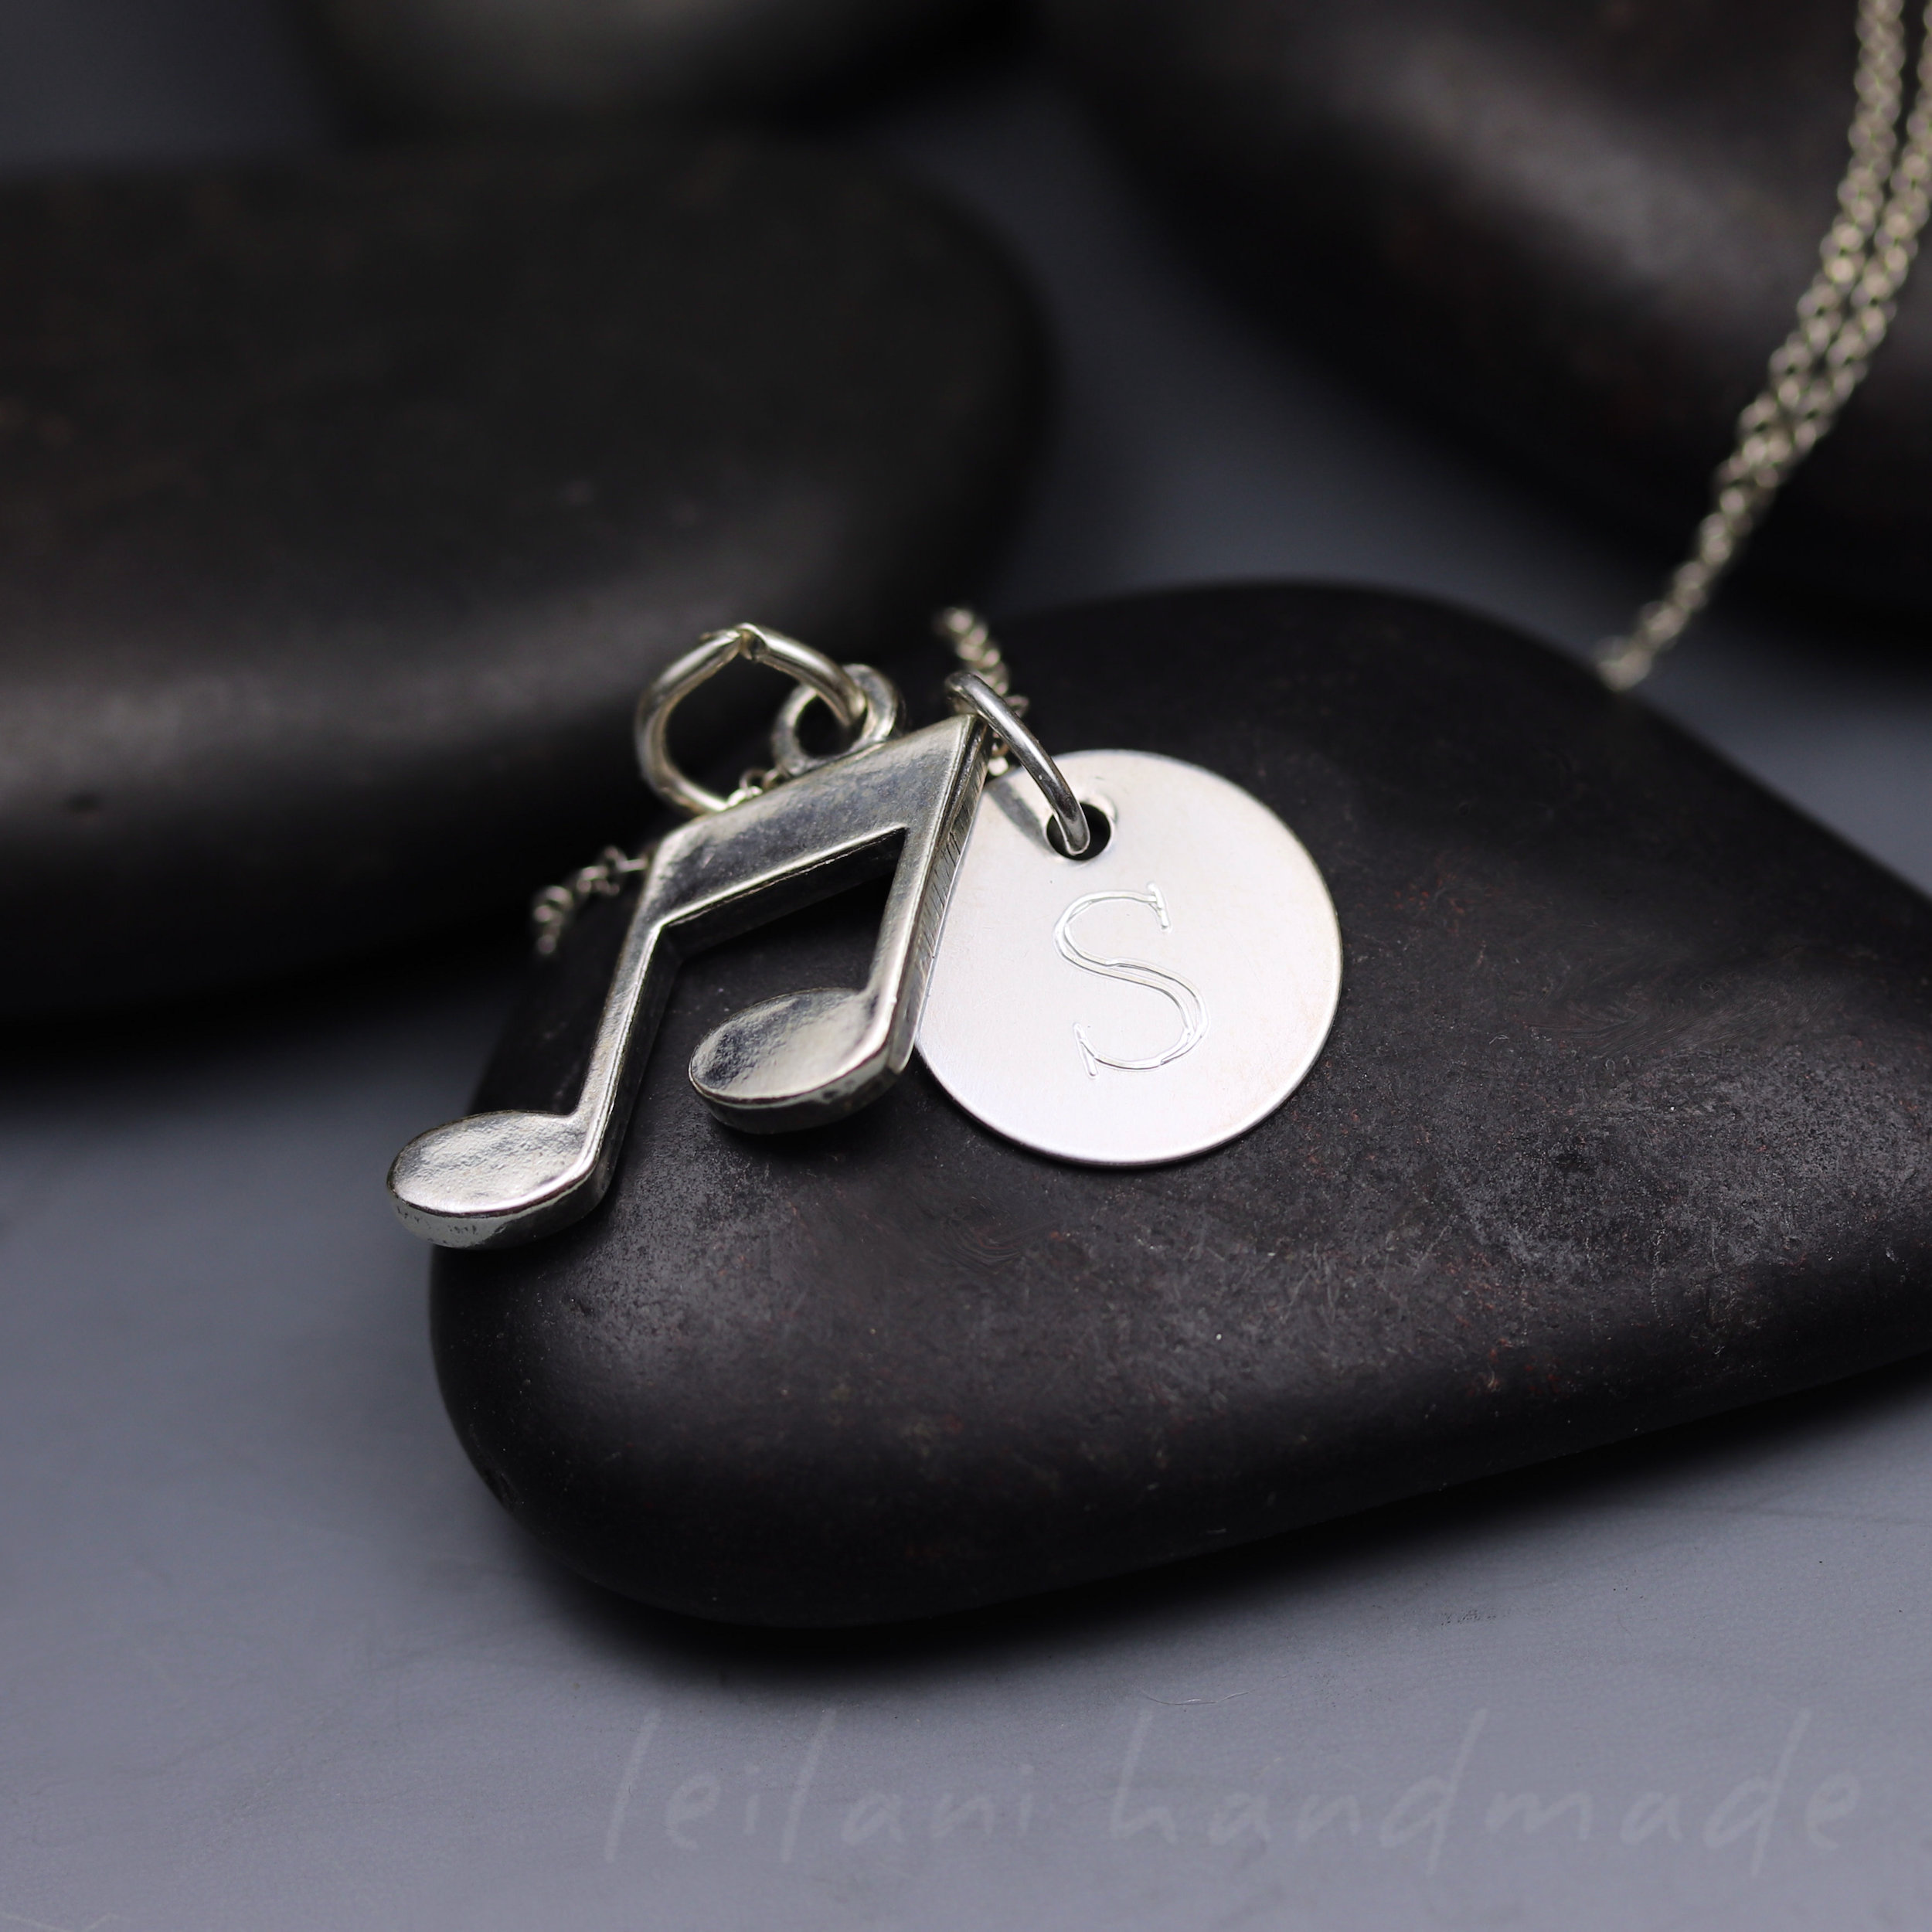
I decided to give these two necklace sets a new font for the engraved initial charms.

Check it out: Mother Daughter Matching Necklaces and Lil’ Sis Big Sis Matching Necklaces

Revamped products available on Etsy

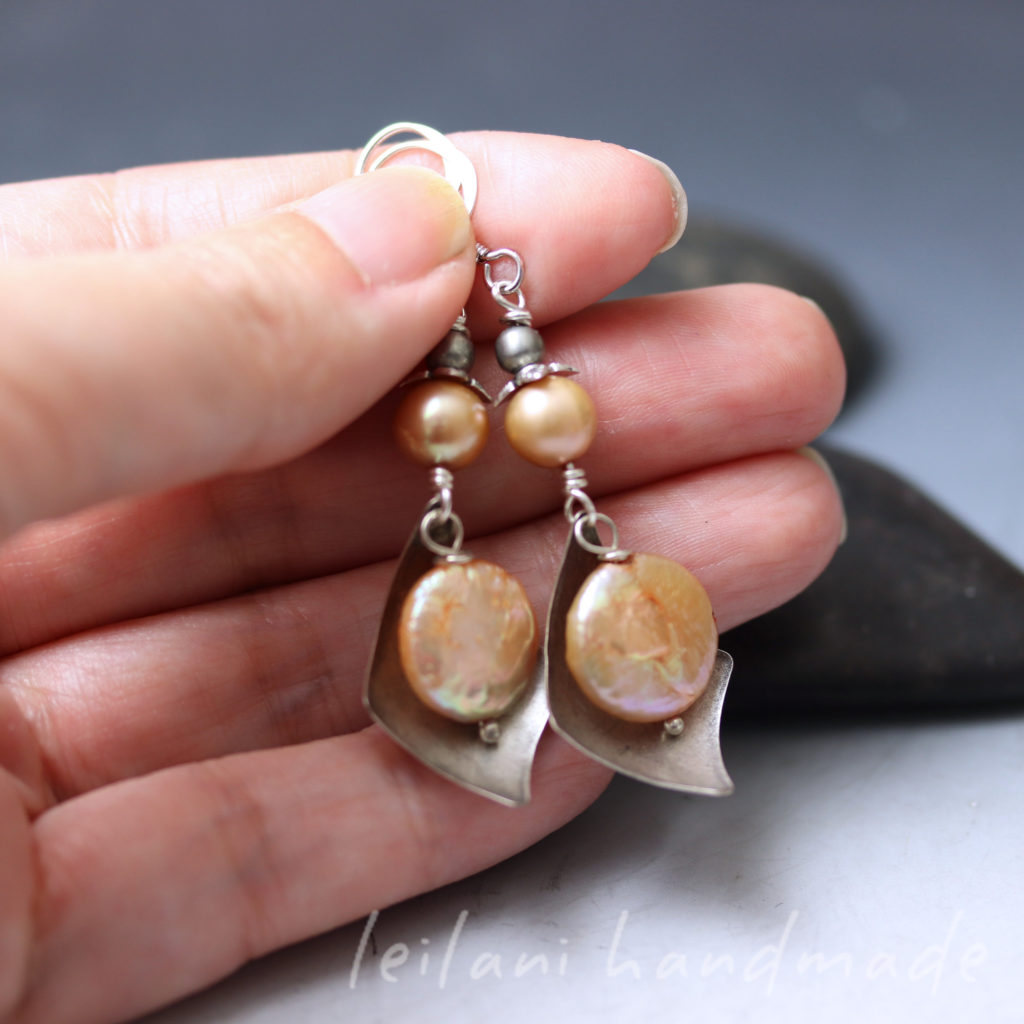
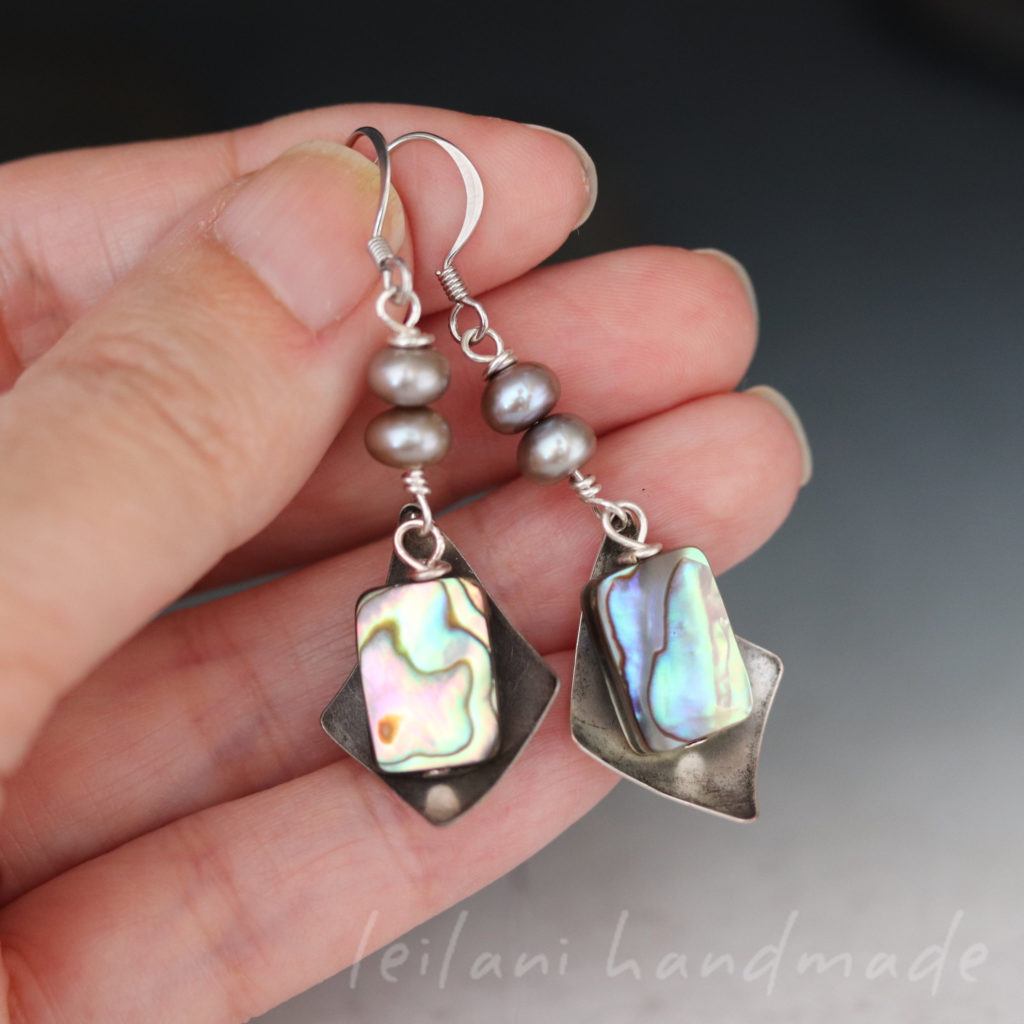
These fun earrings feature a metal diamond shape component that I hand domed. I just felt that the original weren’t long enough, so I added an extra pearl or two to lengthen the dangle.

You can get the details here: Peach Coin Pearl Earrings and Abalone Shell Earrings

What’s On Sale

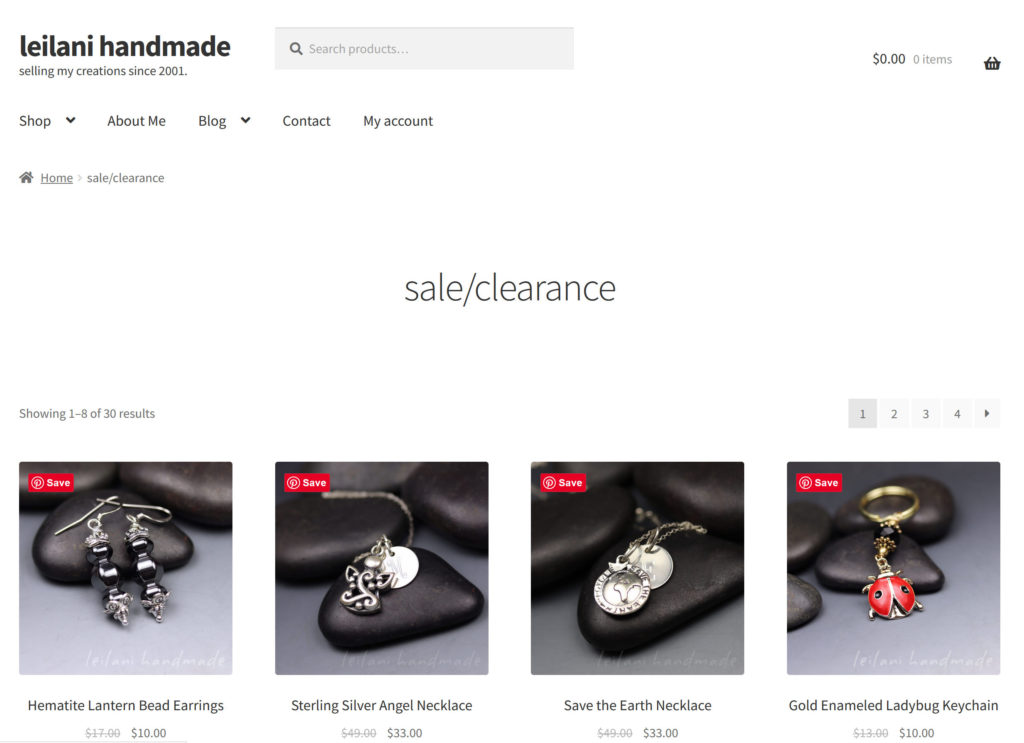
Sale/Clearance items on the website are available here. Remember that there are price breaks and discounts on most items if you buy multiples. Add the items to cart to see the final discount.

February Etsy sales

This month several items are on sale from 15% to 40% off in the On Sale section

What I’m working On

Have you read my post on 5 quick and easy hat patterns that work with handspun yarn? Unfortunately, I have not made any more hats since that post. Instead, I decided to get an Ashford SampleIt Loom and I’ve been enjoying playing around with this new tool! I’ll probably do a separate post about it, but it was incredibly simple to set up and get started, and should be a good way to use up some old handspun.

I decided to get the smaller, 10 inch size even though the next size up was only $20 more. I like the compact design for easy storage. For my intent and purpose, this will do just fine. I purchased mine from The Fibre Garden in Ontario even though I could purchase it here in Nova Scotia, simply because I have received exemplary service from John & Alan in the past. And bonus: I ended up getting a lacquered loom for the price of an unfinished one!

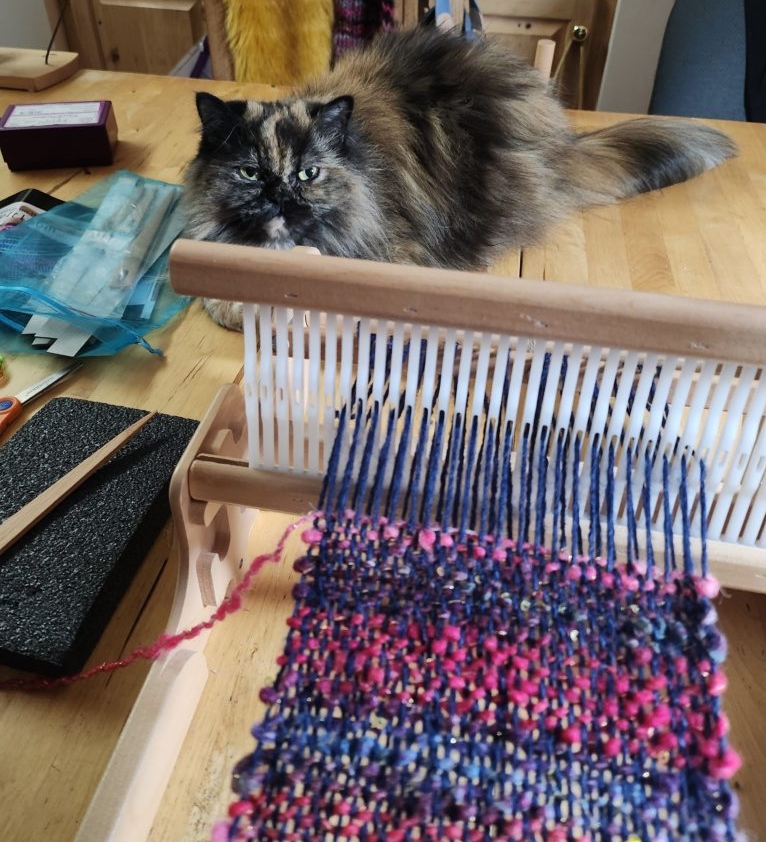
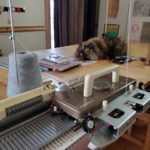
Moki loves to sit on my workspace and watch me weave on the fun and simple Ashford SampleIt loom

Current Spinning Project: Vegetable Fibers

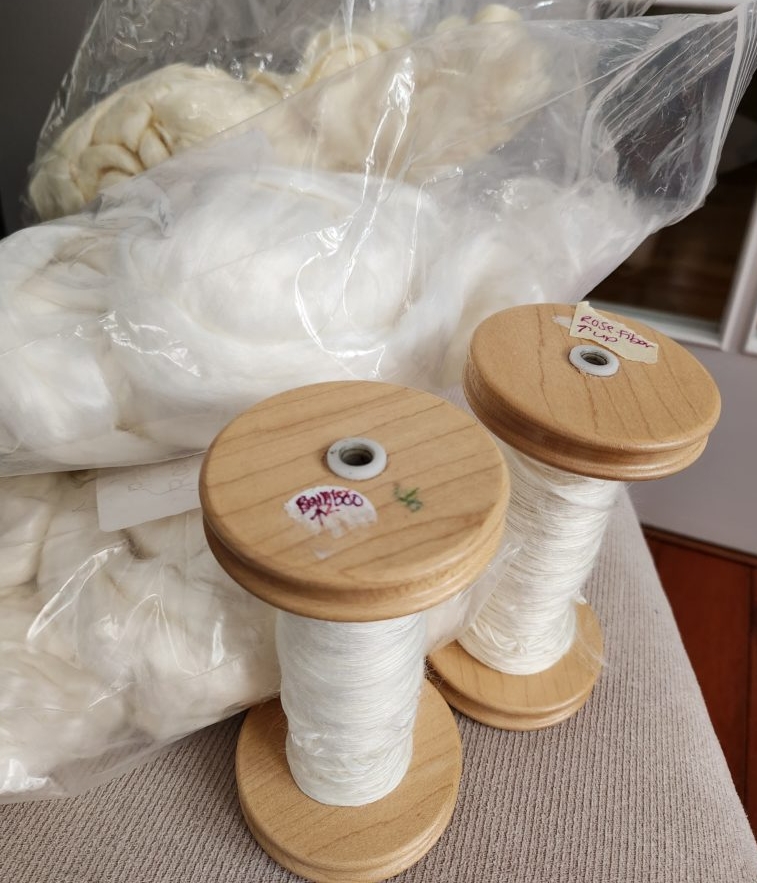
I haven’t spun in a couple of months, and that is odd for me. To get back into it, I decided I would do a case study of sorts with several vegetable fibers that I have yet to spin. In the past I’ve spun bamboo, cotton and tencel (a man-made fiber derived from wood pulp). I’m currently spinning rose and soy, as well as spinning bamboo yet again. I’ll also spin cotton and tencel so I can get a true comparison of all. The rose fiber reminds me of bamboo or silk, while the soy fibers feel a lot like cotton.

I also have milky mohair, ramie and linen to spin. Hopefully I can do a bit a day. One thing I am very excited about is that I am finally getting comfortable spinning from the fold which is something I always felt a bit awkward with. Practice makes perfect, as they say.

A few of the vegetable fibers I will be spinning, as well as bamboo and rose fibers on the bobbin

Prepping for Natural Dyeing

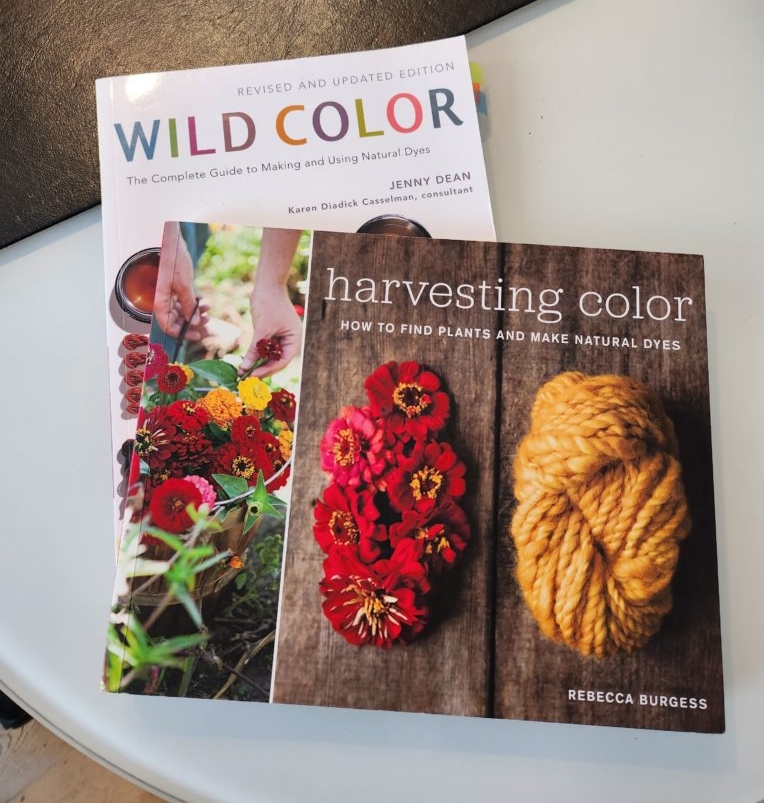
When I started dyeing yarn and fiber, it was always the goal to try natural dyes. The process seemed daunting to me in the beginning so I decided just to stick with conventional commercial dyes until I felt comfortable with that. Now when I browse my dyeing books and literature, something has “clicked” in my brain and I can’t wait to give this a try this spring/summer.

I want to dye outdoors until I understand more the risks of all the ingredients, including some of the mordants. Natural doesn’t mean non-toxic, afterall…

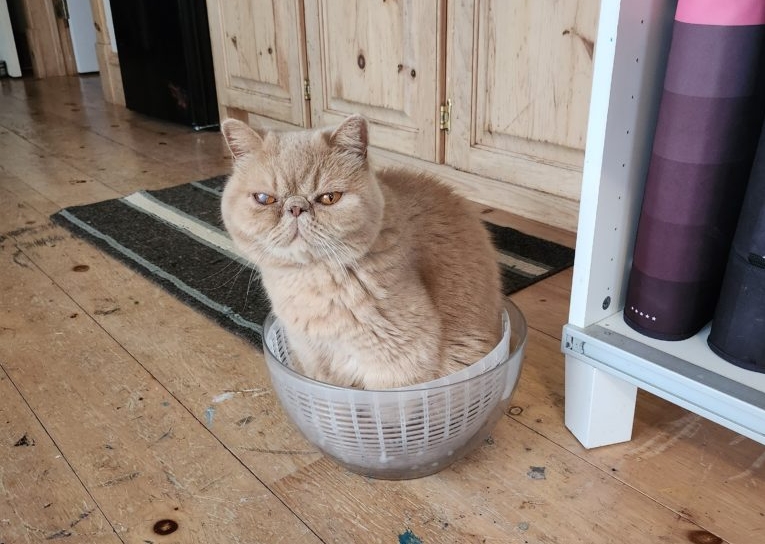
Proving cat will sit anywhere, even damp salad spinners that just spun out wet yarn before being hung up to dry 😜 😂

Now you see what it means to be busy in my world, and hopefully you can understand why I feel like I’m living a purpose driven, creative life. Hopefully this inspires you to take up or continue on with a passion. You need not be saving lives or have a million social media followers to make a difference in the world. Doing what you love shifts your mood and raises your vibration. Imagine what happens when more and more people find their purpose, no matter how “ordinary” or “mundane” it seems.

There are many ways to make the world a better place. Start with you.

Leilani signature

Work as Flow – August studio update

“Life is a series of natural and spontaneous changes. Don’t resist them – that only creates sorrow. Let reality be reality. Let things flow naturally forward in whatever way they like.”

-Lao Tzu
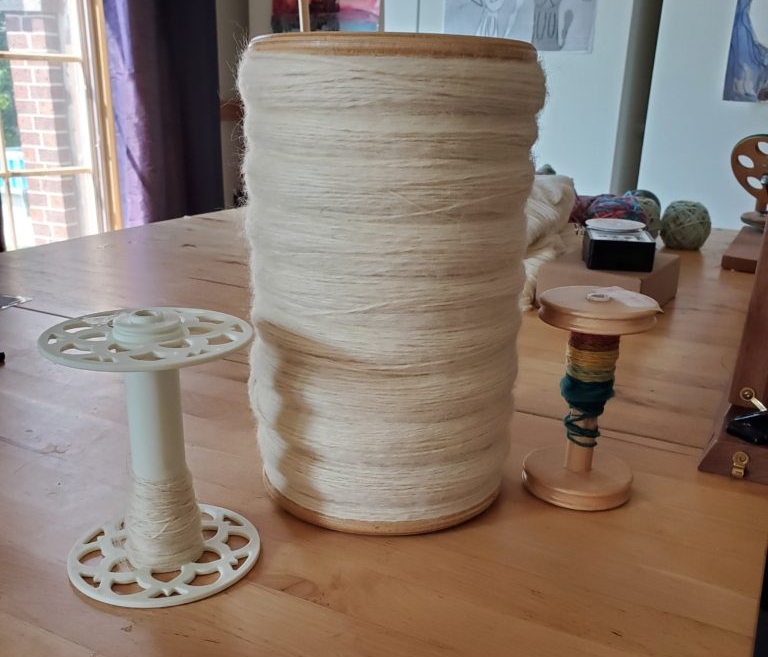
I finally finished the 3ply BFL (Blue Faced Leicester sheep wool) I started over the winter! To show just how grand a 32oz bobbin really is, here it is beside the bobbins for my Lendrum and Electric Eel Wheel

Flowing through the Rest of my Summer

Part of my plan to live more intuitively, is to make adjustments to how I structure – or should I say – flow through my day. For the past few weeks I’ve been making a conscious effort to ask myself, “What do I want to do now?” rather than, “I have to do this first”. Of course there are appointments and obligations that I have to keep, but aside from that I will go through a list of the tasks or projects I would like to accomplish in a given day and see what “speaks” to me.

It’s hard to resist the urge to tackle the chores that seem more important, more responsible and more pressing, so that I can get them off my plate to do what is more desirable. The better I got at listening to my inner voice and doing what I desired first, my day would not only flow perfectly, but I struck a good balance between doing tasks I enjoy and doing tasks that are part of life that need to be done. More was being completed and I felt more balanced and accomplished by the end of every day.

I am by no means perfect at it, but I found the latter part of July went much smoother than the first half. I got so much done! Once I started aligning my day by feel rather than expectation, I found even the most mundane tasks would pop in my head to say, “Okay, it is now the right time to switch to (enter chore here)”. Hopefully I can keep it up. I’m excited to see what August has in store. No expectation. Just going to let it happen.

Highlights This month:

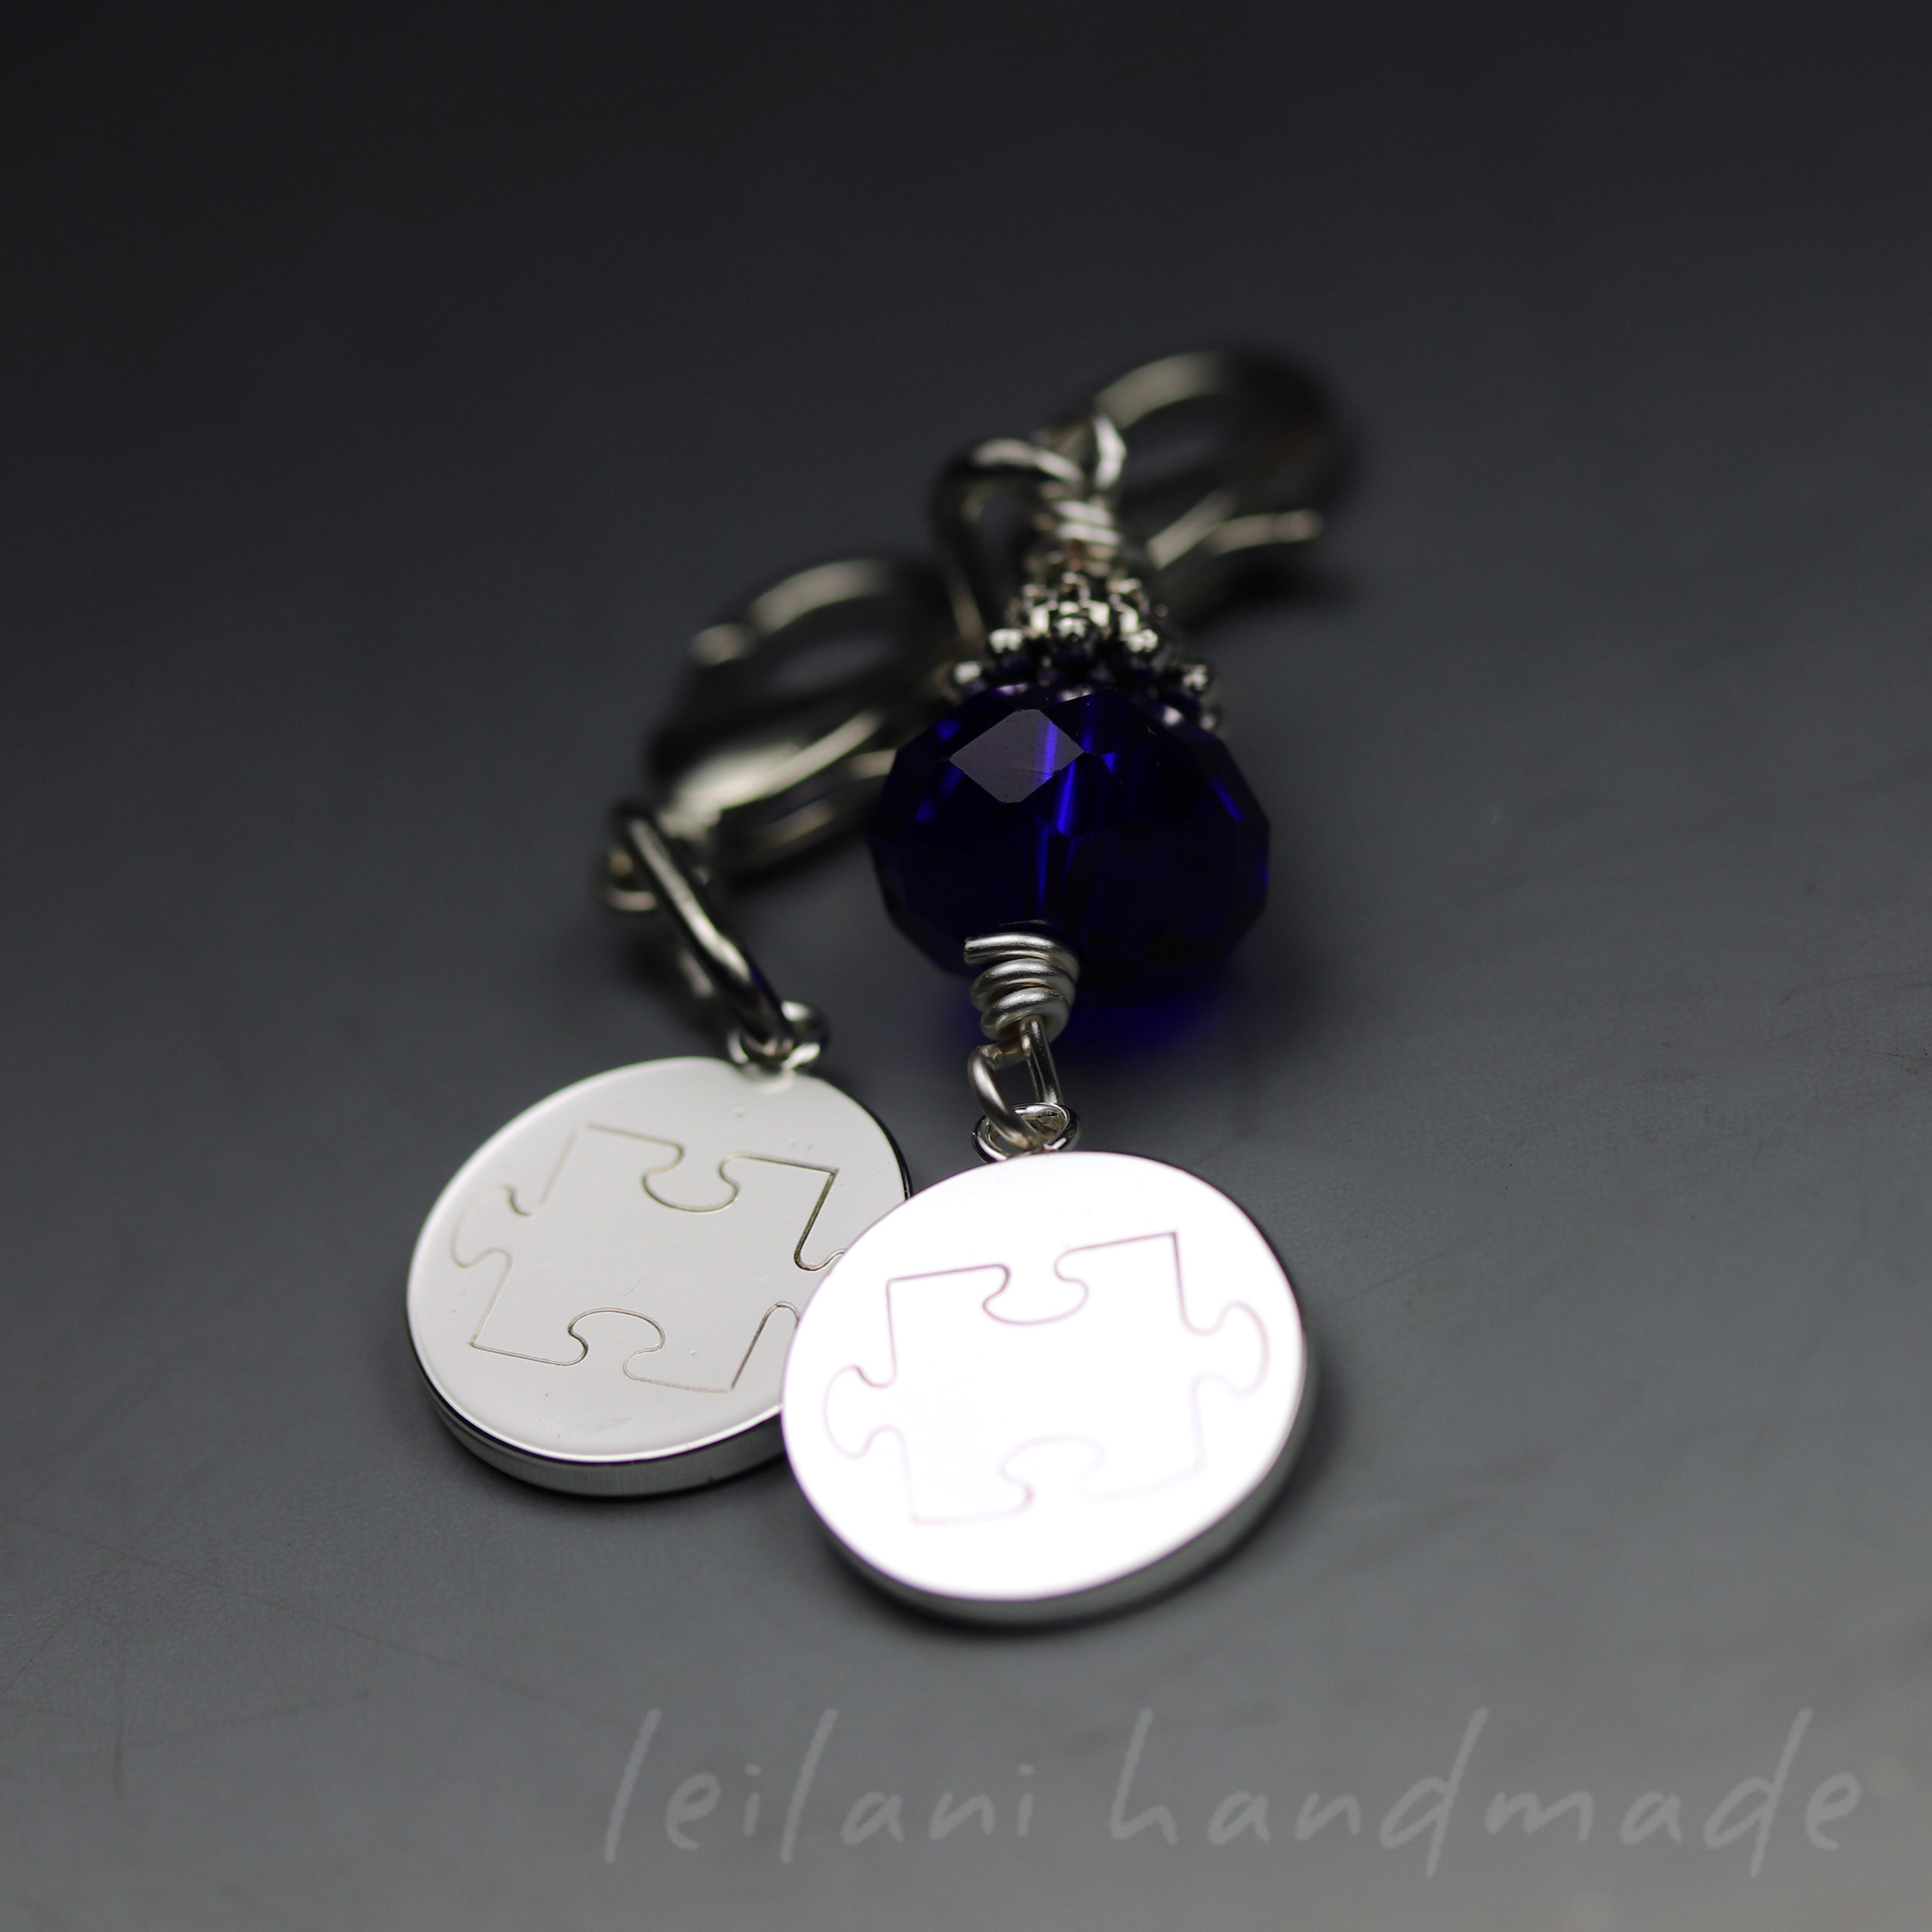
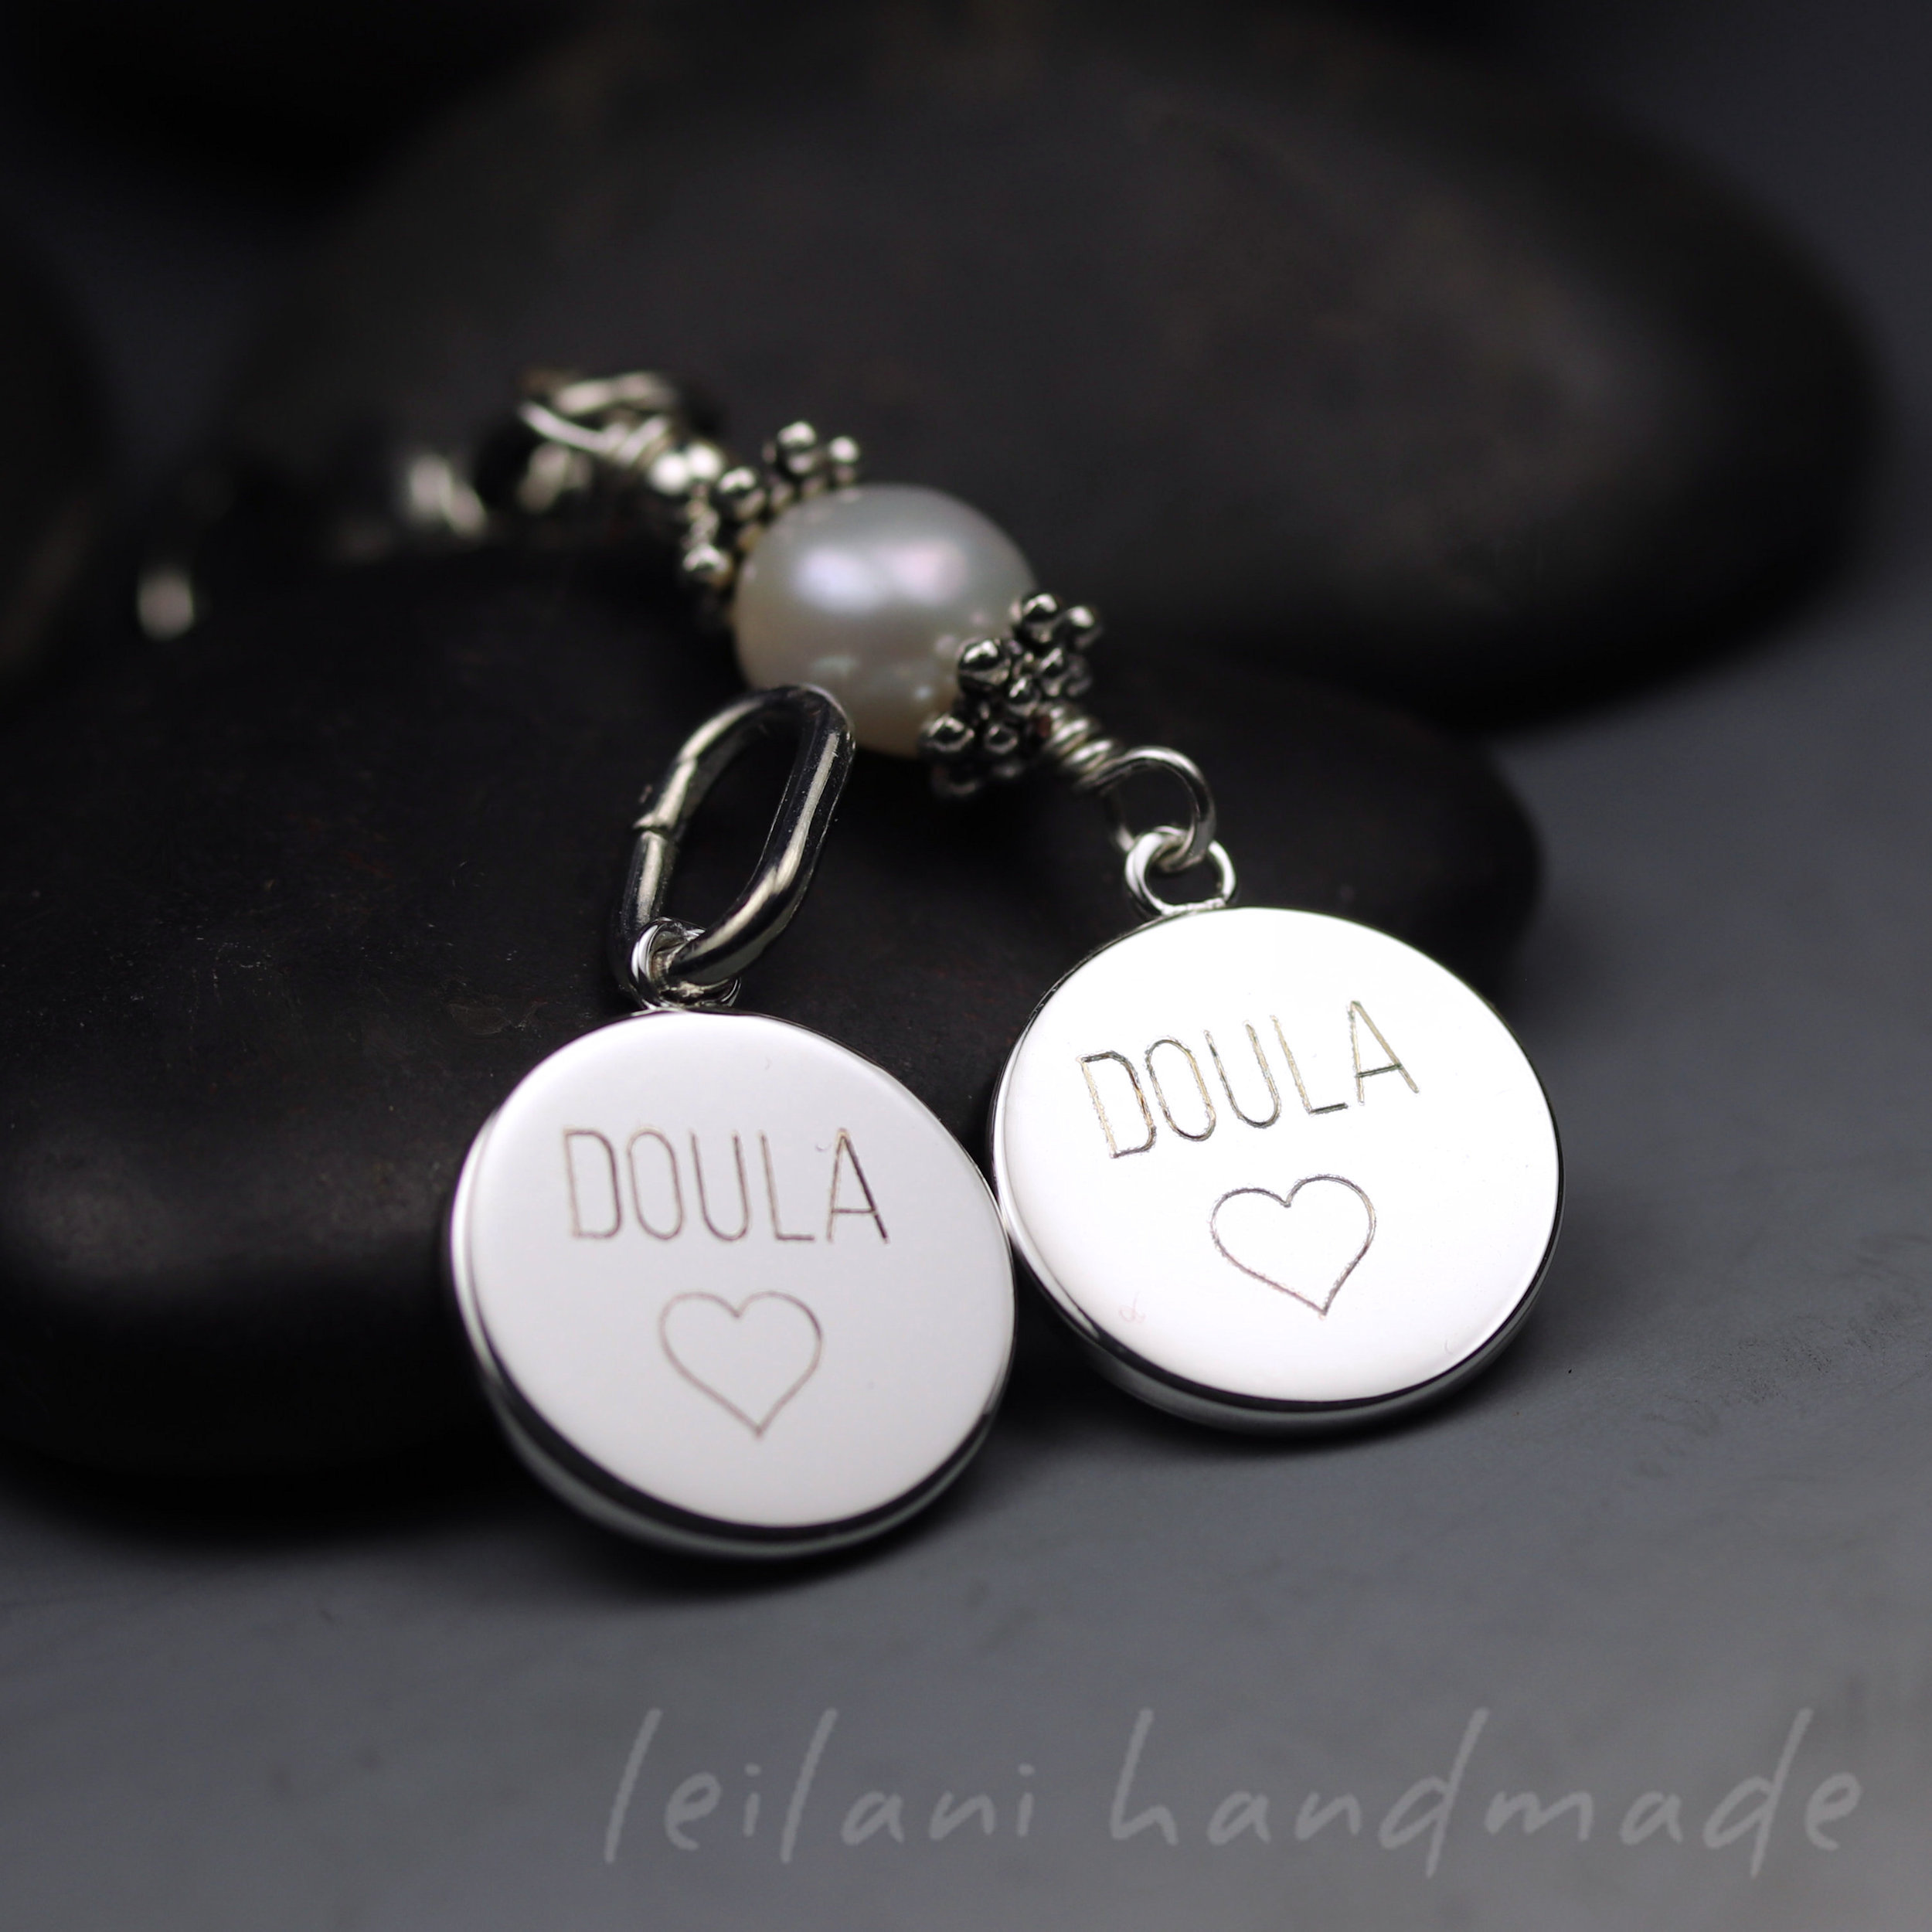
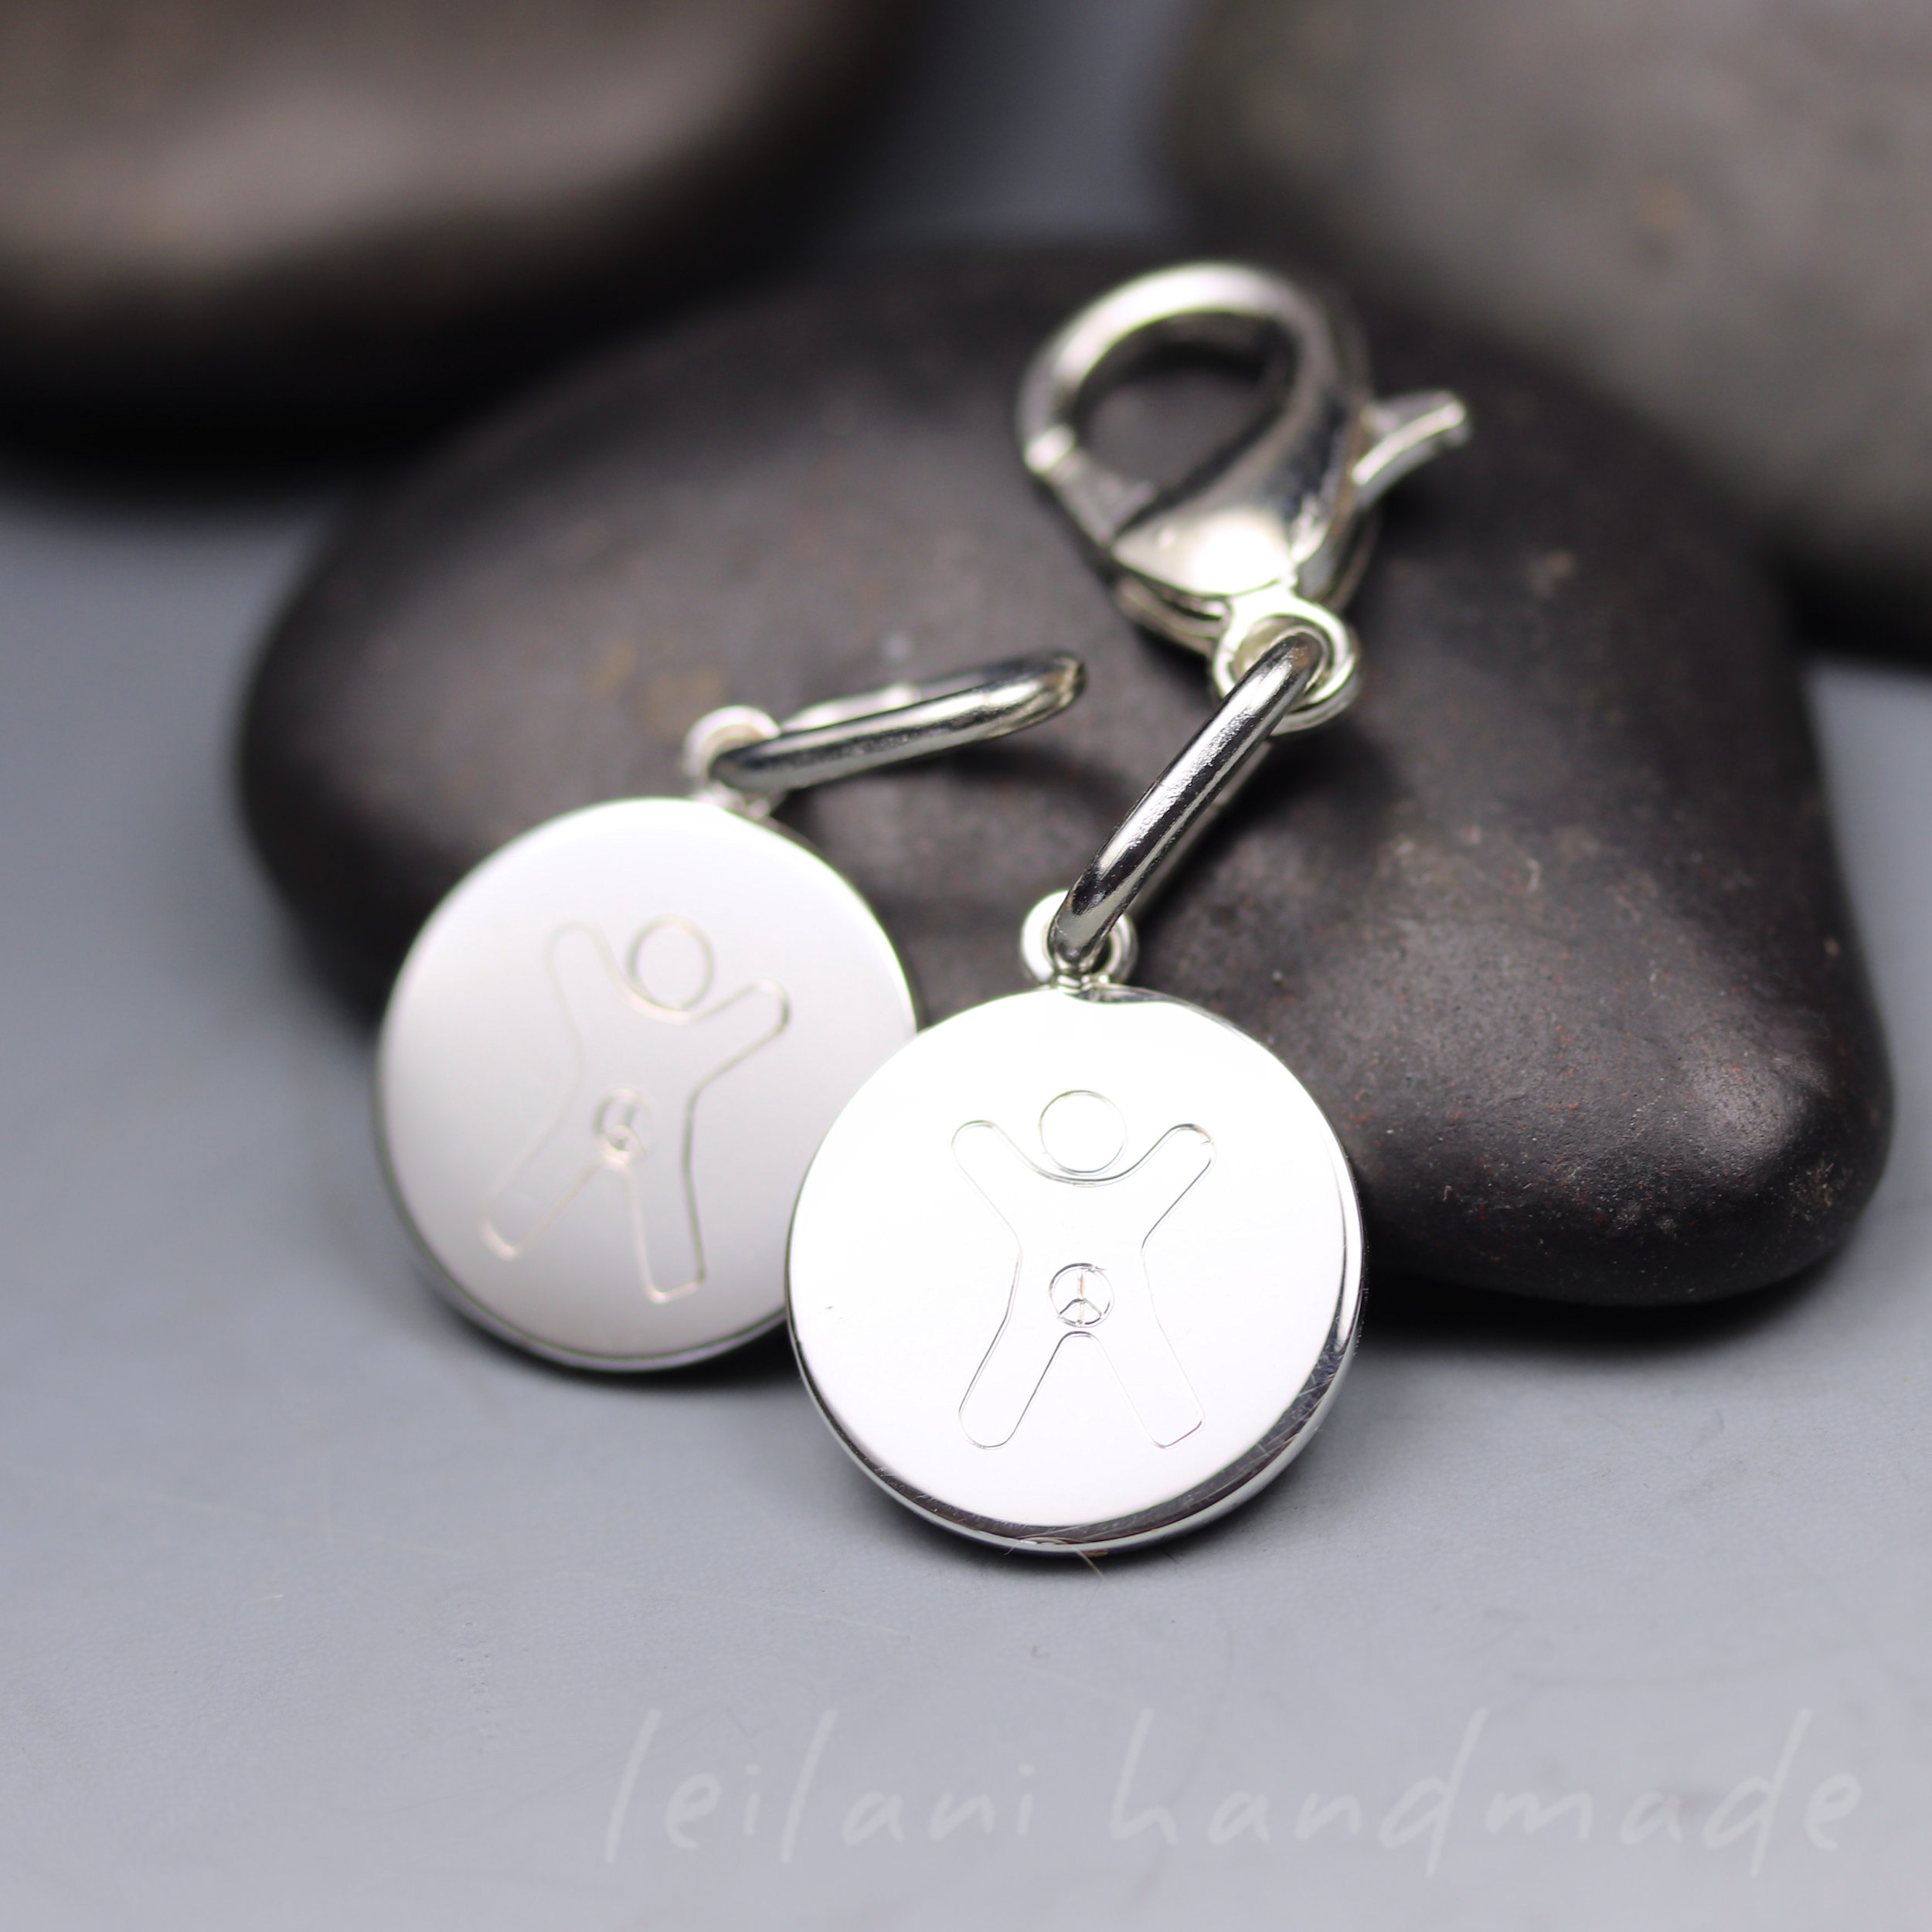
  • Engraved Awareness charms are now available on Etsy
  • Tiered and bulk pricing is now live on the website
  • Add a gift note to your order
  • New products both on Etsy and here on the website
  • Product videos – coming soon!
  • Fiber braids – coming soon!

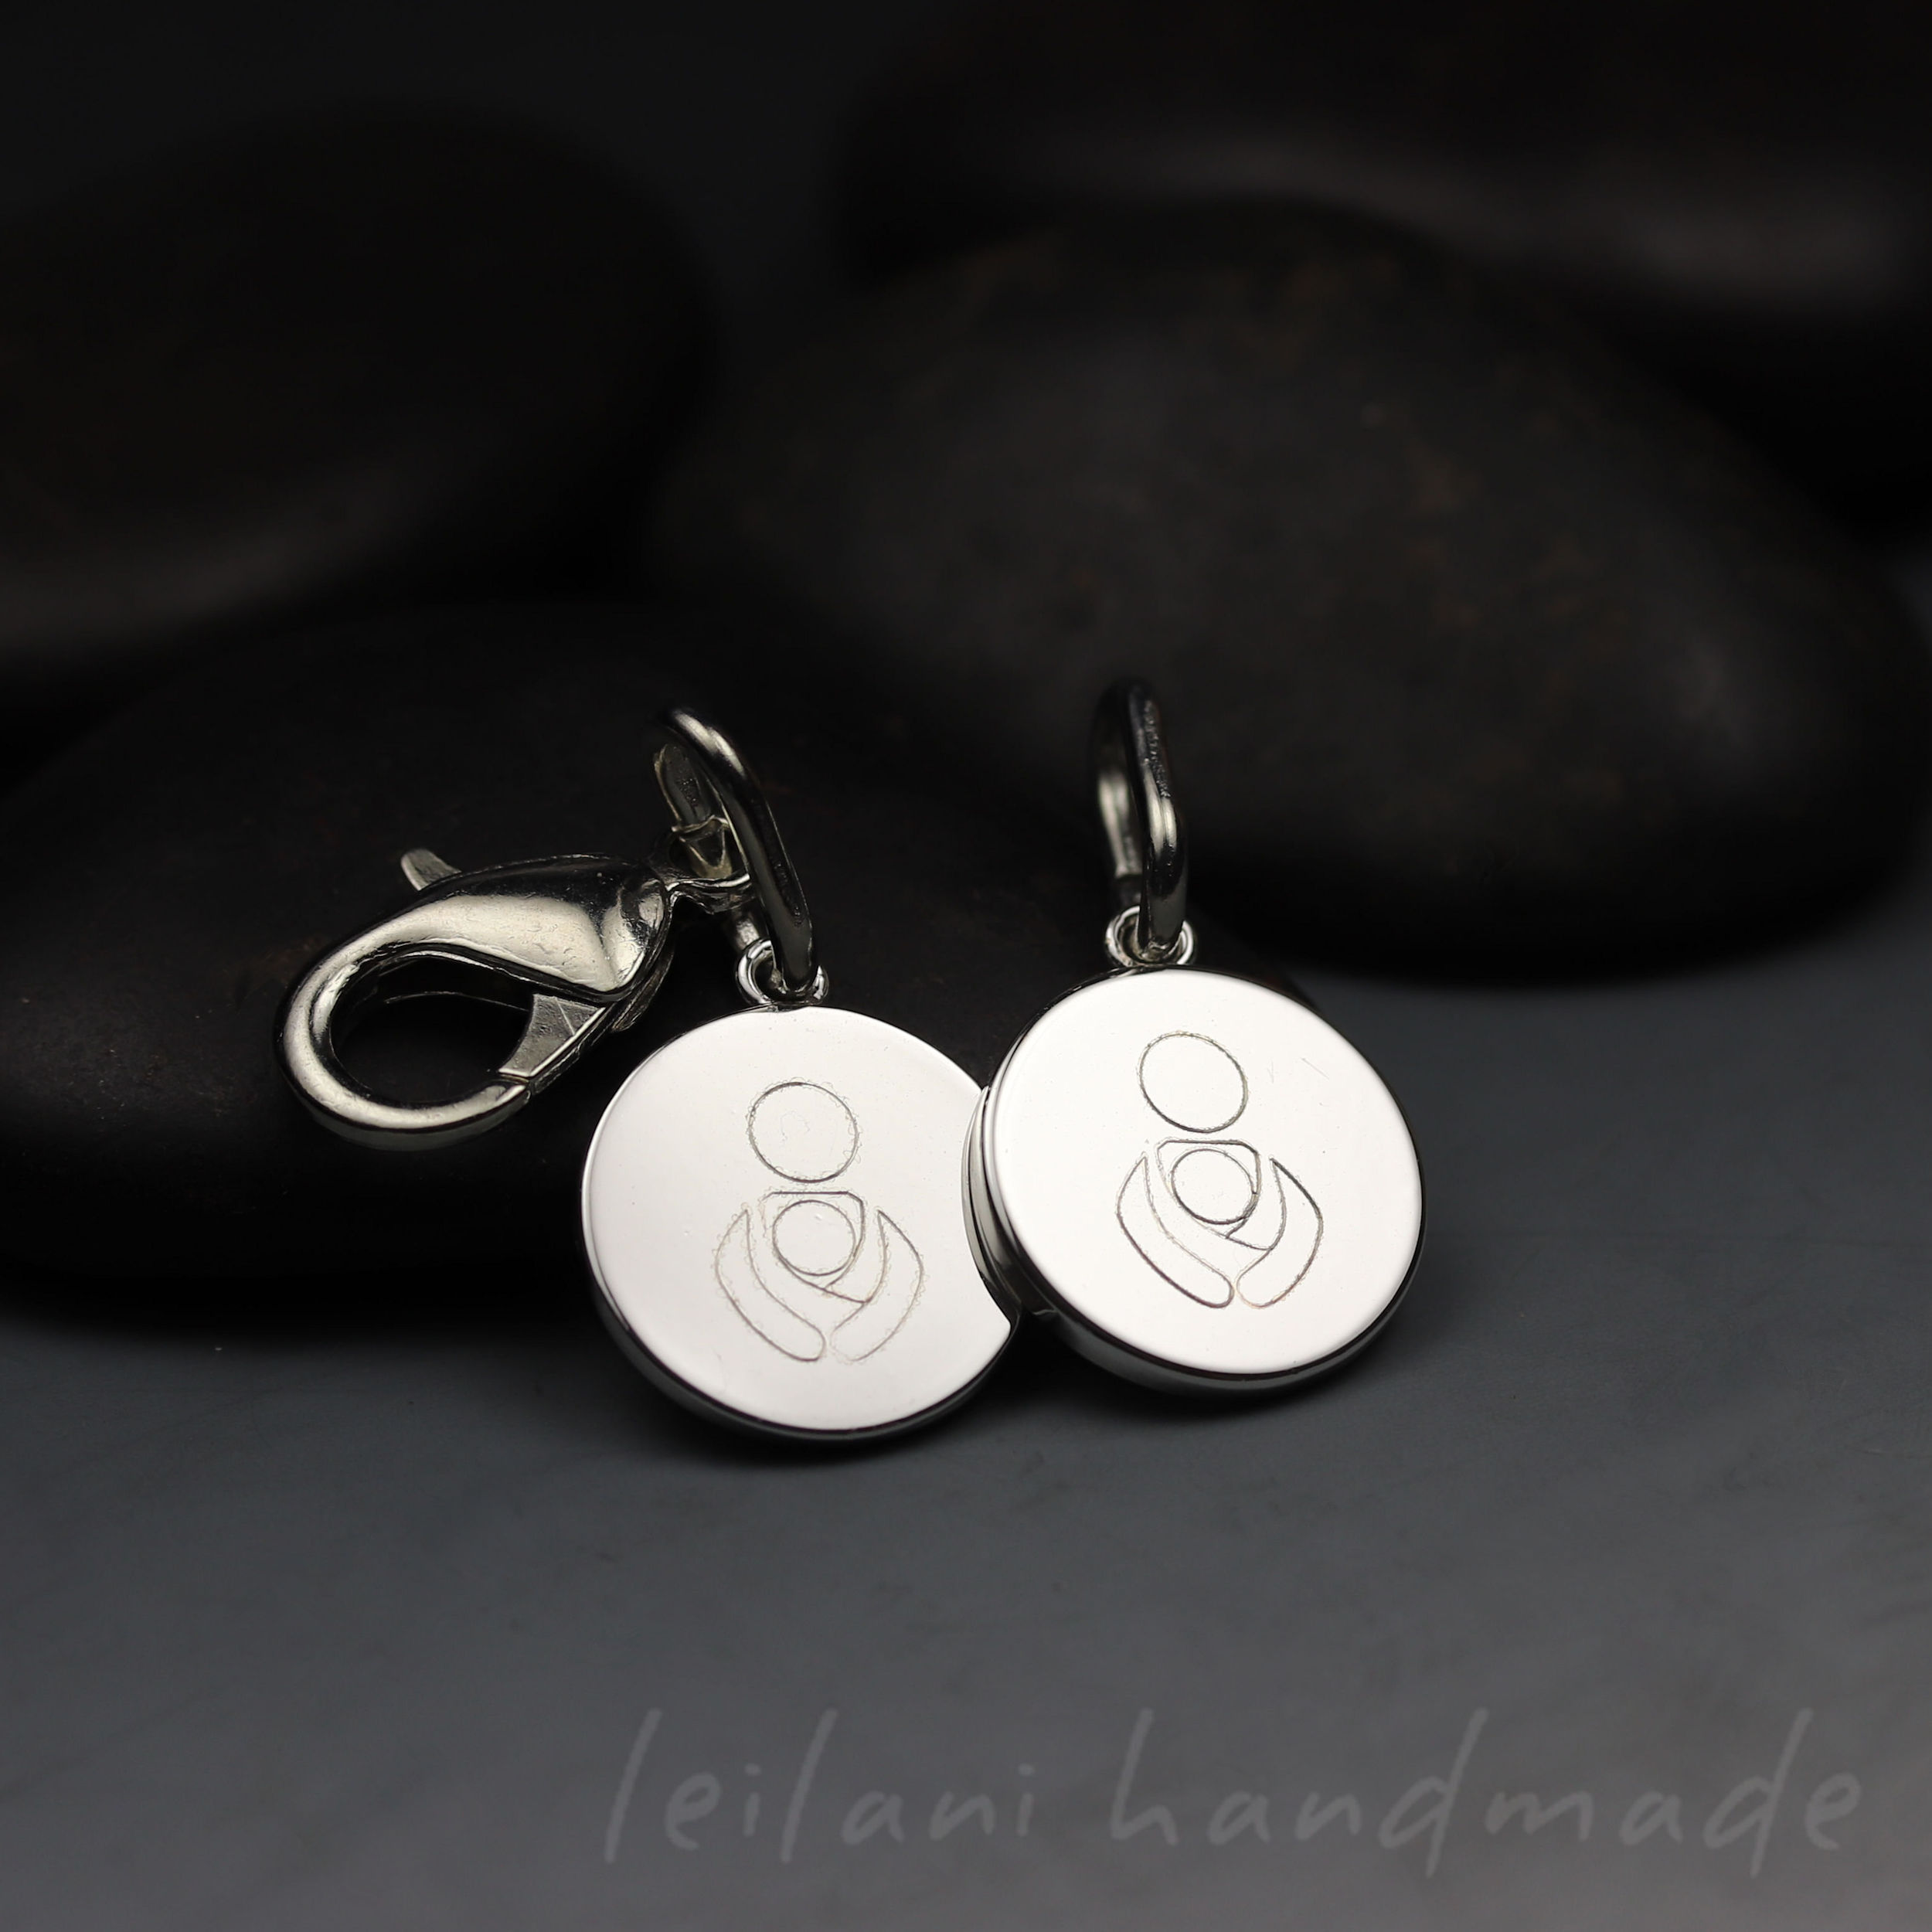
Engraved Awareness Charms on Etsy

Now Available: Tiered and Bulk pricing

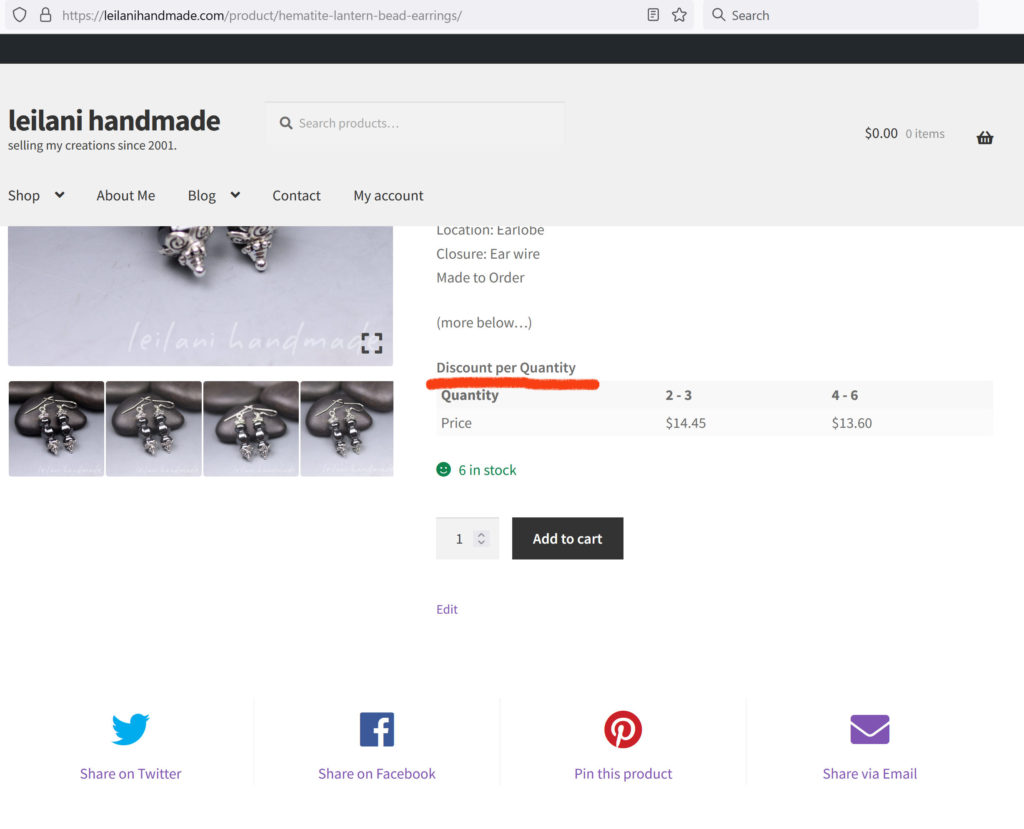
I’m really excited to have tiered and bulk pricing set up on the website. It finally came to me just how I would like the pricing to be structured. Let’s take a look at it more closely as the options are different depending on what you buy.

Bulk Discounts

screenshot of a listing to show an example of a bulk discount
An example of a bulk discount: buy multiples of an item and save

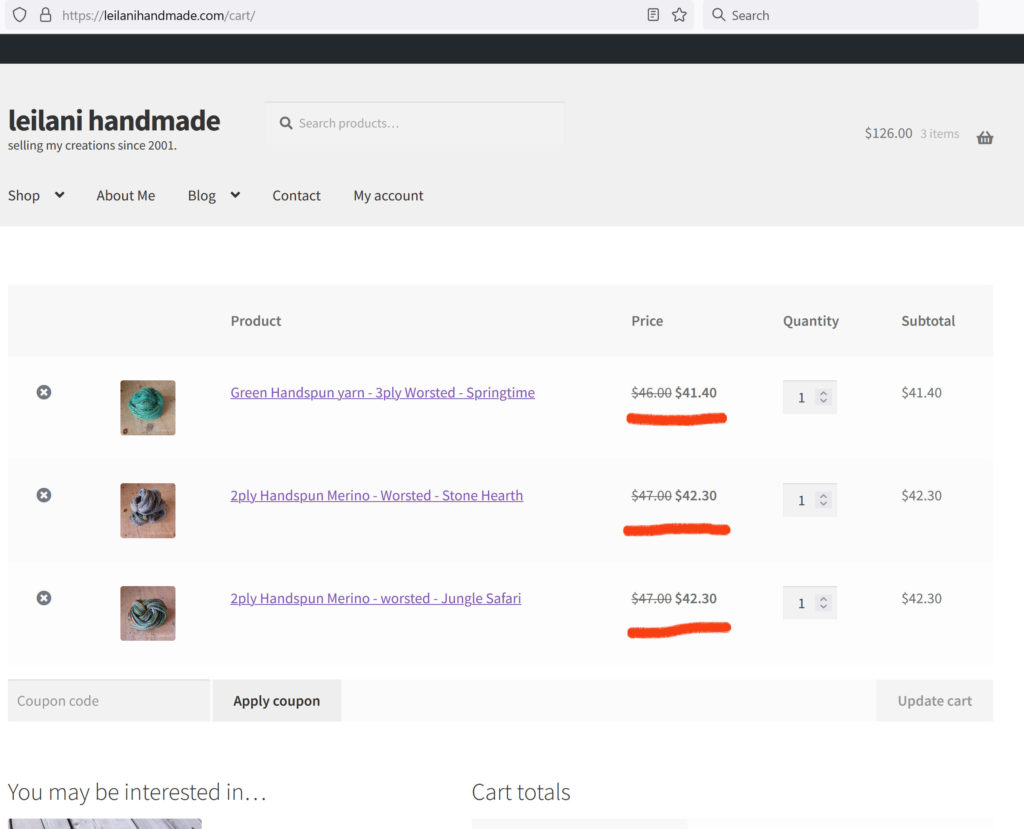
Bulk discounts are available if you buy 2 or more of an item. The price gets lower the more you buy. If you see an item and would like to purchase more than what’s listed, it’s worth asking me if I can make more. The price gets cheaper the more you buy.

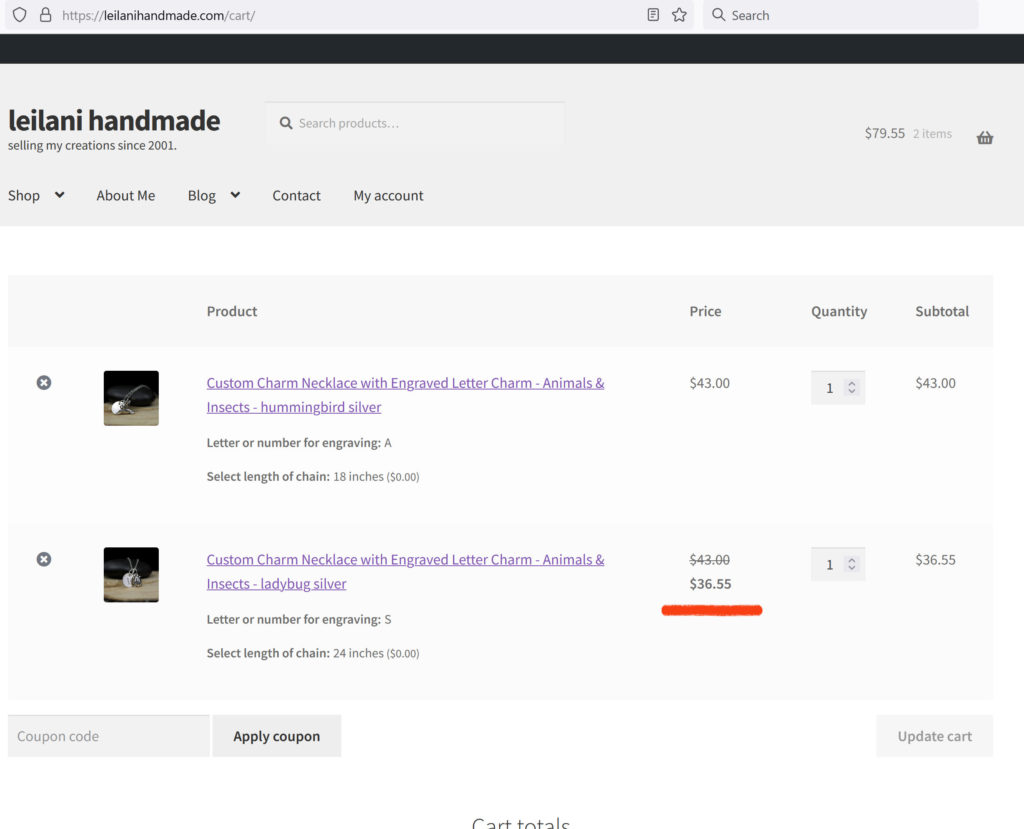
Tiered Discounts

An example of a tiered discount. Purchase 1 item at regular price and receive discounts on subsequent items from the same listing

Tiered discounts are on products where you buy 1 item, then save on subsequent items from the same product listing. This usually occurs on products that have several options for customization. The above example is from the product listing Custom Charm Necklace with Engraved Letter Charm – Animals & Insects. You will have to add the items to your cart to see the discount. If you don’t see an option in the listing for bulk pricing, then tiered pricing will come into effect.

Discounts for Yarn and Fiber

An example of discount pricing for handspun yarn

Yarn discount pricing applies to any items purchased from the handspun yarn category. Since I very rarely have more than one of each skein, it only made sense for the discount to apply to any yarn in the category. This will also apply to fiber braids when they come available (for more on that, keep reading…).

Sale/Clearance Discounts

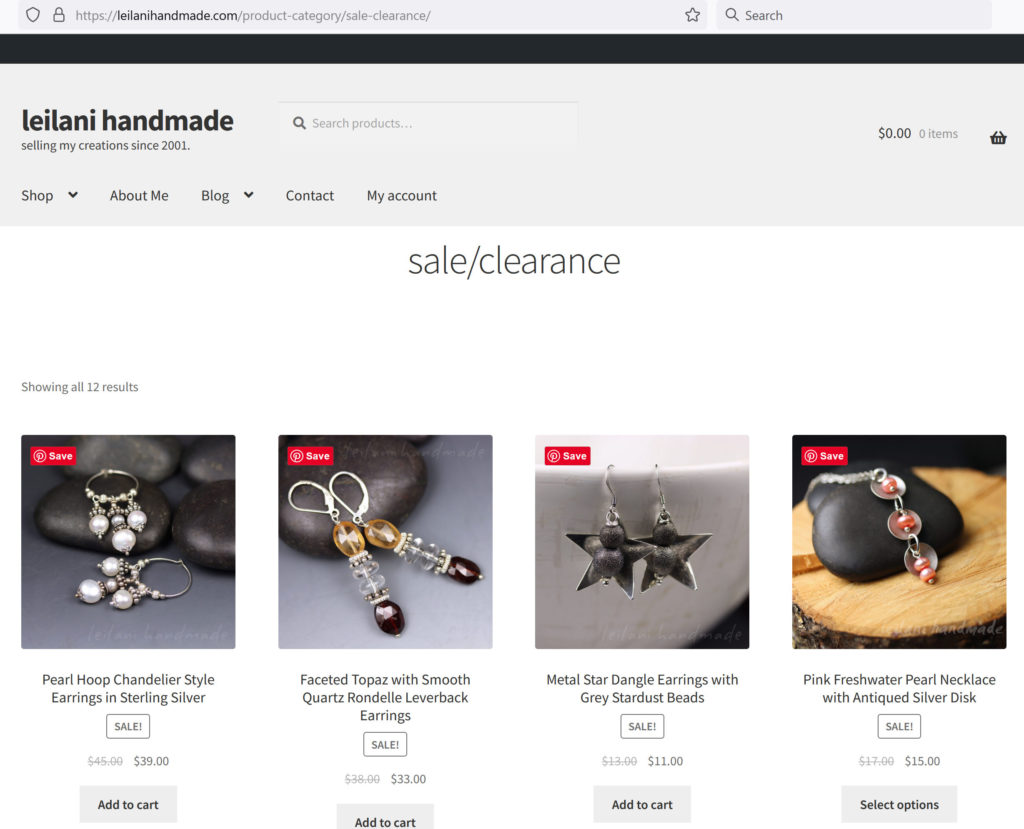
Items where there is 1 left will be moved permanently to the Sale/Clearance category

Any items where there is only 1 left and will be retired after sold, will be moved to the sale/clearance section until sold. I’ve also decided that any items that I create that there is only 1 of, will be available on Etsy only. I find these items better suited to Etsy as they get more views quickly.

I still will be running sales from time to time on top of the built-in discounts, or in replacement of. I wanted to be sure the opportunity was always there to save instead of waiting for a sale. If you are a small business in Canada looking for stock I can do better with wholesale pricing. Fill out this form to inquire.

Adding a Gift Note to your Order

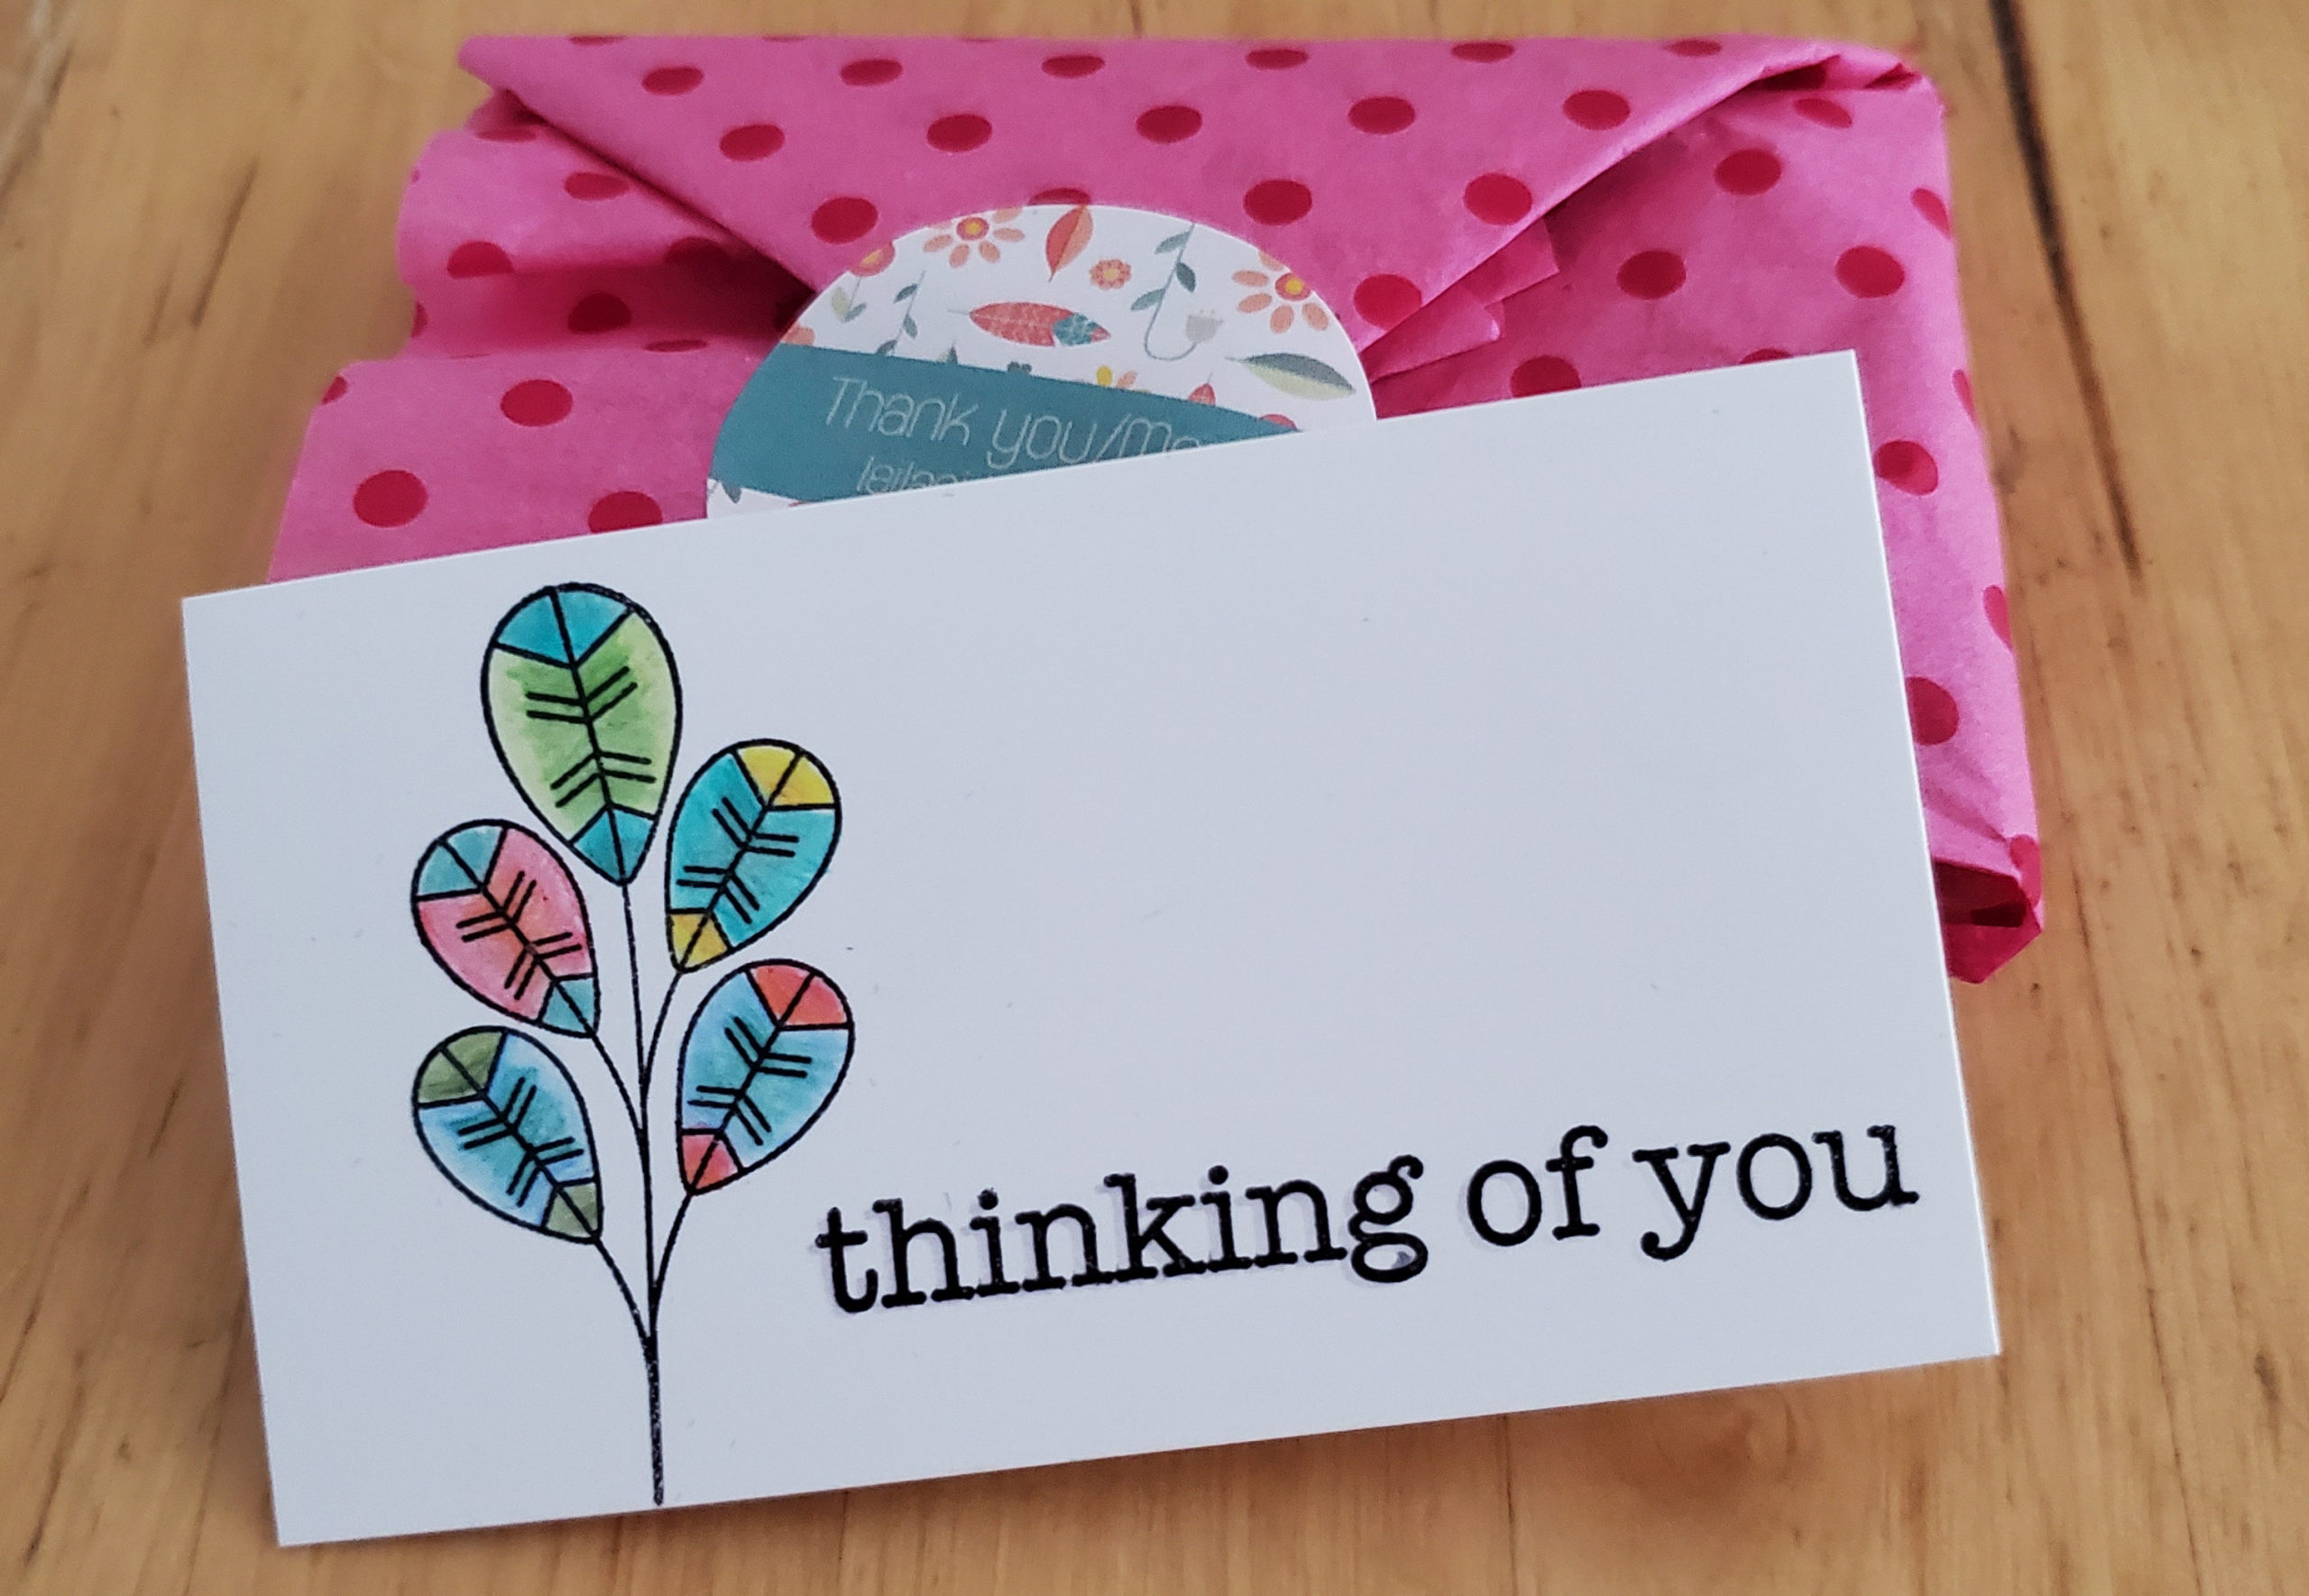
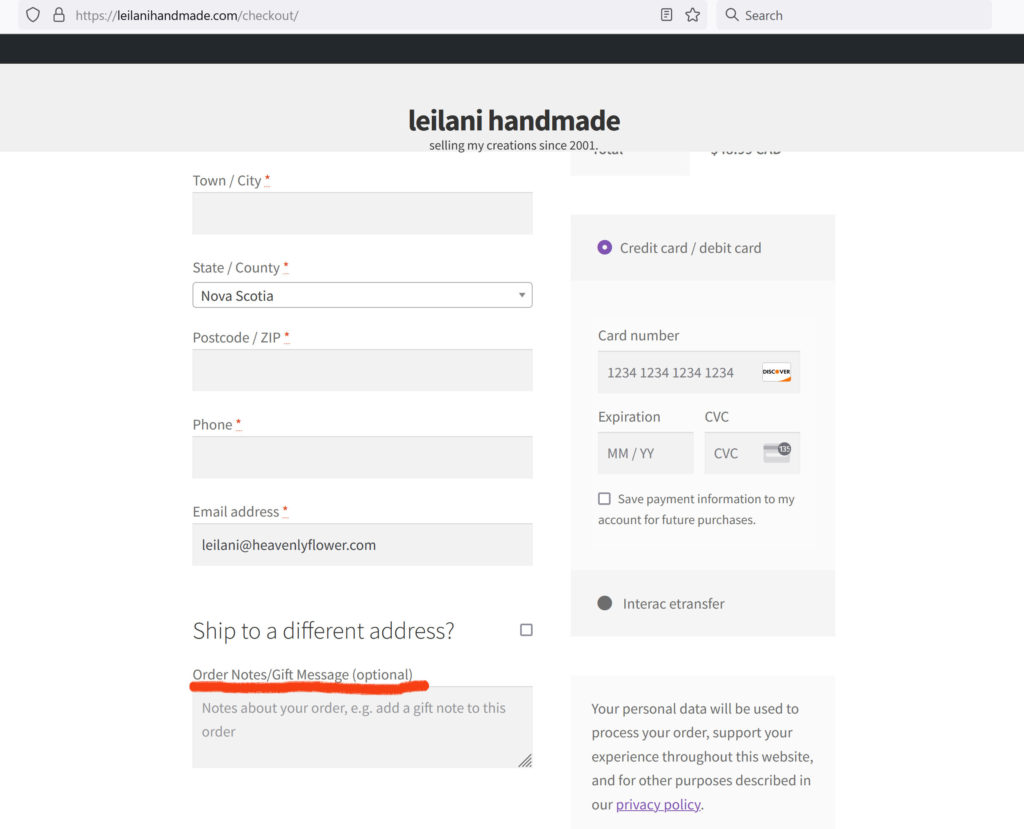
Etsy already gives an option to add a gift message to orders, and I’d say the majority of orders I get are for gifts. I have changed the wording to the “order notes” section in the checkout to give a place for customers to write a small message to go with their order. I will include your message in a small handmade note card. Usually I handwrite these messages, but if you include special characters then they will be printed on a label and included that way. I’m happy to offer this little extra free of charge.

Where you will find in the checkout the place to add your gift message

New Products for August

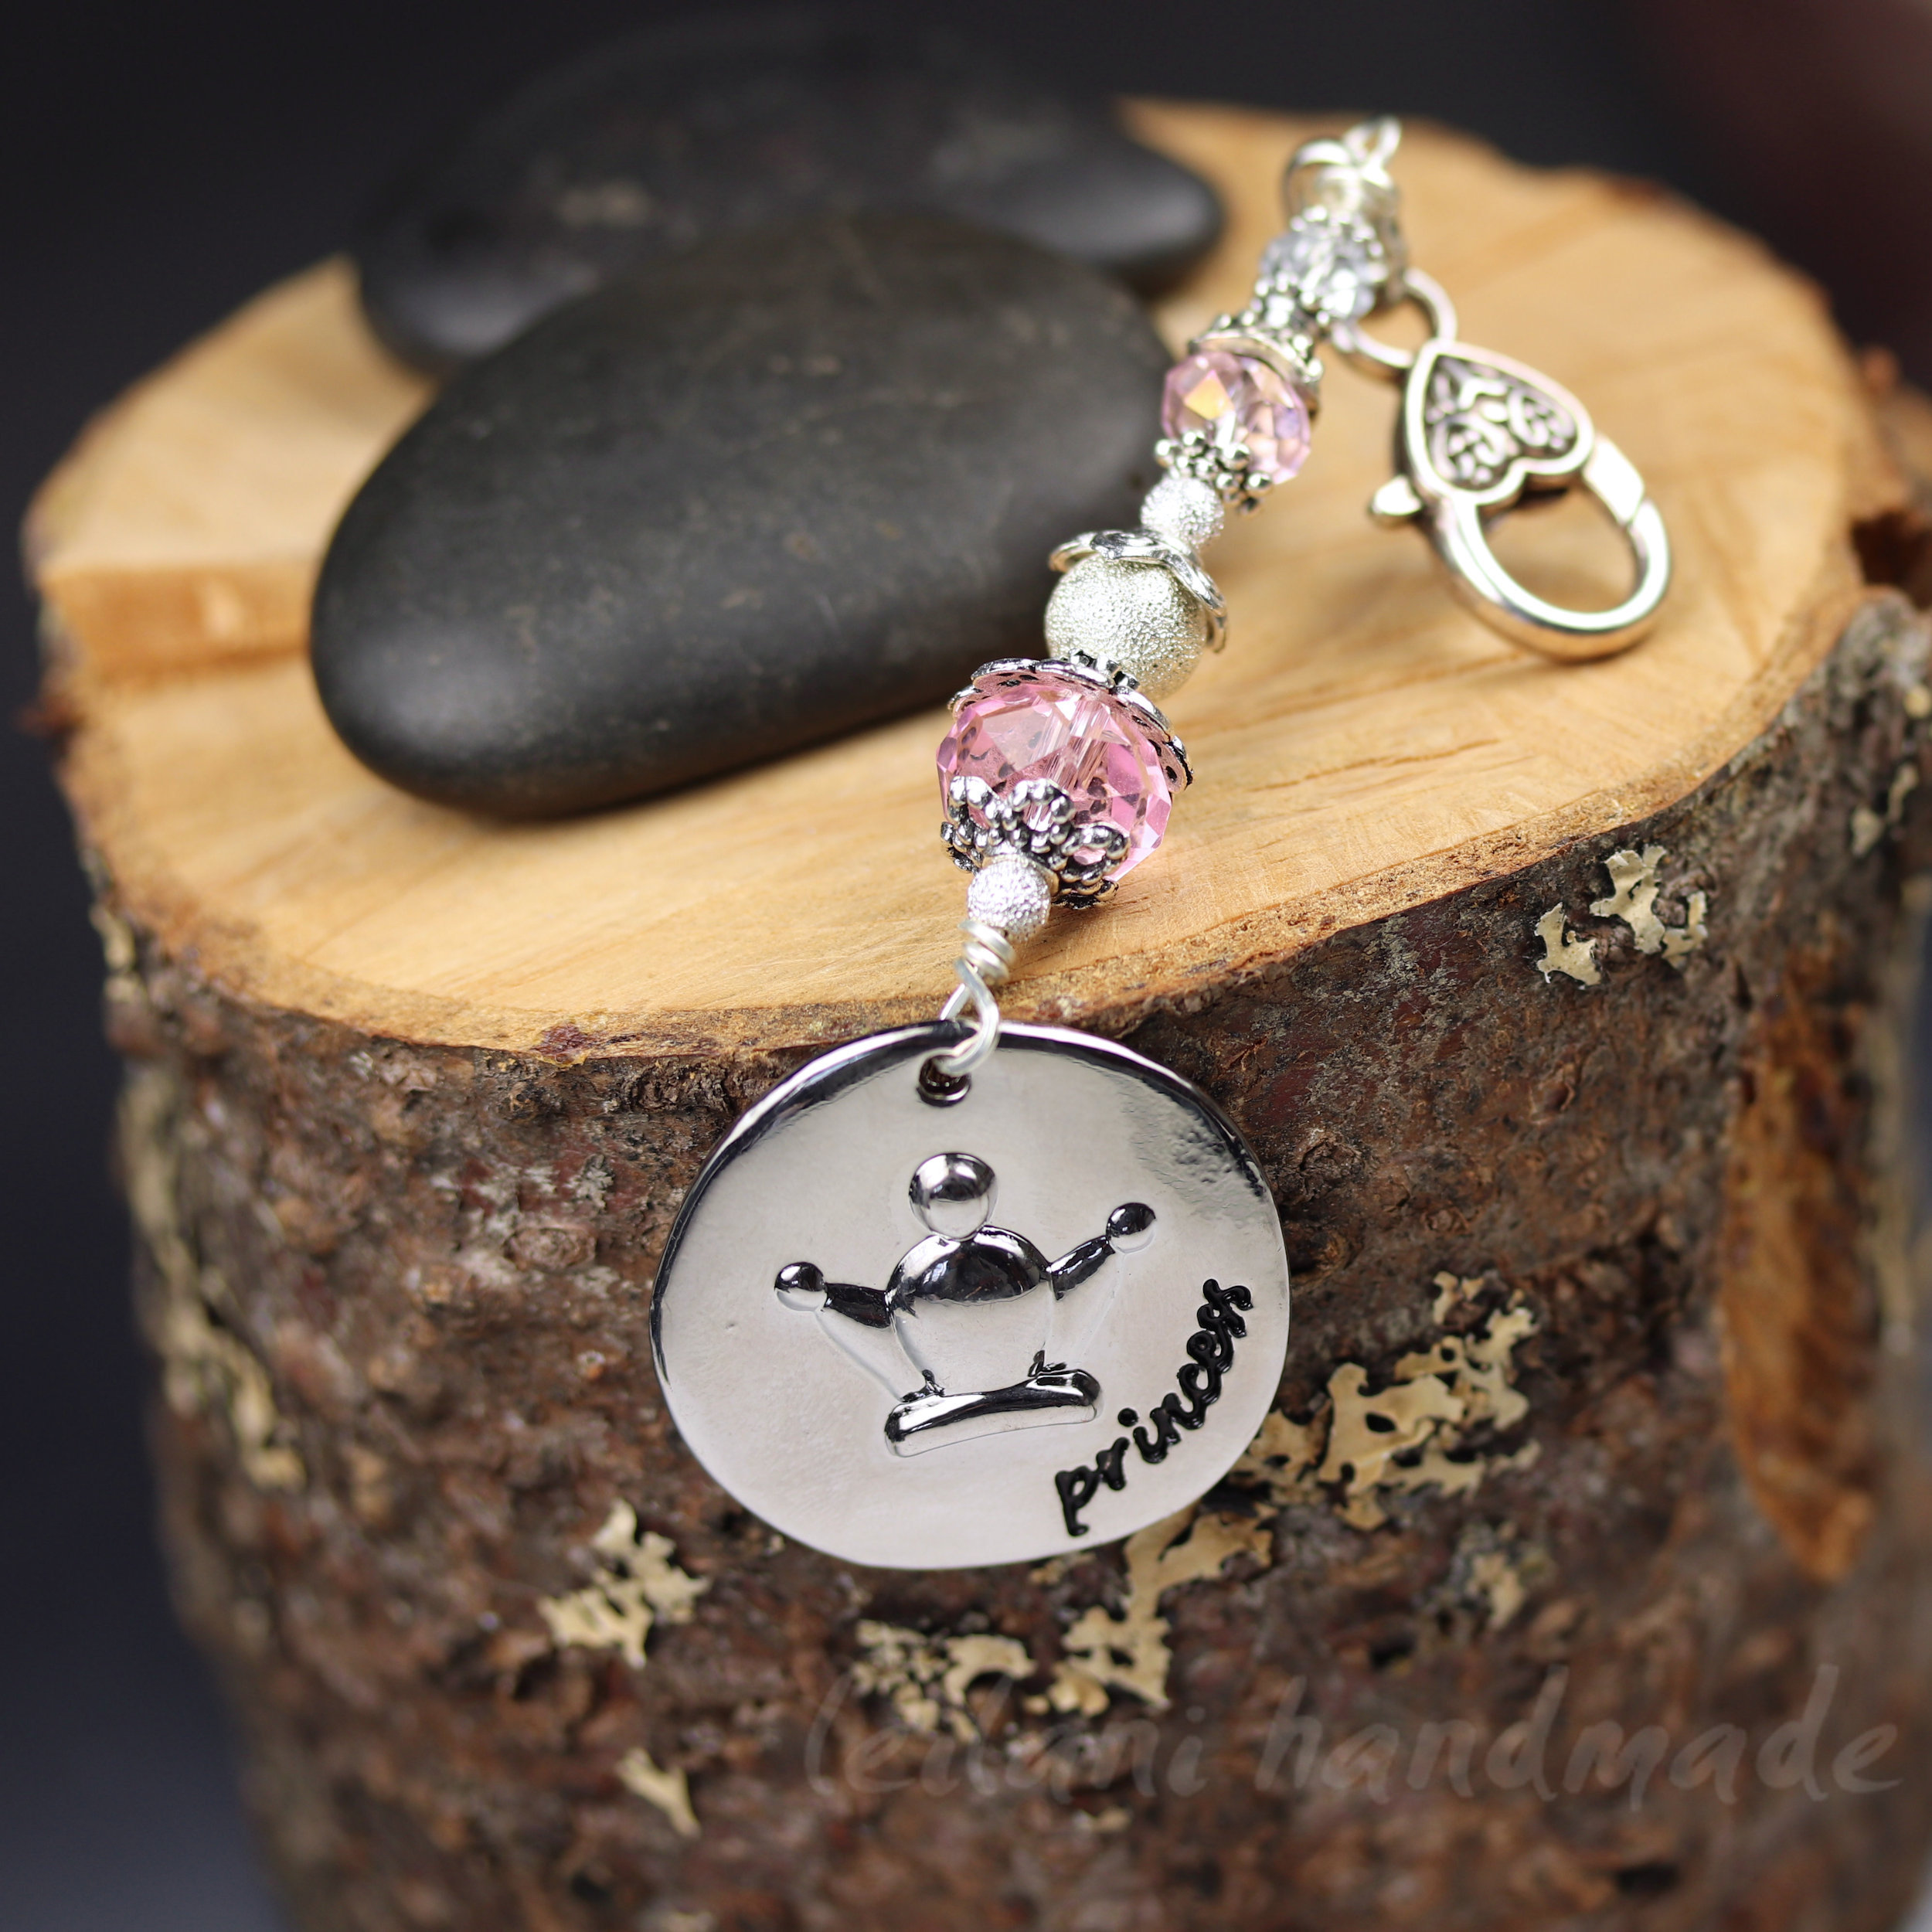
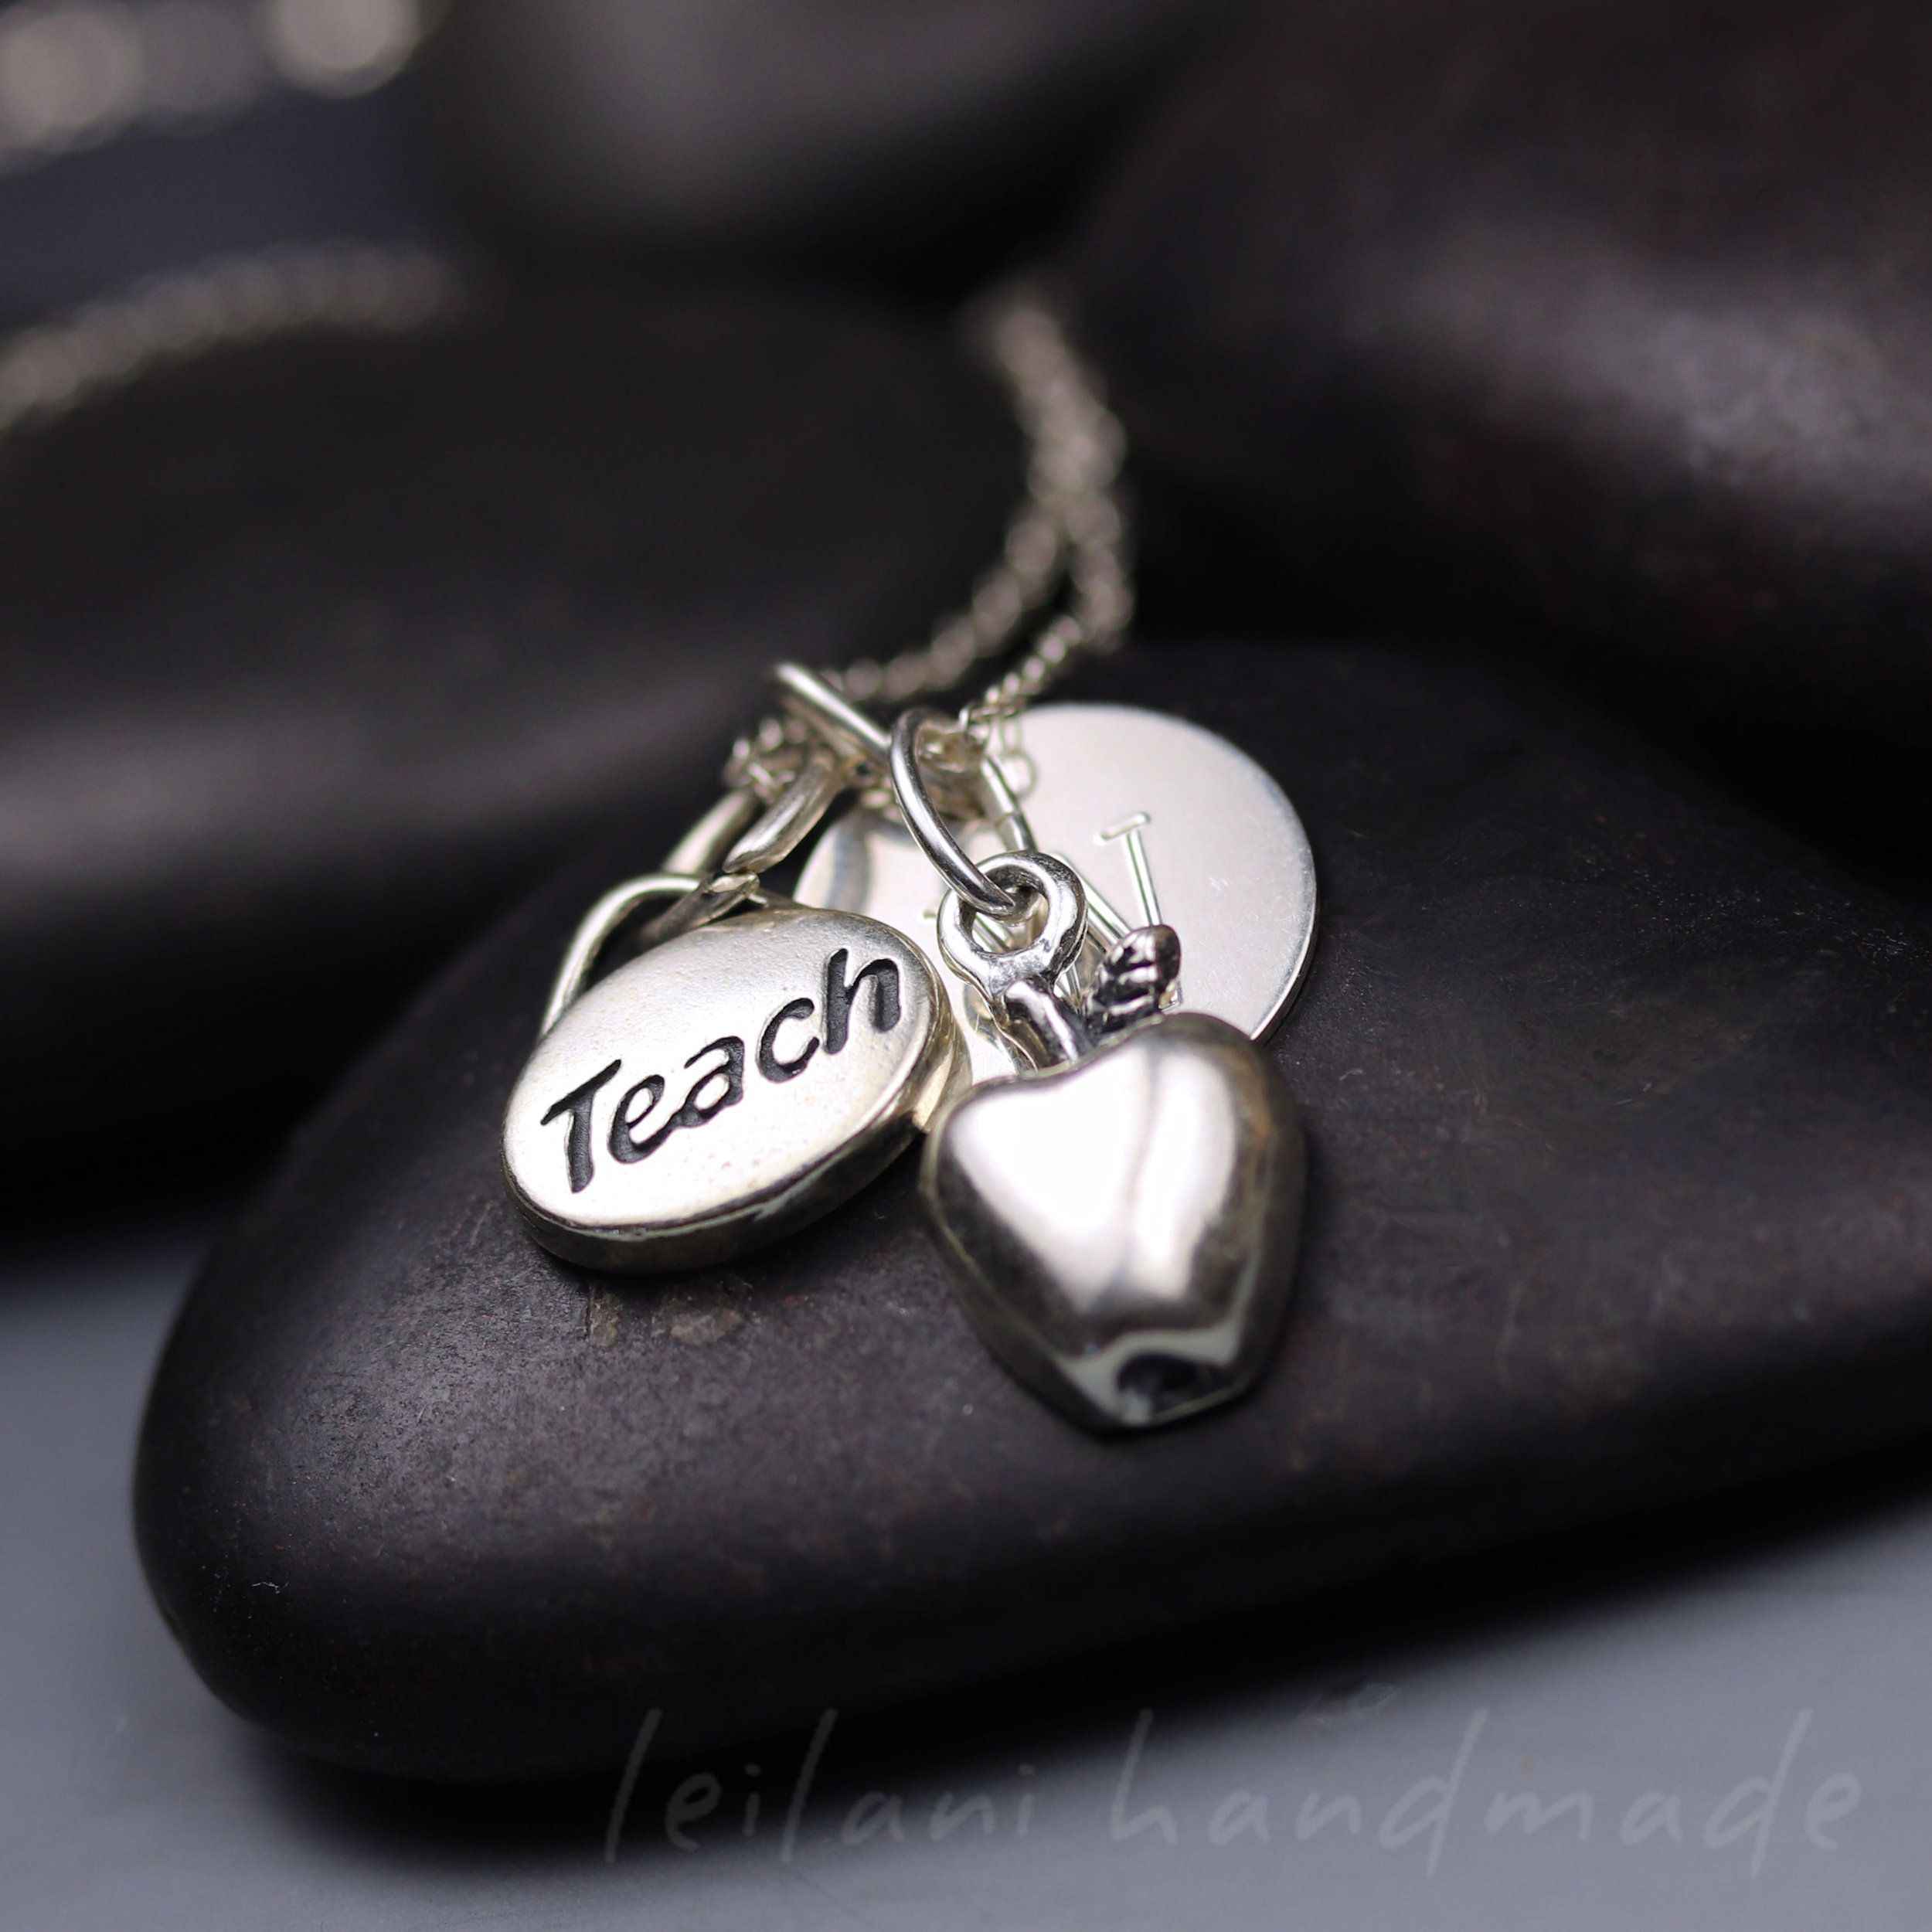
These items are also available on Etsy. The Teacher Clip on charm and Engraved Celtic clip on charm are revamps.

New Products – Etsy Only

The following products are available on Etsy only, and they are OOAK (One of a Kind) or only 1 left (usually made up of charms I have had leftover from past custom work either personal or for customers):

I’ve been catching up with photographing new products so I hope to have many more items available in the coming month.

Coming Soon

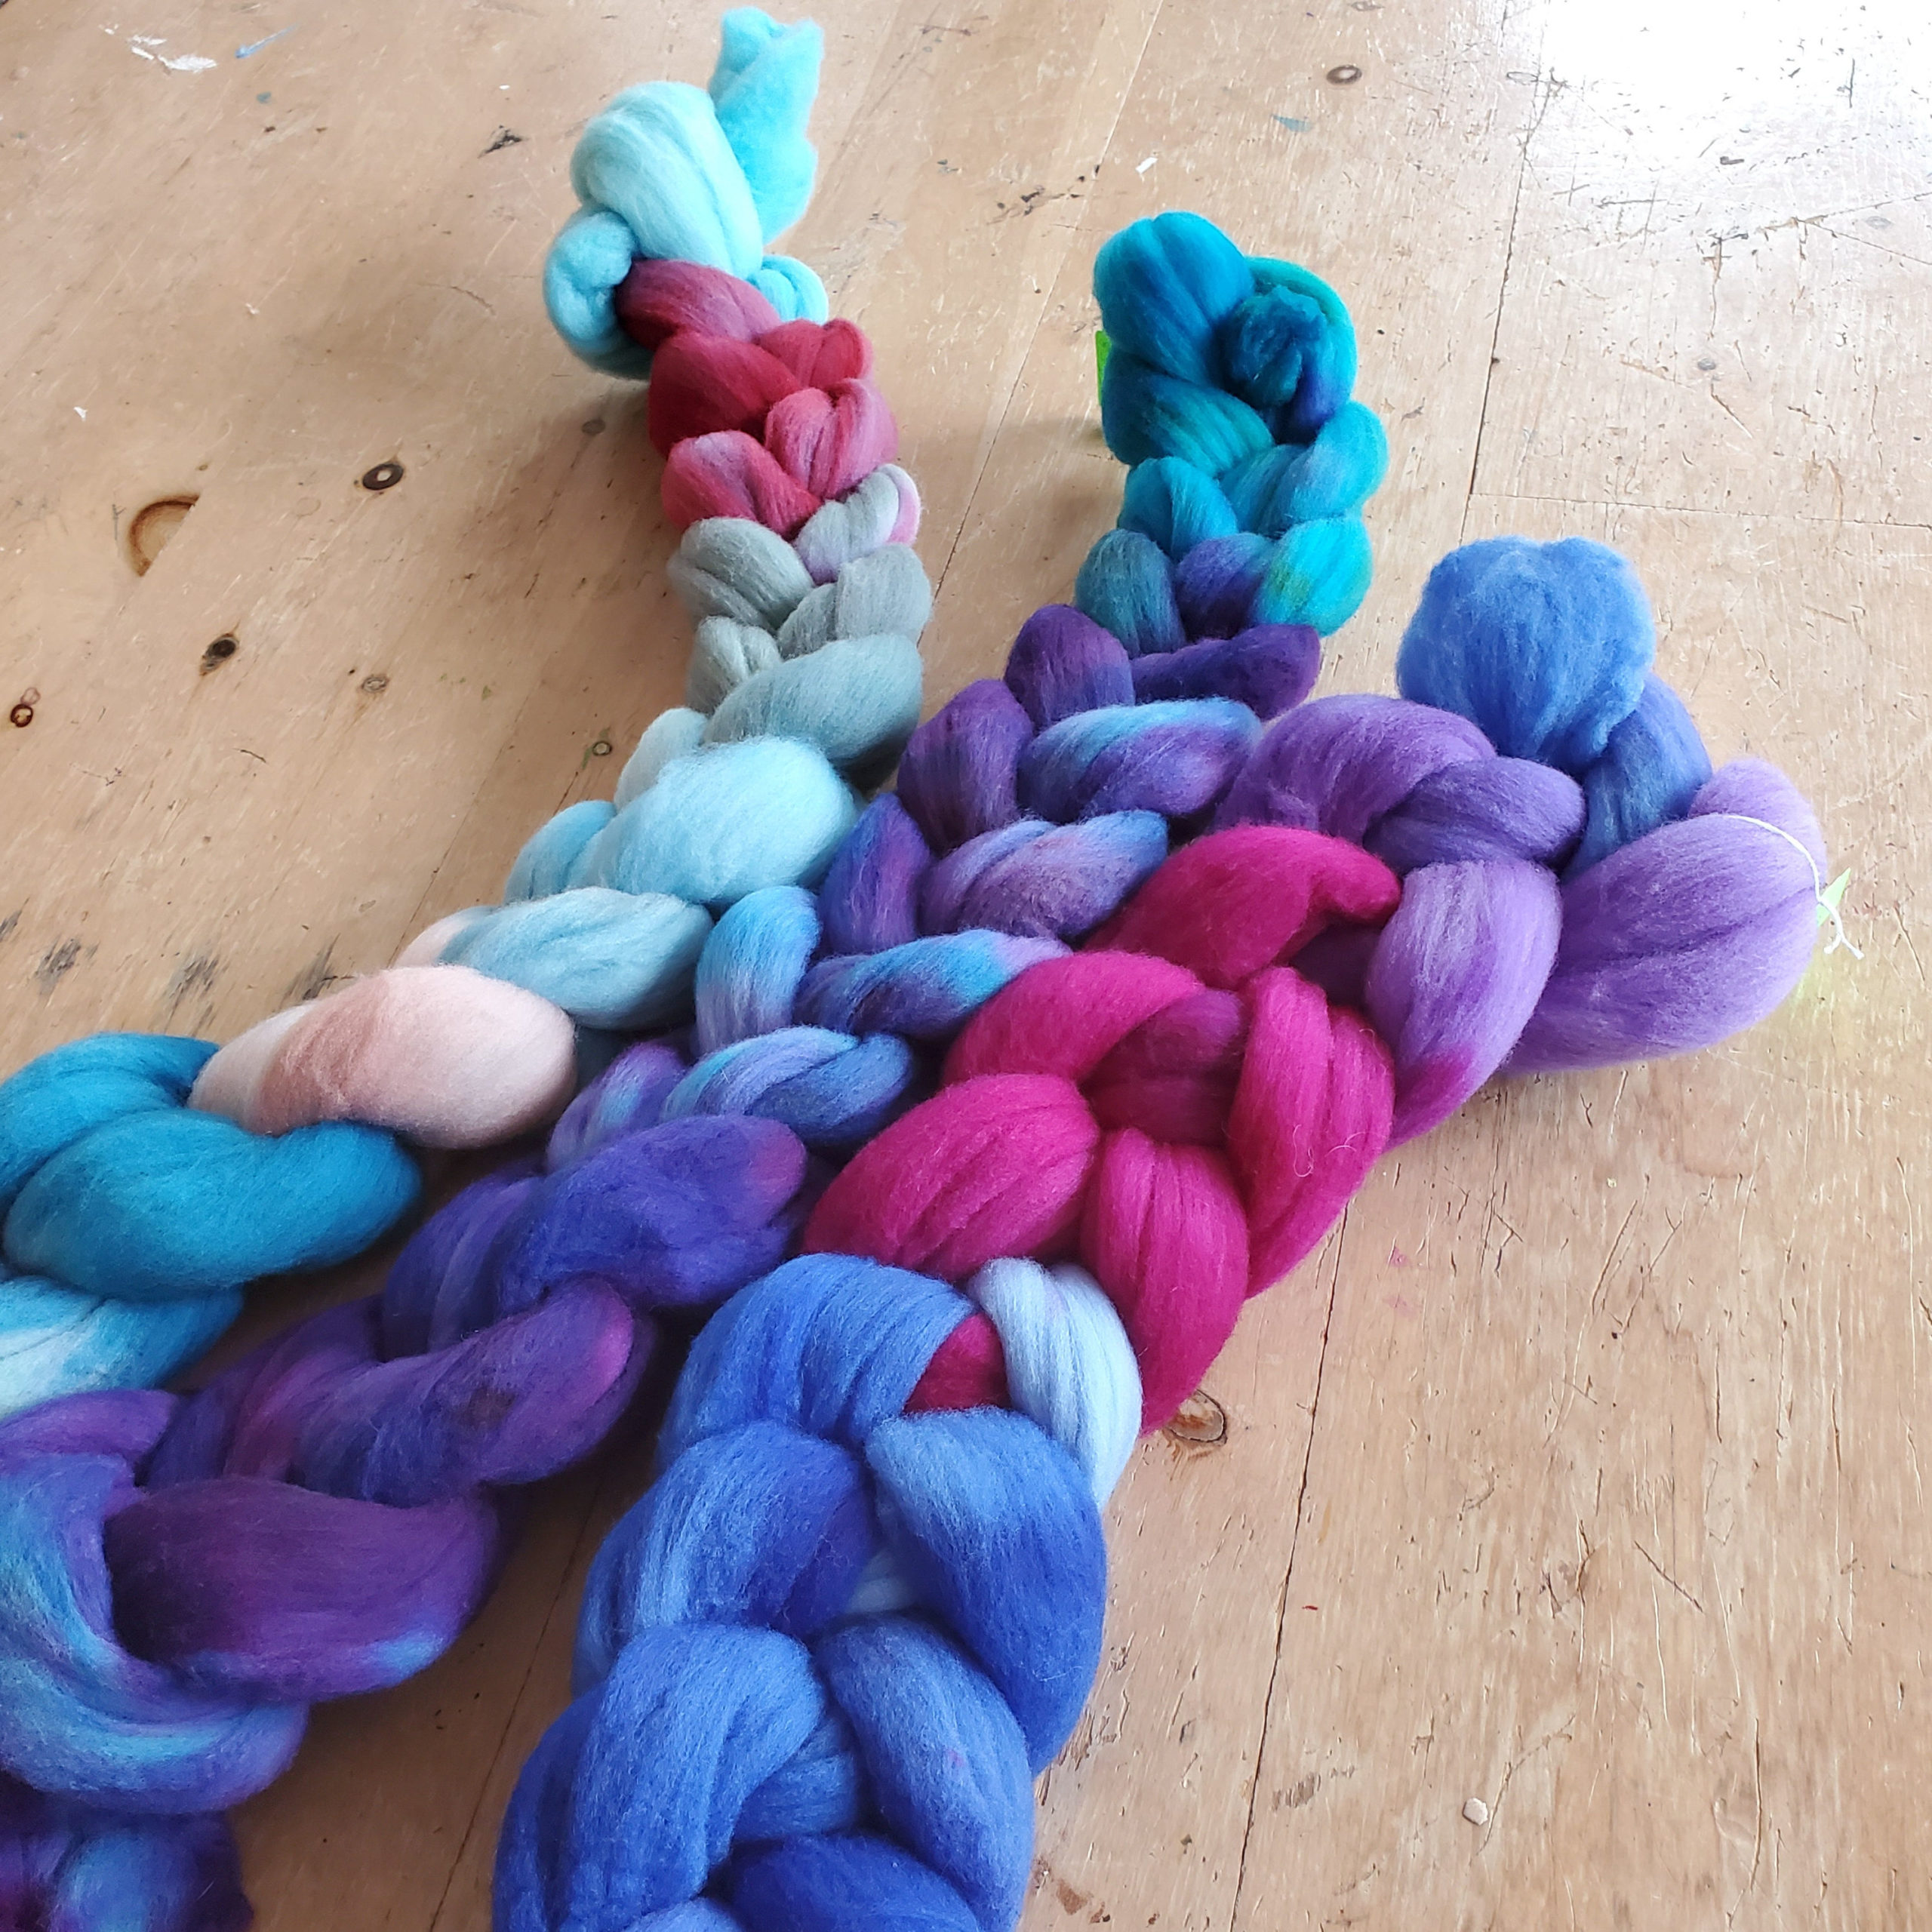
Fiber braids! I’ve started photographing my available braids of fiber (mostly merino top, with a few exceptions) to start listing for sale, and I’ll have much more once I start dyeing commercial yarn. I like to dye fiber in tandem to either test the color or to use up excess dye. I’m going to put the fiber up for sale hereon the website only first, and gauge the interest. Price is a struggle especially with inflation and Canadian shipping charges. I usually don’t get paid for my time. I hope to have a few up by next month’s update.

Finally, I will be adding a short video of products to the listings. This option is already available on Etsy, and I thought it was such a shame that I was not offering the same visual representation here on the website. Once I get it set up I’ll start adding videos to the products. It’s not for every product, particularly some of the older ones, but I’ll work toward filming those in the future. As a visual person, I know I appreciate seeing items in “real time” as video gives a better idea of size, how it moves/wears, etc.

That was one heck of an update! I hope you are inspired to try to flow through your day, if only for a portion of it.

Until next time,

Leilani signature

More About Me (Let Me Reintroduce Myself)

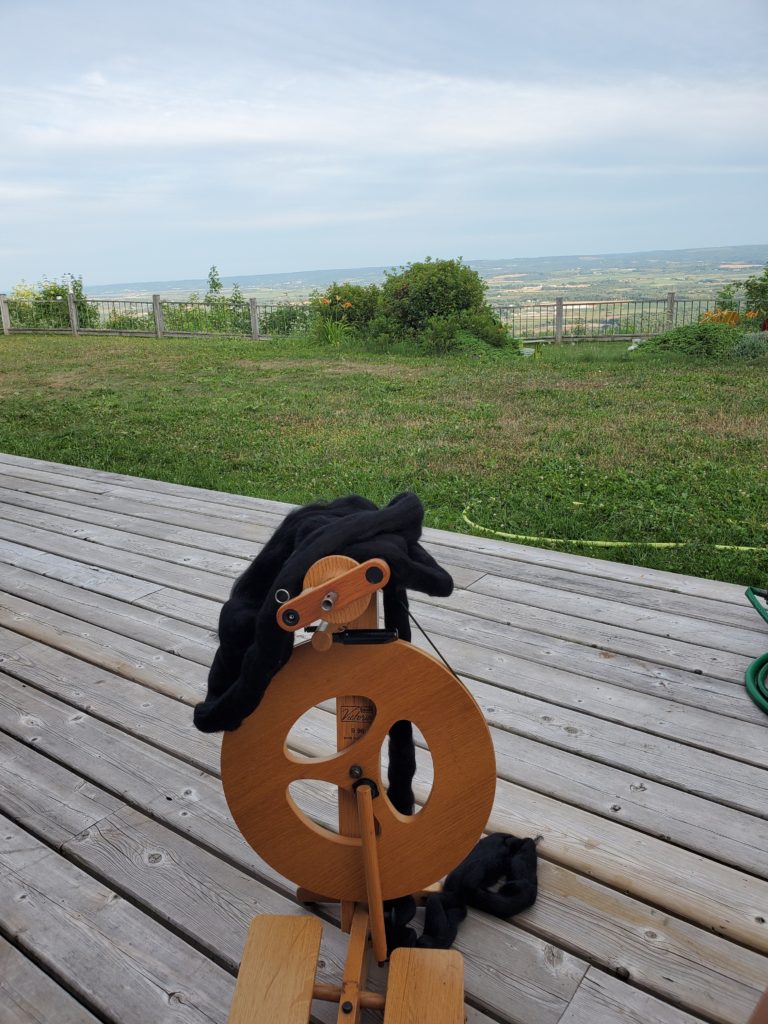
A photo of a small brown foldable spinning wheel with black wool roving on a wooden deck over looking a landscape
A moment outside with my Louet Victoria travel spinning wheel and some black merino roving
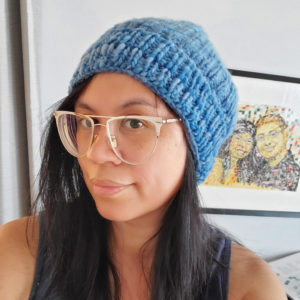
A photo of a tan skinned mixed race woman with long black hair wearing a blue knitted hat and wide white and gold glasses. In the background is a artist painting of a man and woman

I’ve been putting in some much needed maintenance on the website, and I thought this would be a good time to reintroduce myself. I’m Leilani, a maker currently living in the beautiful Annapolis Valley in Nova Scotia, Canada. I’m a born and bred Valley gal, though I spent 20 years away before moving back “home”. I was raised in Hants County but now reside in Kings County.

I’ve been making and selling handmade jewelry for over 2 decades, and spinning /dyeing handspun yarn for 10 years. I also enjoy papercrafting & knitting/crocheting, as well as gardening albeit on a small scale.

I’m a mom above all else, and a wife. My husband is originally from Yarmouth, NS. We met 20 years ago, the same day I decided I would stay away from romantic relationships and enjoy being single. Fate is funny like that.

I have a huge family in the Philippines whom I’ve never met. I’m not really sure why I’ve never made the trip, especially back when I was young, single and working in the travel industry. I blame it on money, scheduling and distance, but I guess in many ways I’m overwhelmed at the prospect. I was raised in a completely different culture. As fond as I am of my Filipino roots, I’m not exactly sure how I would fit in. I didn’t get to know many of my family members until my mom passed in 2008.

A tanned skinned mixed race woman with long straight black hair and a purple shirt lays in the grass sporting black rimmed glasses and a white headset

I’m a high vibrational empath. What does that mean? For me, it means living more by what feels right rather than following the masses. It also means navigating the world as a highly sensitive individual. That can often leave me feeling emotionally and physically drained. Think of me as the energetic air filter. The global pause in 2020 afforded me the chance to get re-centered and moving in a positive direction again.

If you order any of my products typically they will ship via Canada Post within 1 business day. My packages will typically ship from 1 of 4 places: Canning, Kentville, New Minas or Windsor, Nova Scotia. It really depends on where I am on a given day. I ship with tracking when possible but please understand that it’s very costly (averaging $17 on small envelopes to most of Canada). It’s not something I can afford on my inexpensive items.

The good news is, if you reside in Nova Scotia, you’ll get your order in a matter of days, many times in just 2 days. It’s pretty quick to Maritime provinces in general, and I’d love to pick up more customers in New Brunswick and Prince Edward Island. I ship throughout Canada and the USA. Unfortunately I cannot ship internationally anymore: too many lost or returned packages.

I used to offer wholesale and consignment, and would be open to do it again. I can picture my stitch marker sets being a great addition to a LYS (local yarn store). Handspun yarn is trickier as it is so labor intensive to produce. It’s difficult to come up with a cost that satisfies both me and the store owner.

I often thought my creations would be fantastic in a maker or souvenir shop here in the Maritimes. I can always come up with some beautiful and cost effective earrings or necklaces. Engraved letters for personalization, semi-precious gemstones or themed charms could be focal points.

If any of these options appeal to you as a business owner, I’d love to hear from you. If it feels like a good partnership, I can always tailor the products to match your business.

What else should you know about me? Other than being a mom to humans, I am also a cat mama. We currently have 3 Persian cats, two of which are Exotic Shorthair. A typical evening for me would probably be my latest knitting or spinning project while listening to an interesting podcast (probably health or spiritually themed) and a cup of tea or coffee.

I’m happy to chat or support you on your creative journey…I hope you feel inspired here! If you have any questions or comments on the topics and techniques discussed please don’t hesitate.

I look forward to hearing from you soon,

Come Tour My Jewelry Box: Pearls from the Philippines

Pearls

I attended a very dear friend’s wedding today, so I thought blogging about my pearls tonight would be fitting.

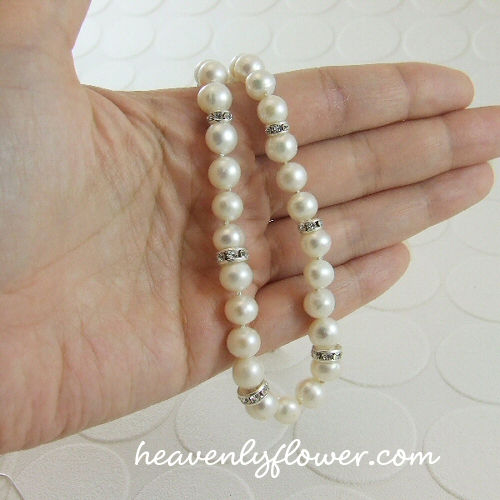
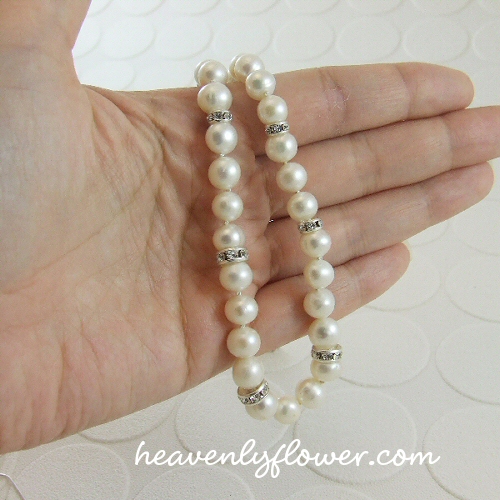
During my own wedding a few years ago, my mother’s dear friend whom she had known back in the Philippines traveled all the way from Switzerland to attend. That was an honour in itself, and then she gave me the gift of a string of pearls. What made them particularly special to me, is that they were hand picked from the Philippines. She gave me her blessing to go ahead and restring them.

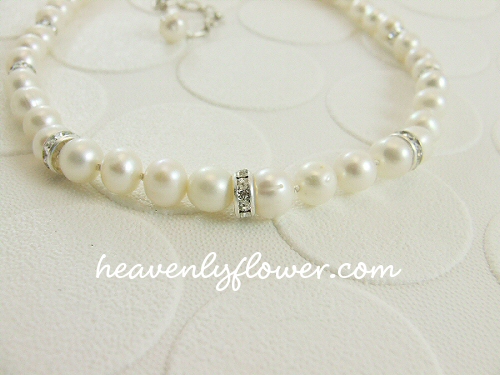
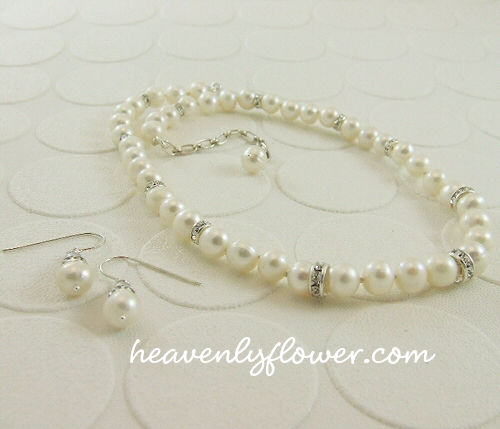
So I decided to pair them up with some sparkly Swarovski crystal rondelles and add a sterling silver extender chain so that I would have the freedom to wear them at different lengths.

If I have never mentioned it before I will mention it now: I. Hate. Stringing. Pearls. I’ll do it, but I do not enjoy it. I admire anyone who can do it well and quickly: that just ain’t me. 😉

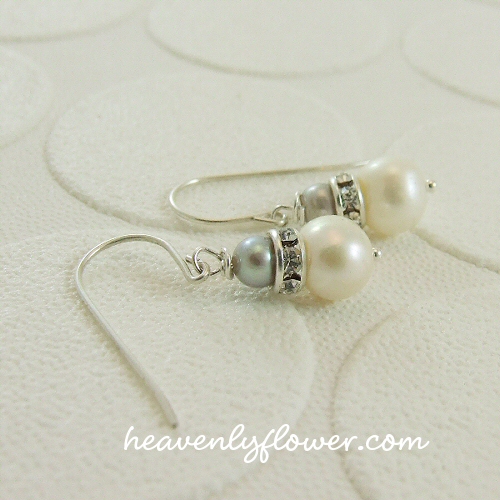
I put two pearls aside to make matching earrings; coupled with silver-gray freshwater pearls for contrast.

Oddly enough, I didn’t wear this set today. 🙂

I cherish having a classic set of pearls which hold such meaning for me.

Check out my fossil/slab necklaces also from my jewelry box. 🙂

Why I don’t Get Anything Done on a Saturday Afternoon…

Zany

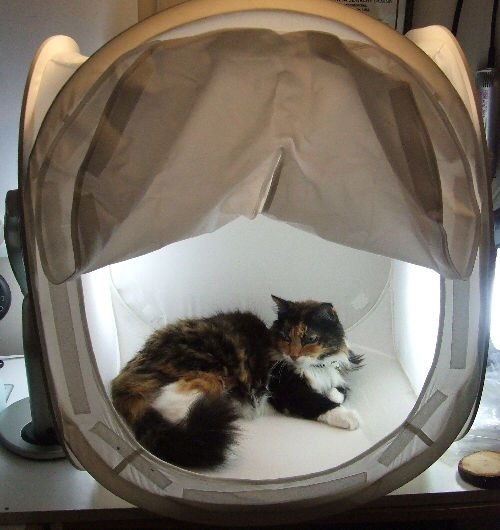
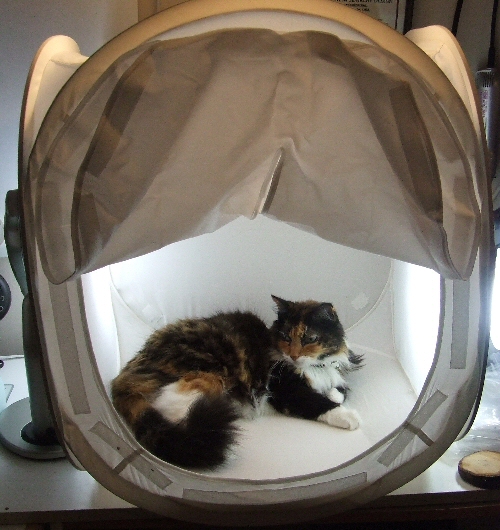
I step out of the room for a brief moment, and look who found a new nap spot:

Before I assess the mound of jewelry to be photographed you plowed over, the tools you knocked off the table, and the amount of hair I will now have to delint…

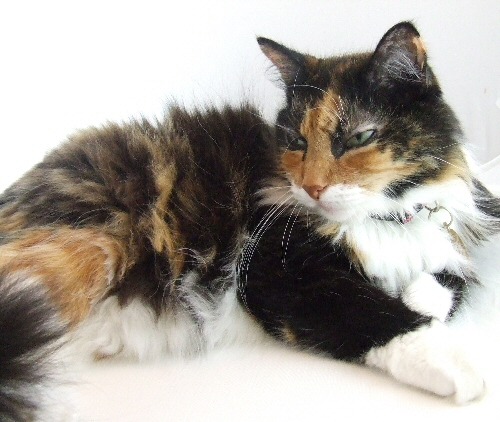
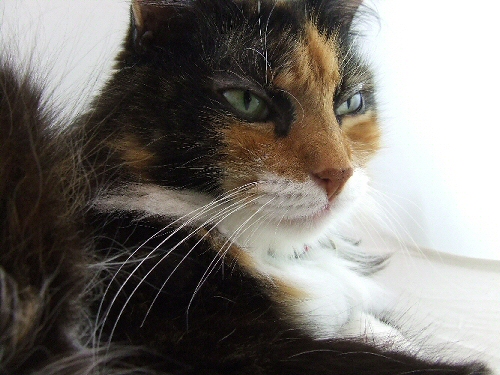
I might as well get some nice shots of you. You are after all, in the photo box!!

That’s the Zany cat – 13 years still ticking & boldly going where no cat has gone before (because the other two are scared as to what I’d do to them if they attempted this!). 😉

All in a day’s work. 🙂

Jewelry Inspired: My Prophetic Charm Bracelet

Weddingbracelet

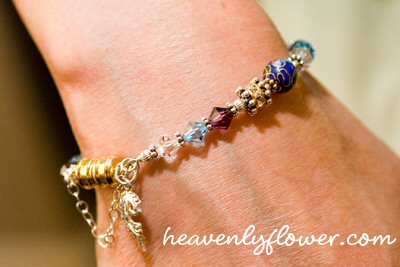
If you are familiar with my work, or have ever picked up my business card, you may recognize this bracelet. It is the official logo for heavenlyflower.com.

This bracelet has a lot of significance beyond just being something pretty to use as a logo. This piece represents many facets of my life, and it is ever changing.

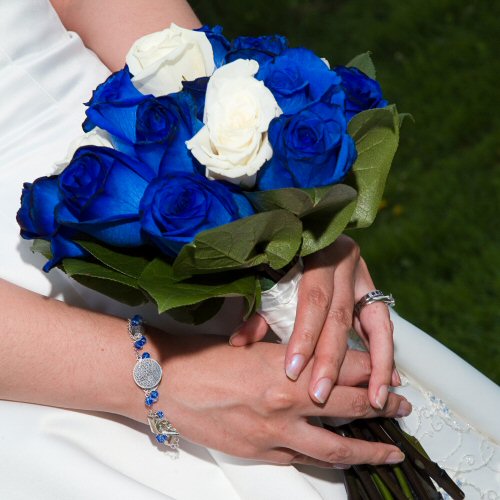
I designed this bracelet as part of my bridal jewelry. At the time, I wanted something that represented my wedding colours, and a few inspirational charms to serve as good luck for the big day. It wasn’t until after the wedding was long over that I realized that the bracelet held potential to become an ever-evolving keepsake of memories & symbolism.

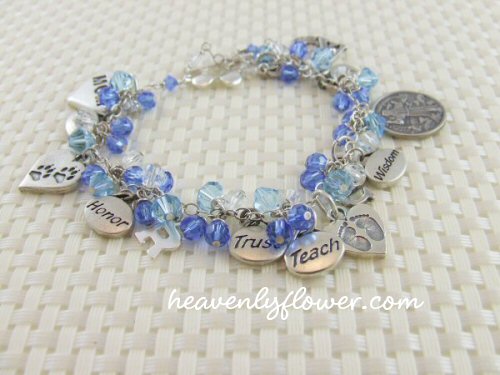
The bracelet originally was made up of sapphire & clear Swarovski crystals, a few inspirational word charms (“celebrate”, ” honor”, “trust”, “wisdom”, “joy”), symbols (paw print charm for my love of animals, St. Francis of Assisi medal), and an “L” and “R” for our first initials. I also had a mother daughter charm (I will get to that one, shortly…). I used a magnetic clasp because I didn’t want to be fumbling with clasps on the big day! 🙂

Fast forward 16 months after our wedding, and the birth of our first daughter. I started thinking about the bracelet again, and wanting to add elements to it that symbolized me now as a parent.

When I took the bracelet out of the jewelry box, I was astonished to realize that the two types of crystals used symbolized both my birthstone and my daughter’s (Sapphire for September – when Sophie was born, and April is diamonds – signified by clear Swarovski crystals). Sophie was supposed to be born in October – but was 2.5 weeks early. To me, this was fairly significant.

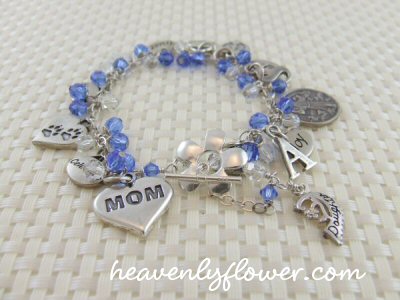
These past couple of years, I have added new elements. An ” S” for my daughter’s fist name, baby feet charm, and a ” Mom” charm. A ” teach” and “patience” charm when I needed to be reminded! Just recently I added an “A” for my second daughter, and updated the clasp to a sterling silver flower clasp.

I mentioned the mother-daughter charm earlier. I have half a heart that says “daughter” – I made a bracelet for my mother for my wedding, and it has the other half of the heart, that says “Mother”. Her bracelet contained the birthstones (symbolized with Swarovski crystals) for myself and two siblings.

My mother passed away suddenly on October 25, 2008 at the age of 54. My dad had asked me if I wanted her engagement ring, and at that moment of grief I decided that she should be buried with this bracelet (I wear her engagement ring on my right hand and am glad I decided to keep it).

Over the weekend I decided to add my youngest daughter’s birthstone to the bracelet – and I used Swarovski bicones instead of the round beads. Ava is very angular in features just like a little ram – she is an Aries afterall, and it just seemed to fit better. 🙂

See the rest of my wedding jewelry in the post: Come Tour My Jewelry Box: My Wedding Jewelry Then & Now

Cool Tool: Tube Wringer

Tubewringer

I can’t resist a new gadget, especially if it is an affordable one.

So with my Contenti order last week for polishing buffs, I found this little tool that I couldn’t help but add.

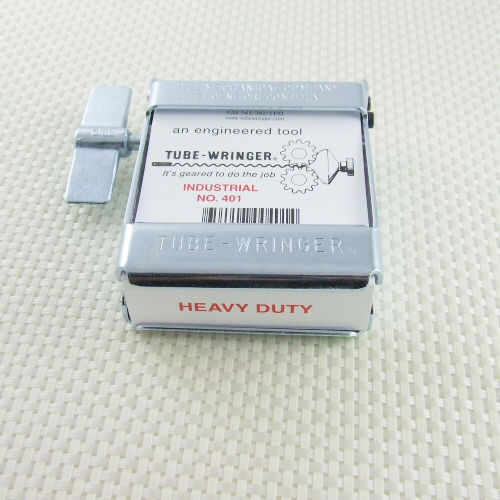
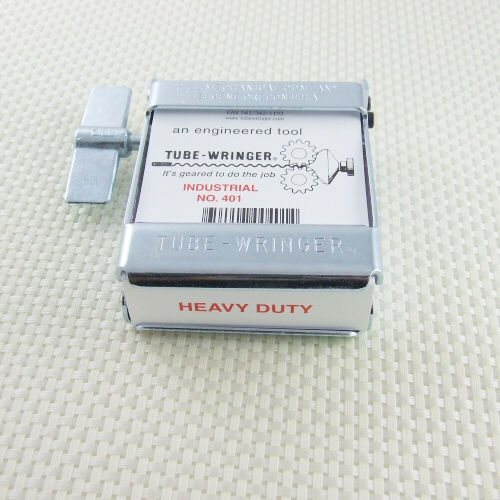
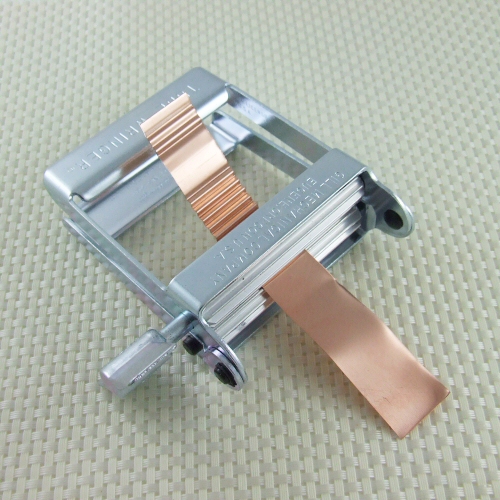
Meet the tube wringer. Technically, it is for industrial use to make seals and to squeeze every last bit of product out of well, tubes. Think toothpaste tube – on an industrial scale. 🙂

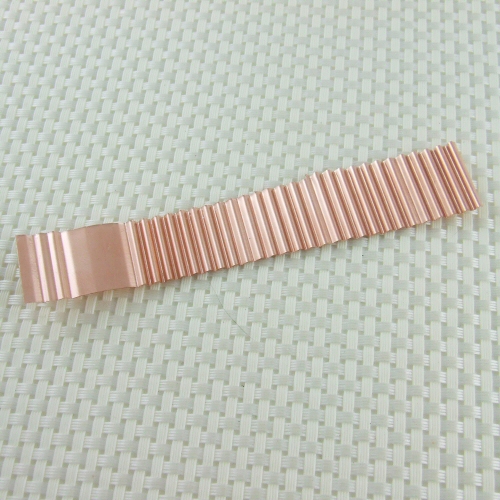
However, the tube wringer can be used to make an attractive crinkle pattern on metal sheet. Consider it a cheap little rolling mill. So for $22 I thought, why not give it a try.

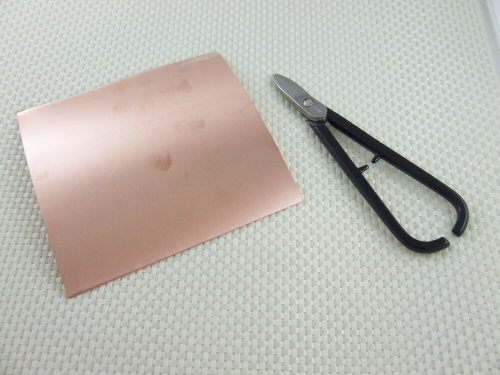
I got out some copper sheet and the metal snips to cut a length of the metal.

I inserted the metal and the tool clamps shut easy enough. It was awkward at first getting the length to start travelling through the tool evenly. I think with practice, I will be able to get the proper feel for even pressure. But once I got it started, the rest was very easy – very little effort was needed. I am sure this would depend on the gauge of metal sheet or wire you are using.

The crinkled metal. So many ideas come to mind: what would it look like with a patina? Hammered? Riveted to flatter metal…Hmmmmm….

Bringing The Beads Back to The Bench…

Bench

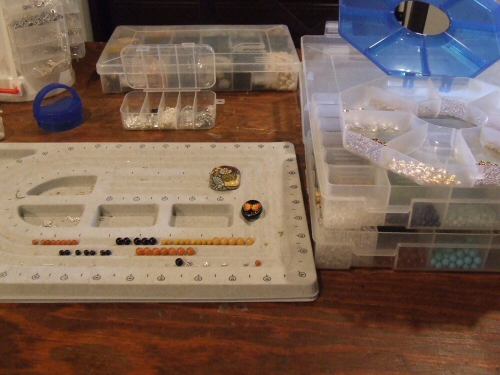
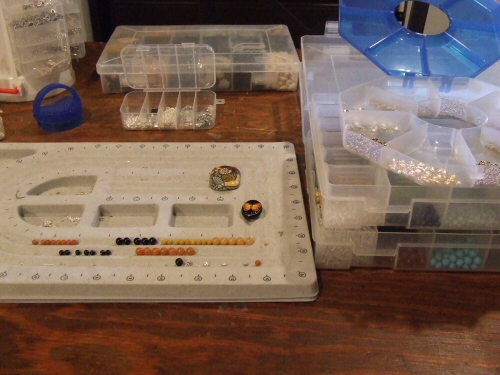
I haven’t done any beadwork in quite awhile since I have been teaching myself some metal techniques. Today I brought the beads out again in order to work on my Artbeads Blogging for Beaders Project for Summer.

I doubt I will finish both pieces today…actually I know I won’t, esp. since this beautiful weather is calling me outdoors!

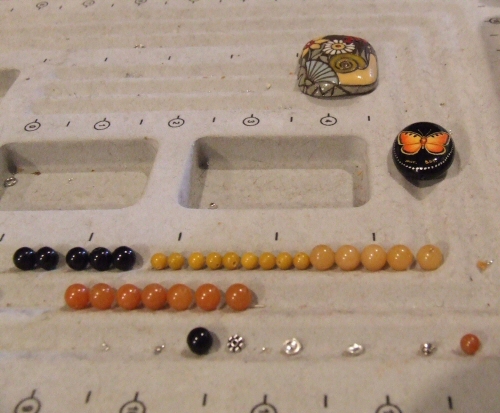
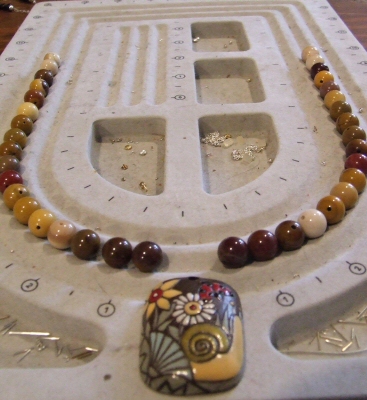
I have to admit something: I have WAY too many supplies. I am serious!! Not exactly a bad thing – but over the past two and a half years, I seem to have had more time to BUY beading supplies than MAKE jewelry! Plus I scope out suppliers, buy wholesale and volume discounts and close outs – well, you get the picture. When I sat down to look at colour options for these two necklaces, I had too. many. choices.!!  In a way it was overwhelming – too many possibilities! I spent a half an hour this morning just looking & considering colour schemes!! I came to the conclusion for example, I have way too many gemstone beads in the hue of ORANGE!! I went to get large guage headpins and paused to consider dozens and dozens of different metal components. And I am organized – believe you me – it’s just too many choices staring at me. At this point, I think I could open a small store…if I had the time! HA!

Anyway, I mean that somewhat in jest of course – but still…anyone else feel the same way – even some days?? The possibilities are endless when it comes to beads…I thought I was limiting myself by not buying glass anymore but nope… 🙂
Happy Creating! I should be posting this project within a couple of days…
Cool Tools: What I Got for My Birthday…

Dapping

I am incredibly lucky to have an extremely supportive spouse. Perhaps maybe too much so: he loves cool tools as much as I do so he rarely tells me “no” if I want something tool related. Thankfully, I have some restraint…. 🙂

Here are a few items I received for my birthday on April 22 – Earth Day! Forget flowers & chocolate: get me some tools!!! 🙂

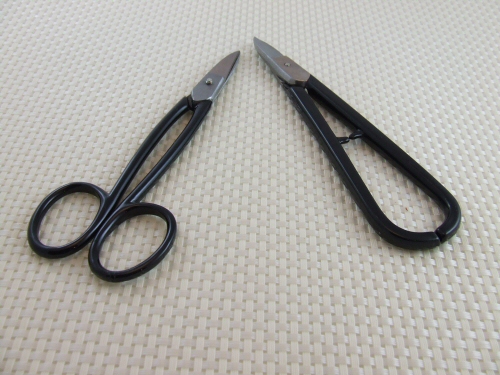
New metal shears! I have a large pair of shears but I wanted a smaller pair. The ones on the right cut on a curve. Neat-o!

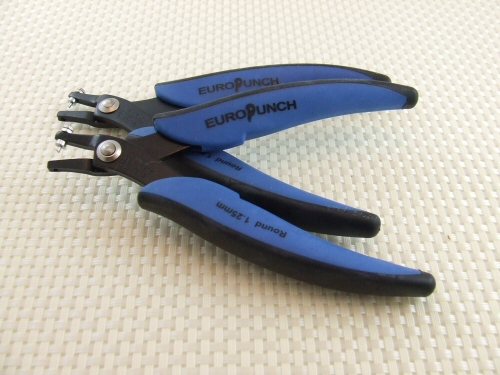
Metal hole punches. I have a screw-style metal punch, but I wanted to try this type as well. I will do a comparison review in an upcoming blog post.

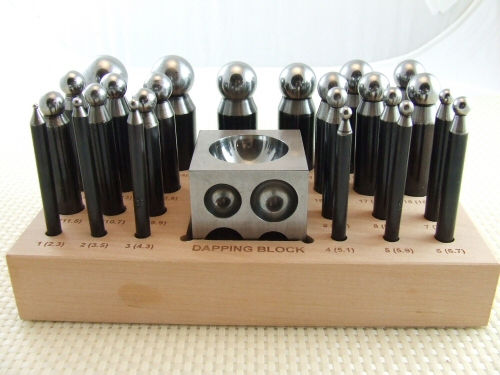
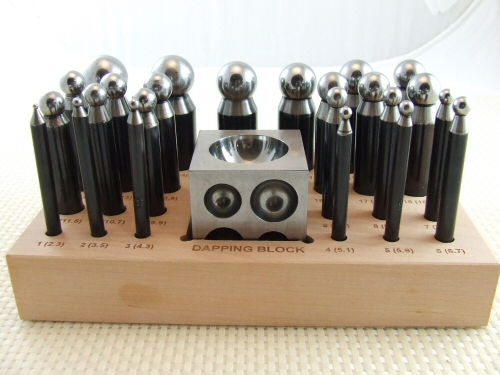
This is the item I wanted the most: a dapping block and punch set! I can’t wait to get my hammer on these! 🙂

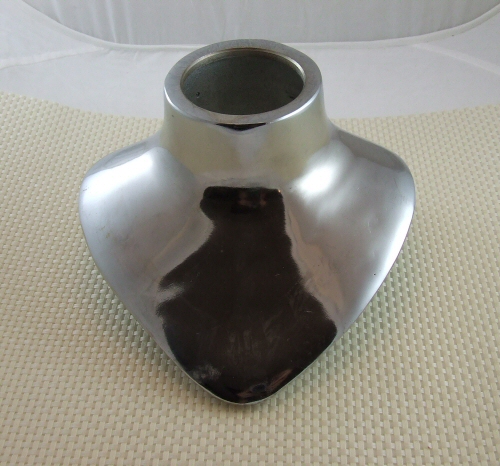
This is a really neat tool and a total splurge. It’s a necklace mandrel: so you can form a necklace by lightly hammering so that it lays properly across the neck. Very cool…!

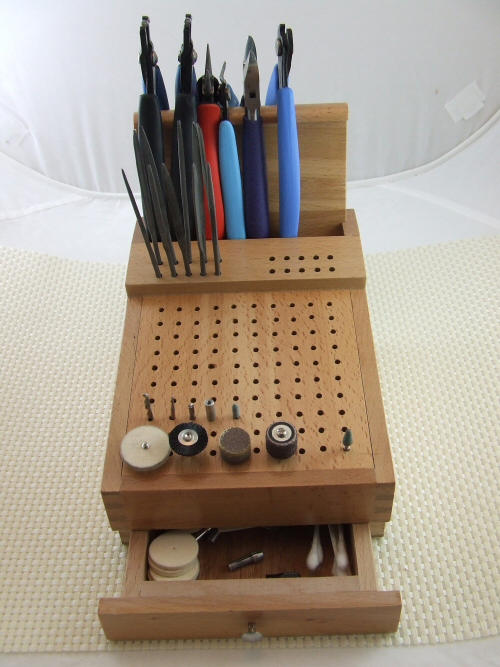
This was real nifty as well…what a great way to organize all the little burs and tools. I really like that I can hang my pliers on the back as well. You don’t know how much running around I do for these items! Now, all in one place. Ahhhhh…. 🙂

I also got muslin buffs for my polishing lathe and metal files but that’s BOR-ING compare to these. Now if I can get caught up housework, I can go play. 🙂

Creativity Inspired ~ Cool Tool: Microwave Flower Press

Flowerpress

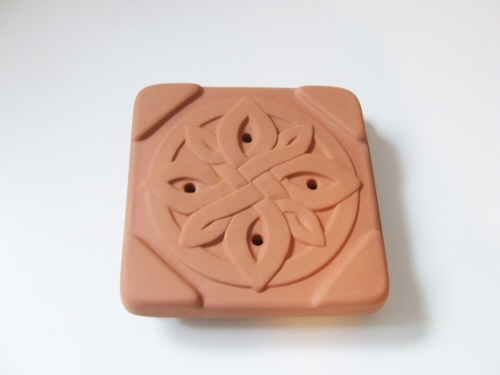
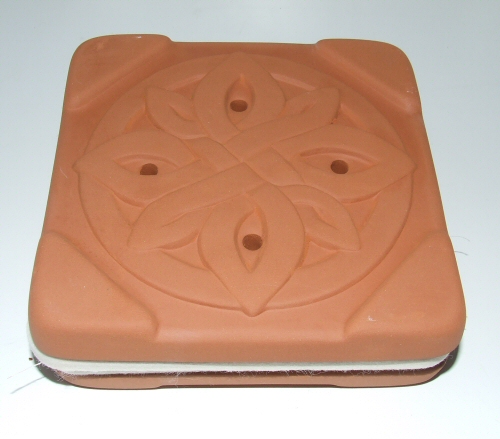
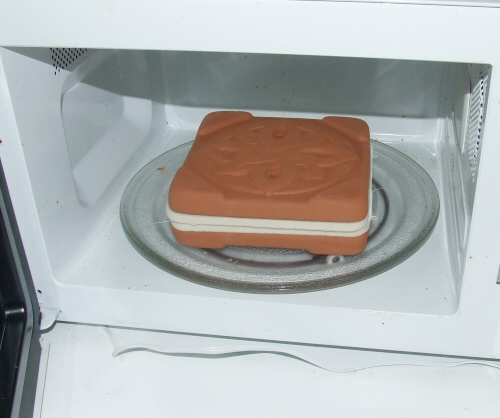
Earlier this year I obtained this neat little contraption called a Microwave Flower Press. They are available at many garden supply stores. I wondered if they really would dry flowers in minutes and still retain the same delicate quality of a flower traditionally pressed in heavy books.

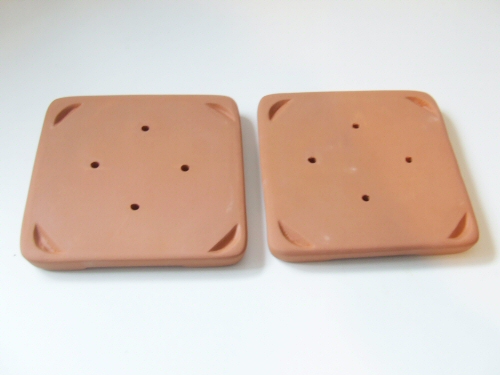
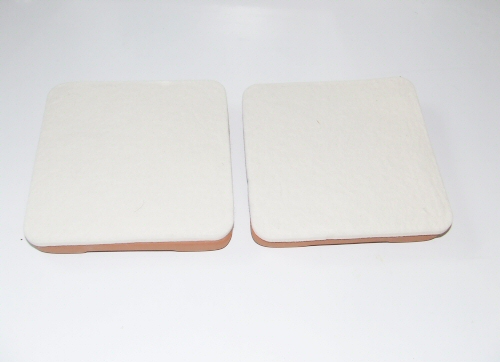
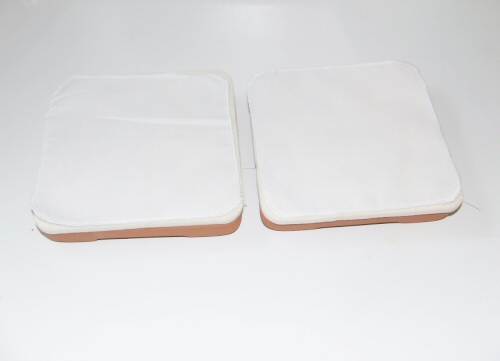
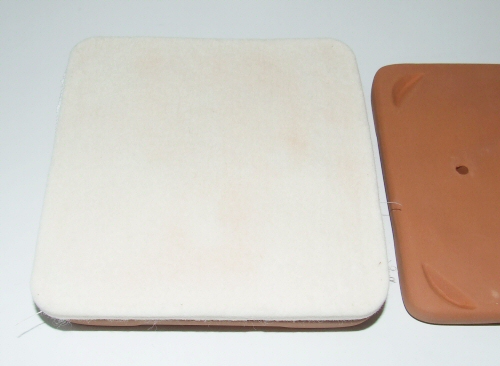
The press is comprised of two terracotta slabs, wool pads and broad cloth. It boasts the ability to dry press flowers in as little as three minutes, and that it will retain the colour of the flower better than the slow-drying method.

After laying the wool pads and cloth onto the terracotta, take the flower(s) you want to dry and arrange them on the broadcloth. It was the middle of winter when I tried this experiment, so I obtained some plants with small flowers from the home improvement store.

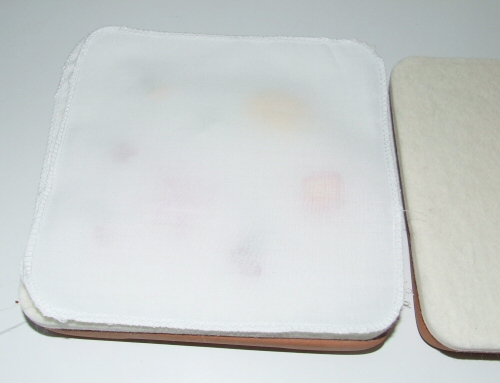
After you have the flowers placed as you like, carefully place the other broadcloth, the other wool pad and then the other terracotta slab on top – sandwiching the flowers in between.

Into the microwave we go. It’s recommended that you microwave in 30 second intervals so not to over dry the flowers. Since these were small flowers, I complied with the suggestion. It took about 2 minutes to do most of these little flowers.

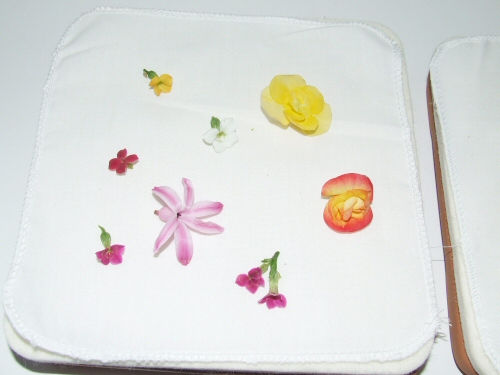
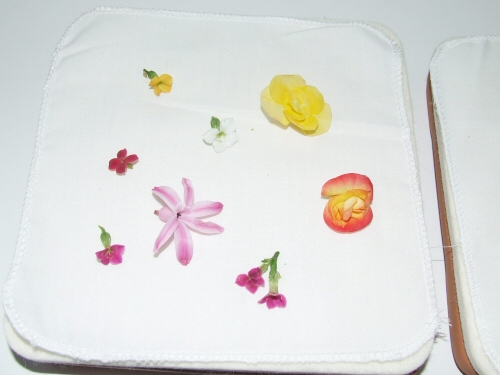
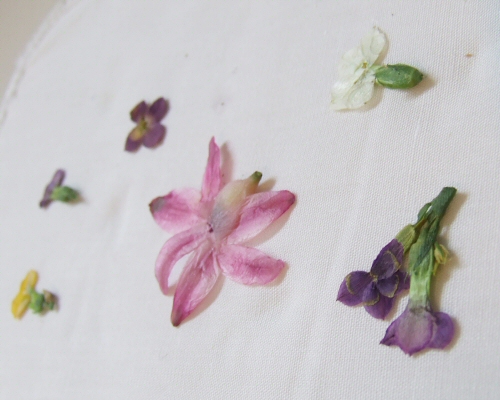
I did this experiment twice – and these are the successful flowers. One variety would not dry properly at all – either they were over done & flaky – therefore stuck to the broadcloth, or still retained moisture and stuck to the broadcloth – so just as unusable, either way.

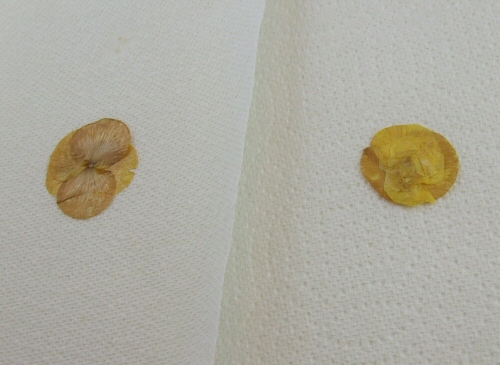
These are the variety of flowers that did not work in the microwave press; I pressed them the traditional way – in heavy books – for 3 weeks. I agree with the claim that the colour is retained in the microwave press. The flowers I traditionally pressed did fade somewhat.

I look forward to trying out larger flowers this summer in the press. I’d also like to incorporate this into jewelry making somehow: maybe set the dried flowers in resin? Oh the ideas… 🙂

Jewelry Inspired: Funky Copper Disc Choker

Copper

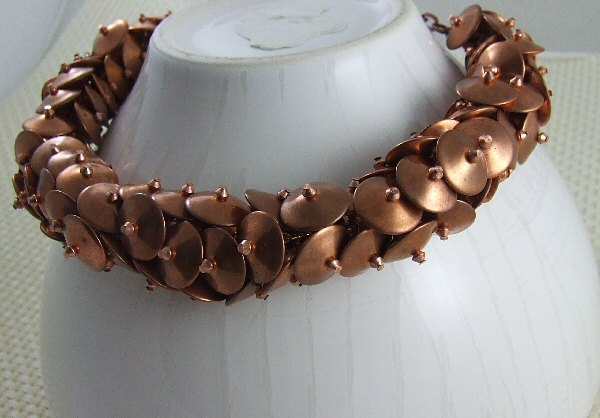
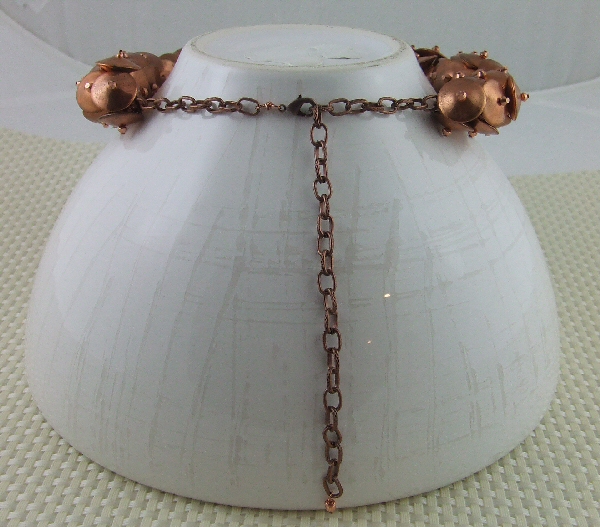
I added a little somethin’-somethin’ to my Artfire Studio today. This copper choker has been sitting on the bench for some time begging to be finished. I bought these copper discs – no word of a lie – 10 years ago. I used to buy a fair bit of Estate sell-offs back when ebay wasn’t so saturated. I admit at the time, being new to the jewelry making game, I wasn’t aware of the size when I bought them. 15mm just didn’t compute in my brain as being on the large side. So when the lot arrived – almost 100 – I had no idea what to do with them. They seemed so big and flying saucer like…
So they sat in the supply pile for well, a decade. Then this summer I decided to pick up some copper headpins, and see if I could make one of my signature funky chunky bracelets.

(Oh and I decided to pair up the discs with a 3.3mm bicone copper bead to add some dimension…)

I wanted the piece to be really solid so I started putting the discs really close together on the links of dash dot sterling silver chain (I love this chain by the way – although it is expensive it is really heavy duty, perfect for projects like this). It definitely was solid…however by doing this it did not have much bend…kind of hard to make into a bracelet. Since I already started it, I didn’t want to dismantle and start again, and I knew I had a fair bit of beads, so I decided to turn it into a choker.

So I got the beads put on and then, there it sat for a very long time. About three months! I just couldn’t decide how to finish it. Although I had assembled the discs on a heavy gauge sterling silver chain, I did not like the way the sterling stood out against the copper for the extender chain portion of the necklace. I probably could have oxidized the chain, but I was lazy. Instead I found some really heavy duty vintage copper chain to finish off the piece.

NLE149 (1)

NLE149 (4)

I put a fairly long extender chain on it so that it can be adjusted to wear in a variety of ways. I also like the dramatic effect it has: the large beads at the front, and the slender sleekness of the chain trailing down in the back…I really love how it feels like a puzzle in your hands.

This is a piece for someone who wants to make a bold statement, and own a truly one-of-a-kind. I know I could never get these beads again. They are assumed “vintage” although I cannot confirm this…
Announcing: The Official WINNERS of the Great Jewelry Giveaway Contest!

I have been prepping the emails, the blog post, the newsletter…and fretting excitedly awaiting the 11th hour…so that I could draw the winners of the Great Jewelry Giveaway Contest! Three prizes: $100, $50 & $25 in chosen jewelry from my Etsy & Artfire Shops was up for grabs!! Here’s the original post:

http://creativityinspired.wordpress.com/2009/07/26/the-great-jewelry-giveaway-contest/

So I waited…tick tock, tick tock…and even as the time drew near, the entries still came in…I am absolutely over the moon at the response. It makes me so happy to see so many people support & appreciate my creativity…remember this creative outlet saved MY LIFE…does that sound dramatic? Well, it’s true. Out of the depths of depression 11 years ago, I found a way to create & express & share…

Anyway, enough chit chat. Who won, right? We didn’t get 1000 entries, but it was so close! Probably in another couple of days we could have gotten there…but the anticipation was killing me too so…the winners, chosen at random (thanks to random.org)….

CONGRATULATIONS

Linda Kish of Winchester, CA~ Our Third Place Winner

Kim Powell of Sharon, PA ~ Our Second Place Winner

…and…drum roll please…

Kathy van Herk of British Columbia, Canada!!!!

OUR GRAND PRIZE WINNER OF A $100 SHOPPING SPREE OF HEAVENLY FLOWER JEWELRY!!!!

I am so excited for the winners, I am shaking while I type this…hopefully there won’t be too many typos… 😉

It’s Thanksgiving weekend here in Canada, and although we didn’t make our 1000 entry goal, I am feeling festive. Therefore, I randomly drew 5 more names. These lucky winners will get a $10 Gift Certificate to spend in my Etsy & Artfire Shops:

Tia Barton of Derry, NH

Rachel Abugov of Montreal, Qc

Alicia Chandler of Norman, OK

Sarah Reed of Green Bay, WI

Linda Chen of Australian Capital Territory, Australia

I will be in touch shortly as to how to redeem your prizes. Congratulations all, thanks to all who entered, and stay tuned for future giveaways!!

Creativity Requested: Adventures in Komboloi

Komboloi

DSCF1741

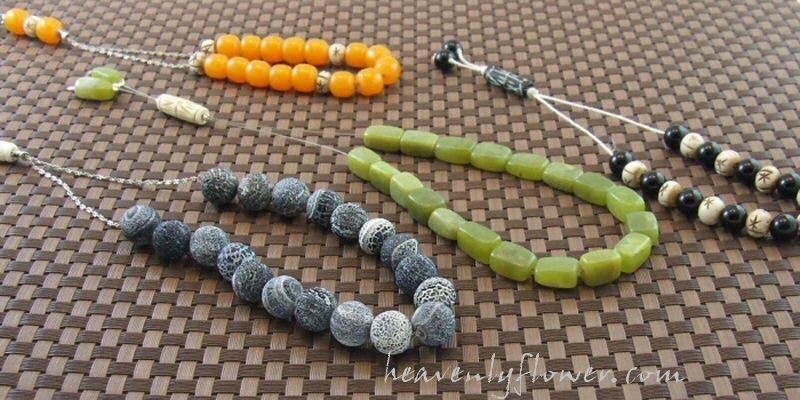
I had a request for a komboloi (worry beads). I have never made worry beads before, so I jumped at the challenge. After getting a few details, I started searching through my supplies to see what I have that would be suitable. Luckily I have a pretty decent stash of supplies now. I buy wholesale, so unless I need to order a few hundred dollars in supplies, I don’t take custom requests unless I have the beads on hand. With the exception of, the chance I may be attending a gem show or personally visiting a supplier where I can pick up a few things at wholesale price. In this instance, I was putting in an order for chain anyway so I added a couple of strands of carved bone beads for accents.

A traditional komboloi is constructed out of light organic materials such as amber, coral, wood or nut beads, bone, horn…although they can be made out of just about any kind of bead from glass, crystals or gemtones. The key is to have a good feel weight wise but still be light enough to make the pleasant clicking/tapping sound when the beads hit together.

So…since I have never constructed one before, this posed several challenges for me. I had to judge size, weight and length as well as decide which materials I felt would work the best.

In the instance that I get a request for something that I have never encountered before, I will come up with a few variational designs (at least three, usually), show them to the potential client, and have them judge which they like best or tweak a design to their liking (if possible). This way the client can see my creative take on the design. Extra pieces get listed in my online shops.

The design itself looked simple enough, but I ran into a few challenges. Without having the client feel the beads first hand, I wasn’t sure which size would be suitable. So I had to do a lot of digging through my supplies picking a few variable sizes that the client could try to help decide which felt the best to them.

Just when I thought I had the right variations, I ran into a major problem with stringing the beads. I had originally laid out some leather cord & chain – of which none of the beads fit through. Holes on stone beads tend to be on the small size to prevent slippage.

So before throwing in the towel I dug deep into my stringing supplies and also got out a very useful tool: a bead reamer! It’s used to help file & shape out the holes of beads to (hopefully) make the passage wider. I ended up with 4 different designs in the end.

DSCF1786

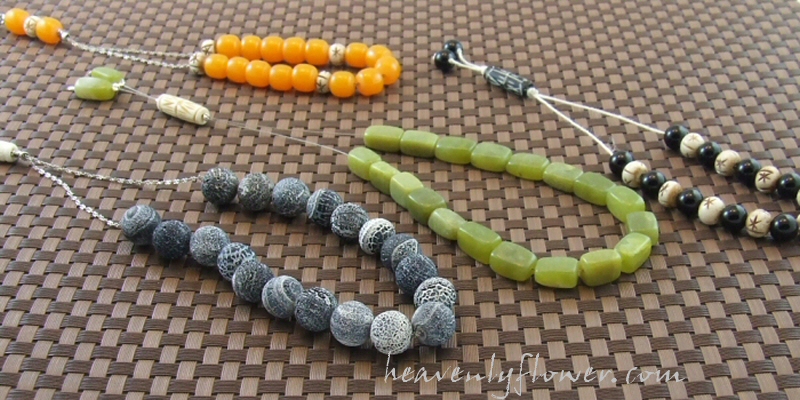
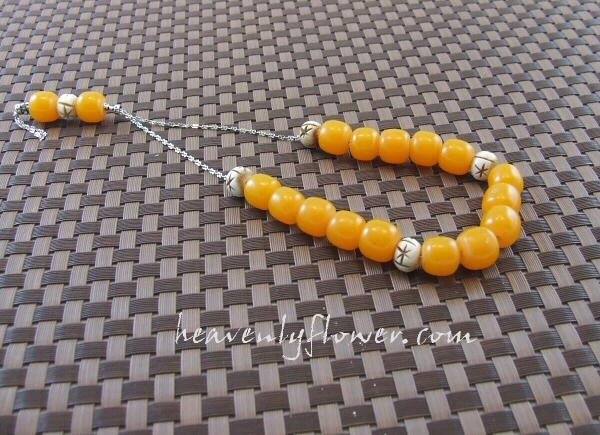
I decided to construct this horn & bone piece first since they had large holes & slipped easily through the chain. 11mm translucent butterscotch horn beads with 10mm carved bone beads on an antiques silver chain.

DSCF1747

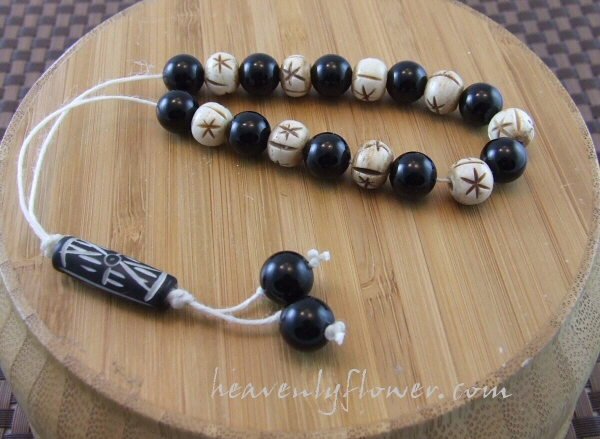
I dug out some waxed linen cord to make this one & was delighted that it easily slipped through the holes but has a durability that is needed for the constant clicking together of the beads. This one is 10mm onyx beads with 10mm carved bone beads. A 25x8mm carved horn bead is accented at the bottom.

DSCF1765

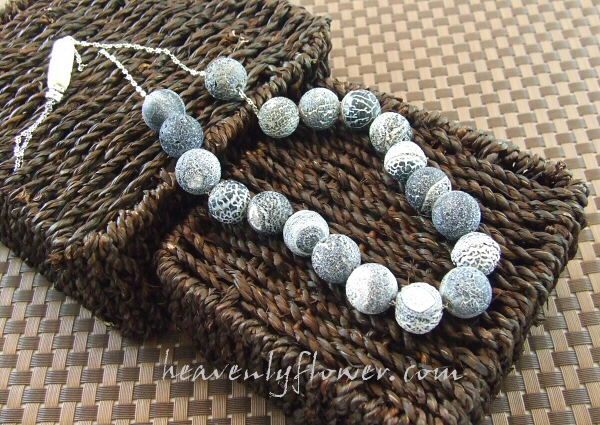
I was really excited to work with these beads as they are very unique. I bought them sometime ago with the intention of making a men’s piece out of them, and never got around to it. It’s 14mm black banded agate that has been treated with an acid to give it this cool denim crackle finish. These are the beads that I had to ream (file) the inside of the hole to get he to fit through the chain. But it worked! Accented with a 25x8mm carved bone bead.

DSCF1774

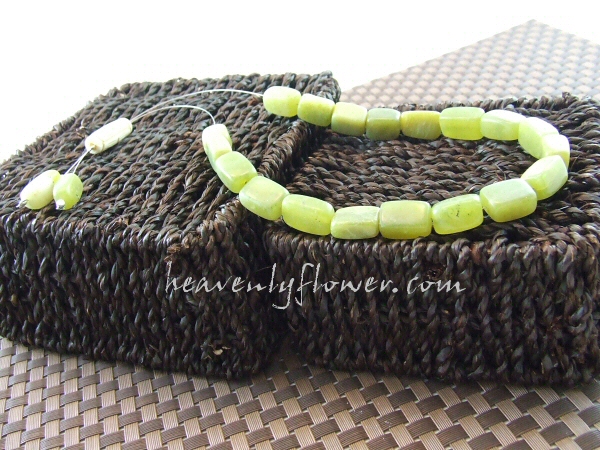
Finally, I chose these 16 – 18mm jade rectangles to make the final piece. It is constructed with a tough beading wire, and accented with a  25x8mm carved bone bead.

It was a fun experiment nonetheless. Always good to be pushed outside the box!

Jewelry Inspired: Halloween

Darkangelonyx

Halloween will be upon us very soon so I wanted to try my hand at some pieces inspired by the holiday.  The first thing I thought of was All Souls Day: Day of the Dead/Dia de los Muertos and the artwork/tattoos that are based around this theme. The second thing that came to mind was a goth/vampire feel. So the challenge was to create pieces based on left over materials I had on hand (since my Etsy & Artfire studios are the places where I list jewelry made mostly from leftover materials from past projects).

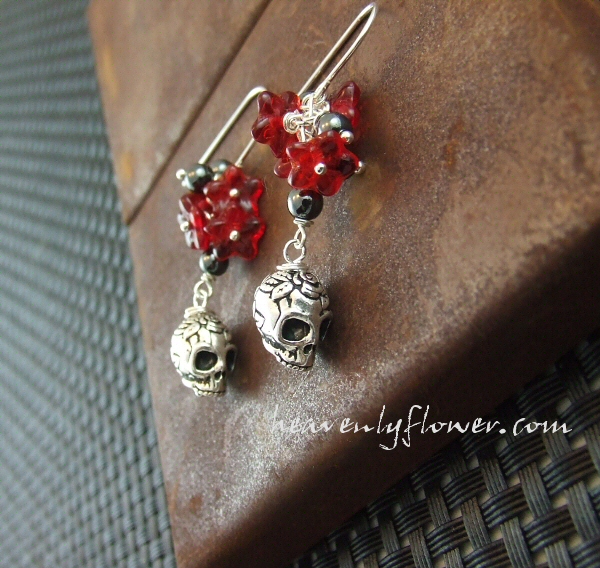
I bought these pewter skull charms on closeout awhile back, so I knew they would be perfect. Paired with some red flower beads & hematite I created these Day of the Dead inspired earrings:

ELE096 (1)

The red flower beads reminded me of the red roses I’ve seen in tattoos inspired by El Dia de los Muertos.

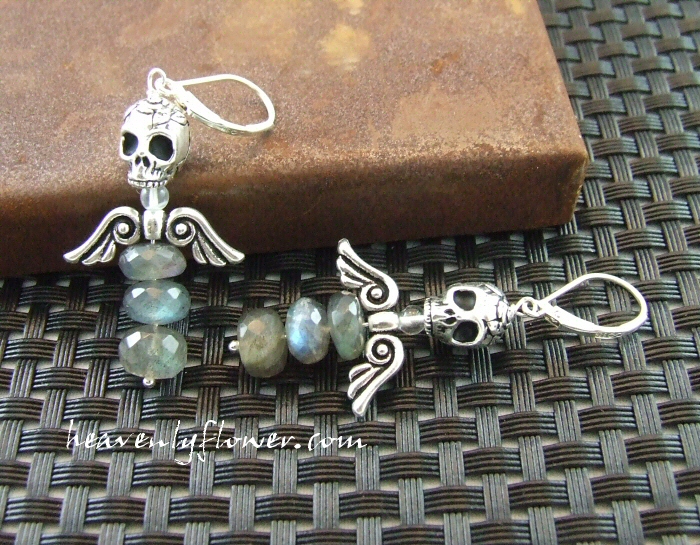
After those were constructed, I decided to go into a whole different direction. The words “fallen angel” kept popping in my head, as well as “Angel of Death”. So I worked with this idea, again with the pewter skull pendants, adding pewter wings. I just needed the perfect “body”. So for this time, I decided to wade through my “premium” (read: not leftovers) supplies as the hematite beads I had on hand just weren’t cutting it. Fabulous labradorite faceted rondelles caught my eye quickly. They are a nice ghosty gray tone, plus the metaphysical properties seemed to fit. Here’s what I came up with:

ELE095 (1)

I used moonstone to create the neck of the “angel”.

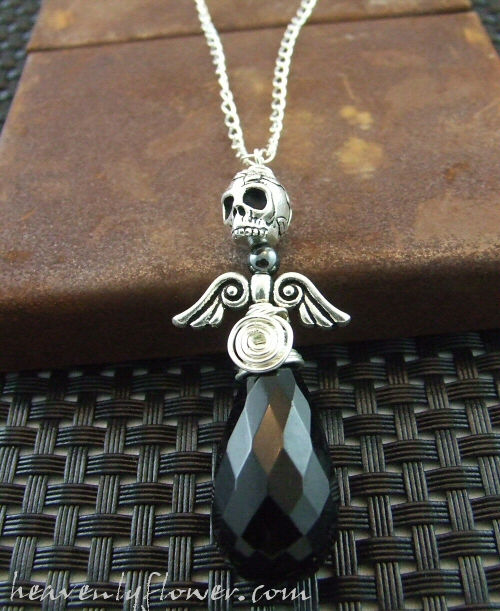
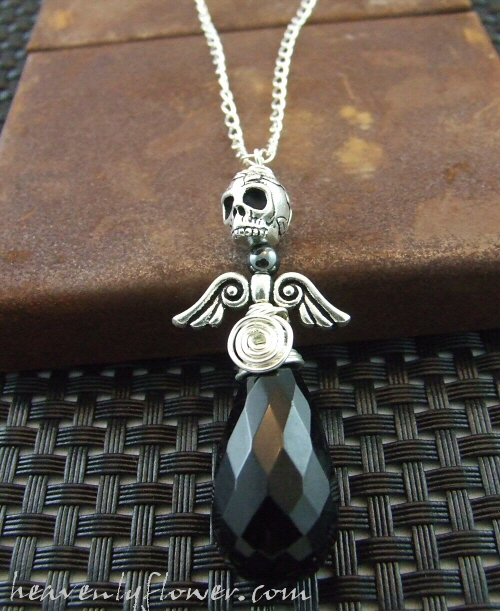
This soon had my mind working in the direction of a pendant. I have a few of these black (dyed) quartz faceted teardrops that I knew would be perfect for  the body. A little wire twisting and voila:

NLE147 (1)

A 4mm hematite bead makes up the neck, & I used a 22 gauge sterling silver wire. I decided to hang it from a sterling silver chain so not to take away from the focus of the pendant itself.

What I really enjoy when making themed pieces – particularly when it comes to holidays- is to come up with a design that can encompass wear year round & not just for the certain event. I find if you are not careful, jewelry designed around a theme can appear costume-y (which of course is fine if you are designing costume jewelry!). I want to create something that could be enjoyed year round. I think with the right customer, these pieces can be enjoyed over & over again.

And you know what – I really don’t find these pieces morbid. Perhaps because for me death is a transcendence of the soul, where we are reborn…although the body may die and flesh rot away. To me, that is beautiful…

The Great Jewelry Giveaway Contest – $100 in Jewelry you get to pick!

100jewelry

etsy_showcaseartfire_showcase

UPDATE Oct. 11th, 2009: CONGRATULATIONS TO OUR LUCKY WINNERS WHO WERE DRAWN AT RANDOM THIS EVENING!! DID YOU WIN??

Official List of Winners

So I could probably find a more – er, creative name for it, but it is what it is. The largest giveaway I have ever done: $175 in free jewelry with top prize being $100 worth! You pick your prize from my Etsy & Artfire studios. You do not have to sign up for these sites. If you are the lucky winner simply go, browse & tell me what you want. So here’s the skinny:

Top Prize $100                    Second Prize $50                          Third Prize $25

HOW TO ENTER

Simply enter by visiting heavenlyflower.com and filling out the entry ballot at the bottom of the page.

WHO CAN ENTER

The contest is open to anyone, worldwide. Limit one entry per email address. No purchase necessary. Please note I will not be keeping the email addresses after the contest – they are only to inform you if you have won. If you have clicked the opt in button you will receive promotional info from me from time to time but let’s face it – I hate spam as much as you do, so they will be sporadic emails. IF YOU DO NOT CLICK THE OPT IN BUTTON YOUR EMAIL WILL BE DELETED AFTER THE CONTEST – you have my word on it. 🙂

CONTEST DURATION

The contest will continue to run UNTIL WE REACH 1000 ENTRIES. Upon reaching 1000 entries, the contest will cease the following Sunday, with winners drawn at 11pm EST.  If we reach 1000 entries on a Sunday, then the draw will take place that Sunday night at 11pm.

I WILL ADD UP TO 5 ADDITIONAL PRIZES OF $20 EACH IF WE EXCEED 1000 ENTRIES!

Winners will be announced on this blog and on my Facebook Fan Page and via Twitter. Winners will be contacted via e-mail and will have 30 DAYS to redeem their prize. I will be giving status updates on the contest via these mediums so be sure to follow the blog or on Twitter, or fan the Facbook Page to keep updated.

PRIZE REDEMPTION

Winners will redeem their prize by choosing jewelry equaling the dollar amount of their prize from my Etsy &/or Artfire Studios. It is not a requirement to sign up to these sites. You simply can let me know via email which you would like. Winners have thirty days after contest close to choose their prize. Therefore any new offerings that I add during this time frame to the studios will be eligible as prizes, as well.PRIZE NOT REDEEMABLE FOR CASH. PRIZE NOT REDEEMABLE FOR CUSTOM WORK. Jewelry must be selected at one time; you cannot carry over any remaining amount after your prize has been chosen. You can pay the difference if your chosen jewelry exceeds the prize allotment. Prize is awarded “as is” and does not carry any warranty or guarantee due to breakage or defect. You must choose from active inventory listed on my Etsy & Artfire Shops; you cannot choose from work that has previously been sold or unlisted.

WINNERS WHO ARE RESIDENTS OF CANADA WILL HAVE TO ANSWER A SKILL-TESTING QUESTION AS REQUIRED BY CANADIAN LAW.

Prize must be sent to one address at the same time. The prize will be sent to the winner in a timely manner however I cannot guarantee it will arrive by a specific date. I am not responsible for prizes lost in transit. Cannot be combined with any other promo I may be offering.

NON-CANADIAN RESIDENTS: I am not responsible for any duty, tax or tariffs that are imposed by your country at time of delivery. I do write GIFT and HANDMADE CRAFTS on the customs form which should alleviate the need to pay any taxes; however it is out of my hands if your government decides to charge you tax.

WHO CAN REDEEM THE PRIZE

Winners will have the choice to give their prize winnings to a loved one to redeem. The winner will simply inform me via email who I can expect will be contacting me for redemption.

So fellas – you should enter and make your mother/wife/girlfriend/sister – happy! 😉

Handmade jewelry always makes a great gift & Christmas will be here sooner than you know it! 🙂

Please enter & help me celebrate phase I of my new website!

Orange Crush: The Bead Wrist Corsage

Orangecrush

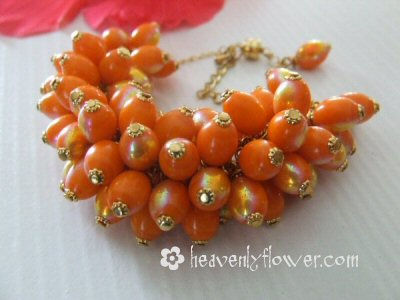
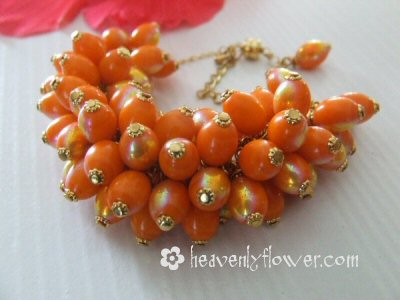
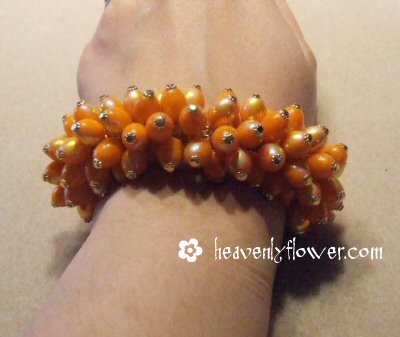
I am enjoying my summer vacation, therefore I am on a hiatus from jewelry making. I did find time this evening to list this great piece I made several weeks ago. It is inspired by the orange dahlias in my garden. I have had these vintage orange beads for several years now. I bought them as they intrigued me so, but no design ever came to mind. Let’s face it, it’s a pretty funky colour! The 10mm oval glass beads have a gold AB (aurora borealis) finish on one side.

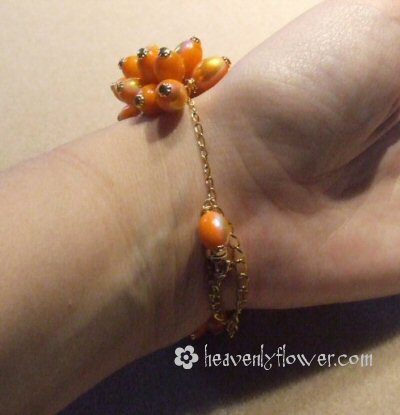
Since the piece is inspired by flowers, I was thinking wrist corsage when I made it. Therefore, I concentrated on getting a large cluster of beads to sit on the front of the wrist, rather than wrap all the way around. A magnetic clasp finishes the piece. I thought of adding a lobster clasp in order to make it adjustable but it was way too tricky to clasp. So a magnetic one means no fuss, no muss!

NLE146 (1)

DSCF0789

DSCF0786

Update on this Weekend’s Sale

So the Starving (Jewelry) Artists sale on Etsy starts this Friday (April 24th) at 4pm EST. The promo is free shipping from the participating shops. I am looking into giving away a free gift or additional discount for my customers as well since my shop always offers free shipping worldwide. Remember Canadians, I offer at par pricing to the US dollar amount. So if you see something you like for $20 USD I’ll sell it to you in Canada for $20 CAD. Plus free shipping. Good deal! Check out or team blog for participating members: SATEAM on ETSY

SATEAM Mother’s Day Sale on Etsy this weekend…

Okay so, I am typing this half in the dark with a newborn laying on my chest…bare with me…but I am excuted to announce that SATEAM on Etsy is having our first ever sale! Details to follow…all participating shops will be offering free shipping. I’ll post updates as I have them or go to SATEAM on Etsy for more info…start time is looking like 4pm PST on Friday the 24th of April.

100 Days of Creativity: Day 78

Turquoisestonebracelet

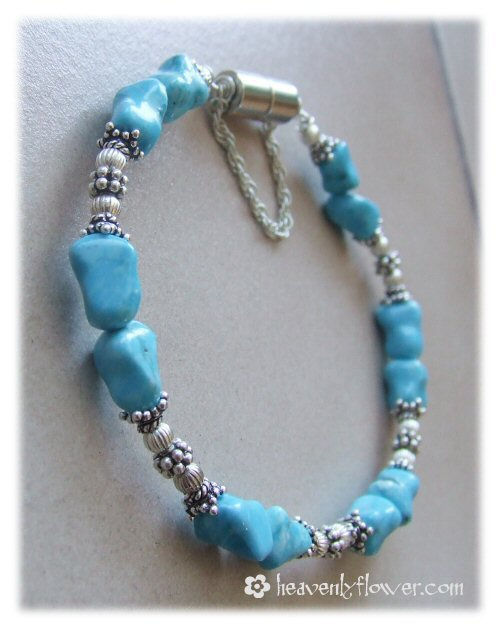
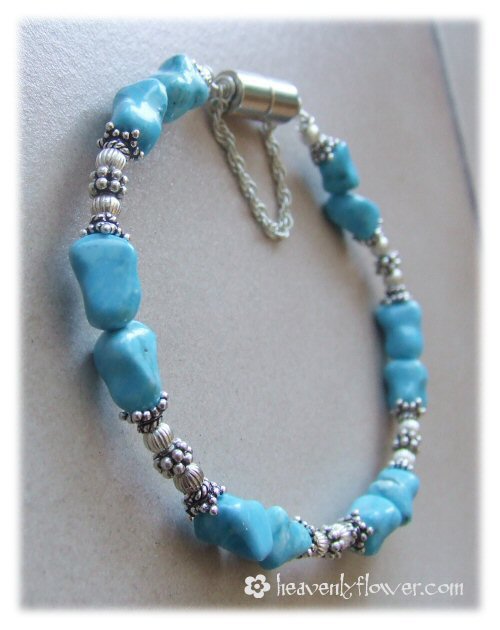
I feel like I am on auto pilot today, yet I was still able to put together this turquoise bracelet. I do love turquoise. I never seem to tire of it.It always looks great with silver…

ble129-1

I do apologize that these posts are getting shorter & shorter. I twisted my back putting my daughter to bed last night so I am trying to not stay in the same position for very long. Happy creating!

100 Days of Creativity: Day 77

Cutesimple

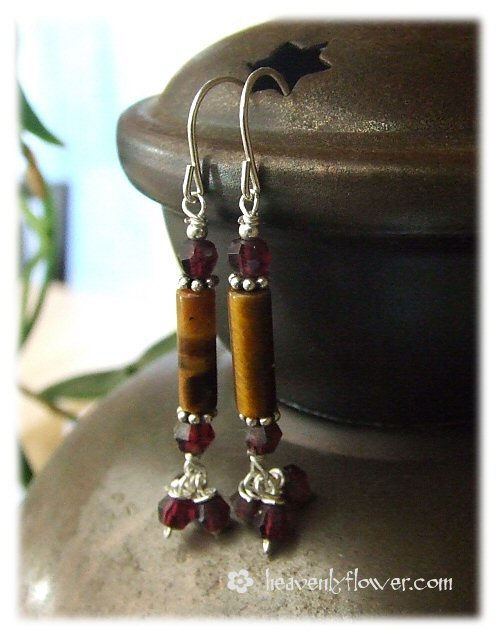
Today’s creative endeavour is a companion to yesterday’s anklet. Cute and simple dangle earrings in tiger eye and faceted garnet:

ele093-1

Needless to say, I am starting to run out creative steam…but on I push regardless if it’s just a simple pair of earrings. I commited fully so on I plug each day until I simply can’t anymore…but on that note, I must get up and move…

100 Days of Creativity: Day 76

Cutesimpleanklet

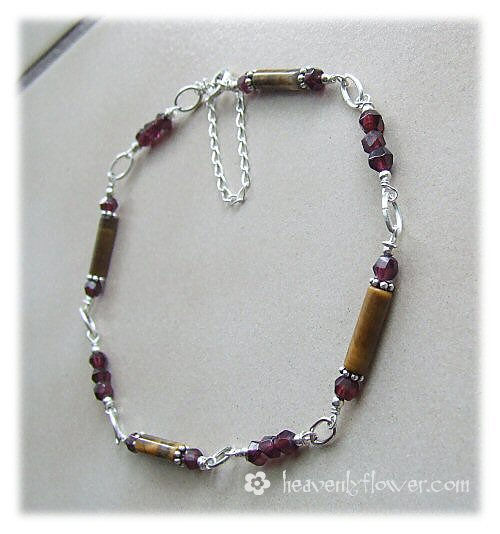
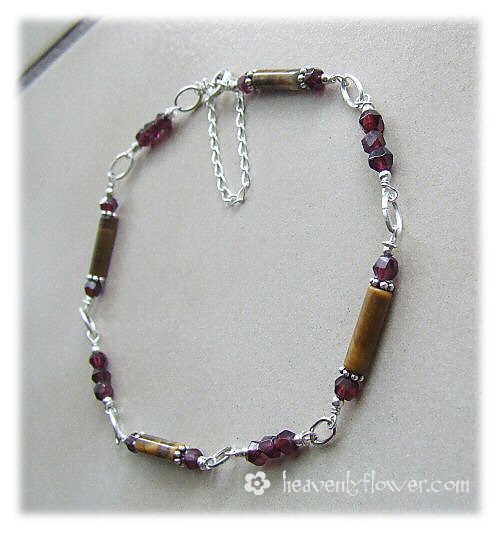
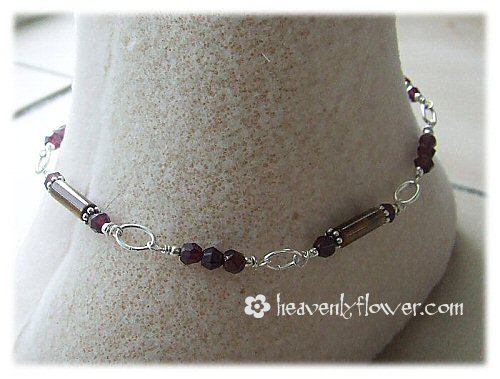
Today was helping DH clean the house day. I know I know, it’s Sunday but lately I have just decided to do the cleaning when the whim hits me. So this afternoon when I had a moment I decided to put together an anklet, again in anticipation for soon-to-be-bare-legs. This one contains tiger eye tubes & faceted garnet beads. It’s completely adjustable giving the versatility to wear it a variety of ways as well as no fuss with getting the size right. As usual I fashioned the anklet with a safety chain. Simply slip over your foot; that way if the clasp becomes undone, you won’t lose your anklet. I learned this lesson from many a lost ankle bracelet. 🙂

a040-1

a040-7

Tiger eye is associated with astrology as the planetary stone for those born under the sign Gemini; & is commonly associated as a birthstone for those born under the sign of Leo.

Tiger eye also contains many metaphysical properties. For centuries people have believed that the unique properties of gemstones hold specific healing powers & awareness. Tiger eye is said to be associated with the correct use of power, clear thinking, courage, enhances protection, grace, grounding & integration of spirit with worldly energy, integrity, personal empowerment, practicality, the ability to see clearly and without illusion, & willpower.

Red garnet is deep transparent cranberry red with some inclusions, and is the birthstone of the month of January. Garnet is associated with astrology as the planetary stone for those born under the sign Scorpio.

Garnet is said to aid in career success, energy, inspiring romantic love, sensuality & intimacy, passion, past life recall, positive thoughts, and self-confidence.