This month, I decided to make a video showing how I dye roving in a crockpot. This is continuing my series on crockpot dyeing. So far, I’ve posted on dyeing yarn in a crockpot and over-dyeing yarn in a crockpot. I thought it was a natural progression to cover fiber next.
Dyeing Roving in a Crockpot is super simple. You just need time. 🙂
I recently received some new dye colors from G&S Dye. I was replenishing some colors that I was getting low on, and I figured I might as well get some new ones as well. These colors aren’t new to me; I have similar colors from other companies, which is why I didn’t buy them originally.
But since G&S is a Canadian company, I want to stock most, if not all, of their colors, as they are easy for me to obtain and thus economical. I like to have similar colors from different companies available in case I run out or one gets discontinued, then I have a substitute.
But first, I need samples of each color to see how they differ from those of other companies. So, why not dye roving along with my samples so I can show how I do this process step by step.
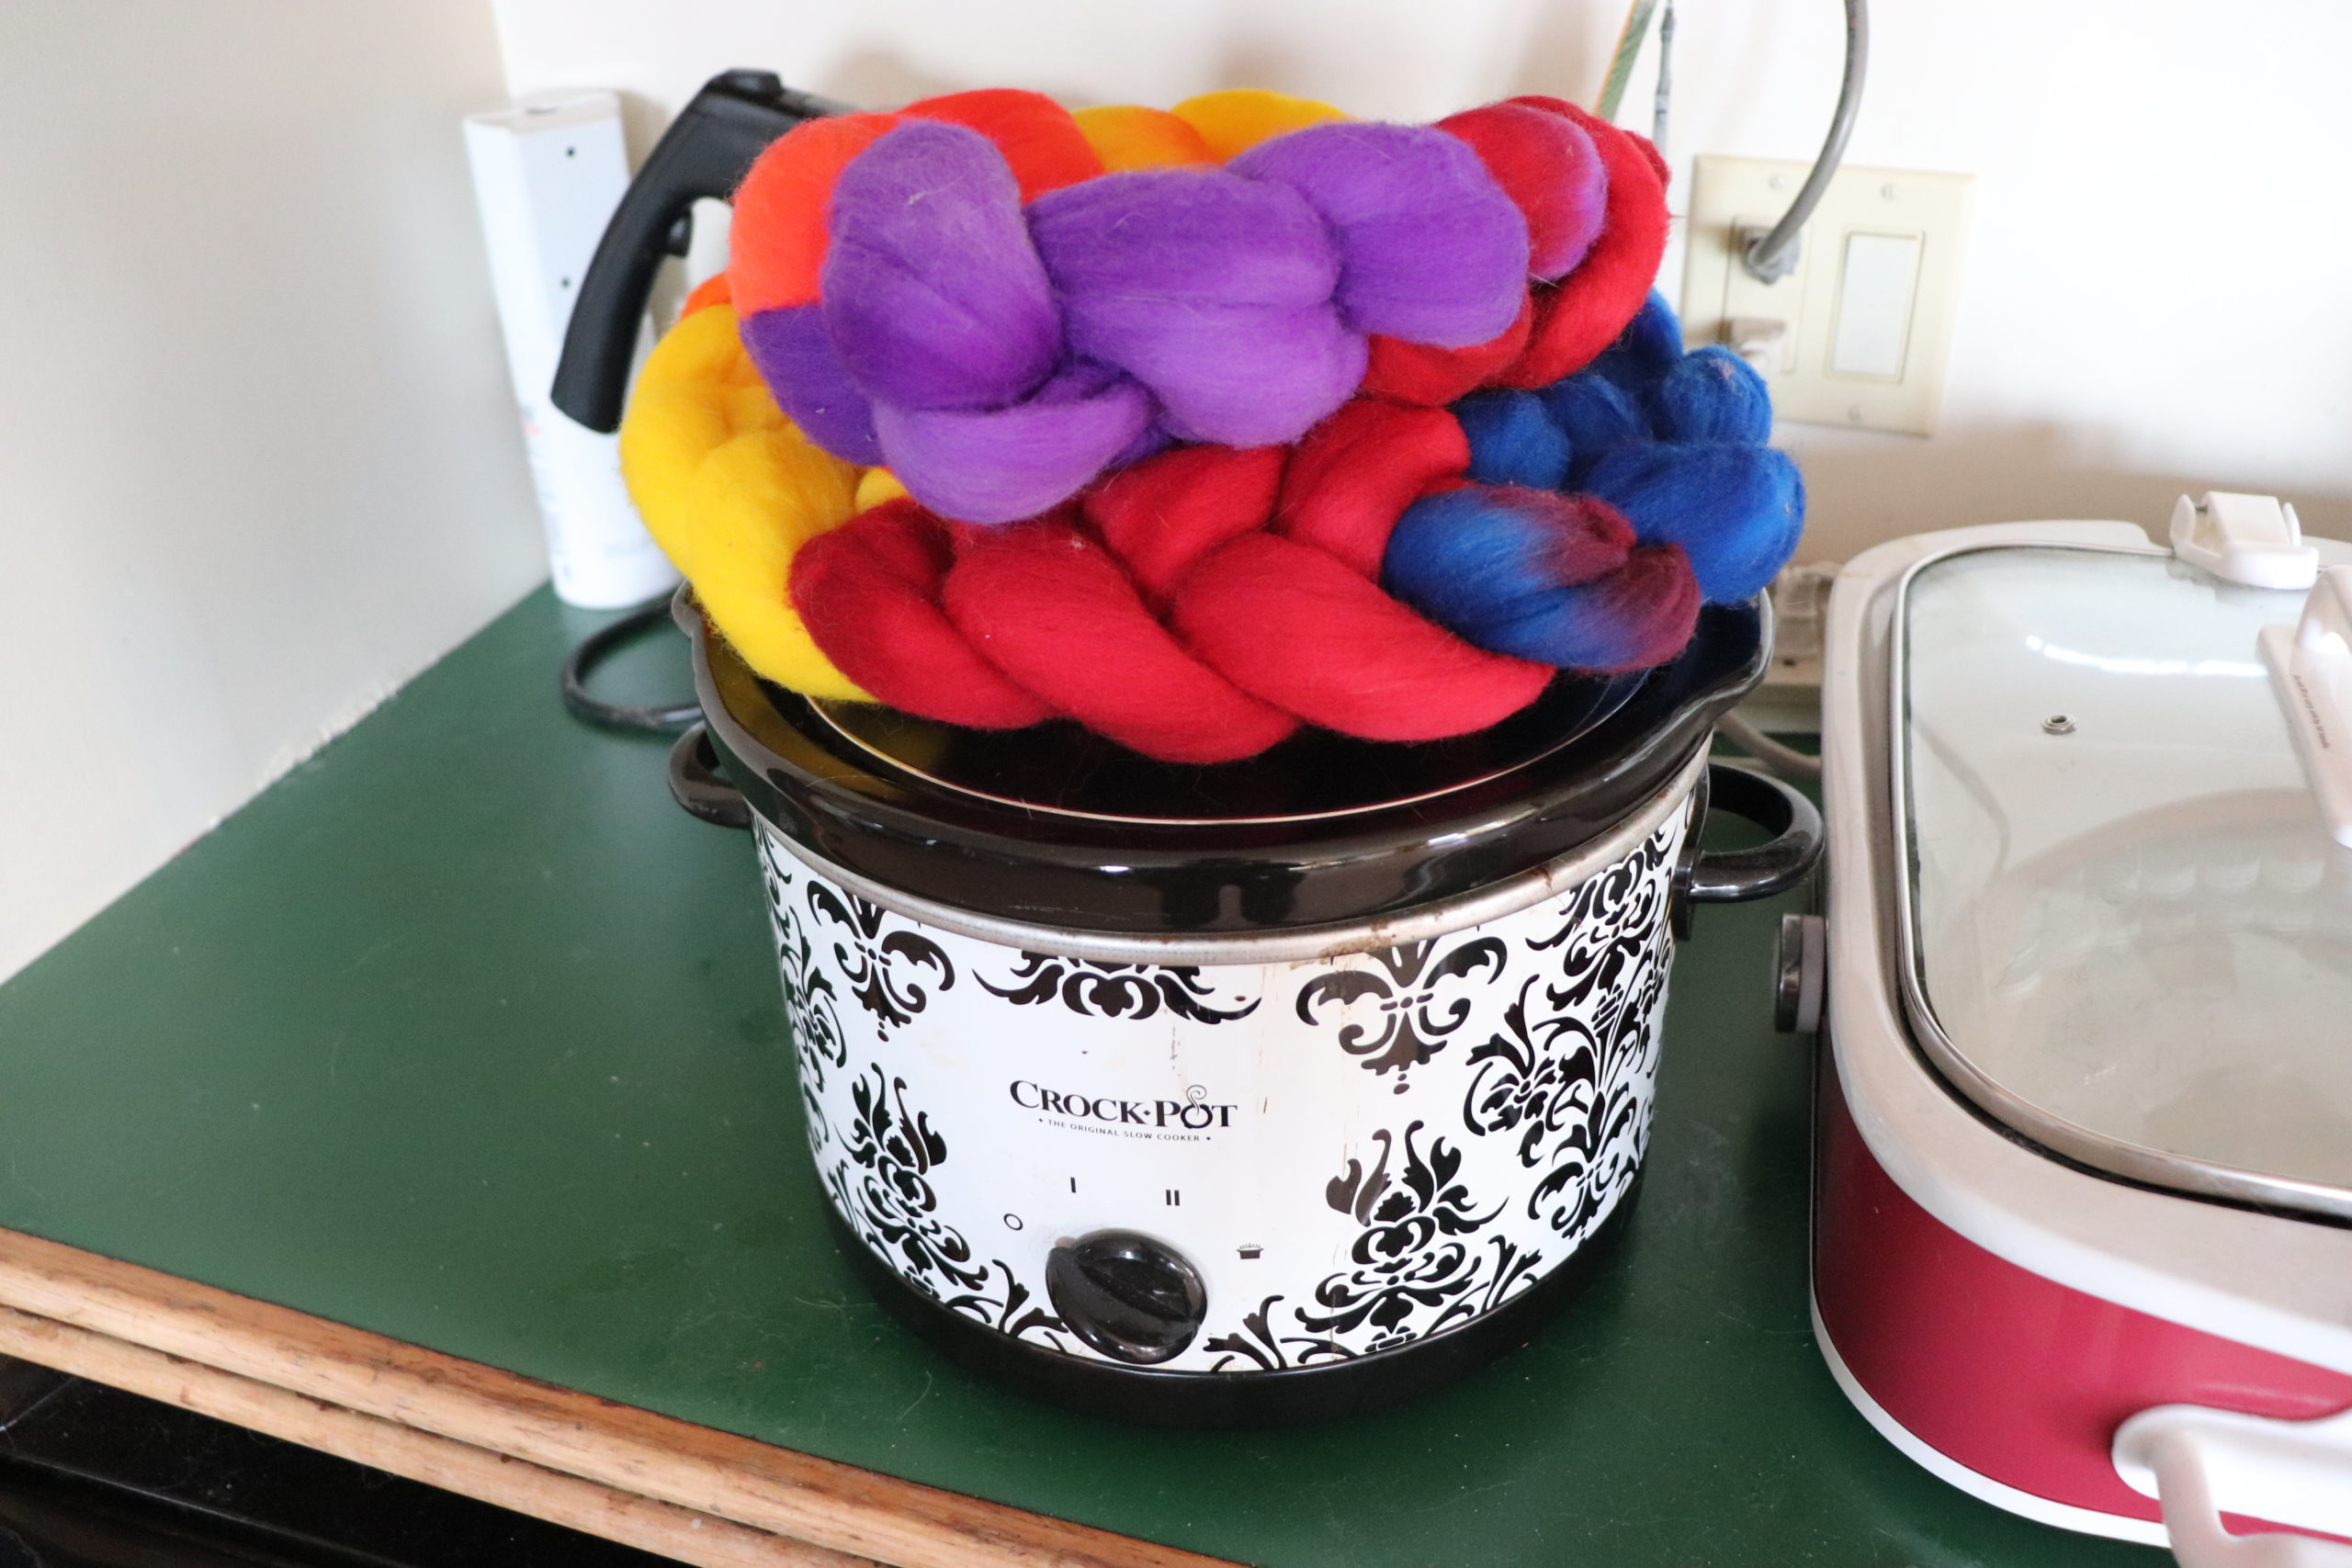
The colors are very random and very bright! I liked the spontaneity and surprise factor of just going for it and dyeing each color separately.
Watch the video below to see how I dye roving step by step:
Why Do I Dye Roving in a Crockpot
There are certainly many ways to dye roving, but here’s my top reasons for dyeing this way:
Easy and Economical to Get Started
Crockpots (AKA slow cookers) are easy to obtain at most department stores and even second-hand. I got mine originally on clearance at a big box store, but I also see them available at thrift stores. You want a crockpot that is dedicated for dyeing only. Never use one that you’d also use for food.
Besides a crockpot, you could purchase a few acid dye colors to start, or even use food coloring and Kool-Aid—but I recommend getting acid dyes designed for dyeing wool. You don’t need a ton to start, and you’ll get so much practice dyeing with even three primary colors. There are several brands of acid dyes that I use, including Jacquard, Ashford & Greener Shades. Check out your local fiber arts or yarn store for acid dyes, or online. Even Amazon sells Jacquard dyes.
Acid dyes must be set with an acid – citric acid or vinegar are the most common. You can buy citric acid in bulk online, even on Amazon. One except to this, is Country Classics dyes, which are all-in-one and don’t require an acid for a mordant.
Other than those basic things, I also recommend rubber gloves, measuring spoons, a waterproof apron, goggles, and a respirator. Tongs and bins for taking the fiber in and out of the crockpot are also helpful. Access to a sink is also a plus, but not necessary. You can always soak your fiber in plastic bins.
A soap like Synthrapol or TNA soap is great to have as well, but Blue Dawn dish soap will also do the trick for soaking after you dye roving.
Fool Proof or at least Super Forgiving
I love to use my crockpot for dyeing because I don’t have to worry about constantly watching it or even being concerned about how long the fiber is in the pot. With a fairly consistent temperature, I get a nice, even dye without the worry of burning the fiber or the house down.
If the dye is not uptaking, I can add some more boiling hot water, and check on it again in about 20 minutes. Sometimes a little extra citric acid will also do the trick to get stubborn dye to transfer into the fiber. The gift of time will give you consistent results and fully exhausted dye.
No need for pre-mixing dye or citric acid
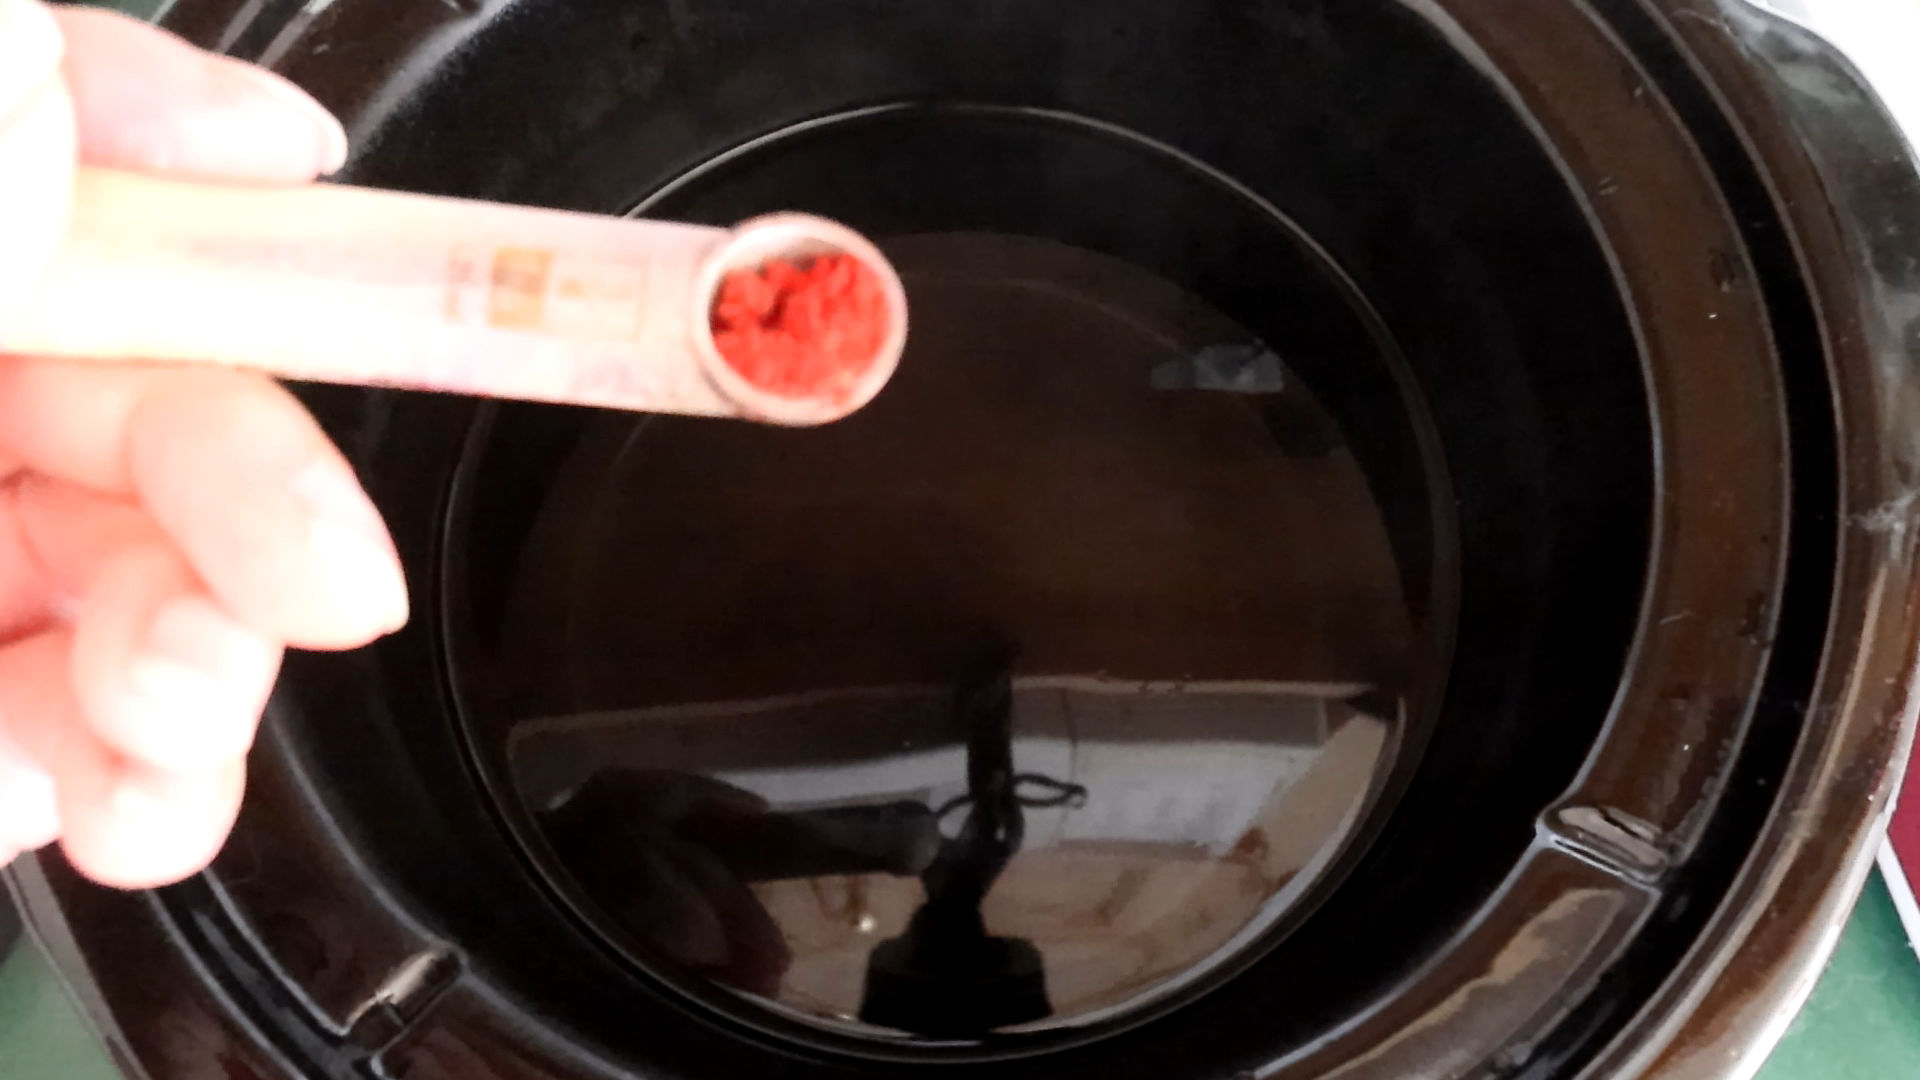
Another reason I like this method of dyeing is that I can do so on a whim. I choose the colors as I go; no pre-mixing is required. I also put the citric acid in the pot with hot water in powdered form and then add the dye. I’m working with 1/4 teaspoon of dye for the sections in this roving for each color.
No need to pre-mix dye, put it straight in the crockpot along with citric acid
Doing one color at a time is less messy and each color stays as pure as you want
Believe it or not, I’m the type of person who doesn’t really like to get messy! As creative as I can be and as “messy” (HA HA!) as my brain can get, I do appreciate tackling tasks with order and organization. I’m the type that likes to take all the ingredients out for when I cook, but I will put those ingredients away as a go and clean along the way. I find mess and chaos challenging.
Crockpot dyeing allows me to approach one color at a time without worrying about the color getting on other parts of the roving unless I want it to. I like to overlap the colors as I dip the roving into the next color in the pot. Whenever I have pre-mixed dye and dyed roving in the dip/wrap in plastic to steam method, not only does color go where I don’t want it to, but it tends to make a mess: color dripped on the work surface, for instance. Doing one color at a time is perfect for control freaks like me. 😉
That’s not to be confused with the times I dye and want the colors to mingle together. But that’s a blog post for another day. 🙂
Cons of Crockpot Dyeing
You need to have a crockpot exclusively for dyeing (though, as I mentioned, it is easy to obtain one relatively cheaply; at least this is the case here in Canada)
It’s time-consuming. It is a slow cooker, after all. You are dyeing your roving low and slow. However, I would argue the time you save not pre-mixing dye may make up for this
You can only do small amounts at a time. If you are looking to do large amounts of dyed fiber, then a large stockpot or a caterer’s steamer tray may be more to your liking.
I hope you enjoyed my video on how to dye roving using the crockpot method. In the future, I hope to cover this and many more ways to dye yarn and fiber.
I am a jewelry artist, spinner, and indie dyer in Nova Scotia, Canada, self-taught in all areas. I hope these posts help encourage and inspire you along your creative journey, no matter if you approach your craft my way or not. 🙂 Check out my About Me page for more info and the Fiber Arts/Spinning/Dyeing Category for more content like this.
What happens when two Skeins of Yarn go for an Extra Dip in the Dye Pot
This month’s post involves over-dyeing my handspun yarn with two grey hues to see what it does to the overall color.
I chose two skeins of yarn. One was a freshly spun spiral ply that was really pink. I have nothing against pink, but this is just too much pink for me. The other is a bulky chain ply I did some time ago for a hat pattern featured in my 5 Free and Easy Patterns to Make with Handspun Yarn post. The hat turned out nice, but I didn’t wear it, so I decided to unravel and reuse it.
Curiosity Gets the Best of Me
I don’t necessarily dislike either of these yarns. Even the really pink one, I’m sure I could find a project for it. I’m more curious about what would happen if I changed one element of the color. Curiosity gets the best of me in the studio. Once I know I want to try something, I must go for it, for better or worse. And yes, I’ve often regretted not leaving well enough alone.
That said, every time I try over-dyeing, I learn valuable lessons about dyeing and color. So even the mistakes have their place, and probably mean a third dip in the dye pot to meet my friend black dye. 😉
The Yarn Used for the Experiment
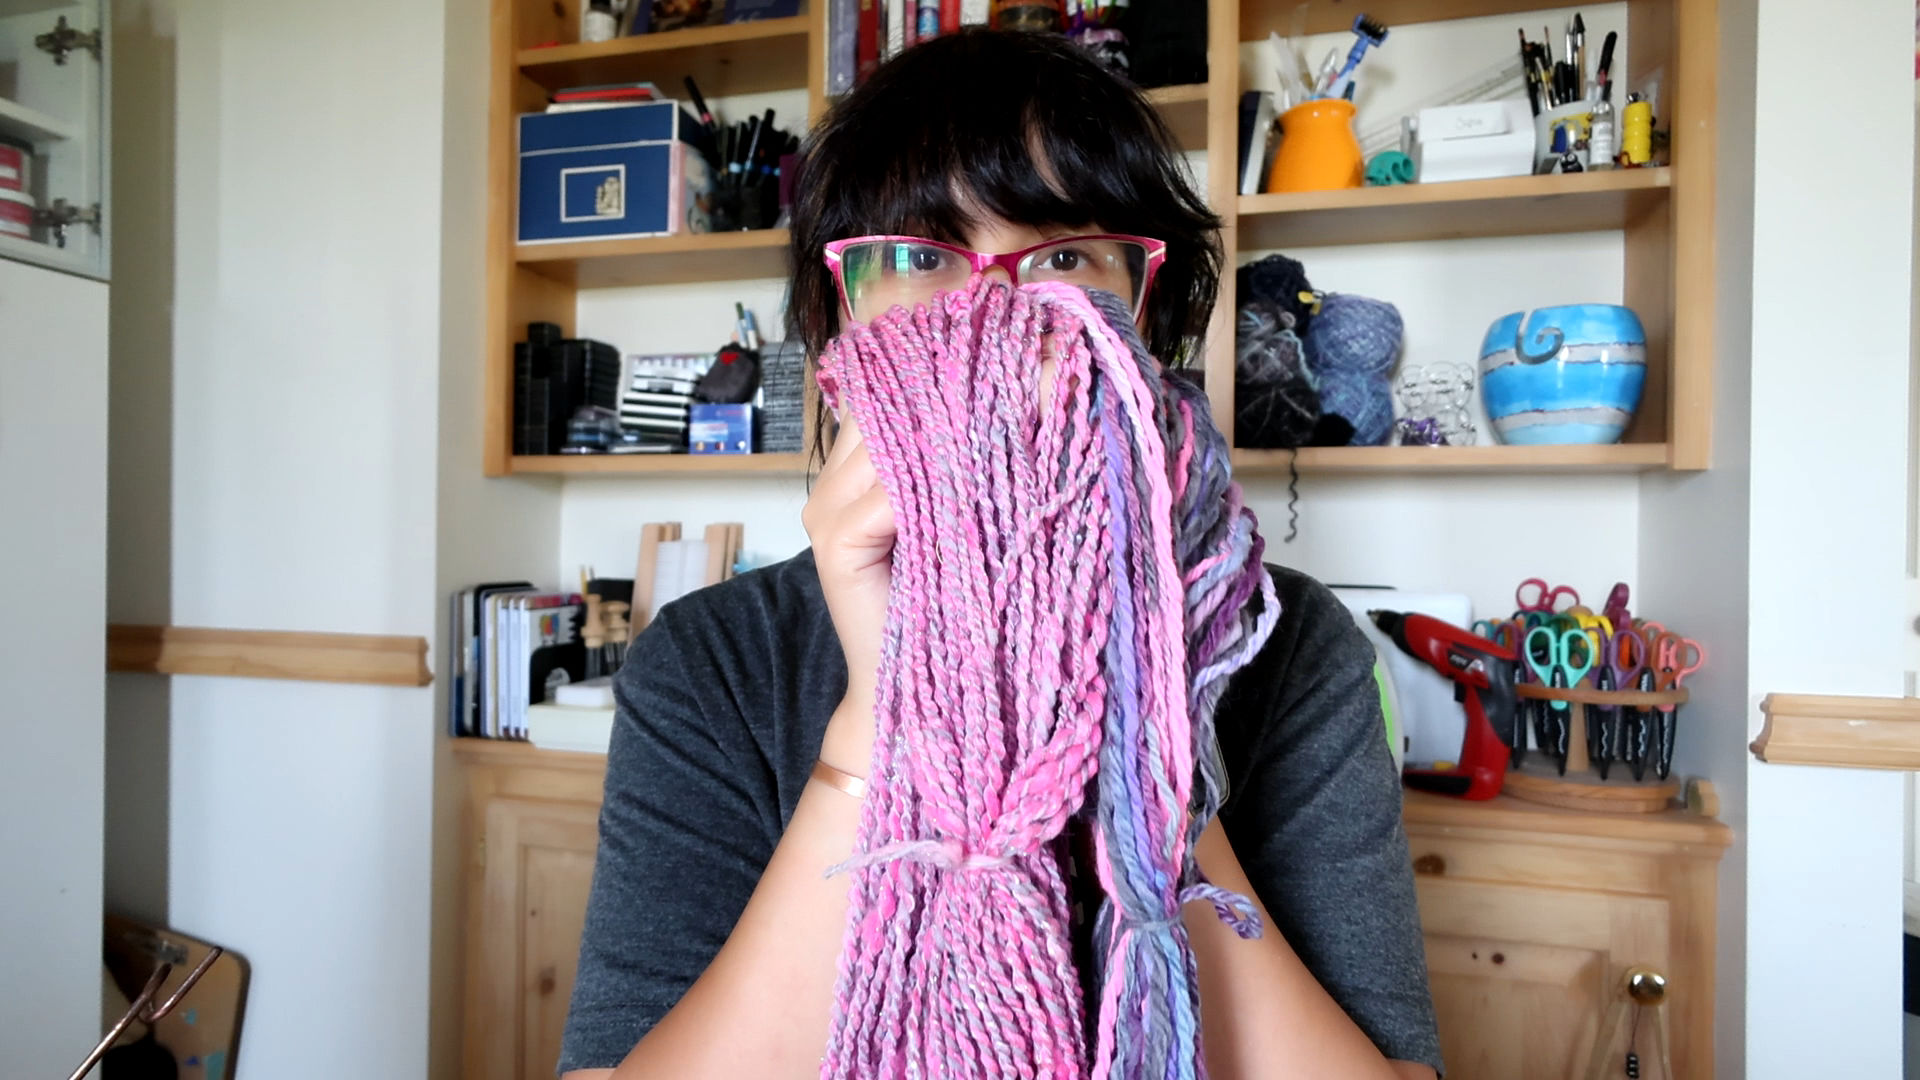
Here’s me with the yarn for the experiment: a pink spiral ply (left) freshly spun and not set, and a chunky chain ply (right) once knit into a hat and then unraveled.
I’m doing a light silver-grey on the spiral ply. Hopefully, it will tone down the pink. I’m going to do a dark charcoal over the chain ply. I’m most concerned with this one. I don’t know how patchy or dull the charcoal grey will be over this vibrant color. This yarn has also been set, knit, unraveled, and dyed again. That’s a lot of friction on a non-superwash wool. Hopefully, I won’t be left with a strange felted mess! I do not know how this will turn out, and I’m taking you on the journey with me in the video below.
Why Over-dye Your Handspun
The main reason why you’d over-dye your handspun is simply because you dislike the color. Most of the time, you’ll hear of people using black as an over-dye, and I’ve certainly done this several times. I’ve spun yarn and realized the color is clashy or dull, so black is the most successful color for eradicating handspun sins. 🙂
In my experience, black doesn’t completely cover the color in yarn. Darker pieces will show through, and I like that effect. The color underneath will also blend with the black to give different undertones. But you can use other colors to over-dye wool yarn, as well. Typically, you’ll want to use a color darker than the yarn you’re over-dyeing. But as with the silver grey I use in this video, you can use lighter colors to subtly change or tone down the original color.
The main reason I like to over-dye is education and experimentation. I get bored of yarn that sits around the studio. Truthfully, I spin more yarn than I use. Often, I think, “Hey, I like this yarn in structure, but I don’t think I’d wear this color. I wonder what it’d look like if I applied this color over it?” Over-dyeing often breathes new life into the yarn for me, and then I get excited to use it.
Also, over-dyeing is a great way to gain experience with dyeing and color without breaking the bank. Start with the yarn you have laying around that you’re not 100% about. Unravel an old project like I did here and throw it in the dye pot. You have less to lose with less-loved or recycled yarn. You’ll be gaining knowledge about dyeing yarn without any feelings of deep regret. Once you perfect your skills, move on to the new/better stuff.
Why Grey?
For this experiment we’re playing it somewhat safe with grey. But I figured it would give me the best success of what I wanted to achieve, plus show that you don’t need to invest in many different dye colors to over-dye. I find grey is less harsh than black and therefore more forgiving if the over-dye is patchy.
The chunky chain ply skein in the charcoal dye bath
Reduce, Reuse, Recycle
Yet another reason to over-dye your yarn is to simply re-use it. As in the case of the chunky chain ply in this experiment, why not over-dye your yarn and reuse it in another way? You could do this with leftover yarn from a project or yarn unraveled from an old project you’re no longer interested in or didn’t turn out just how you’d hoped.
One reason I got into fiber is how versatile and waste-free it is. Even the unusable fleece after picking can be composted in the garden. I like taking this further and ensuring I have many ways to use and reuse my yarn as well.
Over-Dyeing Commercial Yarn
You can over-dye commercial wool yarn. Oh yes I’ve done it. My dad once got me a whole bag of brushed alpaca yarn from an early 90’s Sweater kit at his church yard sale. The hue of red was not my cup of tea. I over-dyed it blue and it made a terrific dark purple color.
I’ve even over-dyed commercial cotton yarn (dyeing vegetable fibers is a completely different experience from dyeing animal fibers. You can read about it here in my post on Dyeing Cotton Yarn). However, I don’t have any expertise in dyeing synthetic commercial yarns.
What to Use for Over-dyeing
My recommendation for over-dyeing is to use a dye pot, whether on the stove or, as I prefer, in a crockpot. You really need to saturate the color into the skein, and I feel the kettle dyeing method is the best and easiest way to do this.
It’s helpful to have a color wheel available if you decide to over-dye with colors other than black or grey. It’s very easy to end up with some shade of brown, and if that’s not what you’re going for, be prepared to be disappointed. I’ve also made many ugly grass green to forest green over-dyes. They weren’t very attractive and were harsh in tone.
Now it’s Your Turn: Go For It! 🙂
I hope this post inspires you to try over-dyeing yarn, whether it’s your own handspun or commercial. You will learn lots, and although you may not necessarily love the results at first, you will gain immensely in dyeing experience.
Be sure to check out my YouTube channel for more fiber arts content. I’m slowly adding to it monthly.
My Method for Successful Dyeing with little to no fuss
When dyeing wool yarn or fiber, some colors can be more difficult than others. Two colors that can be challenging to fully exhaust are red and turquoise. The other that took me a while to dye successfully is black.
When dyeing basic black, we can erroneously end up with a shade of grey, possibly because not enough dye was used or all the dye wasn’t exhausted into the yarn or fiber. Black is a spectrum of all shades, so sometimes the dominant colors will exhaust fully but leave other hues behind. For me, the best way to dye a color like black is low and slow. My slow dye method uses a crockpot. It works well for me every single time. Like most things in life, all good things come to those who wait.
I like this method because it’s easy for even new dyers to achieve successfully the first time. Plus, there’s no pre-mixing or need for pre-measuring ingredients ahead of time—just time and patience.
New to Making Videos
I’ve been trying my hand at making little instructional videos for the fiber and spinning community, and here’s another installment all about dyeing natural yarn black. In this case, I use a handspun Corriedale that was not set beforehand. I like to save time whenever possible, and the dyeing process will set the yarn since I must soak it anyway.
My fiber arts experience spans 12+ years, and being self-taught I feel the need to pass along my knowledge to support others in their fiber arts journey.
This particular video I decided to do without narrating, but added text on the screen to explain what I am doing. I’m trying out different styles of videos, and I liked leaving in the sounds involved with dyeing and just letting the video speak for itself.
Slow Dyeing
My preferred style of dyeing yarn and fiber in my home studio is “Slow Dyeing.” It involves a crockpot and time. This method works for me because I can pretty much set it and forget it. Instead of fussing over a dye pot, I can set the yarn in the dye and check on it whenever possible. For a busy maker mom like me, this method is great.
The only downside is you can’t be in a hurry. With patience, however, you get a perfectly dyed, fully exhausted dye pot with little to no setup. No (gasp!) math required. Just some basic knowledge of how much dye you should use for the size of skein/fiber dyed, the addition of citric acid, and even heat throughout.
The good news is that you can adjust as you go, so as long as you are patient, you should have perfectly dyed yarn.
In the video, I added the weight and size of the yarn I am dyeing basic black. Every brand of dye will differ, but this should give you a good idea of how much dye to use for 3.7oz of yarn or fiber.
What is your favorite method for dyeing basic black on wool yarn? Do you use a crockpot, steam in the oven or microwave, or a traditional dye pot? Maybe you find my method totally ridiculous, and that’s okay! Everyone needs to find the best way of honing their craft. I hope you enjoy the video, whether it inspires you or not. 🙂
If you’re new here, let me introduce myself. Hi! I’m Leilani. I am a wife, mother, autodidact, and jewelry and fiber artist. I’ve been creating jewelry since the late 90s/early 2000s and started spinning and dyeing fiber 12+ years ago. I love to express myself through color and share my creations with others who will hopefully feel the love and attention put into every handmade item.
My learning style is to – jump in there and figure it out – most of the time with limited knowledge. I like to have some personal experience with a skill before honing it or learning to do it “the proper” way.
This post is an example of one way you can easily start dyeing yarn at home with little experience. To see a tour of the items I have in my studio for dyeing yarn and fiber (most picked up on sale or second-hand/repurposed), check out my Dye Studio Tour post/video.
Sharing My Experience
The following footage was filmed to (hopefully) inspire others to take the leap and try a skill like dyeing yarn. I wanted to show how easy it is without fuss, pre-mixing/measuring (math!), or expectations. For me, the magic happens just by trying things out for size, and I want to encourage others to do the same because the intimidation of failure often gets in the way.
Hopefully, in all its imperfection, you will get something out of it or at least know more about me as a maker. 🙂
Below is the video transcript and some extra notes in case you’d rather read than watch.
Dyeing Commercial Yarn
I dyed this superwash Merino yarn at home with a crockpot in stages over several days. It’s my easy, fuss-free method of dyeing. Here’s a quick run-through of how, step-by-step.
Pre-Dyeing Prep
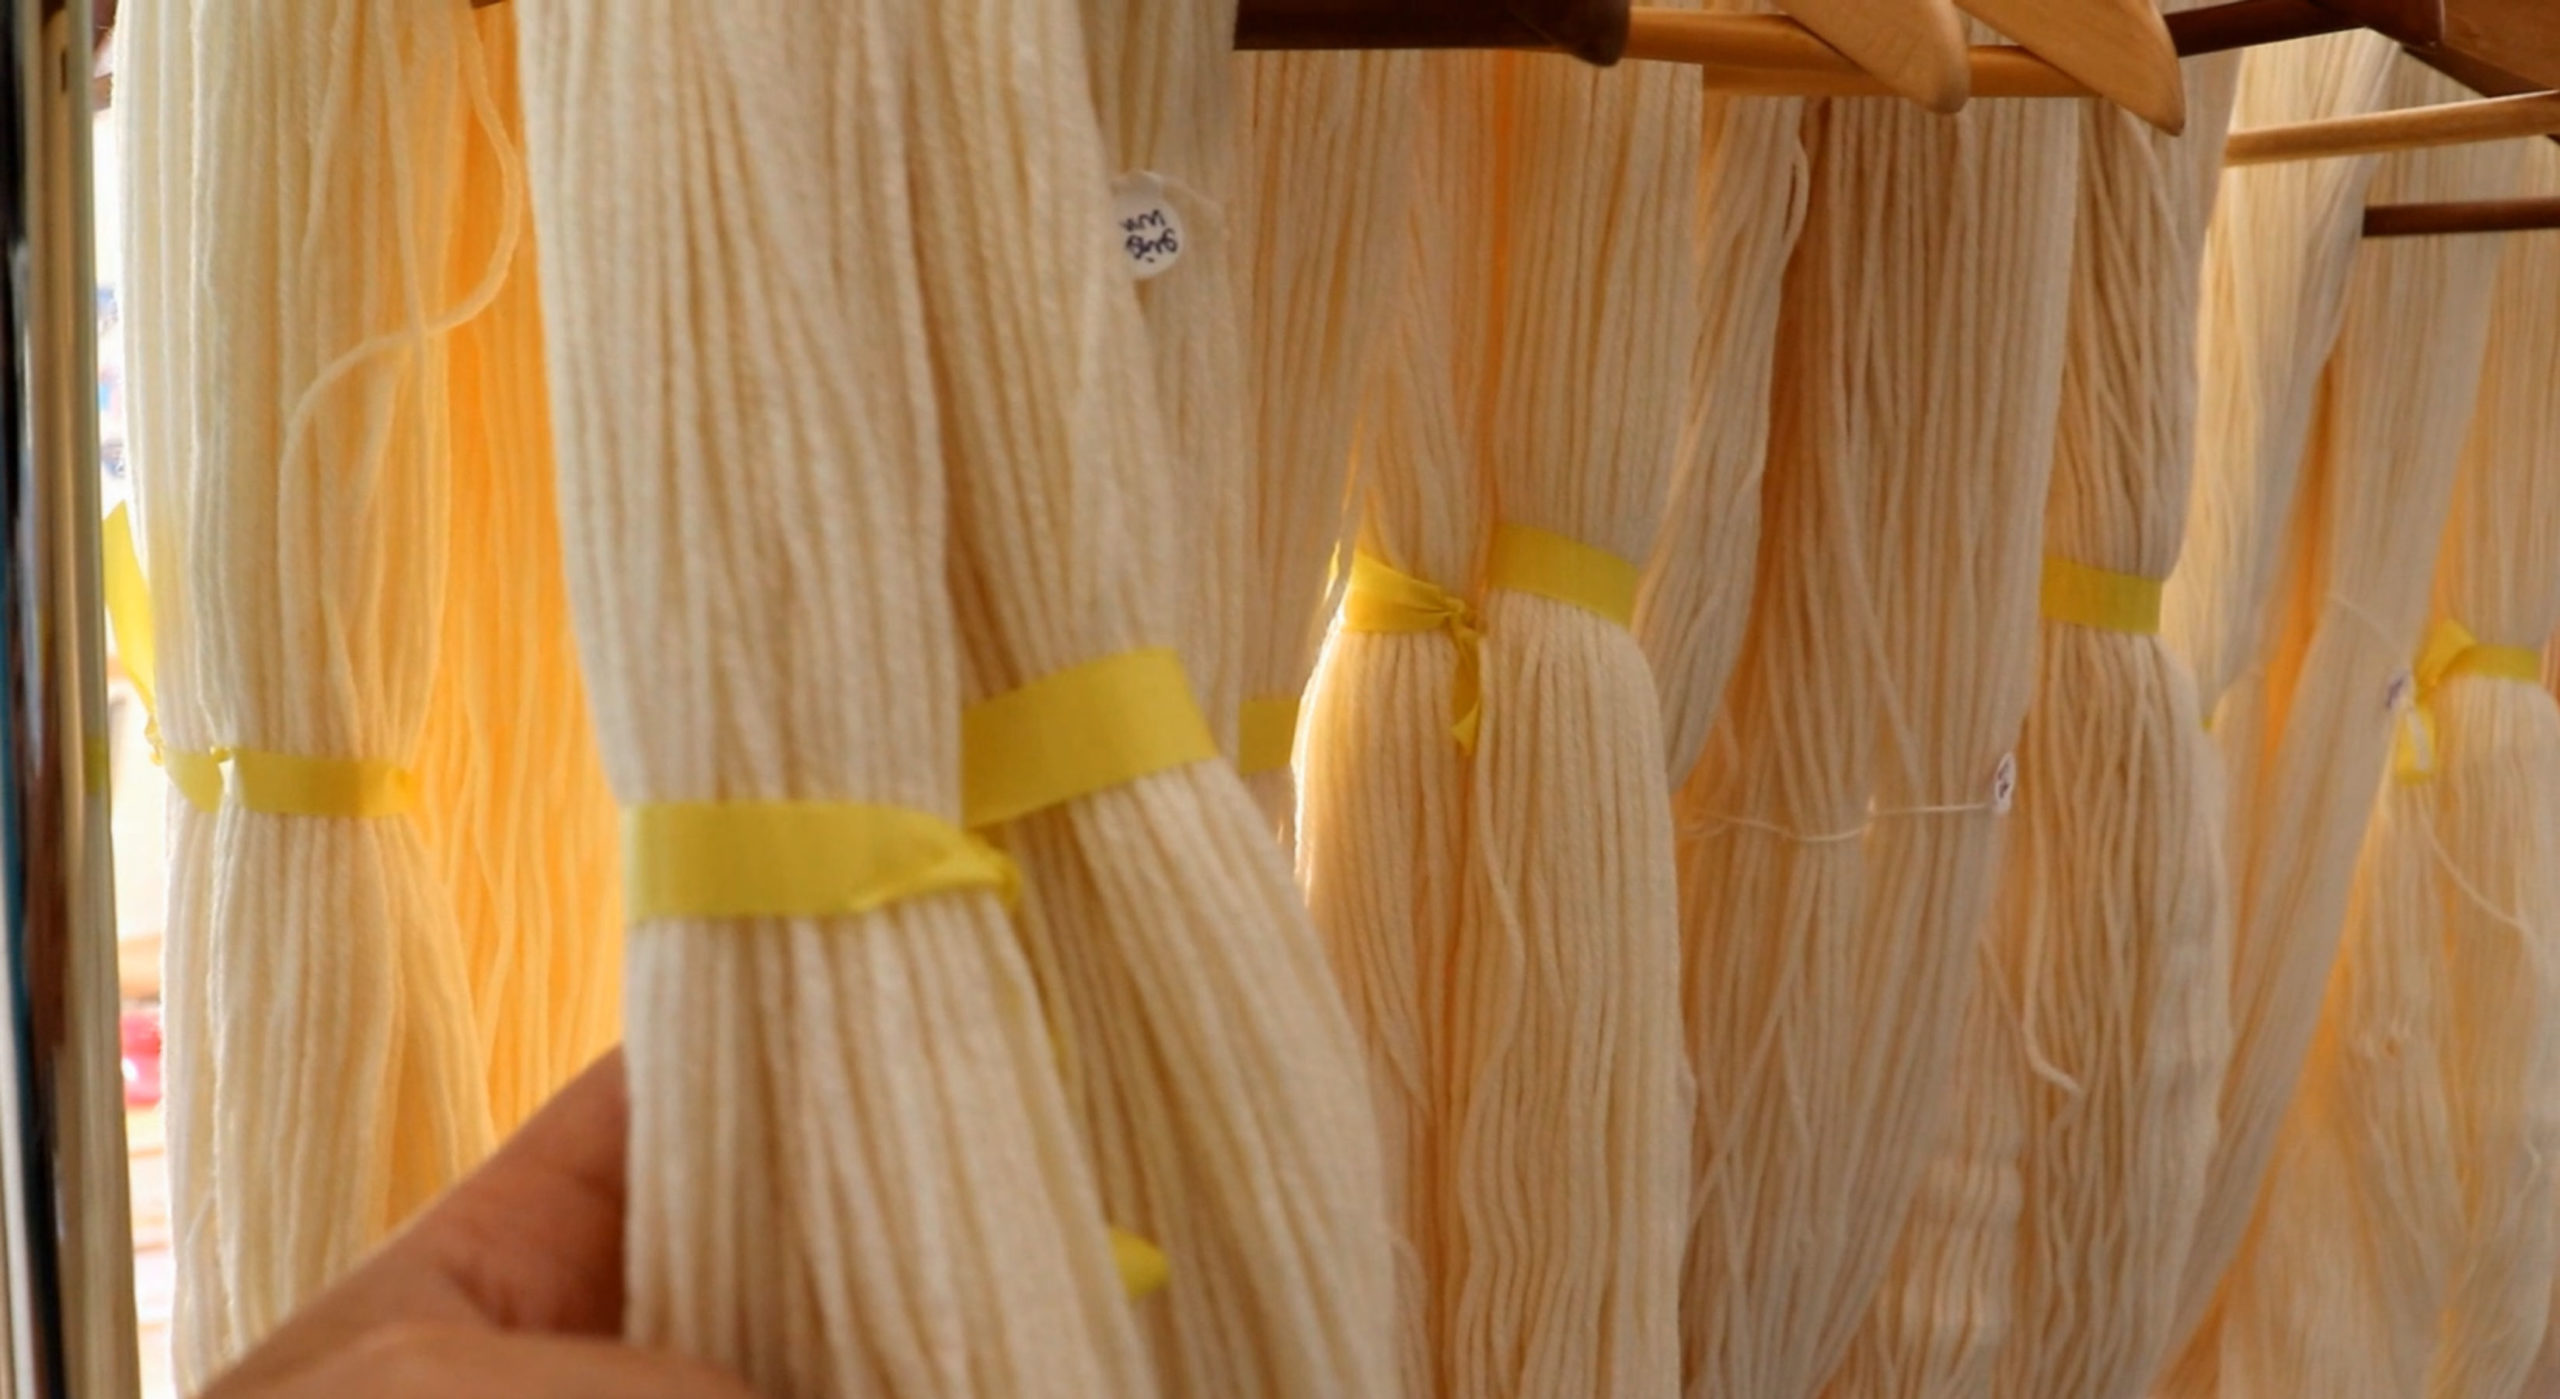
First off, prep your yarn for dyeing. I usually dye two skeins at a time and loosely tie them together. Even if you are dyeing just one skein, it is recommended that you tie it off in at least two additional places to keep the yarn from tangling.
Additional notes: What I use to add ties to my skeins is a product called highway tape, or as we call it, marker tape. It’s used to mark a path through the woods or to mark trees to be removed (among other uses). I bought mine at a local farm feed store. You could also use ribbon. I advise against using pieces of scrap yarn since you’ll want something that will be easy to find and remove later and also won’t felt or tangle with your skein. Be sure to tie it loosely so that the dye can flow behind.
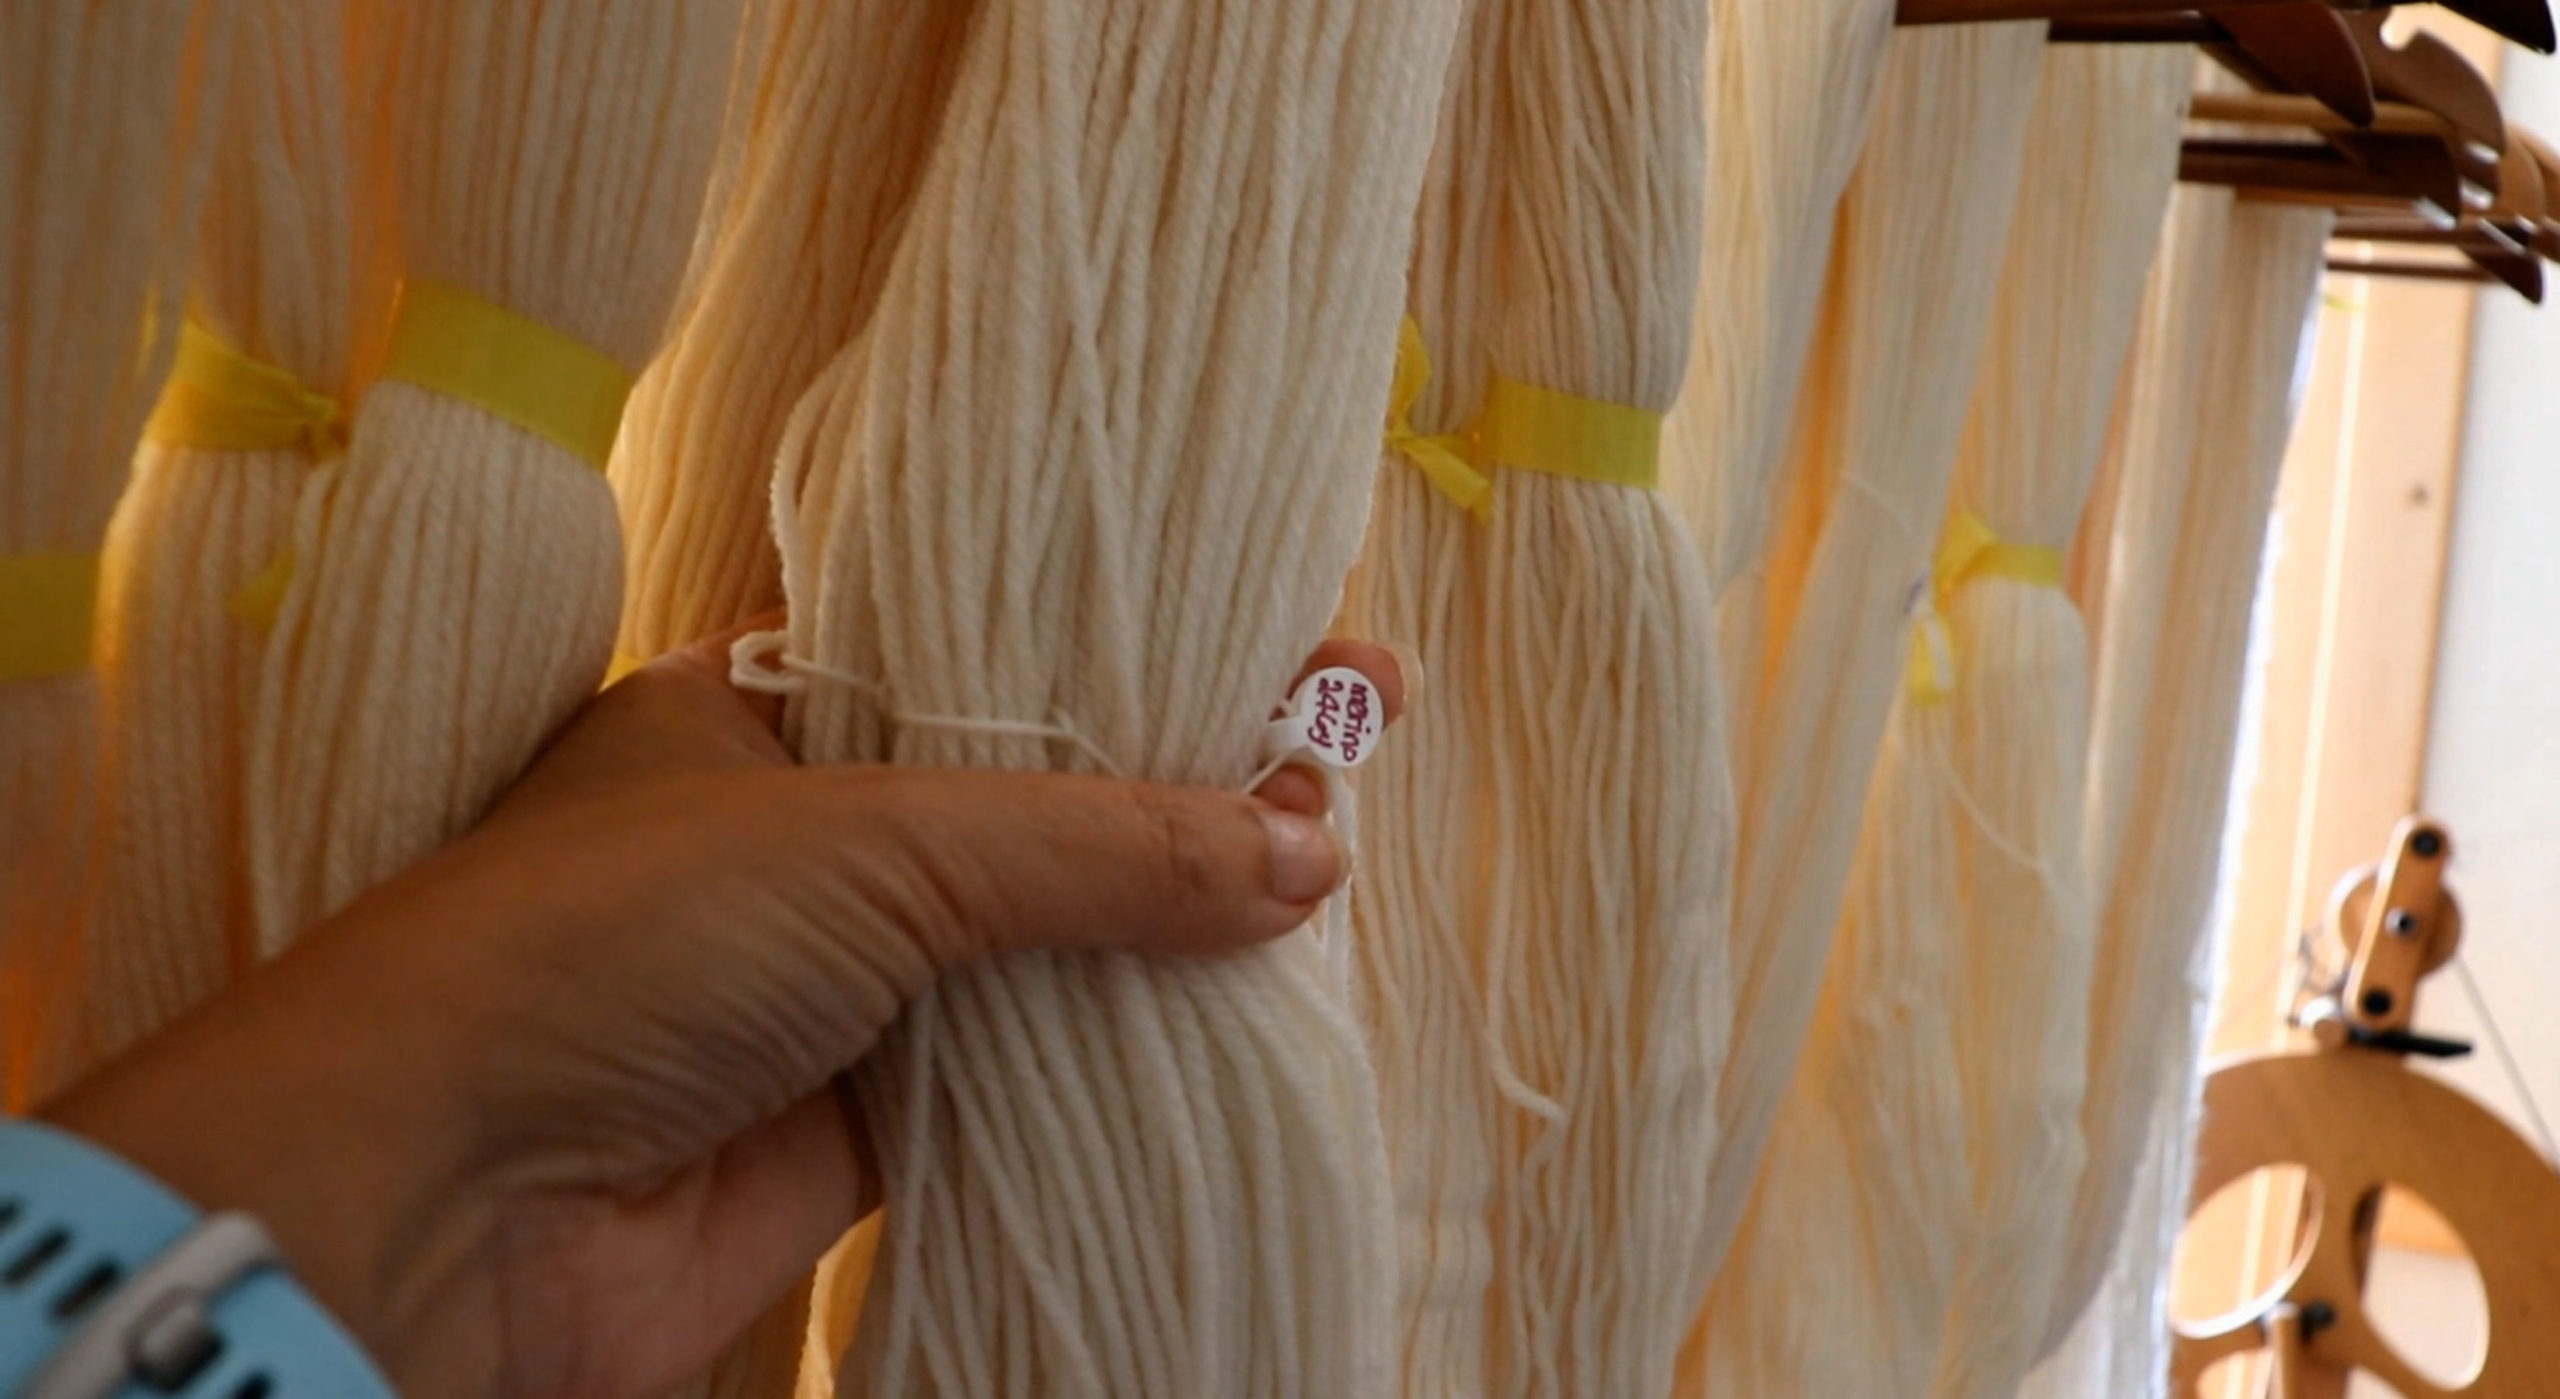
I also label my yarn by type, size, and length with fade-resistant jewelry repair cleaning tags. As I also make jewelry, these were a no-brainer to use.
Additional notes: these tags can be found at any jewelry supply store or online. They are made of tough material, almost like woven fabric, so they don’t disintegrate in hot water or with a cleaning solution. Therefore, they also work well in the dye pot. I use a fine-tip Sharpie marker to write the info. If you are doing one skein at a time, a notebook where you write the details of each skein would suffice. Do take notes. Don’t rely on remembering; believe me, you won’t. 😉
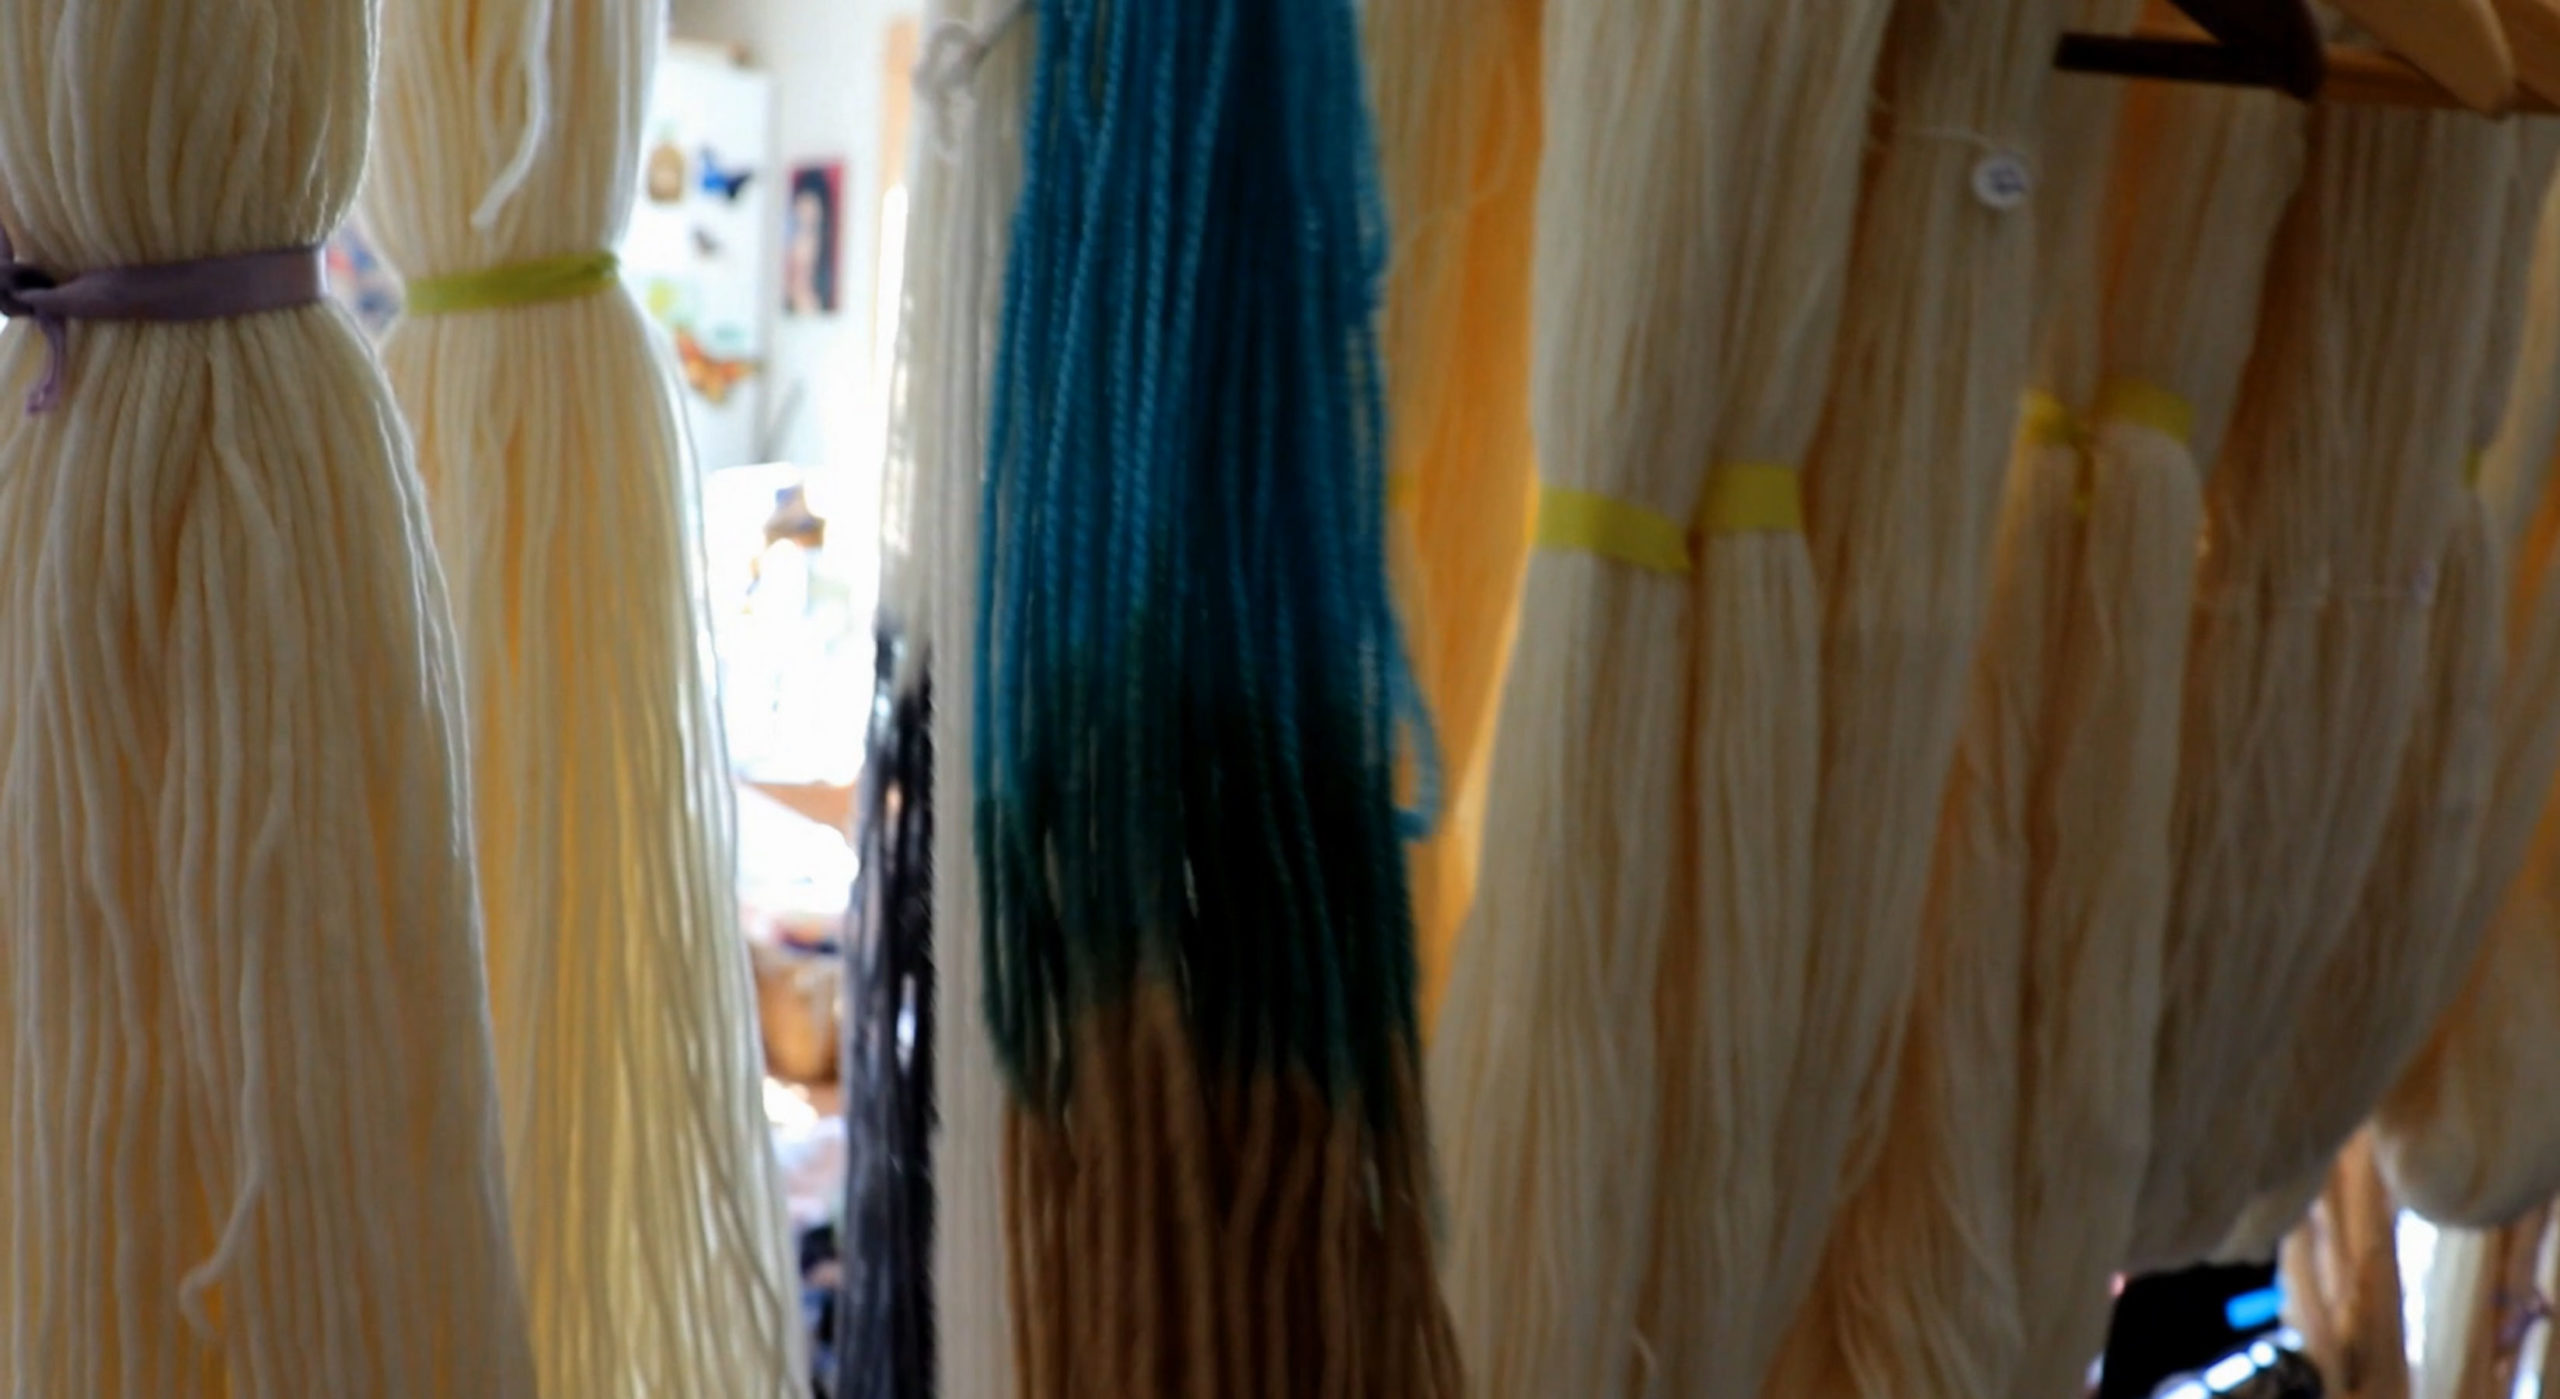
Another thing I have on hand is a skein of yarn ready to absorb any extra dye from the dye pot, should there be any. I don’t like to waste any product, and I’ve created new color combos this way, as the dye added is usually from more than one project.
Additional notes: I use a cheaper commercial yarn or my own 2 and 3-ply handspun yarn that I’ve spun natural color, undyed. I like to re-tie these skeins longer to get more color on each. This is also how you get a self-striping yarn pattern. You can use two chairs, spread the desired distance apart, and wrap the yarn around both. Don’t forget to re-tie it off at both ends. I rinse every section after soaking up any unexhausted dye and then hang it up to dry/continue dyeing the next project where there is too much dye in the dye pot.
Superwash Merino is a wonderful choice for yarn dyeing since it doesn’t felt. My equipment of choice for this process is a crockpot – dedicated for dyeing only, of course. I’ve already added hot water to the crockpot, and I’ll go ahead and add the dye next.
Dyeing the Yarn Section by Section: Section One
After mixing in half a tbsp of powdered dye, I dipped a section of the yarn into the crockpot. I’m using Country Classics in the color gold, which does not need the addition of citric acid or vinegar. I also didn’t pre-soak this yarn, as I will probably have to dye it in stages over the next couple of days.
Additional notes: I don’t always have the dedicated time to dye, or something will come up and interrupt my project. For that reason, I normally choose not to pre-soak the yarn so that I can simply rinse the dyed section and set it aside until the next day. There are pros and cons to not pre-soaking. The pros are obviously convenience and speed. The downside is that the color may not distribute evenly, though this is design feature that I like.
Dyeing Section Two
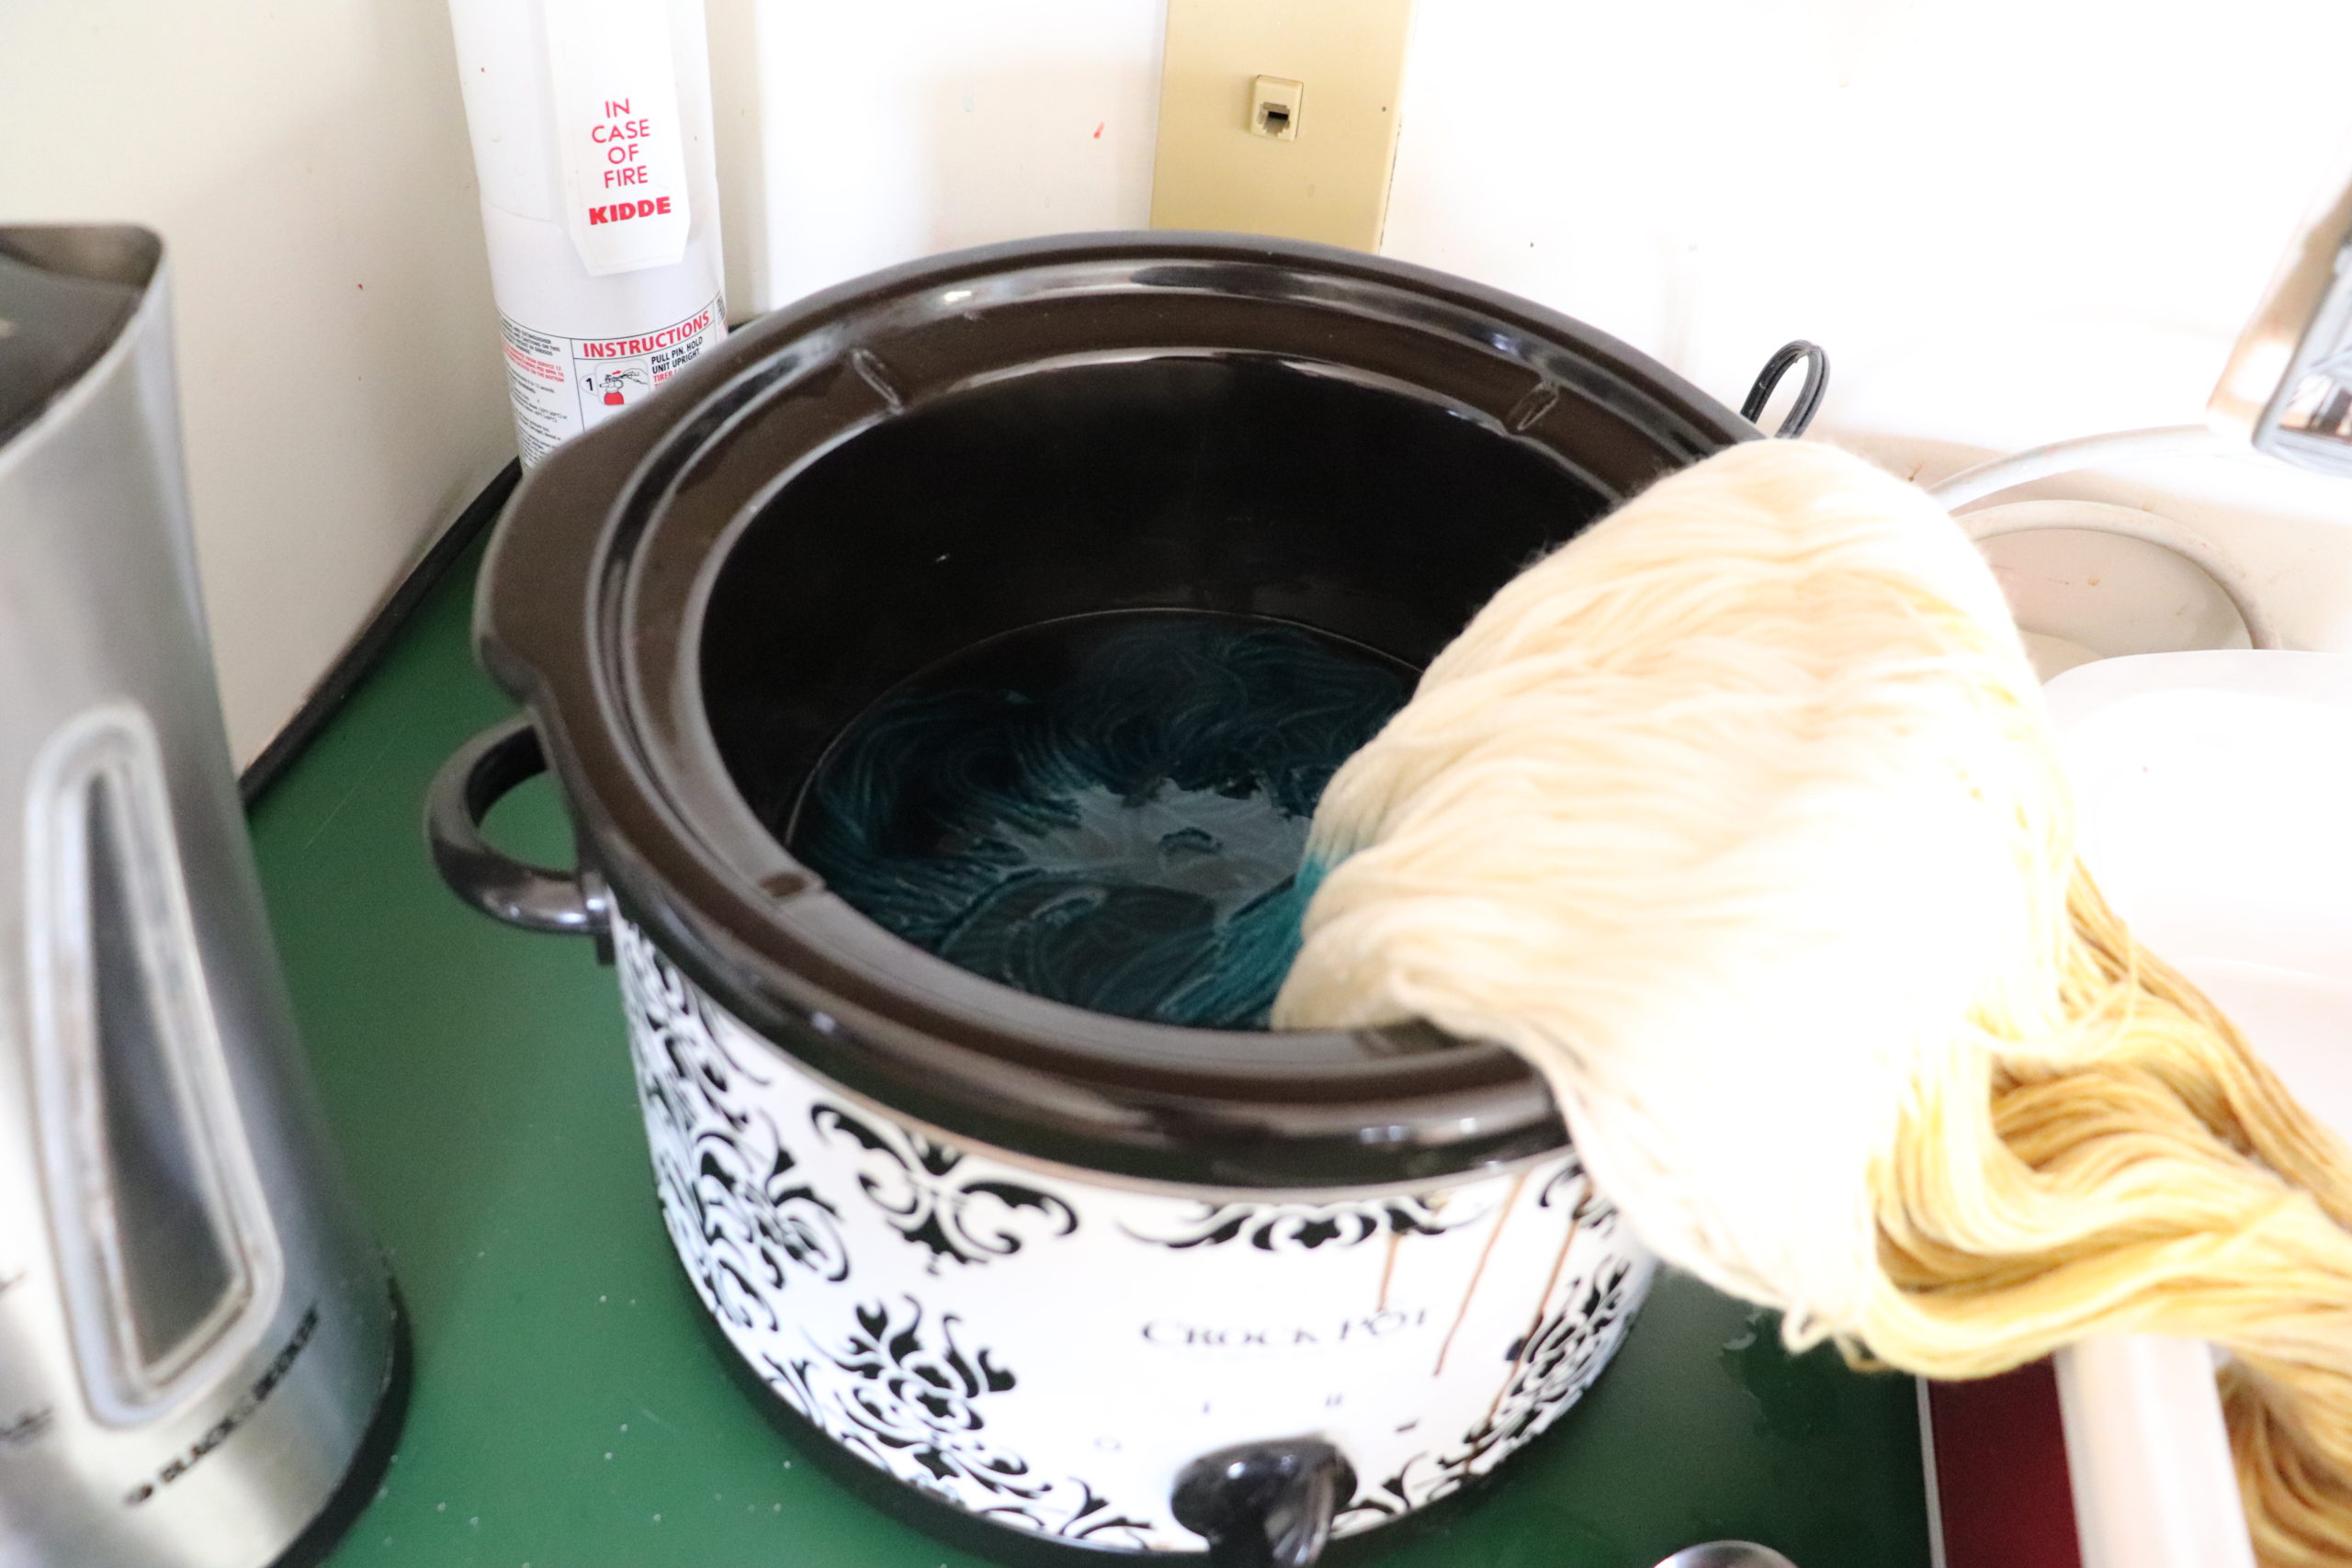
The gold section is done, and now I have added approx. 2 tbsp of citric acid and ¼ tsp jacquard teal to the crockpot and dipped in another section. As you can see, the water is clear, which means the dye has fully exhausted and the color has completely transferred to the yarn.
Additional notes: I add powdered citric acid and powdered dye straight to the hot water of the crockpot without pre-mixing. I stir both until dissolved, then add my yarn.
Grabbing some rubber gloves to protect my hands, I cautiously remove the yarn from the crockpot and gently squeeze out the water. Teal is one of my favorite colors. Remember, this is two skeins of yarn tied together, so I will have two practically identically dyed skeins when this is done.
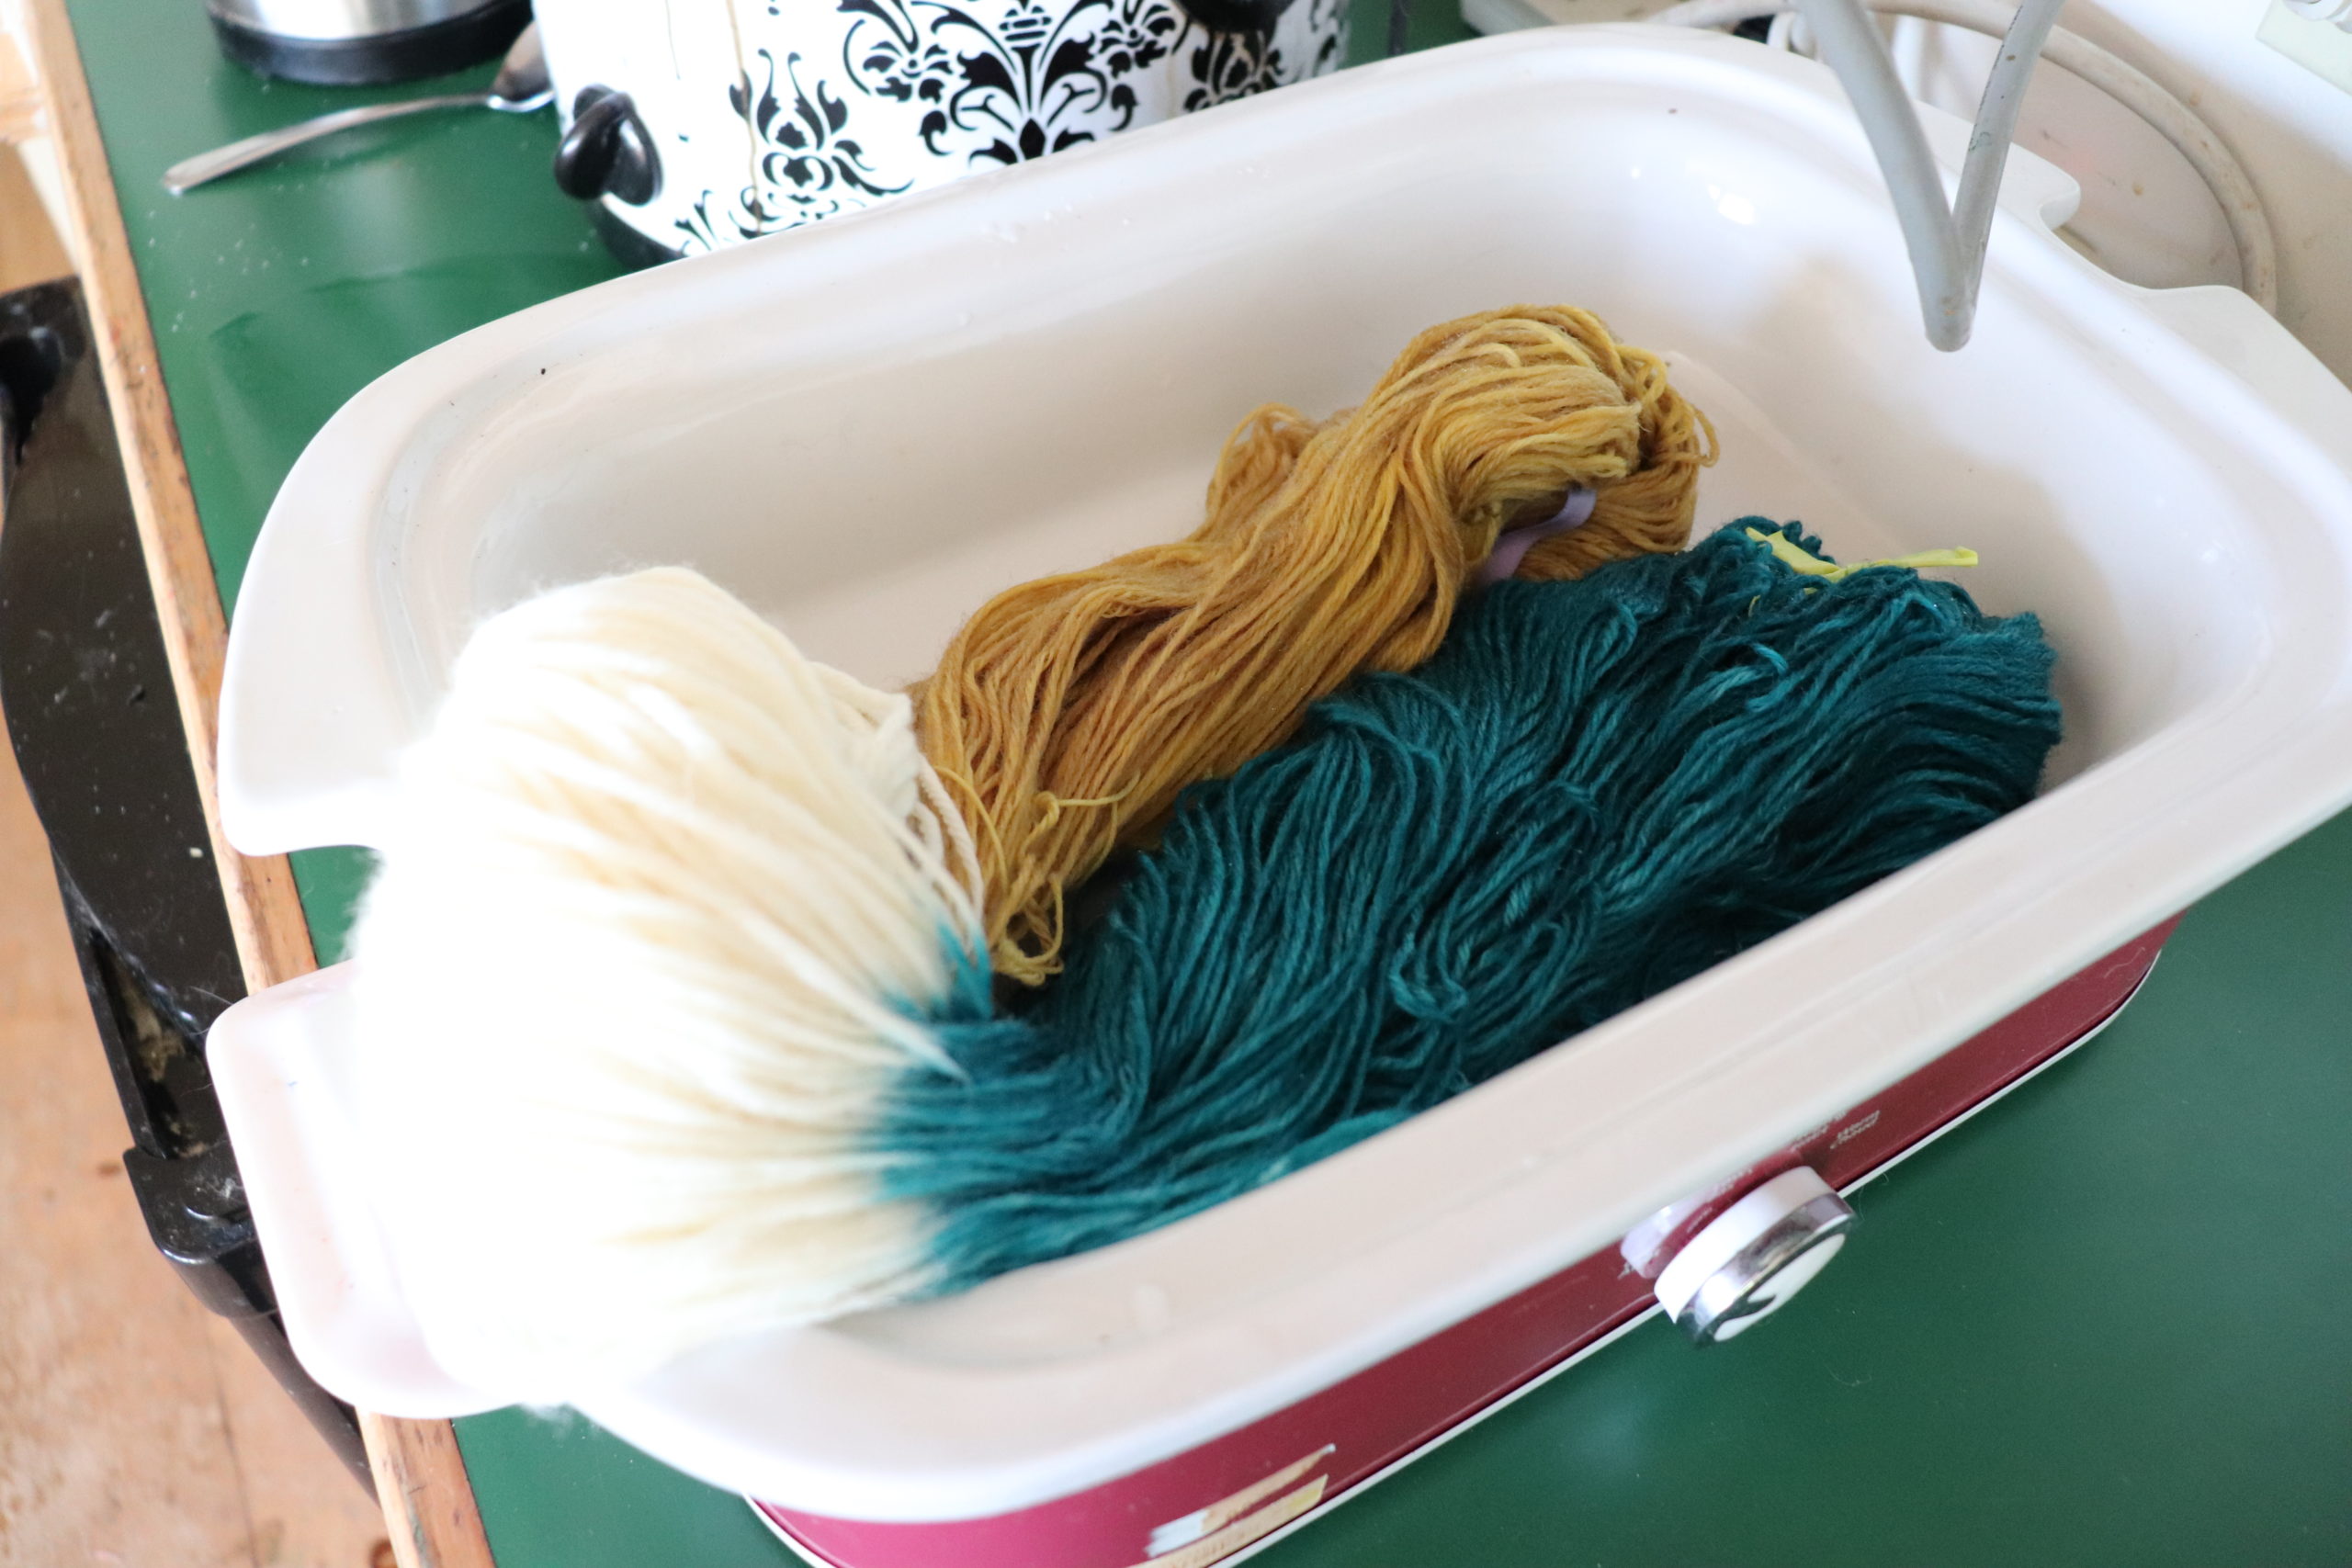
Here’s a closer look at the two sections dyed:
Dyeing the final Section
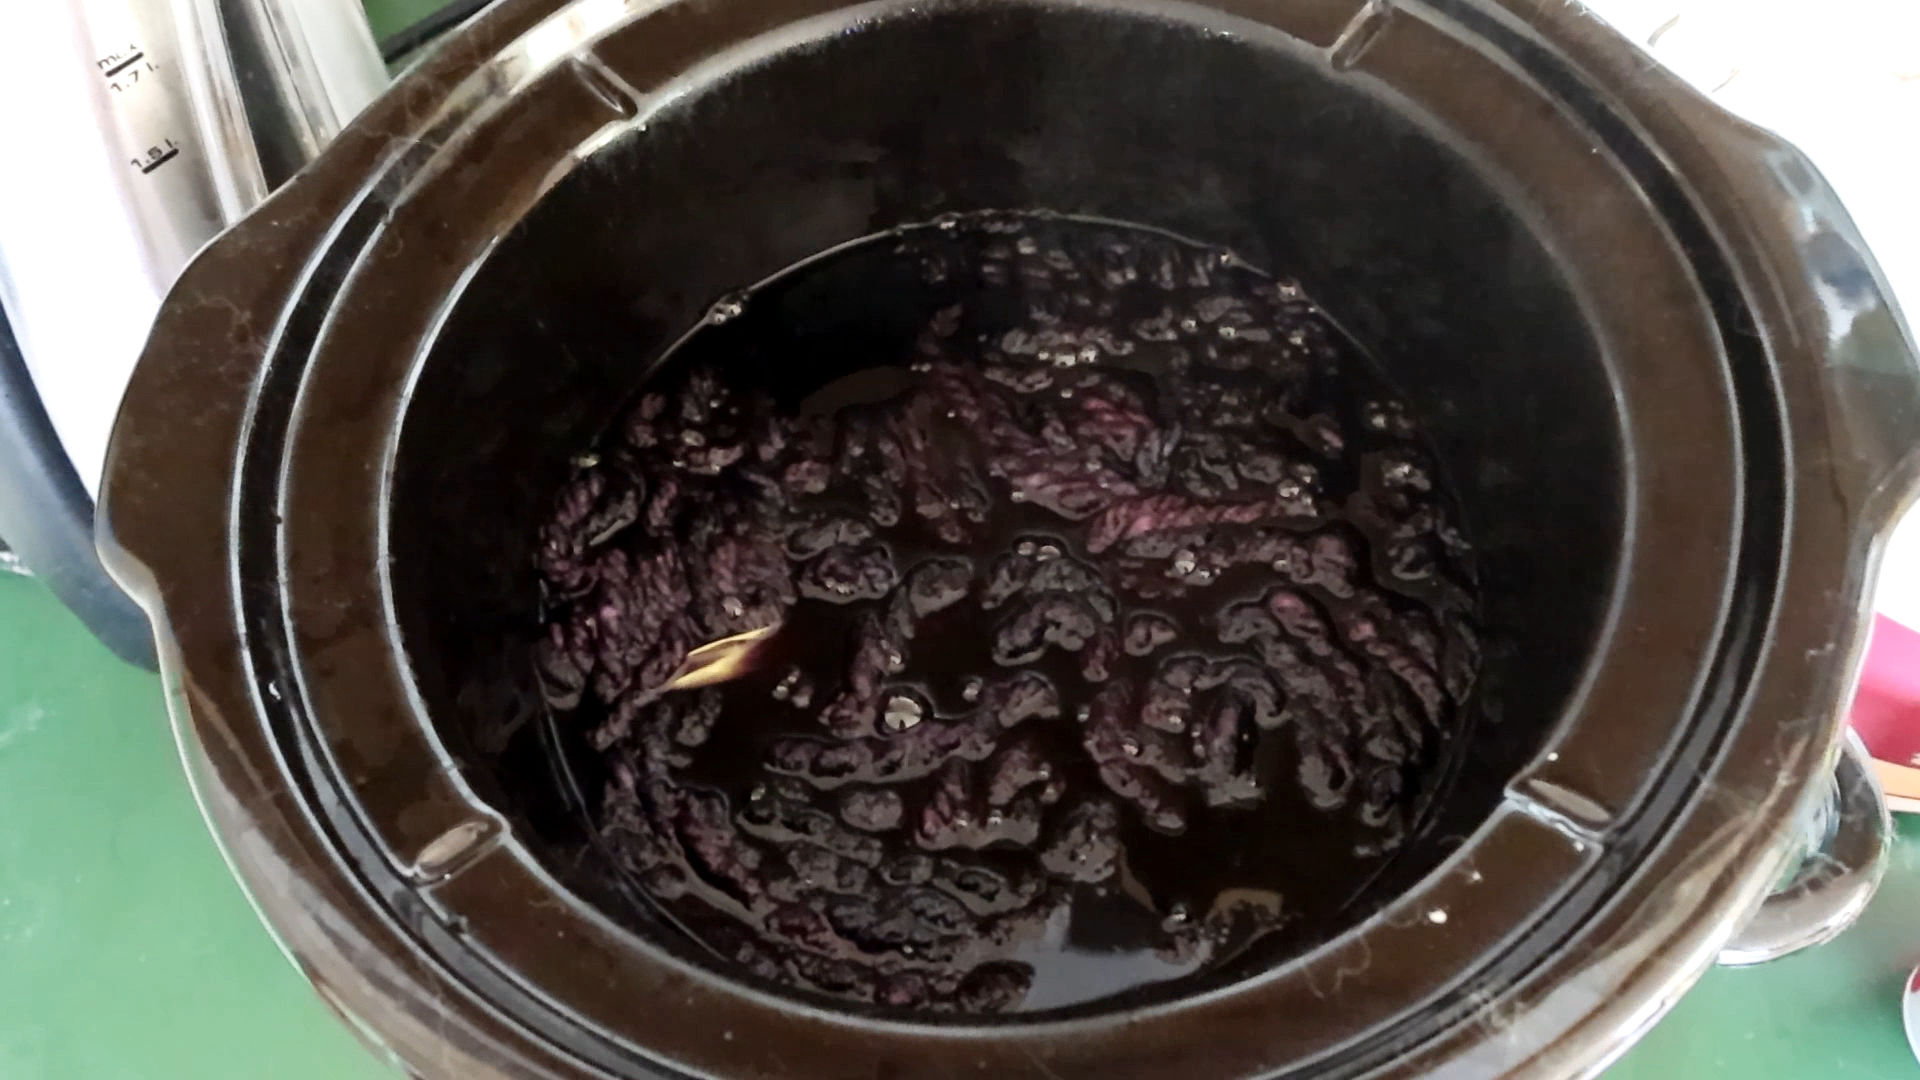
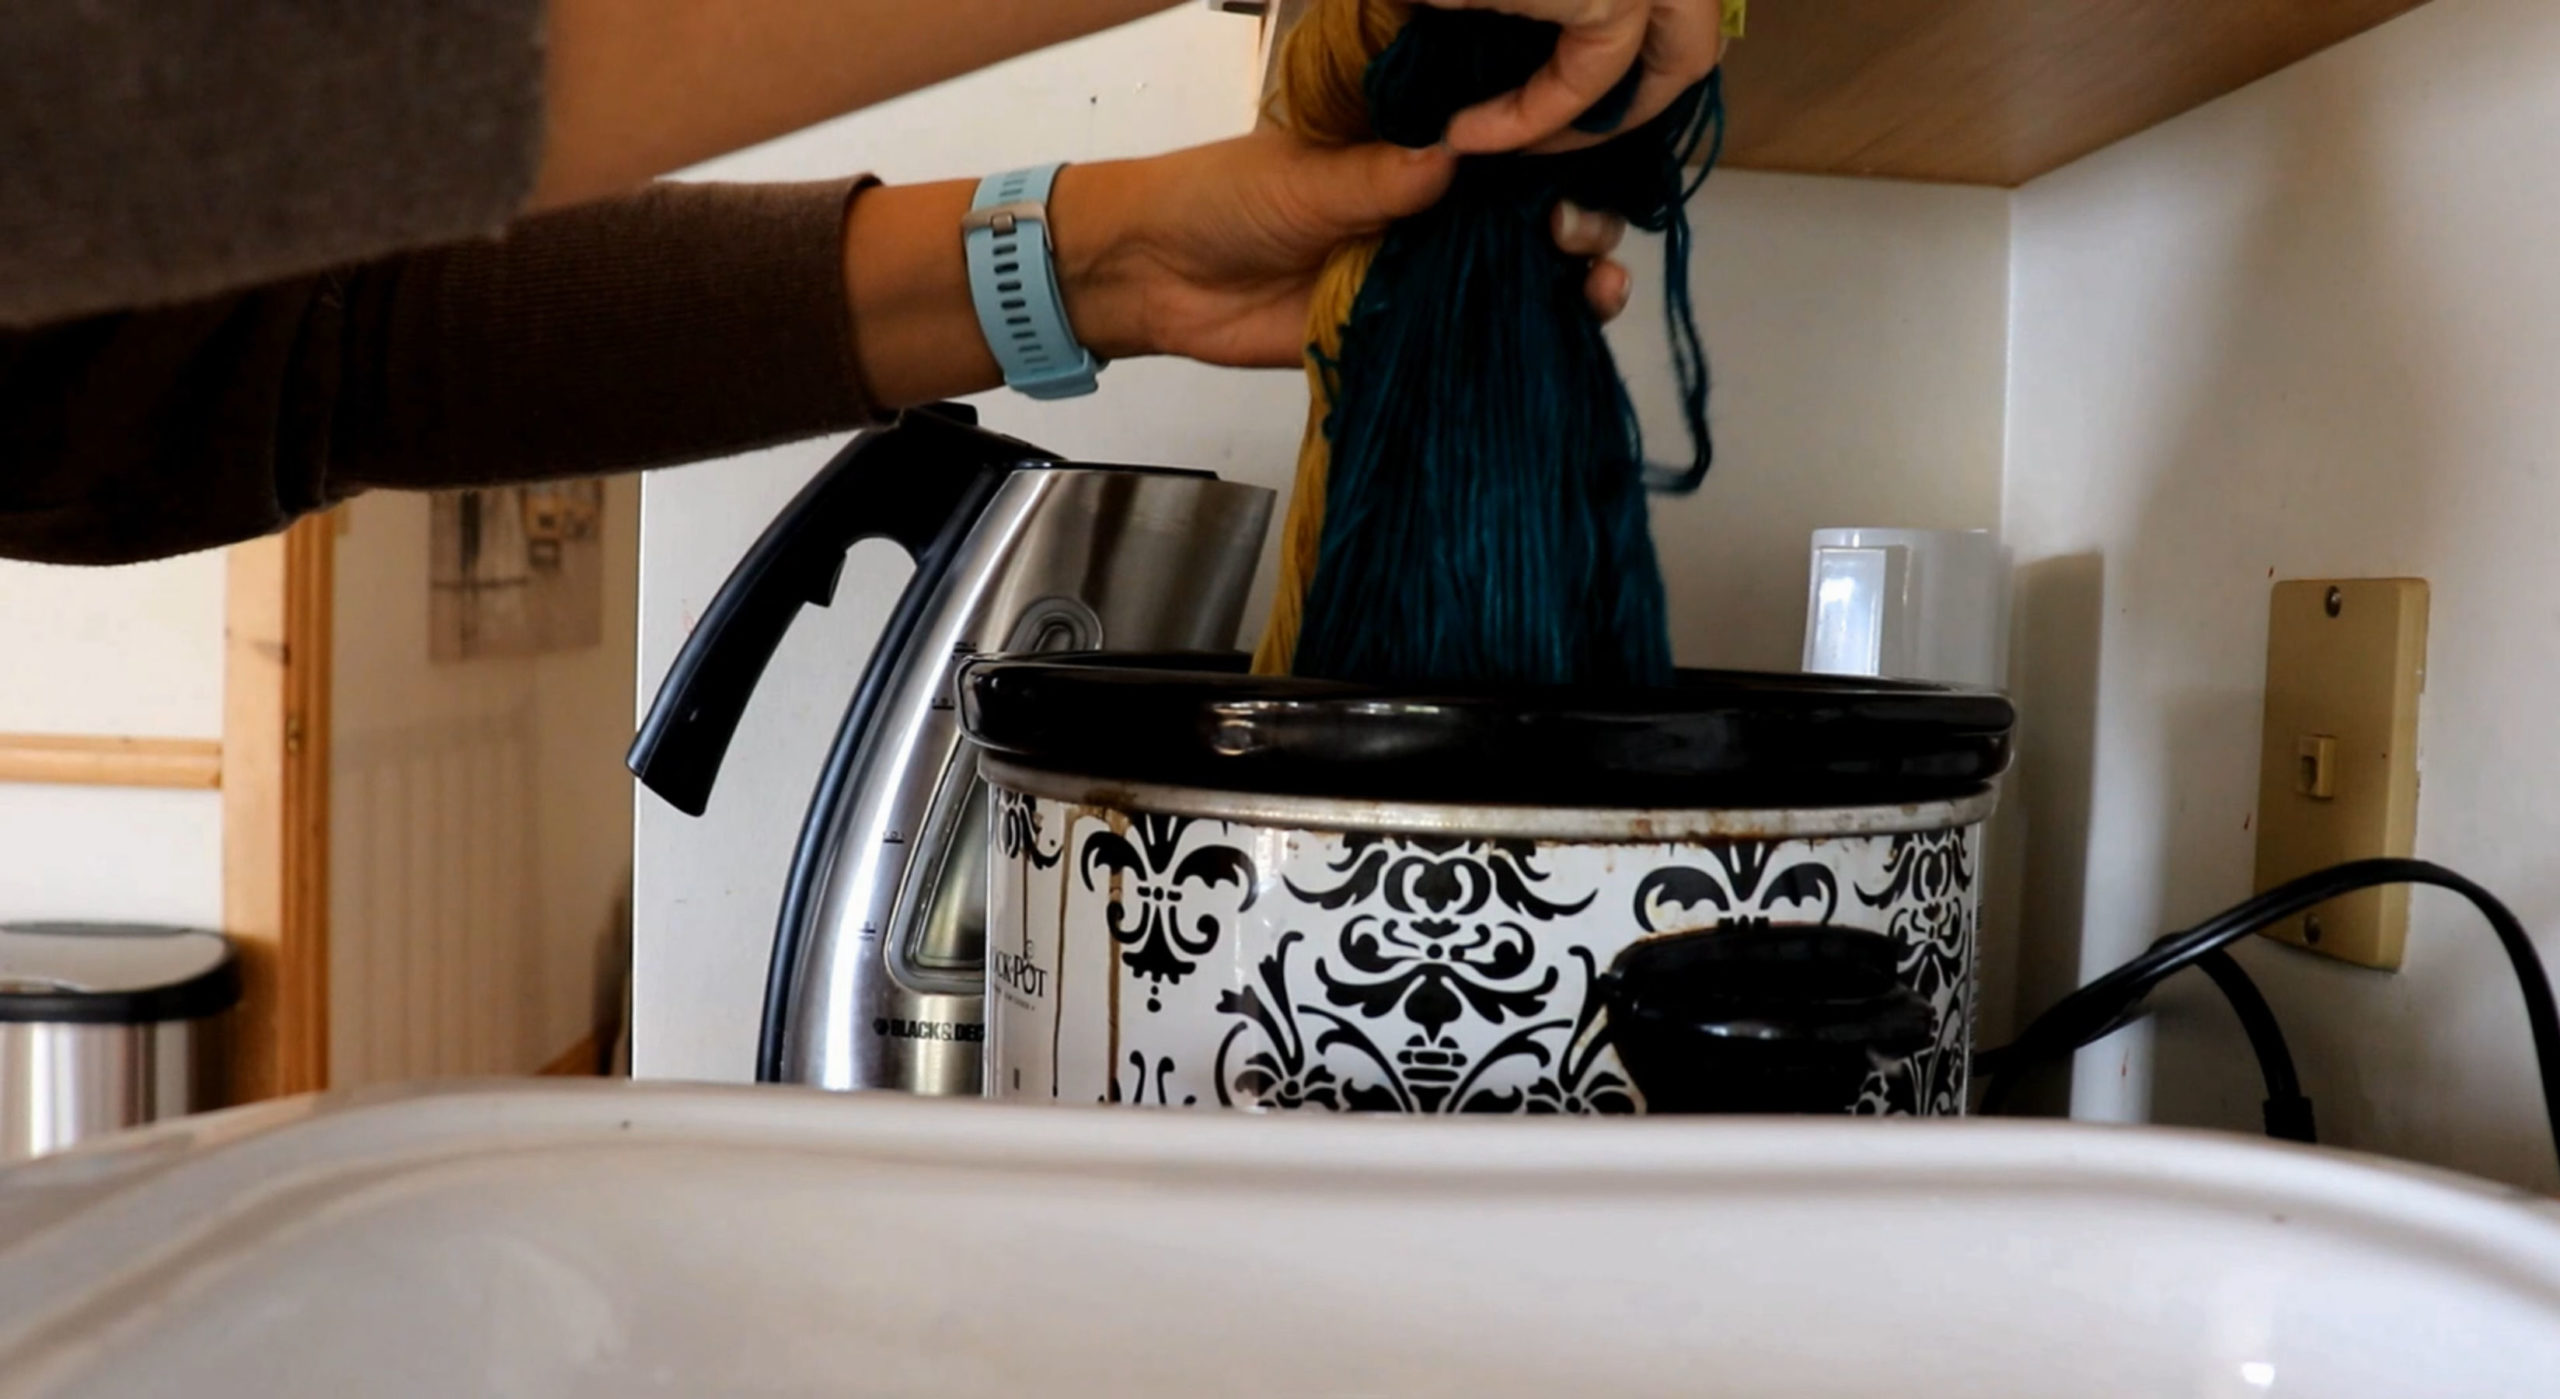
Alright, let’s do this final section of color. I’ve already added approximately 2 tbsp citric acid and ¼ tsp of G&S dye in the color burgundy to a bit of warm water in the crockpot while the bulk of the water boils. After adding the boiled water to the crockpot, I stir the mixture to dissolve the powdered dye and citric acid. I make sure to be careful not to splash hot dye water on me and not breathe in the powdered dye while stirring. Protecting your skin and clothes with gloves, goggles, a mask, and an apron whenever possible is always a good idea. I make sure to be really careful if I am not donning the full protective gear.
Now to dip the final section of bare yarn into the crockpot, and we’ll let it soak for a few minutes. I hang the two other sections already dyed to the side of the crockpot and move my rectangular crockpot closer to catch any drips.
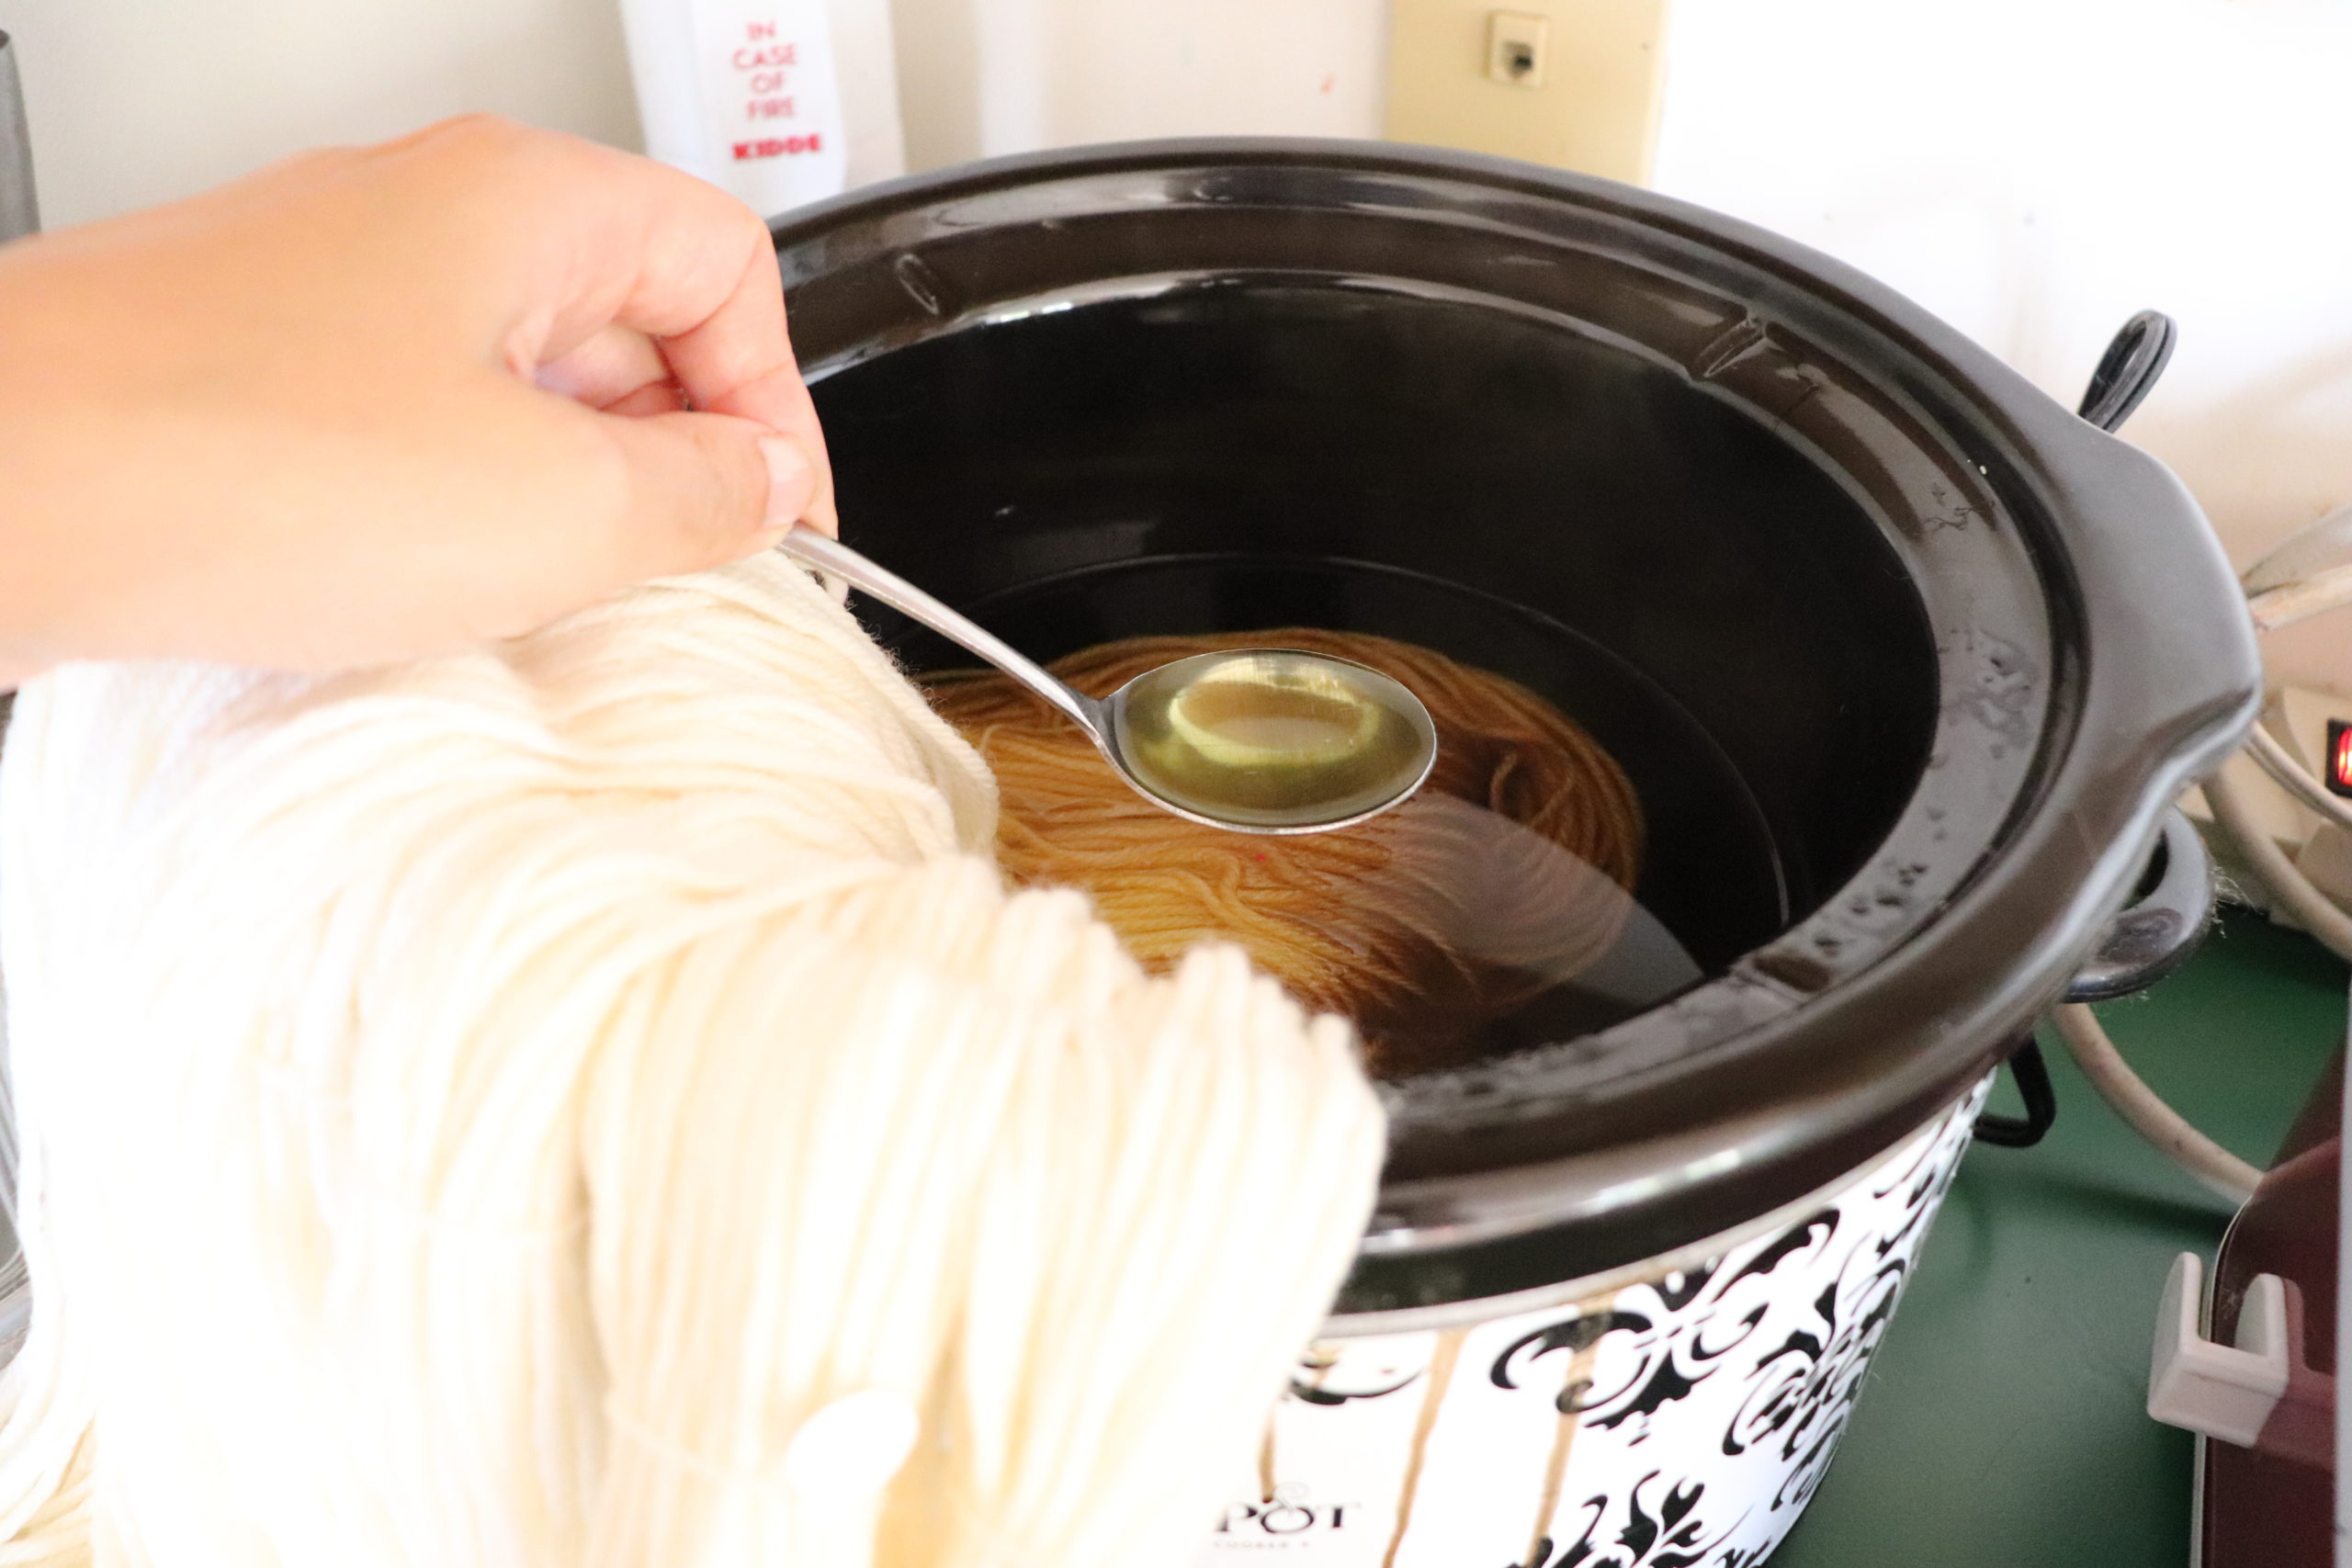
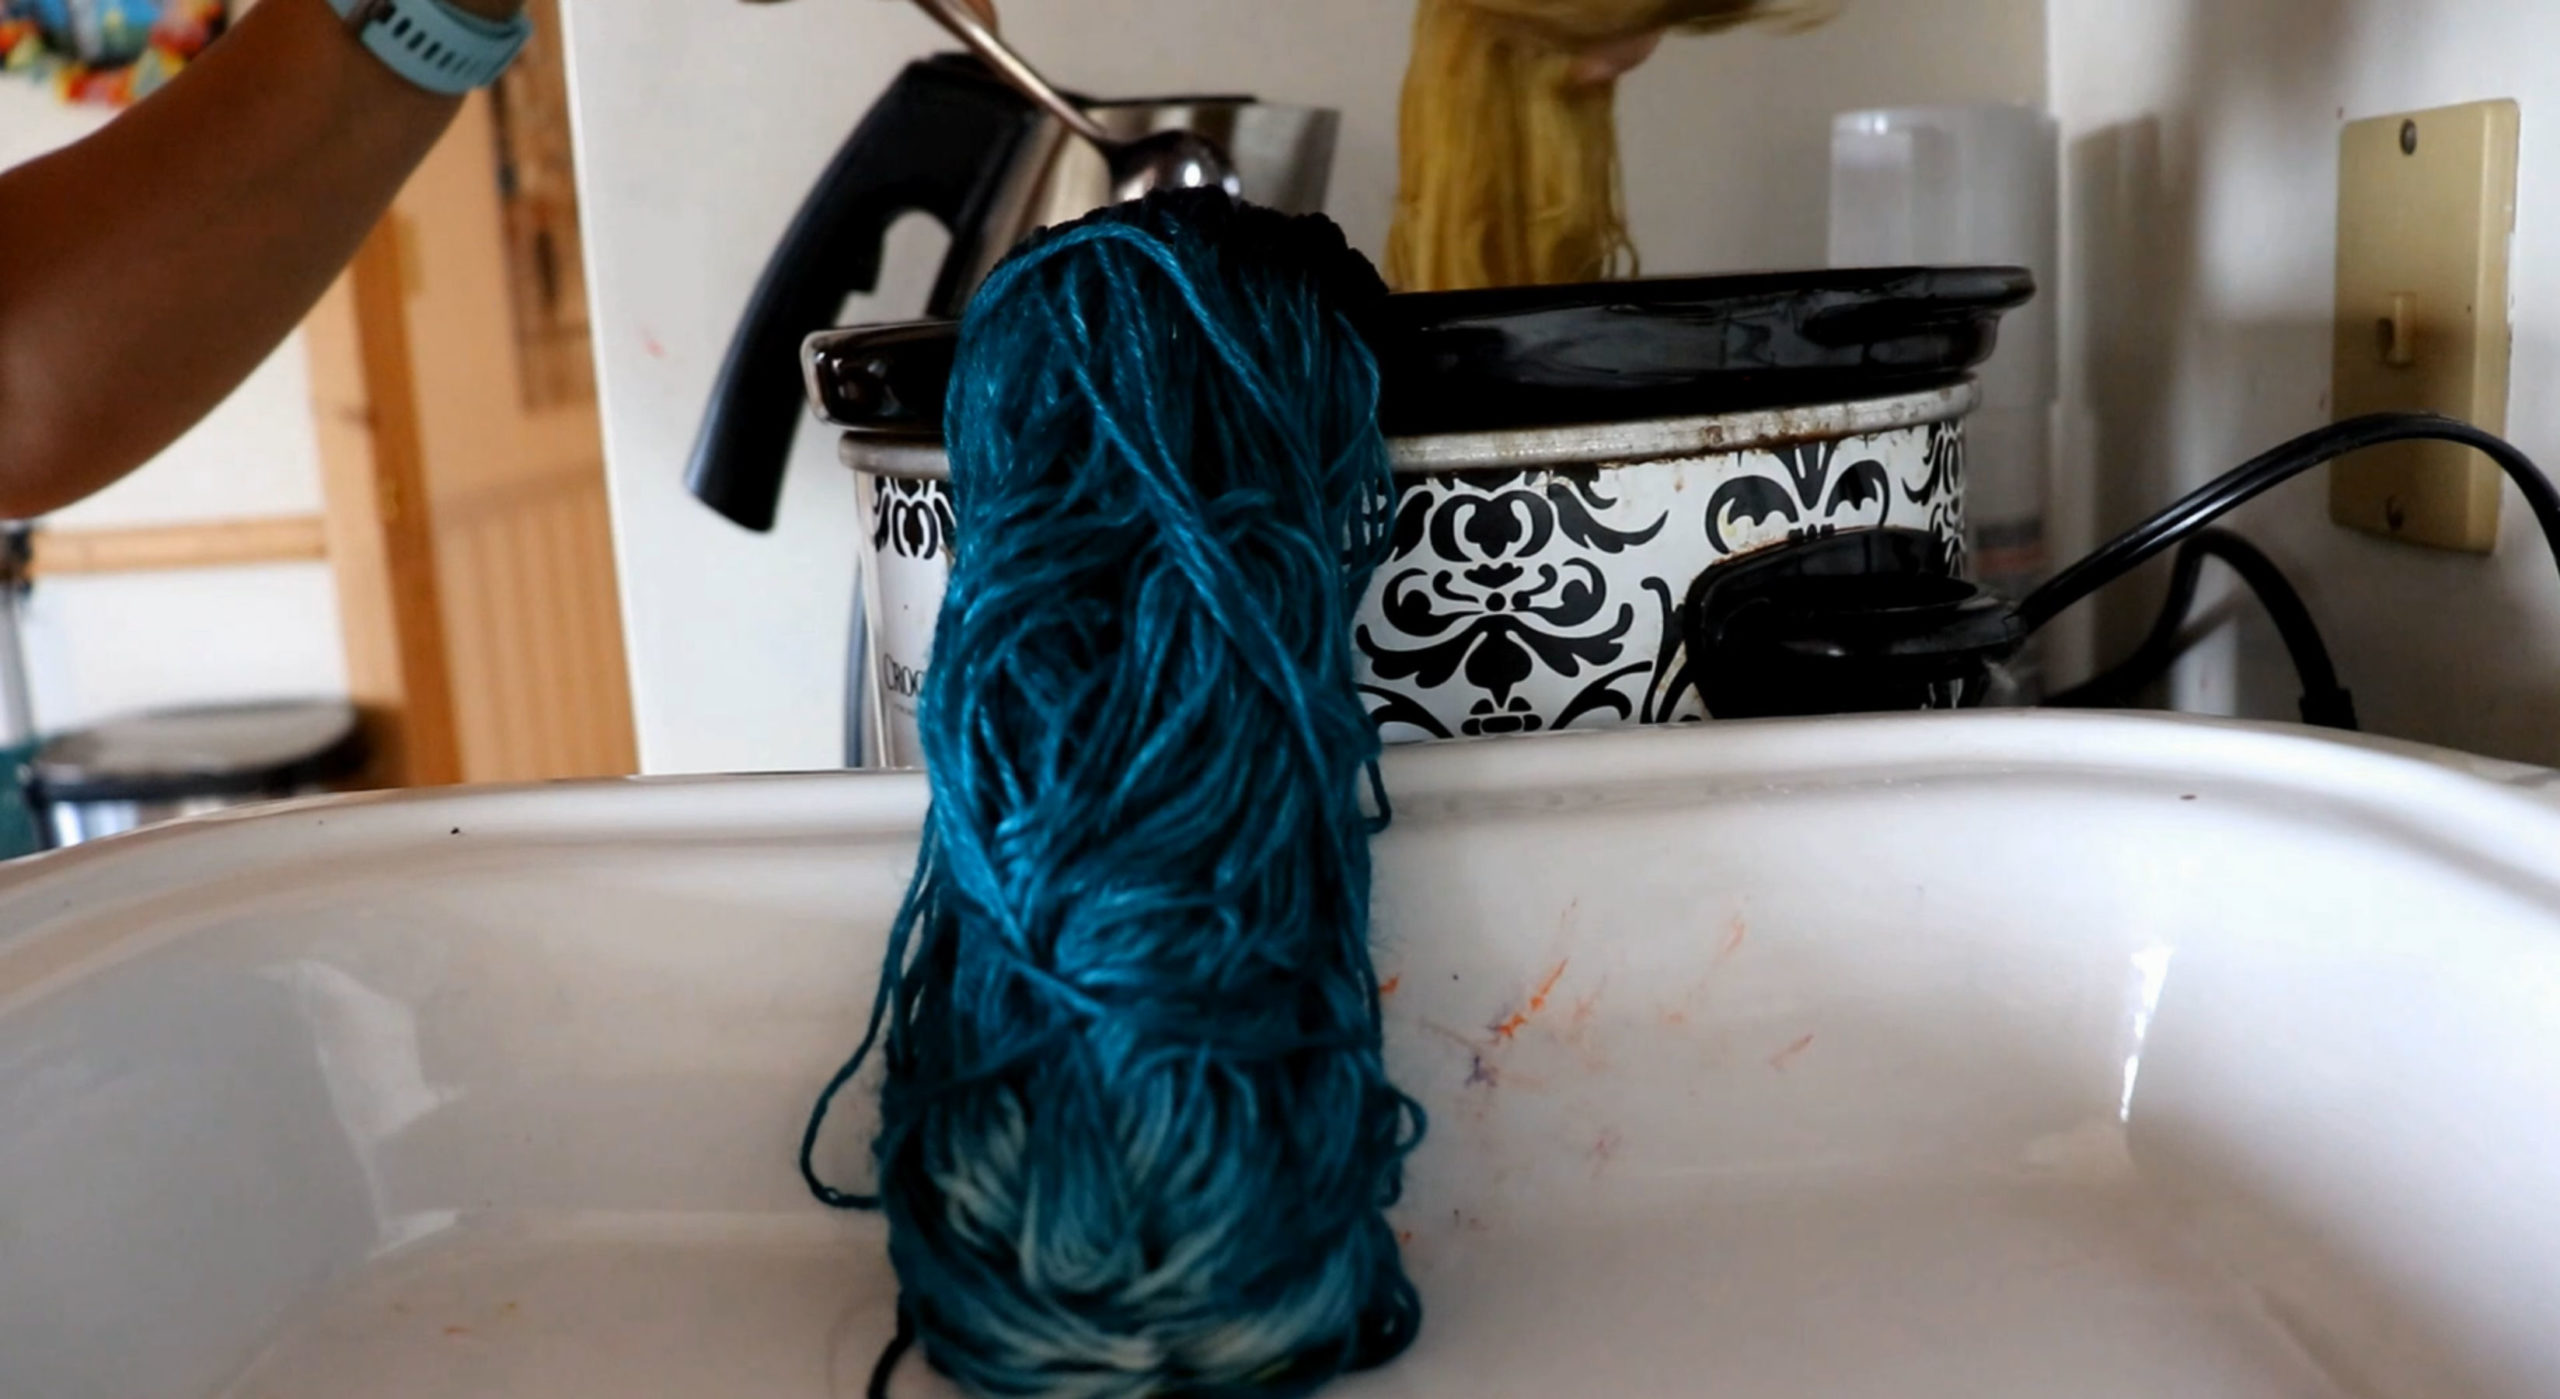
After a few minutes, I check on how the color is developing. Using a spoon, I’ll gently press the yarn into the dye and shift it around in the pot to distribute the color more evenly.
Additional notes: I don’t keep track of the amount of time each section is in the crockpot. Usually, I do other tasks and check on it when it is convenient for me to do so. If I’m impatient, I check it every 10-15 minutes. But in reality, a good 30 to 40 minutes is usually needed for the color to develop, if not longer. Some colors, such as black, need hours in the crockpot to properly exhaust. This is an easy method, not a fast one. But it suits me because I can finish other tasks while waiting. Note that every crockpot (slow cooker) is different. Therefore, times will vary.
Shortcuts in Dyeing
You’ve probably heard that you need to pre-mix your dye into a liquid concentrate and pre-soak your yarn in a soap like synthrapol to open up the fibers and get it prepped for dyeing. Although this is advisable, I prefer to take a LOT of shortcuts when dyeing yarn. It’s partially due to saving time but mostly because it’s part of my creative process to let things roll and see what happens. I take detailed notes as I go, just in case I want to replicate the outcome.
Also, I find that once the dyed yarn is dry, if I don’t like the color then there is an opportunity to over dye to intensify the color or change the hue. You can come up with some unique colors this way. But more about that later.
I mainly dye fibers for spinning, but once in a while, I like to dye commercial yarn. Although I knit, crochet, and do some simple weaving, I prefer dyeing or spinning. When I get on a dyeing or spinning tangent, I end up with a backlog of yarn. So, I list those for sale on my website.
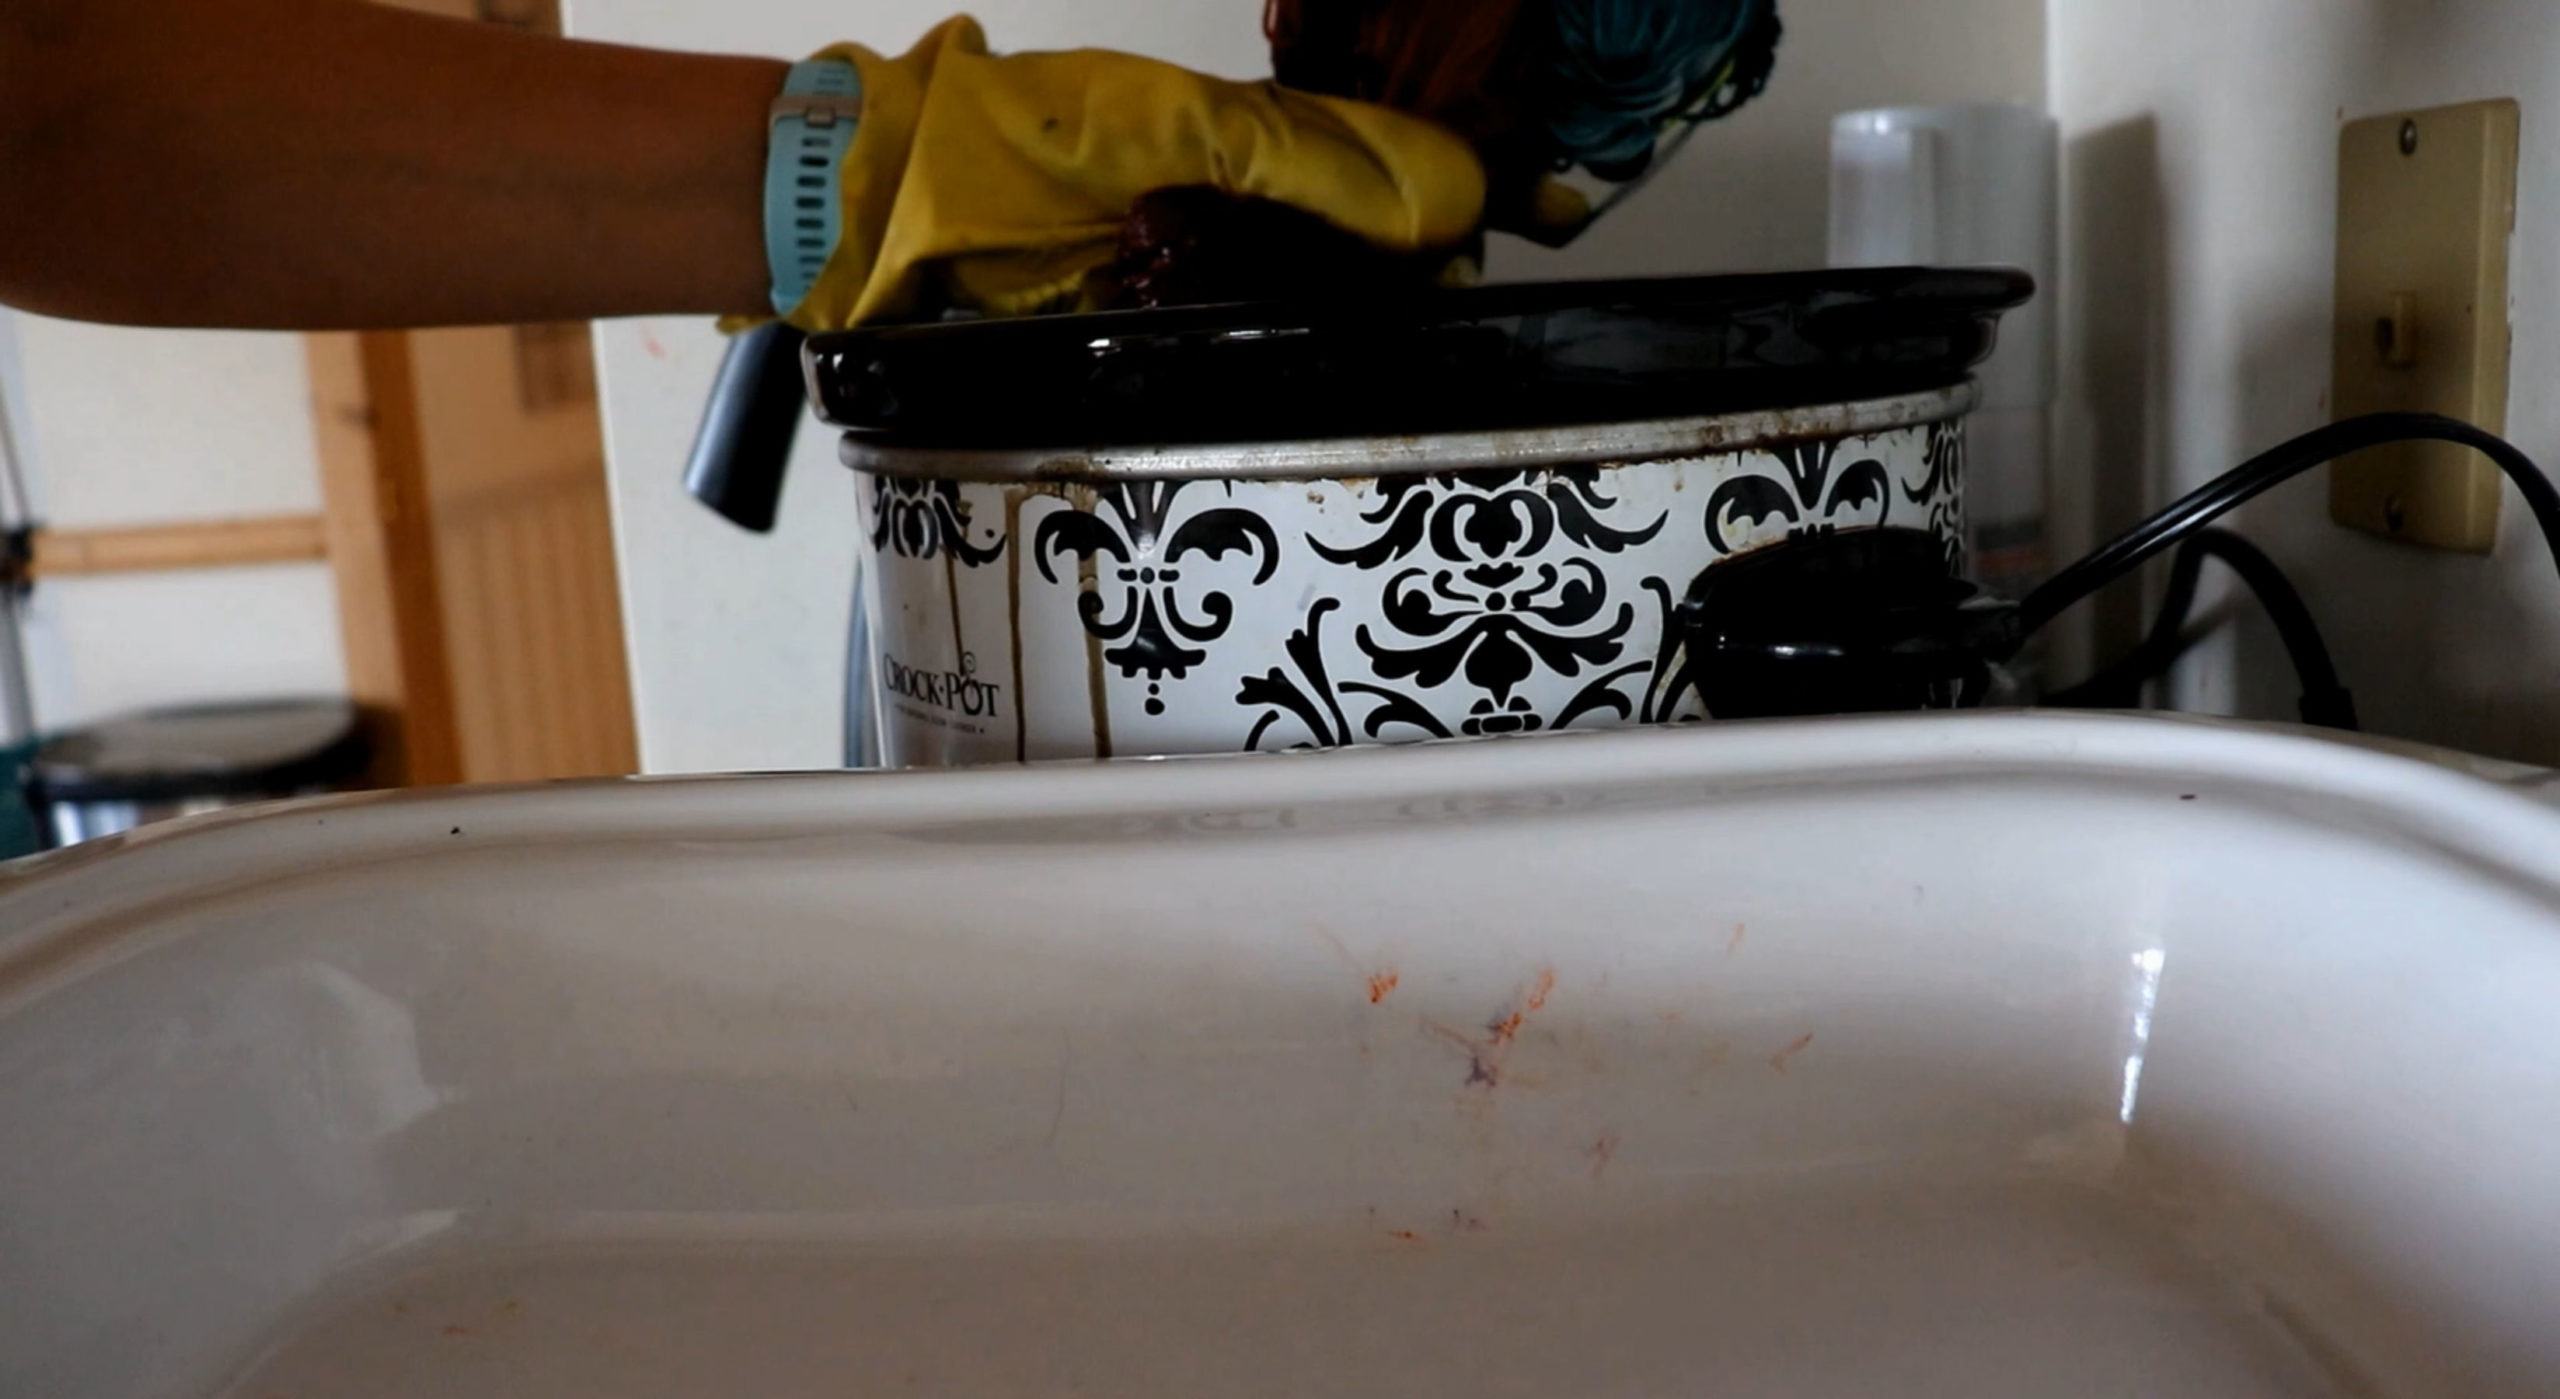
Final removal from Crockpot and Rinsing
Let’s remove this section now and see how it looks. Once again, I gently squeeze out the water with my rubber gloves. You don’t have to remove all the hot water, just enough that it doesn’t drip and scald you while getting it over to the sink for the final rinse.
Time to fill the sink to rinse our newly dyed yarn. This small bar sink came equipped in this space that I now call my studio. It’s a working sink that has seen a lot of art over the years – hence all the splattered paint. Don’t worry; it won’t come off on the yarn.
I’ll let this sit for a few minutes, then come back and check if any dye has been released from the fiber. I’ll add Synthrapol in a second rinse if the water is not clear after this soak. Synthrapol is a type of soap used for prepping fibers for dyeing or removing dye particles afterward. If you don’t have Synthrapol, you can use Blue Dawn dish soap.
The water appears to remain clear, so I think it’s safe to get this drained and hung outside to dry. Freshly dyed yarn will be the most vibrant, and the color will mute once dry. This color looks great and the dye has exhausted fully, but I can’t be so sure I’ll be happy with the results until I see the skeins completely dry.
After draining the water, I give it a gentle squeeze, careful not to over-agitate. Superwash yarns do not felt. But I still like to be careful so they don’t get tangled. I have managed to tangle yarn, even when tied off carefully.
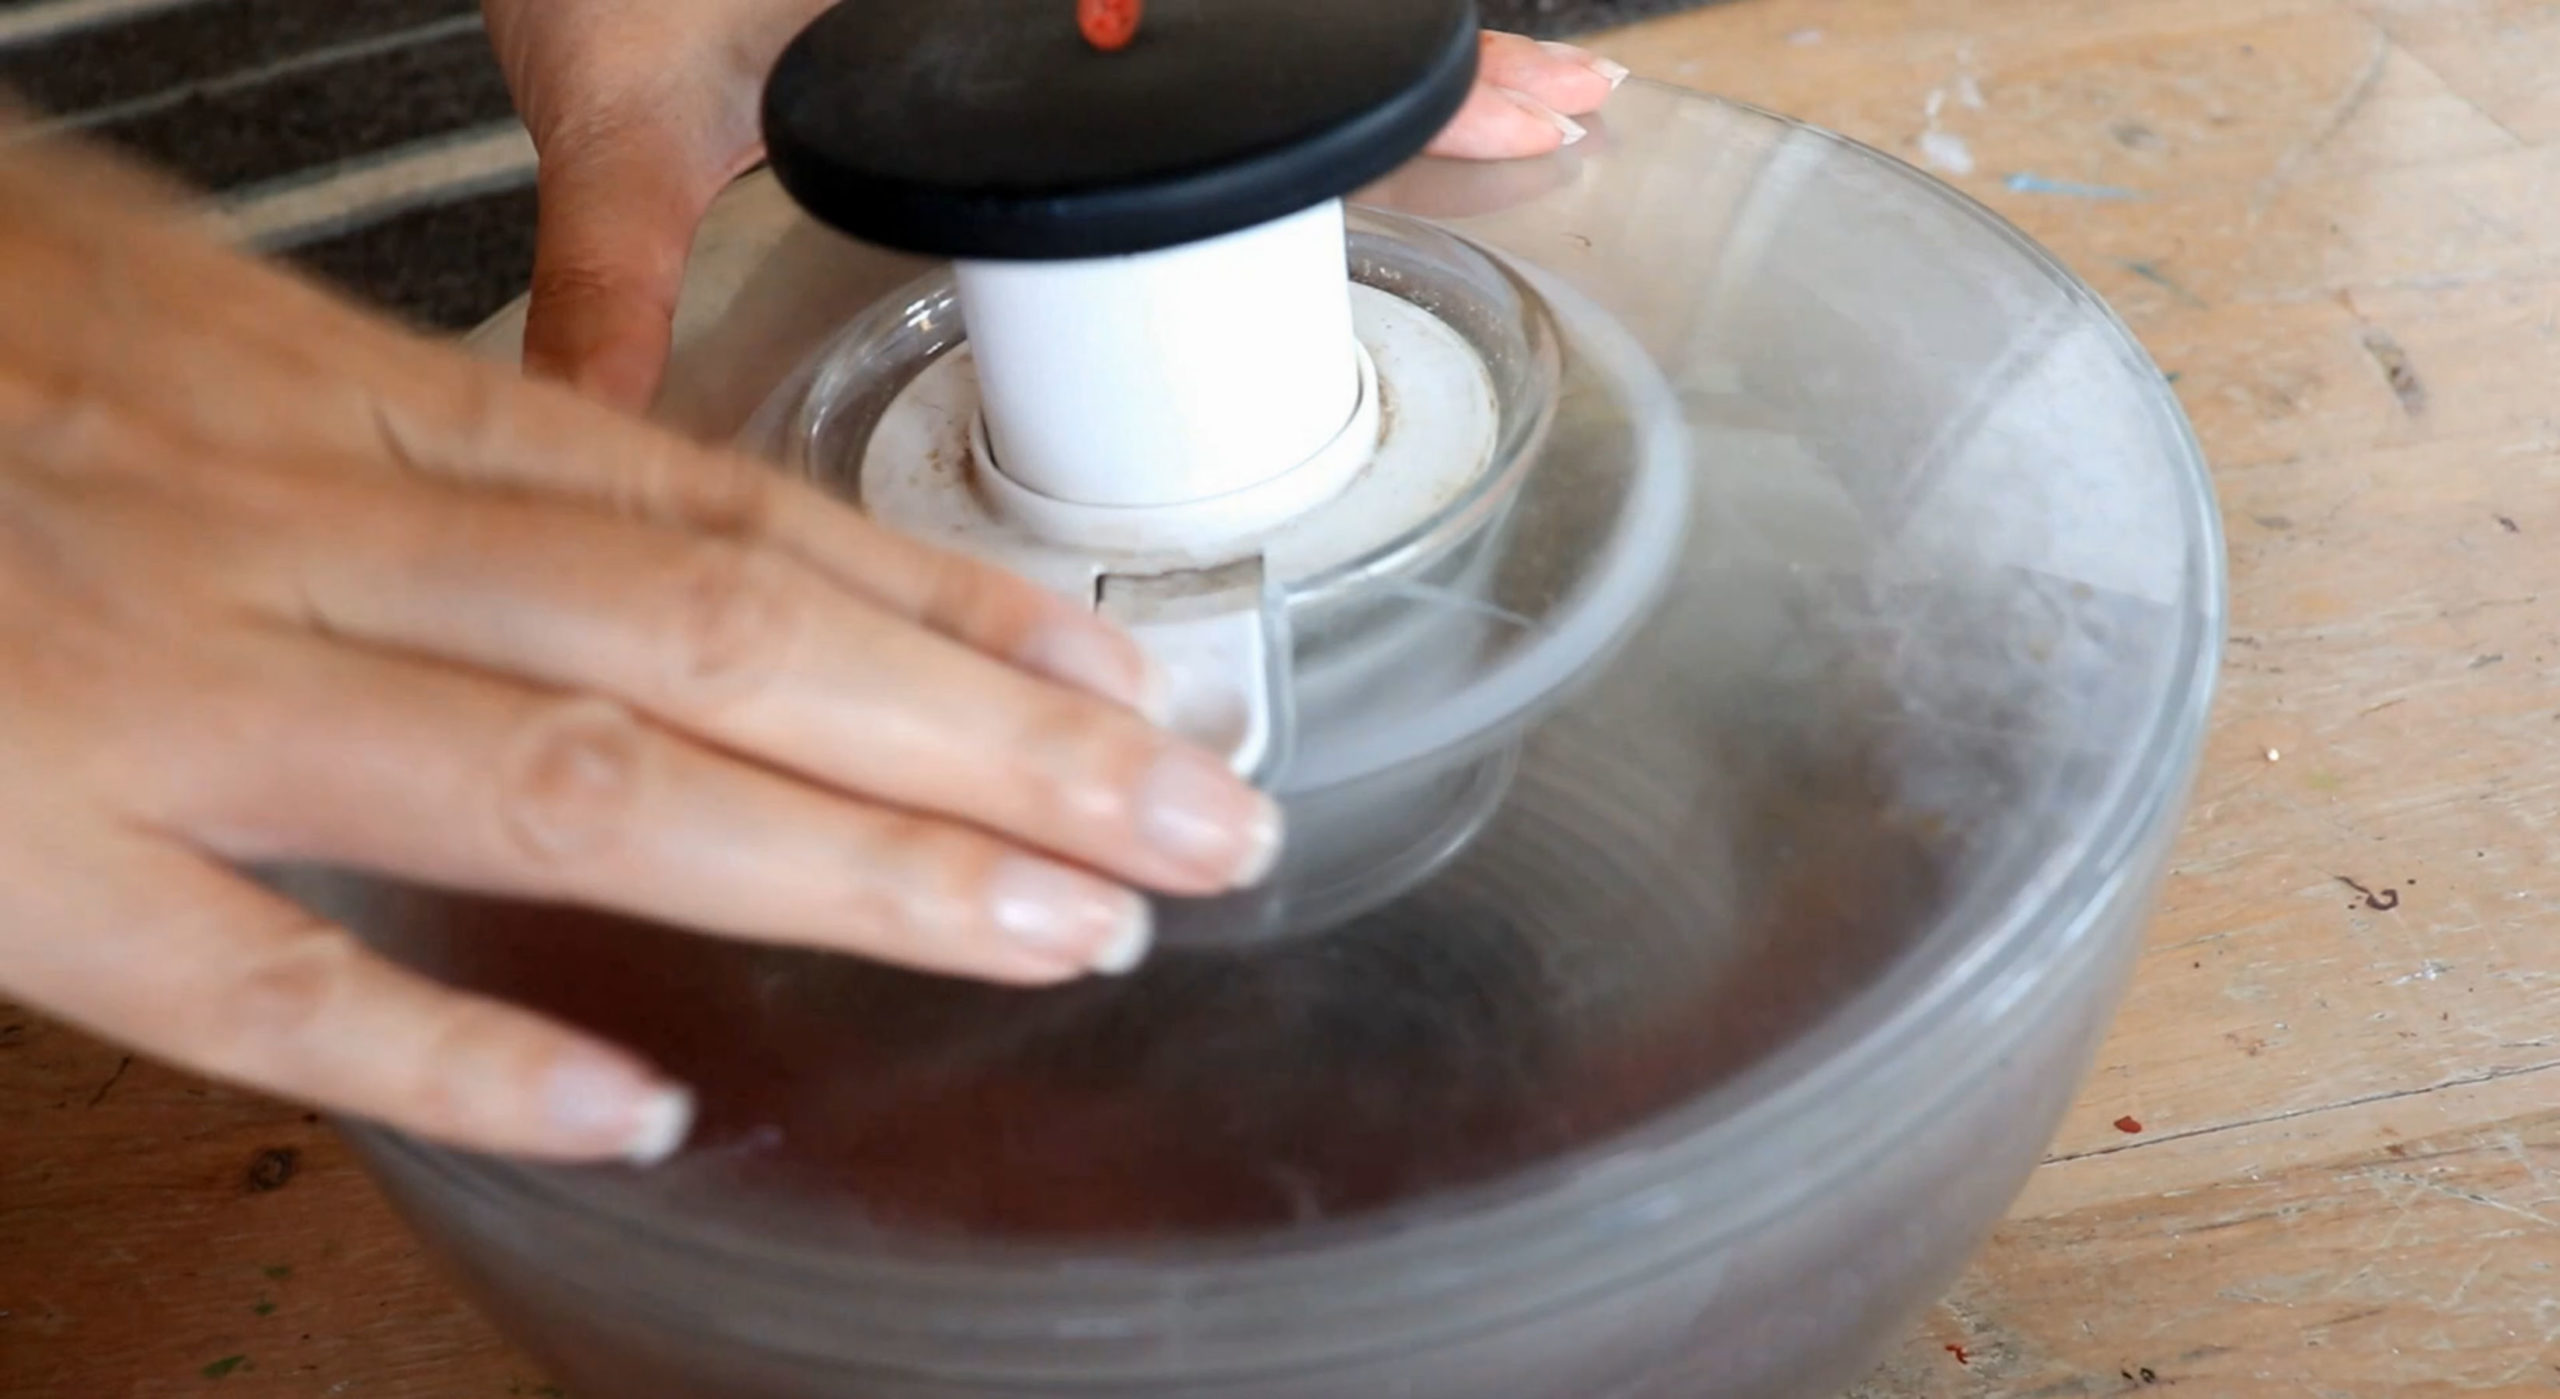
Further Drying: Going for a Spin
Now for the spin cycle. A salad spinner has been an incredibly useful tool in the studio; who knew? Think of it as a mini-washing machine, spinning out the excess water. I tend to pump my yarn and fiber through the salad spinner 3 times. By the third time there is significantly less water and it then can be hung up to dry. I bought this spinner 40% off after Christmas online several years ago. You can see the huge crack in it from being pumped one too many times.
The Final Product
So I have a secret: these are not the original colors! Once dry I found the color to be a bit too dull for my liking, so I over-dyed each area. Unfortunately, I didn’t capture the process on camera, but the original gold section got over-dyed with 1 tbsp of grasshopper, the teal section with ¼ tsp more teal, and the burgundy overdyed with 1 tsp. magenta. Now, this yarn is vibrant and saturated with color, and most importantly, I’m happy with it.
Additional notes: It’s worsted weight, so this set has many knitting and crochet possibilities. I decided to list these on the website if you are interested in giving them a new home. I don’t seem to have enough time to keep up with all the yarn I make/dye. 🙂
Here I am with the finished product:
You may notice, especially in the teal section, that the color is of an uneven saturation.
I intentionally dye my yarn this way because I like how it knits up with darker and lighter variations within the same color. I think it looks more interesting than the usual even saturation you see with commercial yarn.
If you wanted a more solid color, you would need to soak your yarn beforehand, preferably with a product like Synthropol to open up the fibers, and then add salt to the dye bath. This will even out the distribution of the color to your yarn and not give so much of a mottled, uneven effect. You may also have to use more dye.
Your Turn to Play
I hope this inspires you to experiment with dyeing wool yarn with a crockpot. Remember, you don’t have to get it right the first time; tweaks can always be made.
I’d love to hear from you if you have any questions or suggestions for future videos.