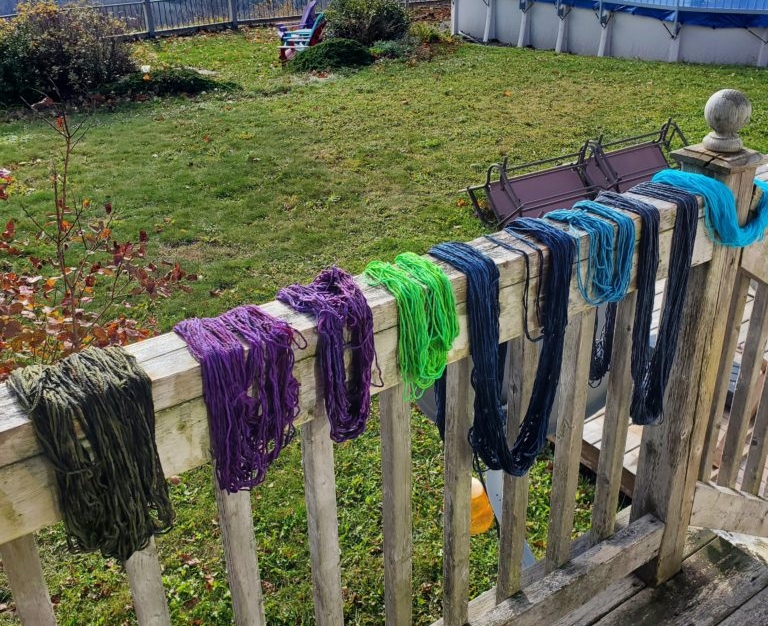
Last week I was dyeing commercial (aka store bought) cotton yarn in the studio, to add to my existing stash. It occurred to me that I have not seen many blog posts on the topic of dyeing cotton yarn, especially if you want to achieve vibrant, rich colors.
I’m a self taught (indie) dyer so I thought my trial and error experiences would benefit others. The following info is from my own personal experience with dyeing cotton, and should only be taken as opinion. Someone else may have success with other methods, or disagree with my methodology.
Over the years I have come across many posts and videos on dyeing wool yarn, but not so much with cotton yarn. If I do find a post or video, the colors achieved tend to be very muted or wash out quickly, which was my experience early on. This is a compilation of tips that I found helped me get vibrant, lasting color.
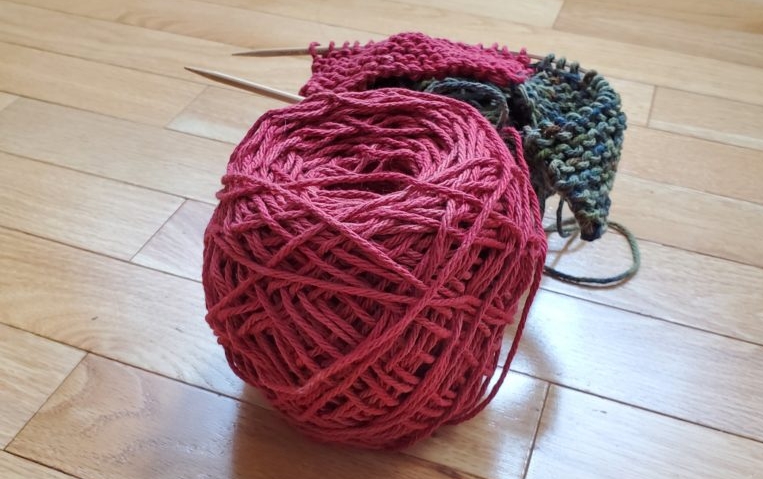
Currently I am going through mill ends of cotton, because you can buy these relatively cheap, and the odd knot in the hank doesn’t bother me. You can often get cotton yarn on sale at the local arts and craft store, as well. I re-skein them into smaller yardage as I don’t need large amounts of one color for dishcloths.
I have done a bit of cotton spinning. It’s challenging for me since it is such a short stapled fiber, but I do love the softness of the finished product. We’ll leave spinning and dyeing cotton fiber for another day.
Type of Dye Used
I am currently using MX dyes, which is a fiber reactive dye for cotton or cellulose fibers. At first I used packets of Dylon dye from the fabric store as I didn’t expect to get into dyeing cotton as much as I do. I found they worked just fine. The larger containers of MX Dye is more cost effective for me now. I purchase MX dyes from G&S Dye in Toronto.
Another learning curve I hope to tackle in the future is dyeing cotton yarn with natural dyes, but for now the synthetic stuff will do. If you have dyed cotton or plant fiber with natural dyes I’d love to hear about your experience! 🙂
Dyeing Plant fibers vs Animal Fibers
Here are the 4 main points to keep in mind when dyeing plant fibers such as cotton or bamboo yarn, especially if you come from a animal fiber dyeing background (like me):
No Heat Required
Unlike dyeing animal fibers, you do not need to apply heat in order for the dye to take. You also will not have to add a product like citric acid or vinegar like you do with acid dyes. Instead you should pre-soak your yarn or fiber in a soda ash and water solution prior to dyeing for maximum dye absorption/color brightness.
The most important element to successful cotton yarn dyeing is time, not heat
Set aside at least 24 hours for your yarn to soak in the dye, overnight at the very least. I leave my cotton yarn in the dye solution for up to 2 days. If you are opting to sprinkle on dye for the speckled effect, wring it out thoroughly from the soda ash water, sprinkle on your dye, wrap in plastic wrap and set aside at least overnight. Your yarns will always appear darker when wet, so expect the color to dull by a fair bit once dry.
MX Dyes will not exhaust like Acid Dyes
The first time I dyed cotton yarn I was horrified because the dye would not exhaust, and so much of the dye ran out at rinsing. I thought it was an epic fail. But it turns out, these particular types of dyes do not exhaust, and you can expect a great deal of color to wash out when rinsing. This is why it’s very important not to…
Do not Skimp on Dye when Dyeing Cotton Yarn
It’s important to read the instructions and follow the amount of dye required per yardage as suggested by the manufacturer. YEAH RIGHT! Who has time for that?? I am really impatient, and notorious for not reading instructions (or even taking the time to understand them). Like I have time to weigh and measure every skein before dyeing, then work out the proper amount of dye by using (gasp!) math.
A few years ago, I paid for an online video course for dyeing with acid dyes, and I swore I would stick to using a very precise scientific method. But let’s face it: WHERE’S THE FUN IN THAT?? I prefer to find out via trial and error and learn to feel out how much dye I should use. It feels more artistic and expressive that way. I can always over dye it, if it doesn’t achieve the color I wanted originally.
My Method of Dyeing Cotton Yarn Step by step
1. Soak yarn in a solution of water & soda ash for at least 20 min for best dye absorbency. Soda Ash, also known as calcium carbonate or washing soda, helps keep colors bright when dyeing with fiber reactive dyes. It is supposed to keep your yarn colorfast, though I haven’t found this to be the case (more on using a dye fixative, below).
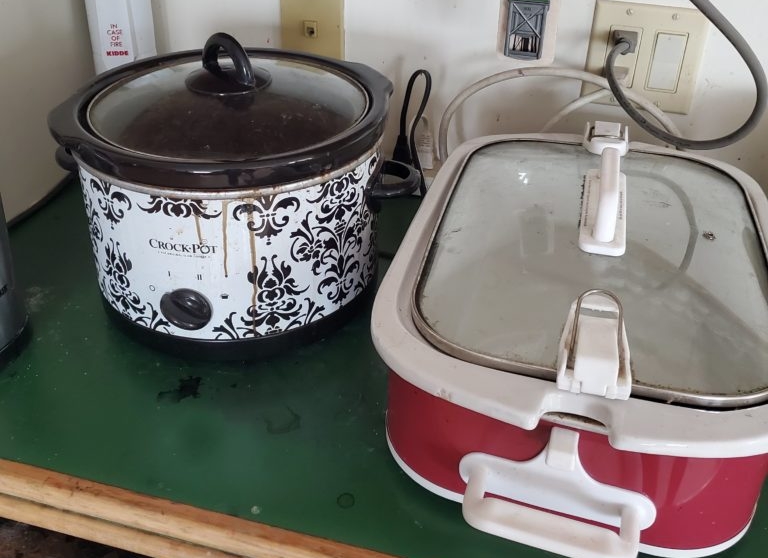
I use approx. 1 tbsp, and fill my crockpot with water, leaving space for the yarn so it doesn’t overflow. The crockpot is not on, I just use it as a container for the soda ash water. Give it a stir, and the soda ash should easily dissolve in the water.
I have found if I use too much soda ash it won’t dissolve completely, but you want to use a decent amount as this is what keeps the color bright in your yarn. Less dye seems to run out at rinsing when I use the right amount of soda ash.
The Yarn is soaking in Soda Ash and water, what’s next?
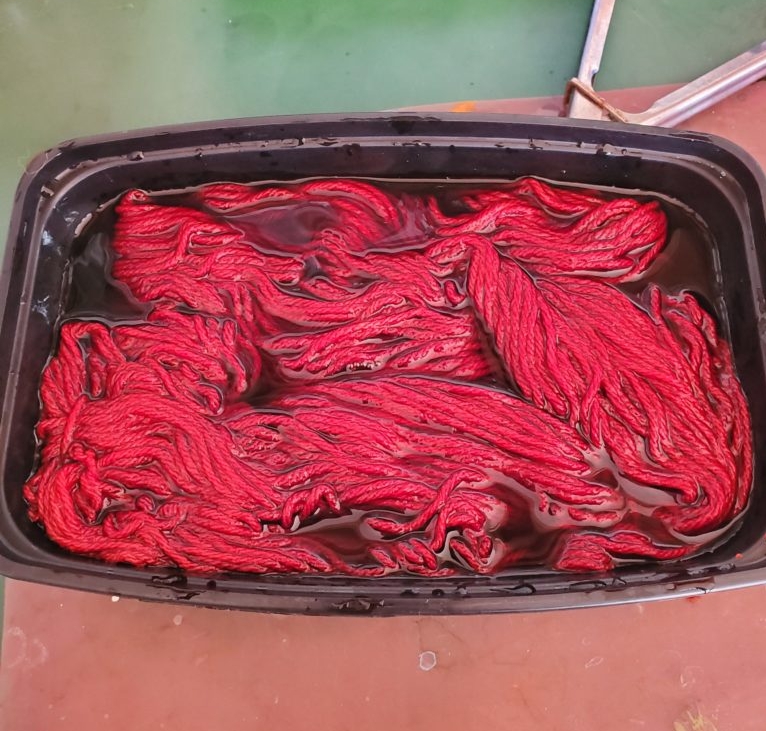
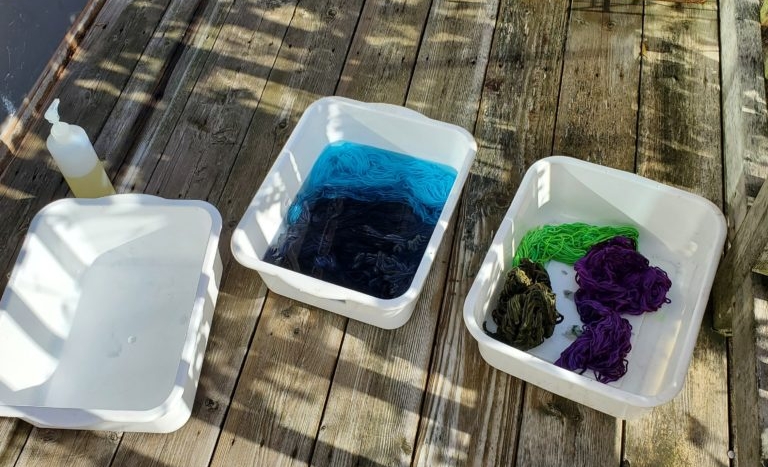
2. While the cotton is soaking, make your dye solution. I have 2 ways that I like to dye cotton yarn. The first is mixing the dye with tap water in a plastic container. It’s very convenient, and since you don’t need heat, you just add the yarn, put the lid on it and let the magic happen. Usually I use stacking containers to minimize space used on the counter.
The second way is sprinkling the dye unmixed over top the soaked yarn and wrapping it in plastic wrap. Then set it aside at least overnight.
How Much dye should be used when dyeing cotton yarn?
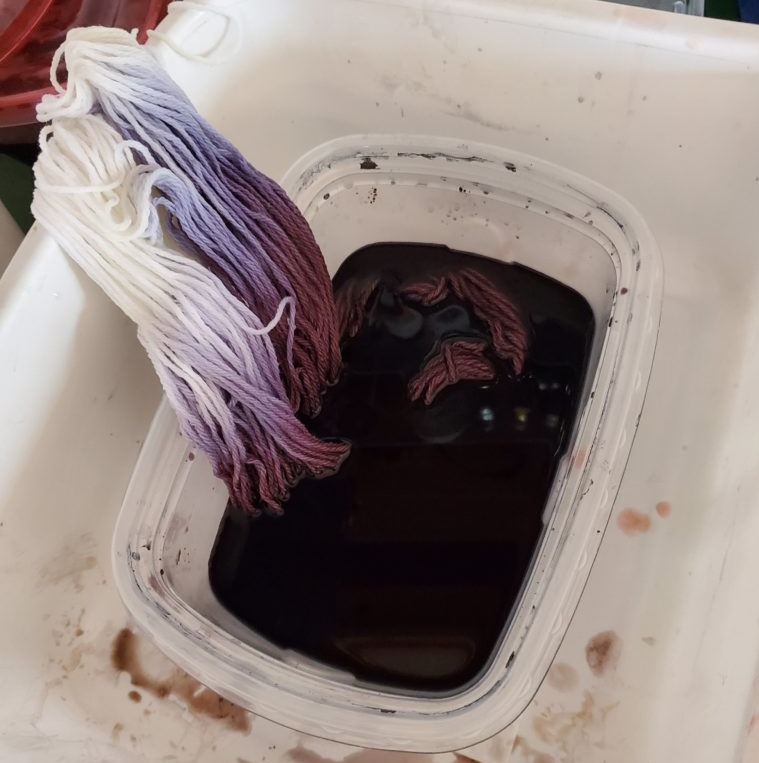
I don’t have a specific formula for how much dye should be used at a time. Roughly, for a 80 to 100 yard skein, I will put two 1/3 tsp of dye into cold water, mixed directly in the plastic container the yarn will soak in. EXCEPT for black: I always use a ton of dye in order to get nice, true black. I’ll use 1 tbsp of dye for the same amount of yarn, and then dye more skeins in the leftover dye solution into shades of grey. I adore back and grey yarns for contrast in projects.
I have tried re-using the dye solution with other colors, but I find the color is so washed out and light it isn’t worth it. At first, it looks like you’ll get nice, rich color, only to have it mostly wash out when rinsing. The amount I use seems to be just right for one skein, and I can’t push it to get more like I do with acid dyes.
Finishing Your Dyed Cotton Yarn
3. After your yarn soaks for a good bit of time, rinse the yarn thoroughly in cold water. Remember, time is your friend when dyeing cotton, so try to leave it in the dye solution at least overnight. With this last dye run I got the urge to do this pretty late at night. I removed it from the dye bath the following afternoon. You will find a fair bit of dye will run out when you rinse, you may prefer to soak several times until the water becomes clear.
4. Here is the controversial part: to finish your yarn at this point by hanging it up to dry, or soaking it in a fixative such as Raycafix. The first time I dyed cotton yarns the color faded very fast in my dishcloths. Like, almost back to its original color. Mind you, my first dishcloths were a very light color. Little did I know that I did not use enough dye, so maybe the remedy is to simply use more dye. Since that first run I discovered Raycafix and I have not had any issue with color fading or bleeding.
To Soak or Not to Soak in a Dye Fixative
I say it’s controversial because these types of products assumingly contain some harsh chemicals such as formaldehyde. I don’t know this for certain but I do take precautions when using. Let’s face it: if you buy conventional clothing or furniture, you are already exposed to these toxins.
I am pretty sensitive to toxins, and have detox protocols for many synthetic products I come in contact with, even for certain food additives. I’ve never had any known health issues with using this product. From time to time I use a variety of noxious materials, from synthetic dyes for fibers, to patinas for metals or polishing compounds for gold and silver. It’s up to you to decide what you are comfortable with.
I take my yarns outside to soak in their Raycafix bath. I pour a small amount into some hot tap water, swirl around with a gloved hand then allow the yarn to soak for 5 min. We have septic, so I have a dedicated place away from the house to pour out the water. Again, I have no idea if that is even necessary but these precautions are easy for me to do.
If you don’t feel comfortable using a dye fixative, I’m confident you will be just fine using soda ash and a fiber reactive dye.
If you do use a fixative, soak the yarn afterwards in cold water before wringing out and hanging to dry.
I’d love to hear about your experience dyeing cotton yarn! If you have any tips and tricks for me, I’d love to hear them.
My next post will be about knitting with cotton yarn, including my fave (easy) dishcloth patterns….