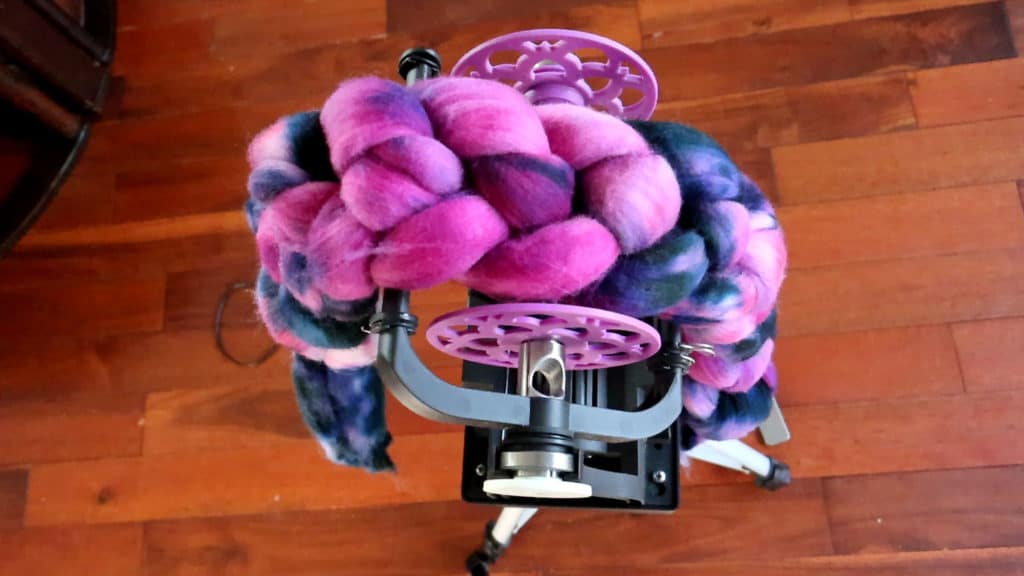
What is ugly roving? And why would I want to dye it?
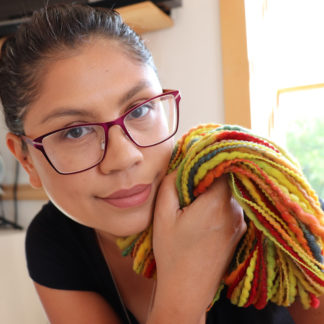
My latest spinning experiment over on my YouTube channel was recreating a project I did a few years back, where I challenged myself to dye “ugly roving”.
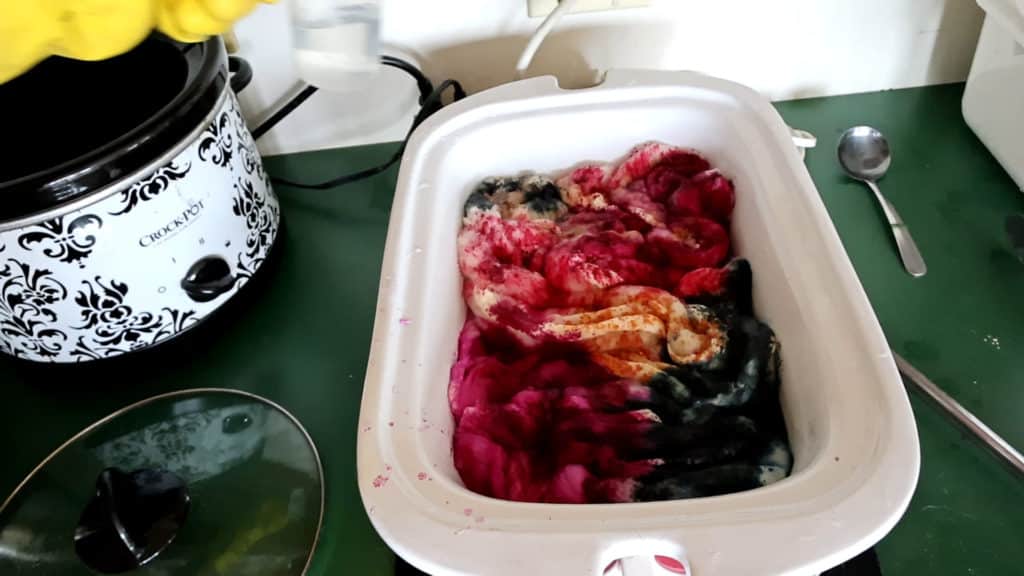
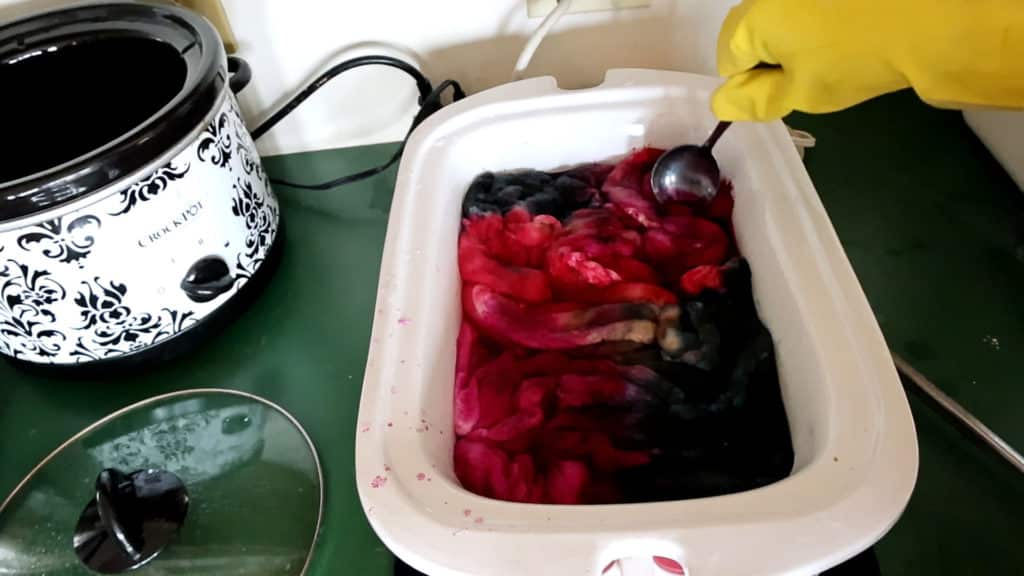
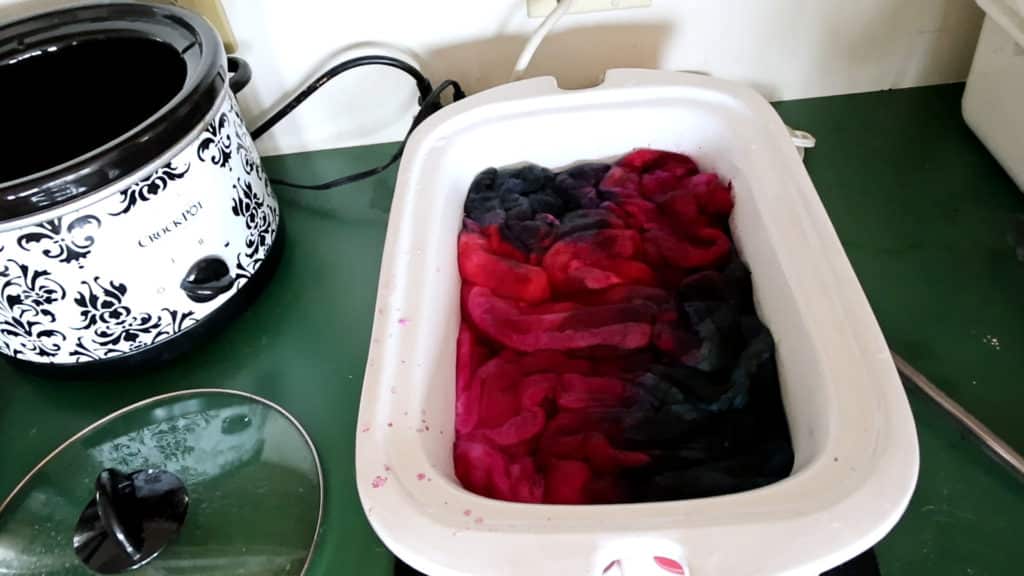
I was curious as to what would happen if I simply set out to dye a piece of roving, throwing all the rules out the window that I ever learned about dyeing fiber, such as not pre-mixing or even measuring dye for that matter, allowing muddy colors (letting the dye colors to all mix together during low water immersion), not setting out with a plan or choosing colors that will compliment rather than clash, for example.
What if I just…dyed roving? Sprinkled on a little powdered dye here and there, what will I end up with, and would the subsequent handspun yarn just be too ugly to even speak of?
What I found is that it’s not so much in how you dye the fiber, but in how you spin it.
Now, if you are the type of person who dyes fiber for spinning for specific projects, this may not be the technique (or lack thereof) for you. But if you are like me and get excited about spinning based on the color (sometimes a challenge) and the journey, then you might want to give this a try.
This is also a great jumping-off point for you if you’ve always wanted to try dyeing but were too scared to try it. Before you reach the level of expertise where you get what you want, I stress the importance of getting a feel for dyeing, much as with spinning or any creative skill.
In Part One I cover the “ugly dye” process:
Dyeing Ugly Roving, Part One
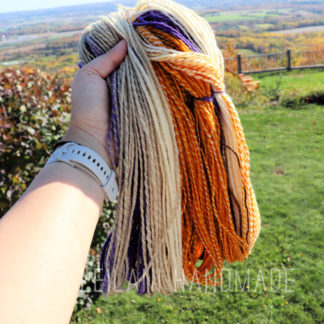
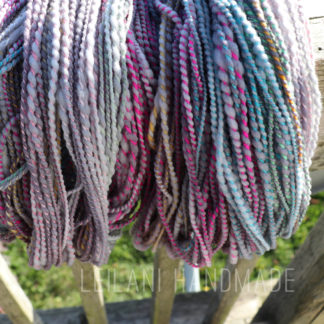
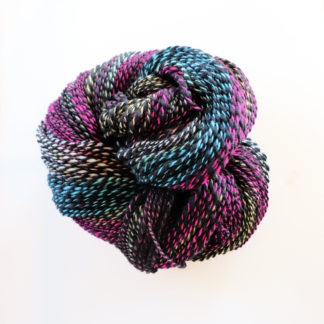
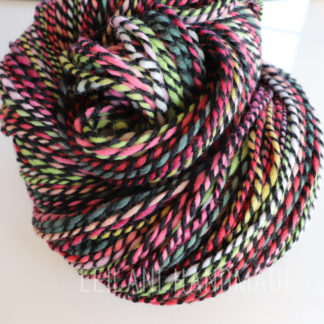
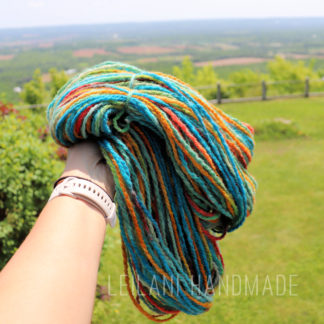
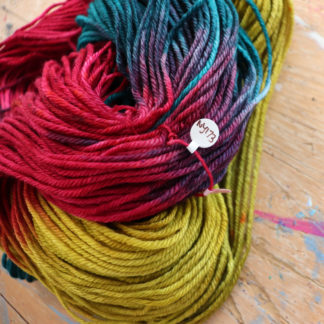
Part two is how I tackled spinning the ugly roving and the final product. Hardly “ugly” – if you ask me. 🙂
Dyeing Ugly Roving, Part Two (the Spinning Part)
Truthfully, I’ve never met a dyed roving I disliked – colorwise anyway. I have bought rovings back in the day at wool shows that were terribly overworked and were slightly felted. They were no fun to spin. So I revamped those by reblending them with either my hackle or drum carder, sometimes with or without added fiber from my studio. This is truly why I love spinning so much – there’s hardly any waste if you are thoughtful. Even if you are learning, you can always revamp those first-time rovings and handspun yarn into other projects (more on that in the future).
Will you give “ugly dyeing” a try or buy that “ugly roving” from the fiber festival? So long as the fibers are not partially felted, rovings of all colors can be a joy (and a pleasant surprise!) to spin.
More “ugly dye” projects are coming up in the future. The best way to know when they are posted is to either check back here on the blog or subscribe to my YouTube channel. I enjoy sharing my spinning experiments and hope they inspire your dyeing and spinning projects.

