It’s your typical Canadian February: Snowy, cold, and blah. On the plus side, the sun finally returned in the past week or so. I can’t wait to get through the most miserable winter month and look forward to longer days and milder temperatures.
I’m making the best of it, though. Lots of from-scratch cooking, making ferments like kombucha and jun, milk and water kefir.
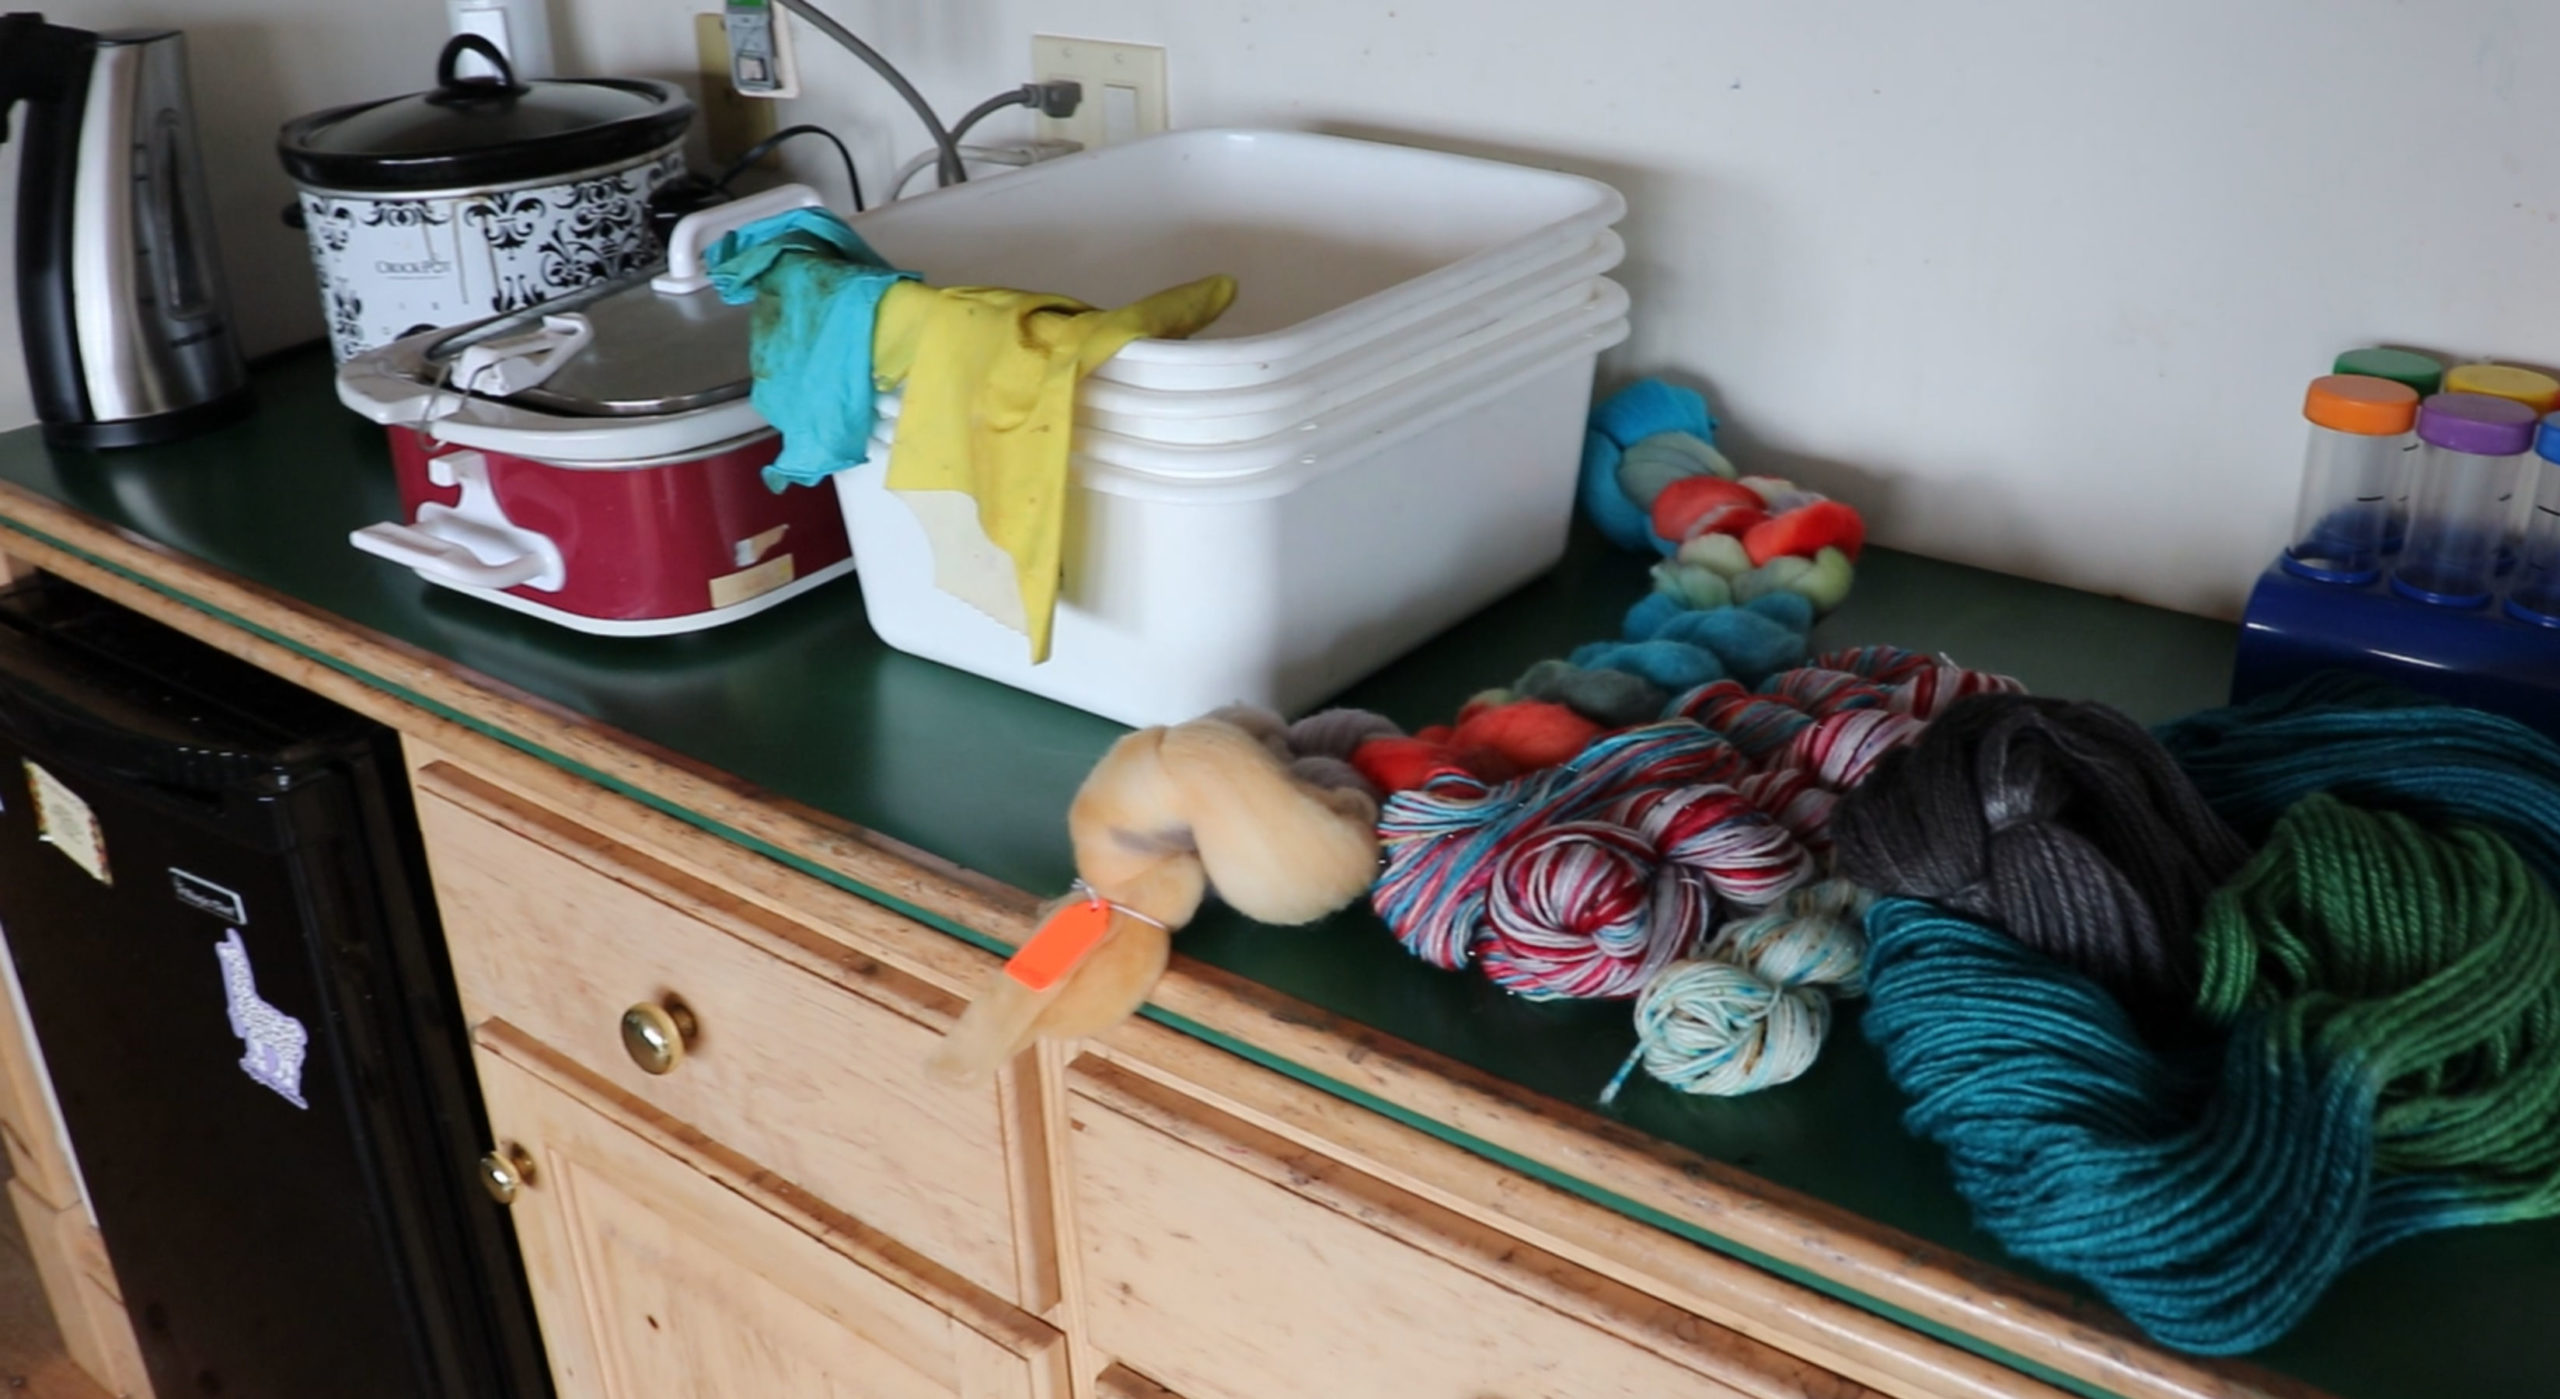
As promised, I’m also taking the time to capture myself at work in the studio on video so that you can get a bird’s eye view of my process. It’s been a challenge, but I’m excited to learn a new skill. The first installment is a quick tour of my dye studio, AKA the counter area in my studio, where I dye my yarn and fiber.
I’m still not comfortable talking to myself out loud (LOL!), and I know the footage isn’t the greatest, but it came down to one thing for me: I like to see other people’s methods, processes, and work areas, and I really don’t care how “professional” it is. So long as there is information, I’m inspired and honored to peek into someone else’s creativity. If it helps someone along with theirs or encourages others to start, then my intentions have been fulfilled.
I also feel that the less edited a video on a blog or YouTube is, the more genuine and sincere it comes across. It’s so annoying to watch a cooking or crafting video only to realize it’s not in any way realistic the way it’s been edited.
A Quick Tour of my Studio Dye Area
Dyeing Wool Yarn & Fiber: the Basics
When working with acid dyes for dyeing animal fiber such as wool, alpaca, or silk, you need a source of heat and an acid like citric acid or vinegar to exhaust the color and successfully transfer it to the fiber. With one exception: dyes that already contain the “acid” and therefore do not need it added. This includes KoolAid, which is a great option if you want to experiment with dyeing with little to no investment (also non-toxic, so perfect with kids!), or Country Classics Dyes.
Heat Source
Crockpots can be used similarly to a pot on the stove. I prefer using a crockpot because I don’t have to stay on top of it to ensure it doesn’t boil or burn. It is a slower process, but if you are like me and are doing several things at once, this works well. Pop it in the crockpot, come back, and check it when you have a moment. I don’t recommend leaving it in all night, but an hour or two has always been okay for me. Every appliance is different, so check how hot yours gets with the high and low settings.
The microwave is excellent for hand-painting or sprinkle dyeing, where you would apply the dye and want to steam it to set it. I don’t use the microwave as much and dislike using materials that cannot be reused. The most popular method of using a microwave and setting dye is wrapping the yarn or fiber in plastic wrap. I find this rather wasteful, and I try my best not to create too much waste when supporting my craft. I keep any plastic wrap from the kitchen that can be reused, but most of it comes from packaging. If it’s destined for the bin and I can get another use out of it, then it gets added to the supplies. Otherwise, I prefer to use microwavable glassware with a lid, something that was not shown in the video. Of course, all equipment used is dedicated to dyeing and not used for food.
As shown in the video, I do have burners in the studio if I want to do a traditional kettle dye or if I want to dye at a higher temperature. From my experience, dyeing at higher temps means dyeing faster, but there is more margin for error if I get distracted.
When Developing Your Own Dyeing Style
I may be the worst “teacher” because I am completely self-taught, and I like to take shortcuts/push the envelope as to what is proper or necessary. I will be sharing videos of my dyeing experiments & methods, but I can’t guarantee they will work for you or are advisable for the best result. My methods work well for me, and I know that I learn from others’ trial and error. Hopefully, they will be an inspiration for your own projects.
It’s important to develop your own method that is both enjoyable and efficient. I’m comfortable being a mentor but not necessarily a teacher. There is always more than one way to reach a destination, and learning a new skill is a journey. Don’t worry what other people say. Have fun and play with it. Realize that not every attempt will be successful. You must take the risk to hone your craft. Plus, it’s fun learning how to correct those mistakes. 🙂
I’m always open to chat or give advice. My goal is to empower others to be comfortable doing things their own way.
Until Next time,