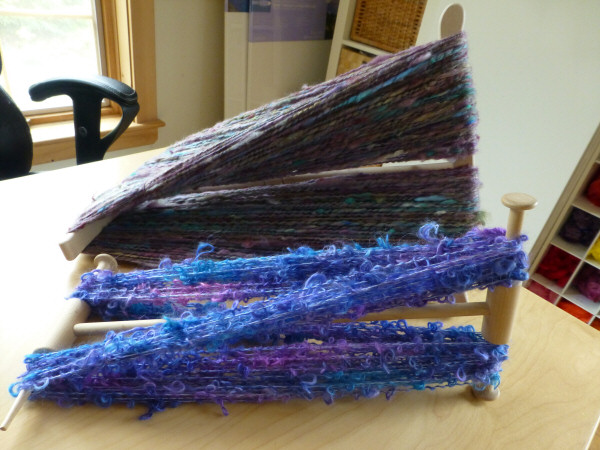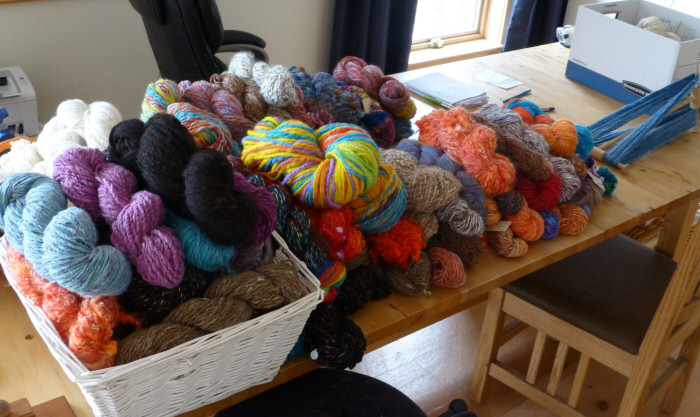
Ugly dye? That doesn’t sound appealing at all! I’ve had many hits and misses over the years in my indie-dyeing journey. When I started spinning 9 years ago, I swore I would never get into dyeing: another learning curve. But then I started processing fleece from raw and the appeal was there to learn.
Soon I learned it was easy to fix mistakes by over-dyeing, salvaging overheated/manipulated fiber by re-combing or picking it, and spinning the fiber more methodically so the color flows more beautifully together.
What is Ugly Dye?
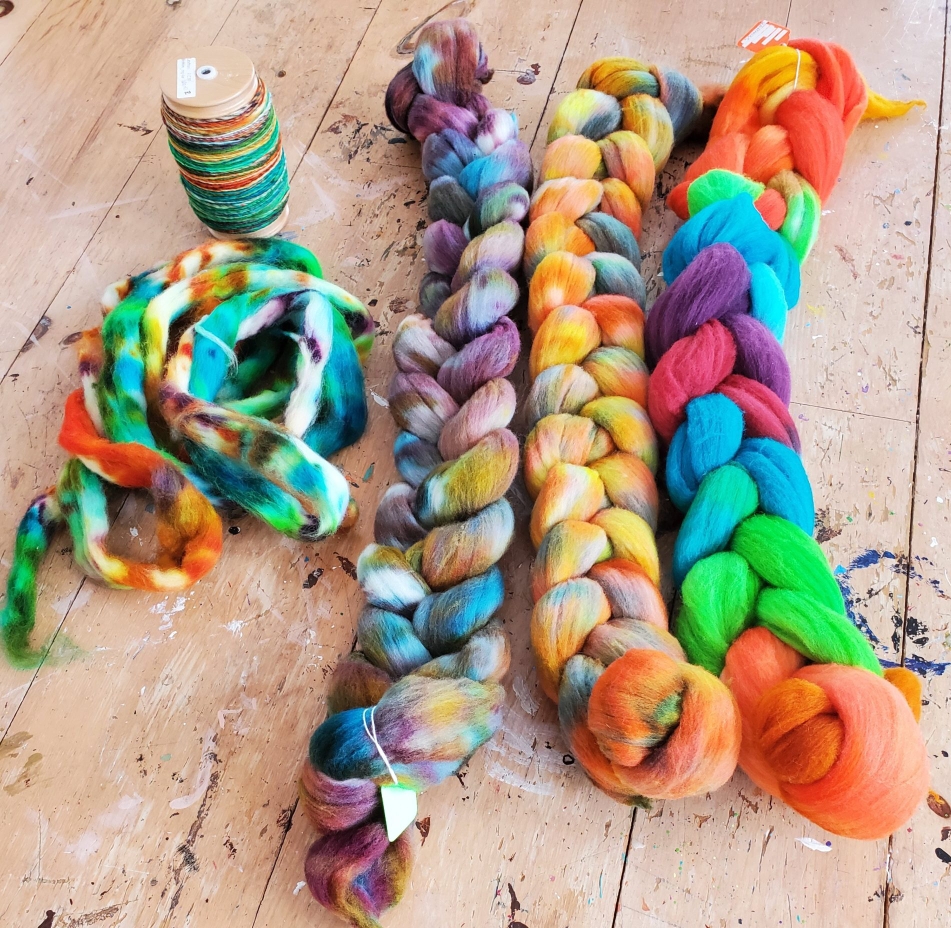
Ugly Dye is a term I coined after challenging myself to try dyeing roving in ways that would normally would be considered undesirable. Clashing colors, muddy colors, sprinkling dye on haphazardly, that type of thing.
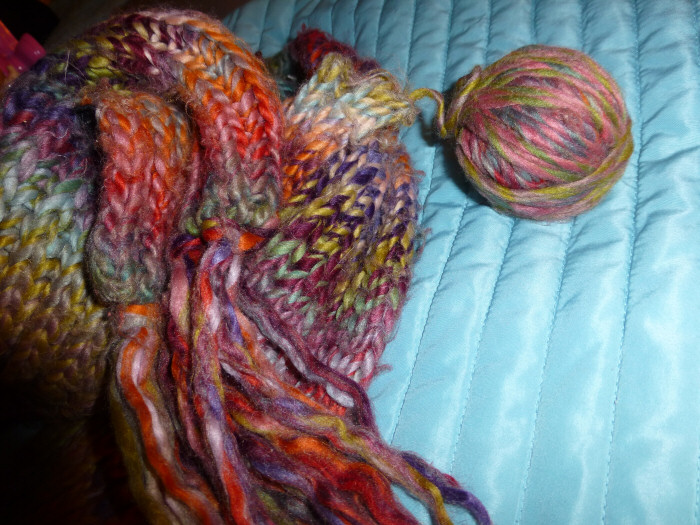
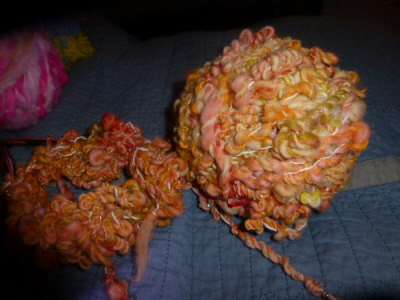
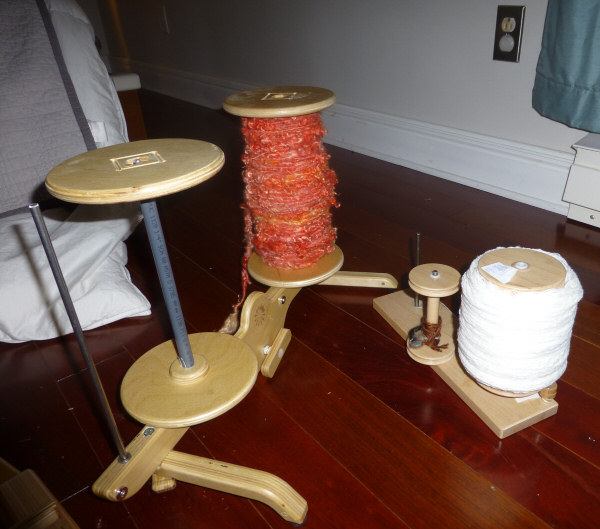
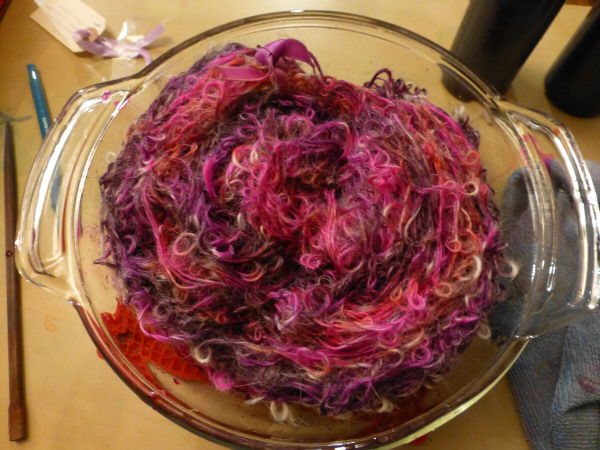
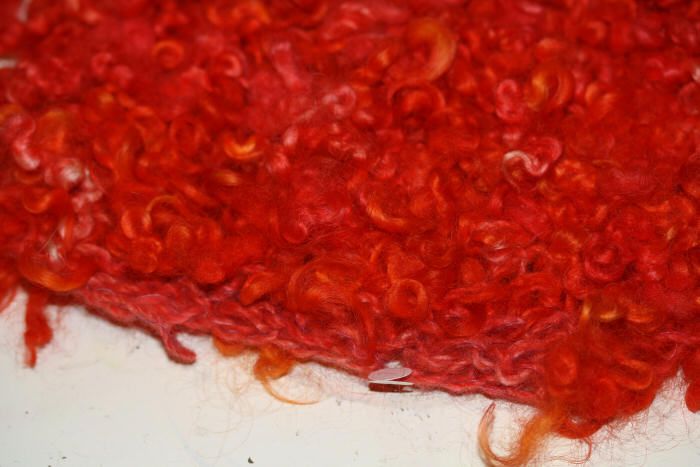
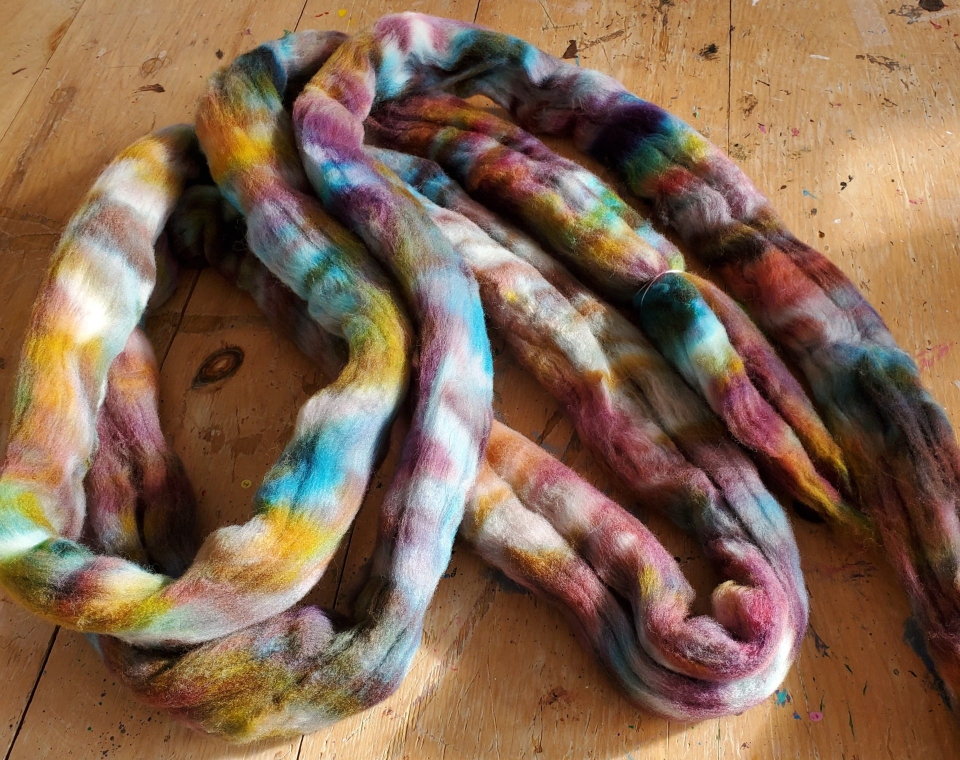
It all started with this roving I dyed several months ago. I called it my ugly roving:
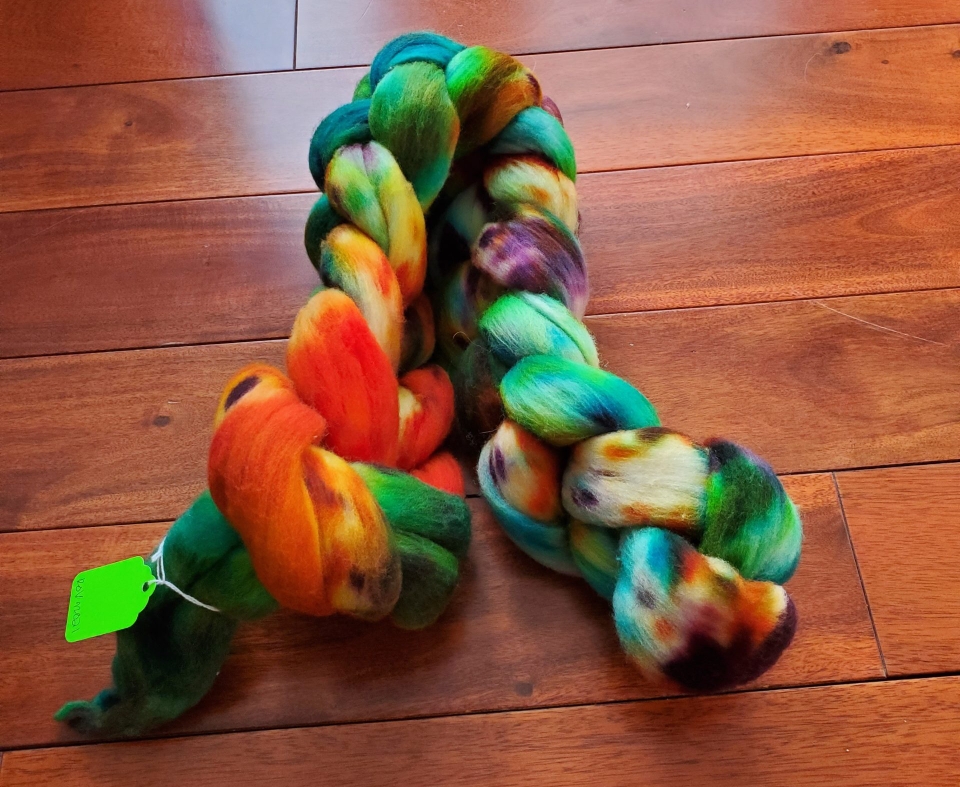
As people on Instagram pointed out, it’s not really that ugly. I think it had too much going on, and it went back in the dye pot (in this instance a rectangular crockpot with low water submersion) a total of 3 times while I tried to “salvage” it. The second time I added more dye to areas in order to intensify the color.
There were these muddy areas where the colors ran together that I simply hated! The third trip to the pot was to add those blobs of purple that I was convinced was the nail in the coffin for this ugly roving. I had officially gone too far, done too much. After drying, I braided it and socked it away. Since it is merino top (good quality fiber) I knew I had to use it at some point.
Documenting the Ugly Dye Experimentation
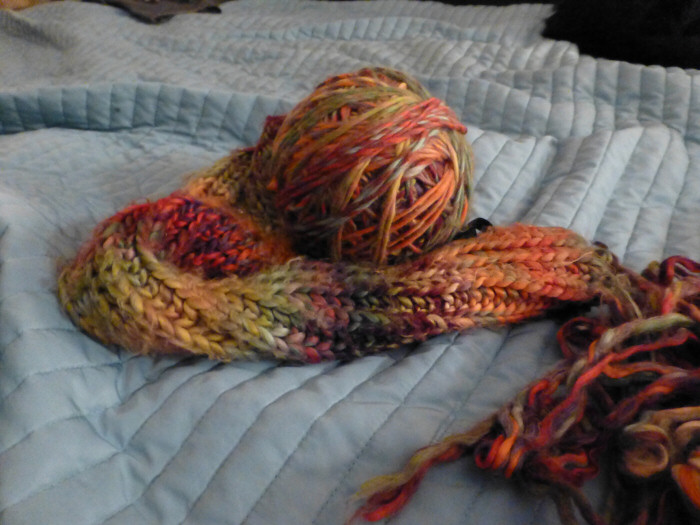
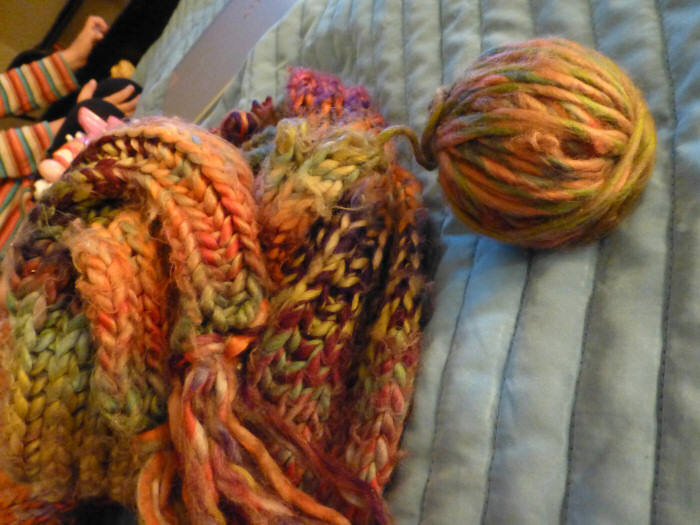
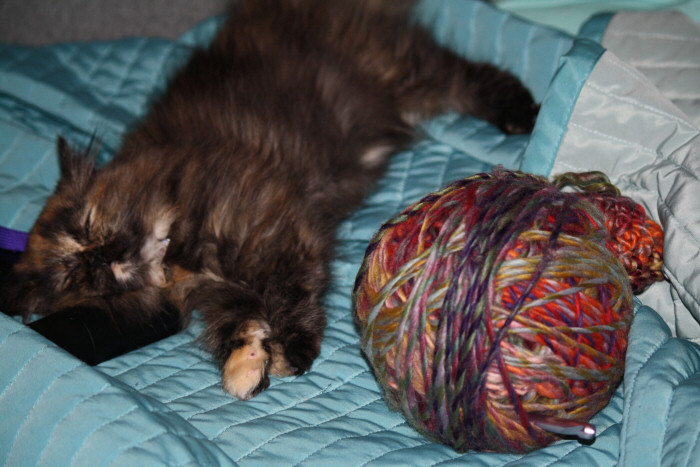
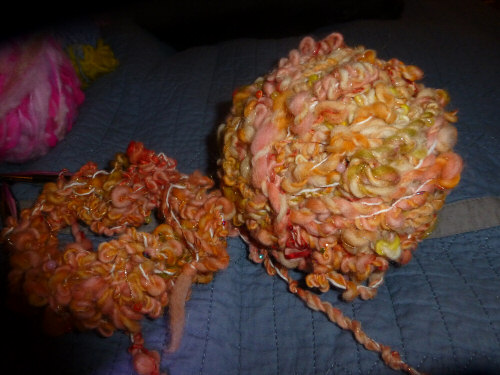
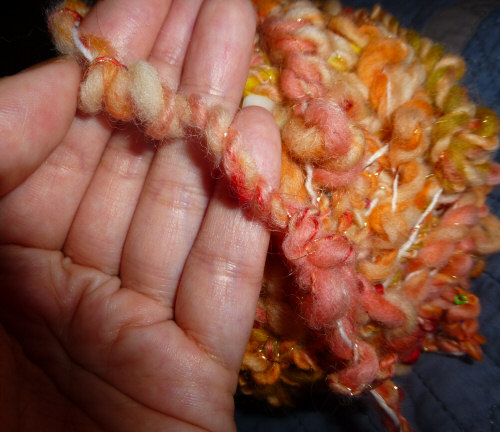
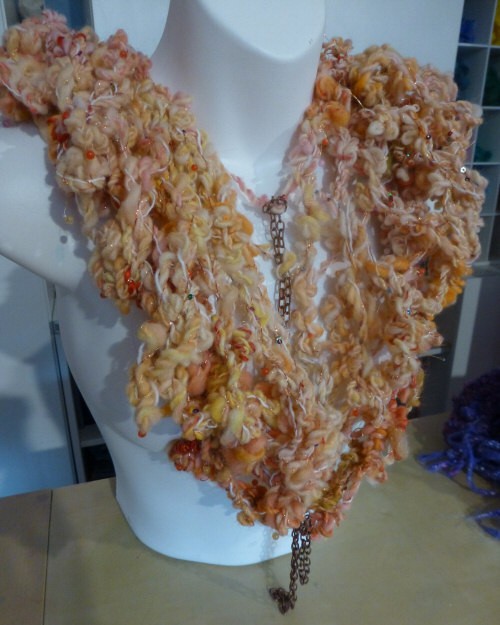
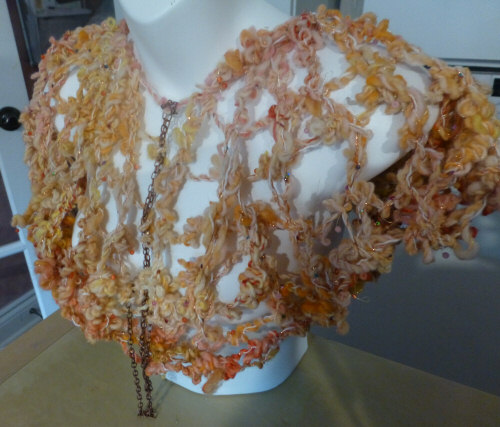
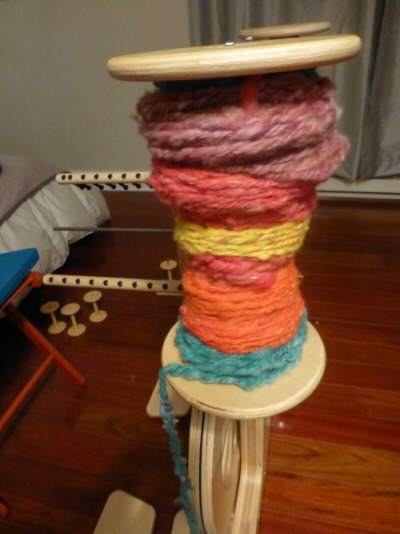
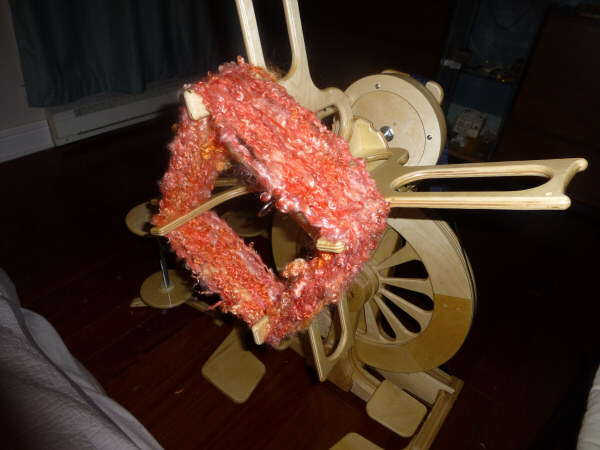
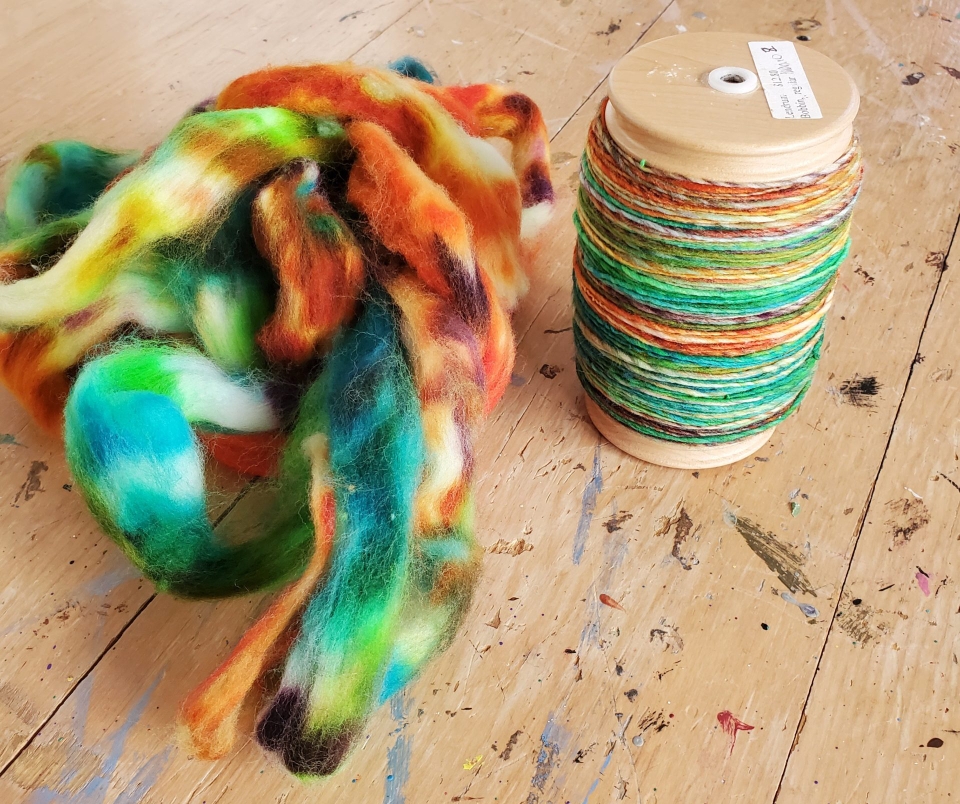
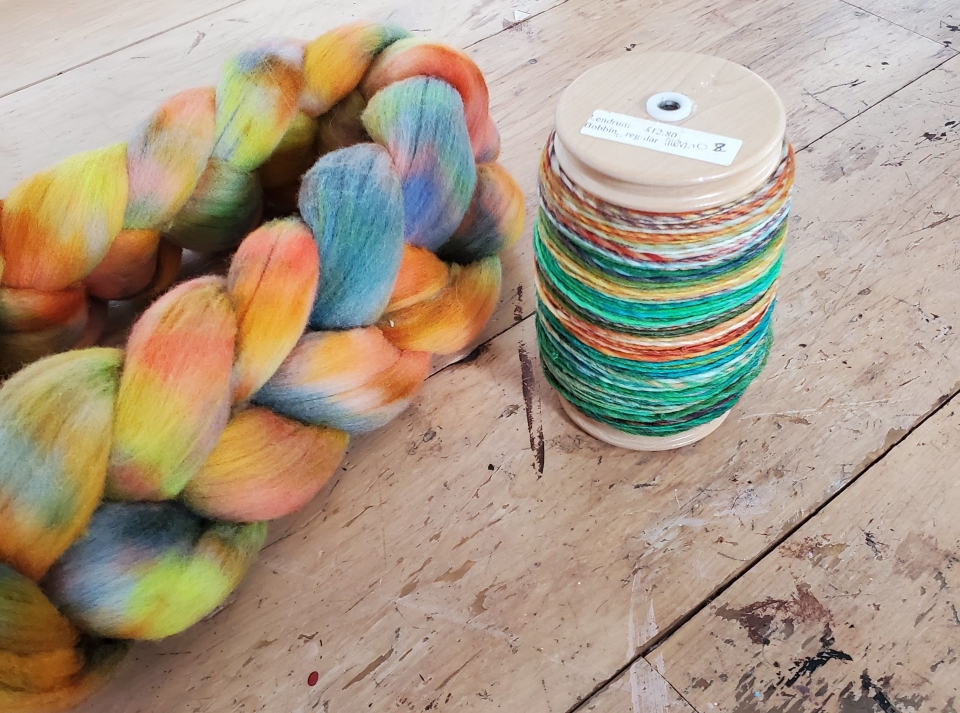
When I finally decided to spin it, I was amazed at the intensity of the color, the uniqueness, and the overall appeal both in spinning and in the final product.
This launched my “ugly dye” journey. I was so intrigued by the finished yarn that my head had so many ideas for different types of “ugly dye” to try.
I decided to document this ugly dye mini-experiment for myself to refer back to, as well as for encouragement for those who are interested in dyeing, who feel they are failing at dyeing or are feeling stuck in their indie dye journey. Let my curiosity be your inspiration!
This post will not be helpful if you don’t have some basic knowledge of dyeing fiber. There are many ways to dye and this should not be taken as the best way or the only way.
Spinning the Original “Ugly Dye”
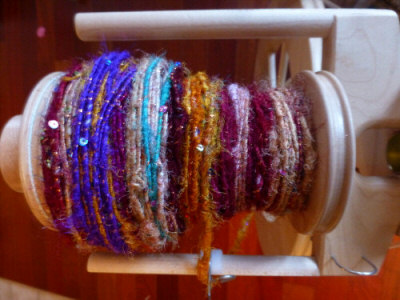
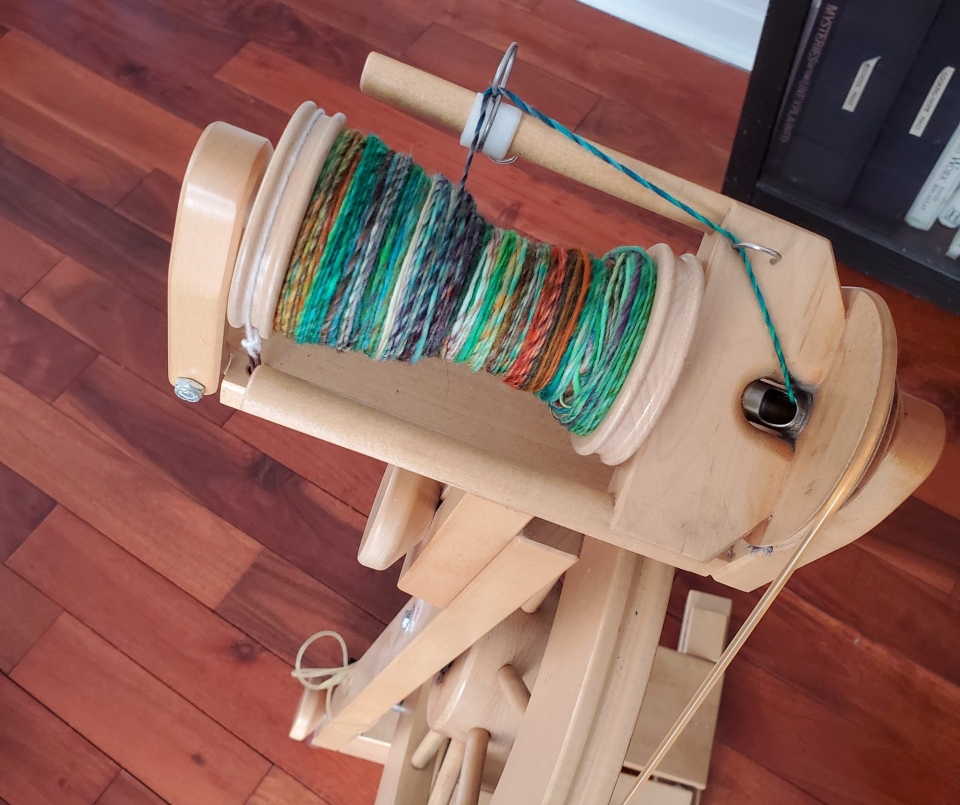
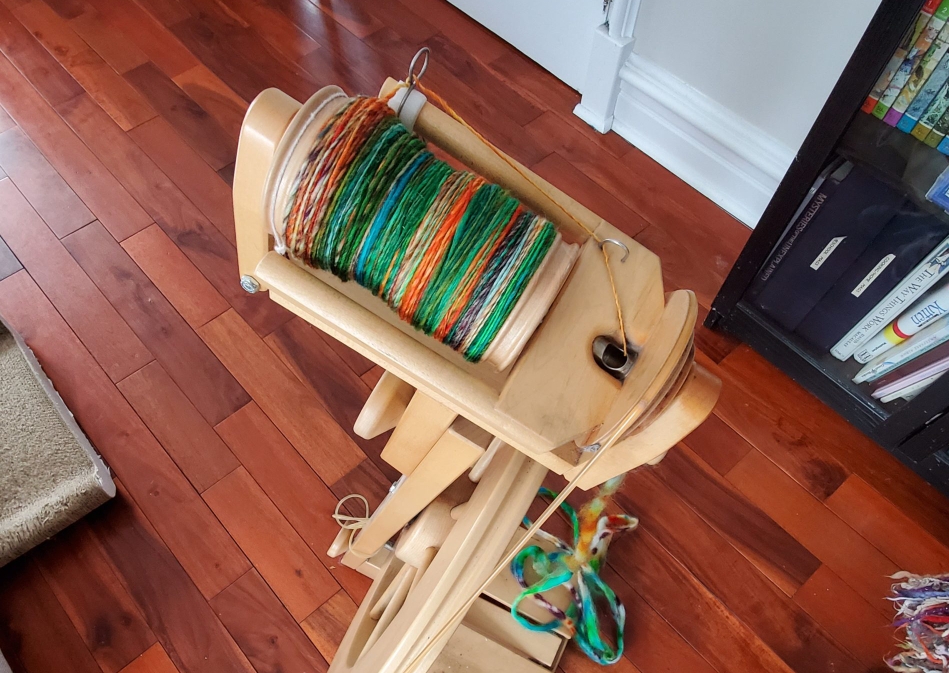
Recently, it emerged from its ugly slumber due to boredom. I was in between spinning projects with no good ideas. Upon examining it, I decided to strip the roving before spinning it (the action of pulling apart roving into thinner pieces for spinning). Breaking up the color more, instead of spinning the intact roving from top to bottom, would hopefully give me the best chance of harmonizing all that color.
I was really pleased with how it started to look:
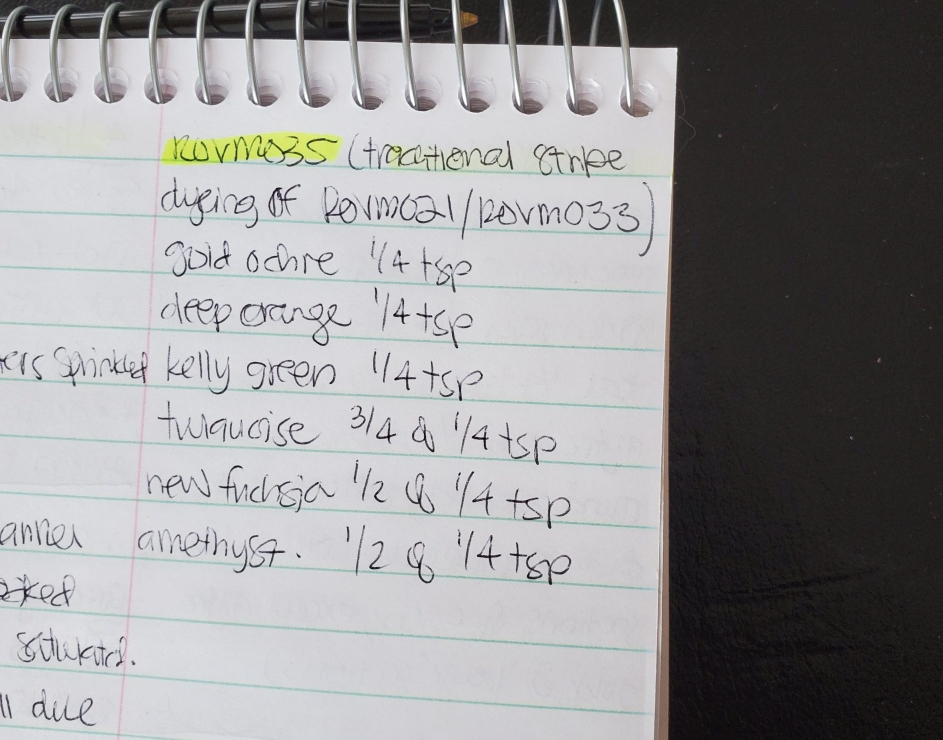
My hate-turned-to-love for this roving intrigued me enough to try experimenting some other variations. Again using 4oz of merino top, this “ugly dye” consists of:
- Gold ochre
- Deep orange
- Kelly green
- Turquoise
- New fuchsia (not to be mistaken for fuchsia)
- Amethyst
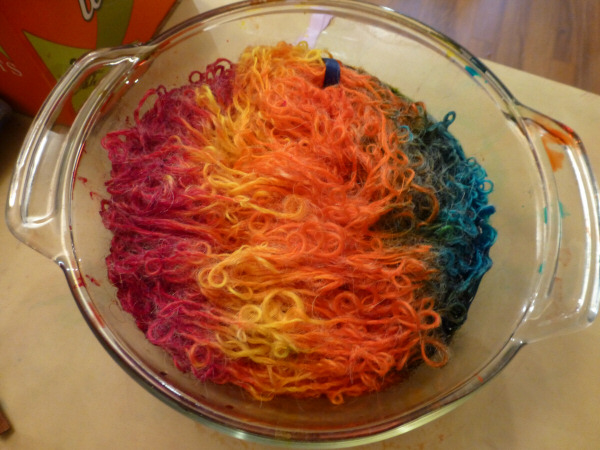
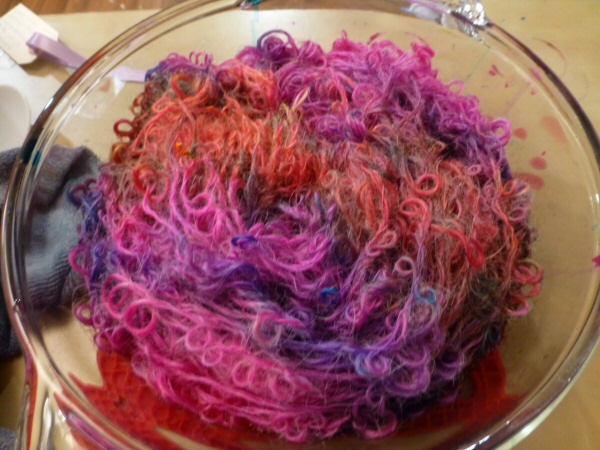
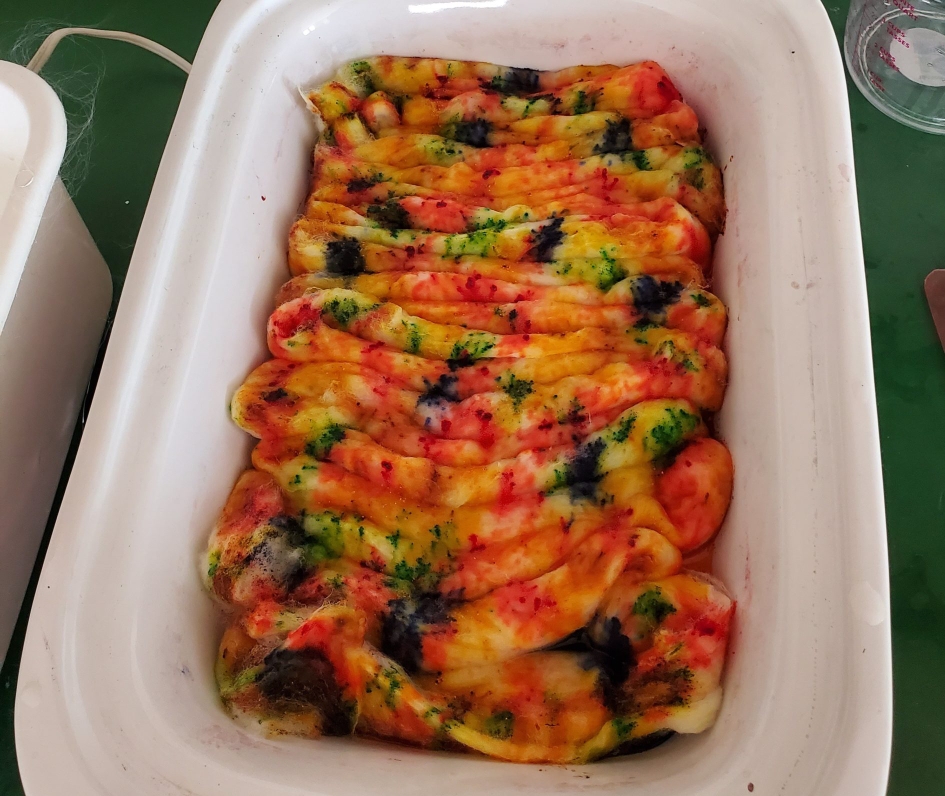
For the second experiment, I decided to lightly soak the roving in water with dissolved citric acid. The bottom was well saturated, but the top was not. It was then arranged it into a rectangular crockpot. Dyeing fiber and yarn in a crockpot is super simple, and I love that I can set it and forget it while I work on other things.
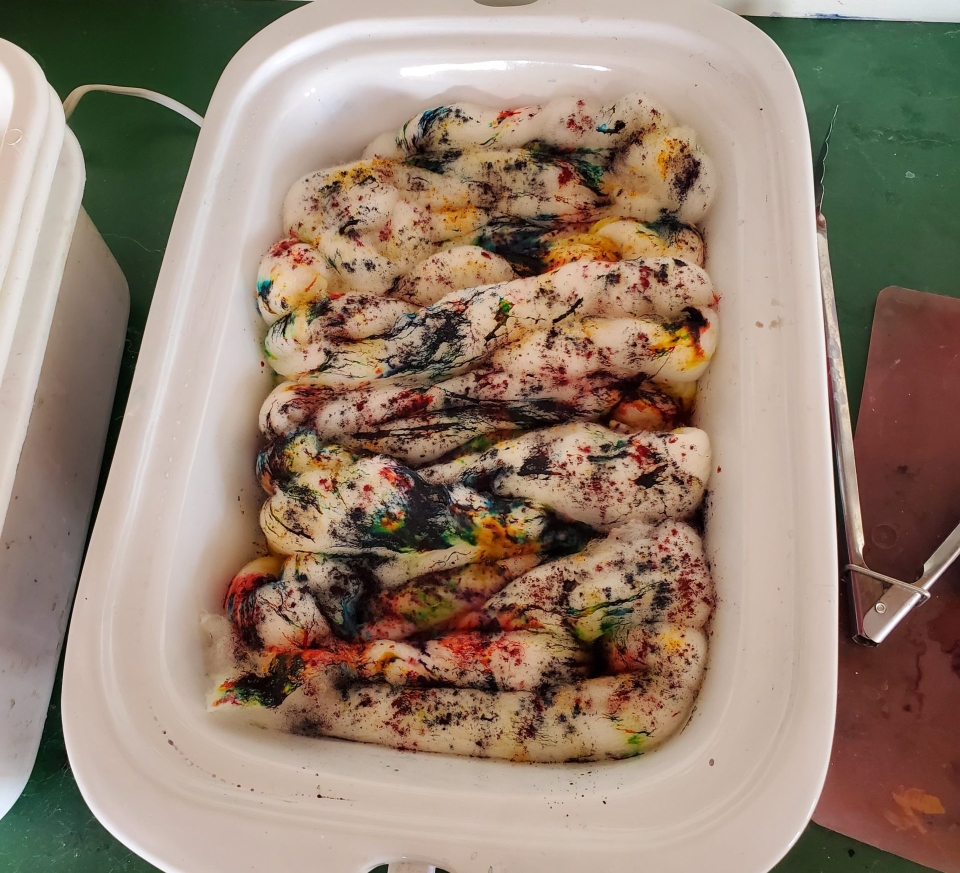
In the first ugly dye, the roving went into the crockpot dry with a little water and citric acid in the bottom of the crock. I also added the original color in sections rather than at random. This time I sprinkled all the colors all over.
I let that sit for awhile, before spritzing it a over with water and citric acid:
After spraying down the top, I walked away for awhile. Probably about 15 minutes. Then I pressed the color into the roving with the back of a spoon:
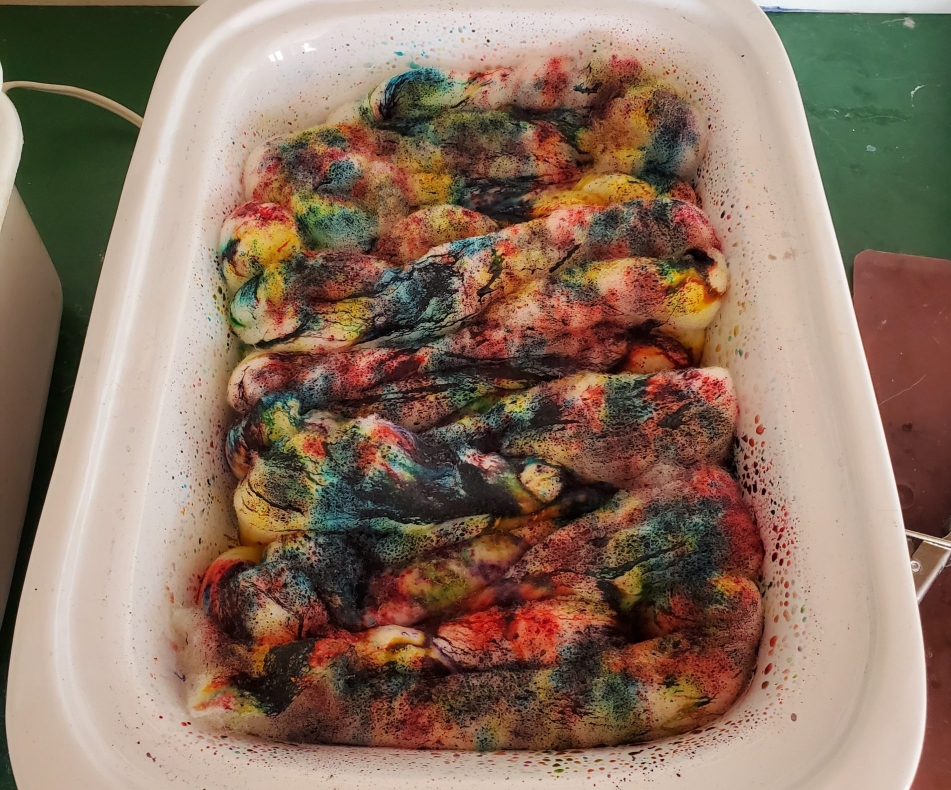

I know what some of you are thinking. It looks so pretty, why press the color in?? Remember, we are going for UGLY roving… ????
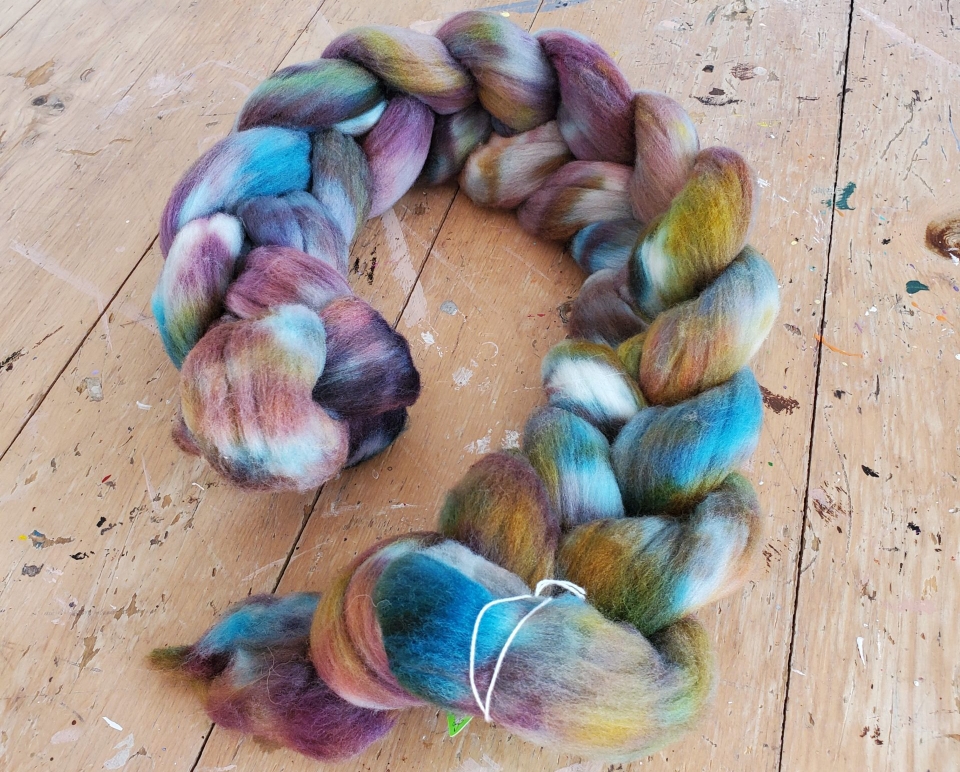
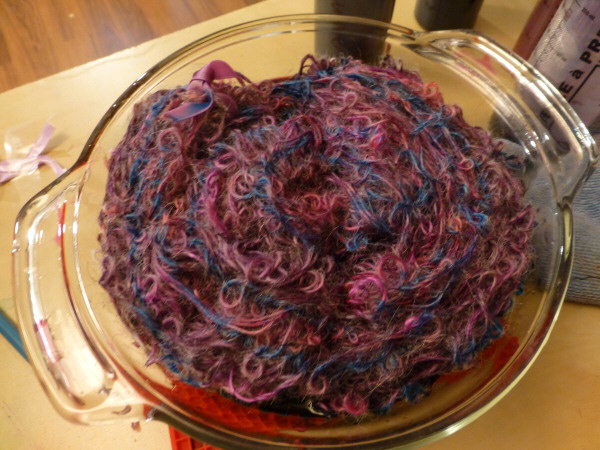
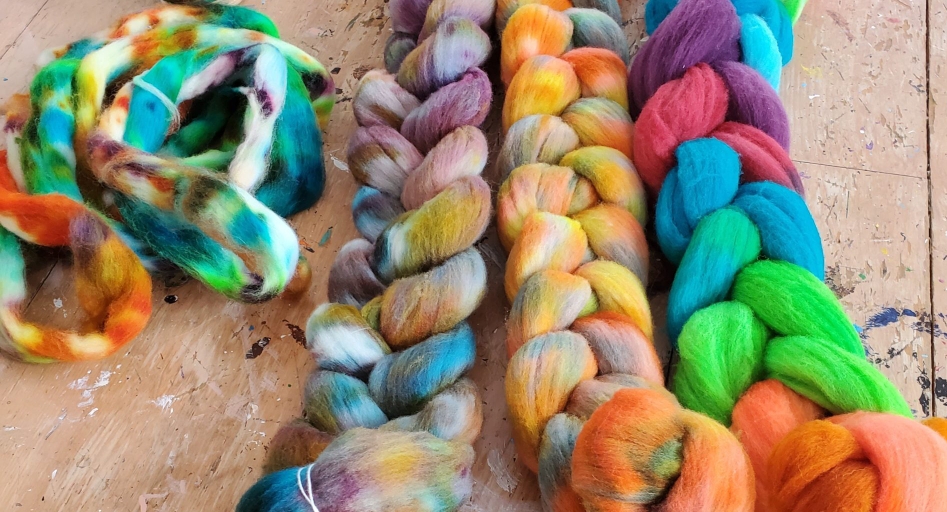
Like the first ugly roving, there is a lot going on. Nonetheless, I love the “mood” of this dye combo, and there is several interesting patterns and striations of color that does not come through in the photos.
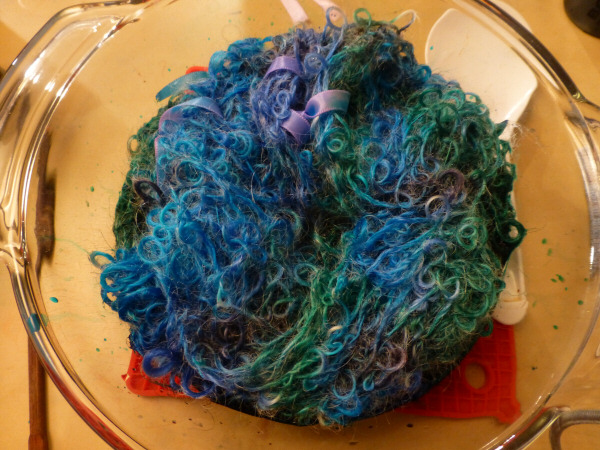
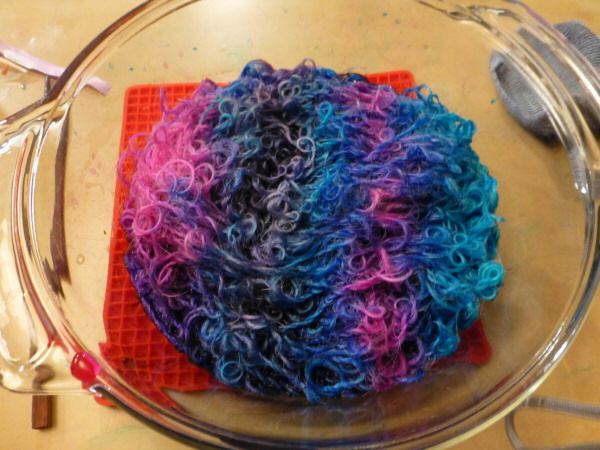
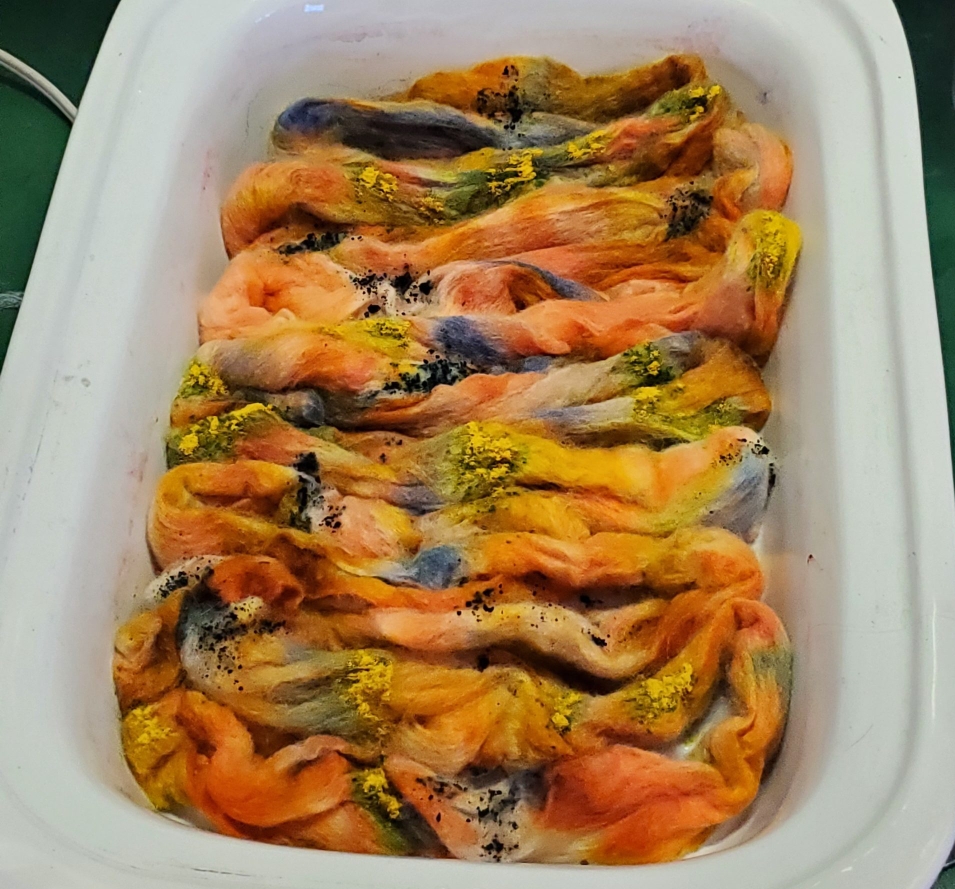
For the 3rd ugly dye experiment, I decided to soak the roving entirely with a water/citric acid solution. Then into the rectangle crock. I erred on the side of caution and omitted the purple as I knew the dye would travel around more on a thoroughly wet roving, and it may cause too much muddy color:
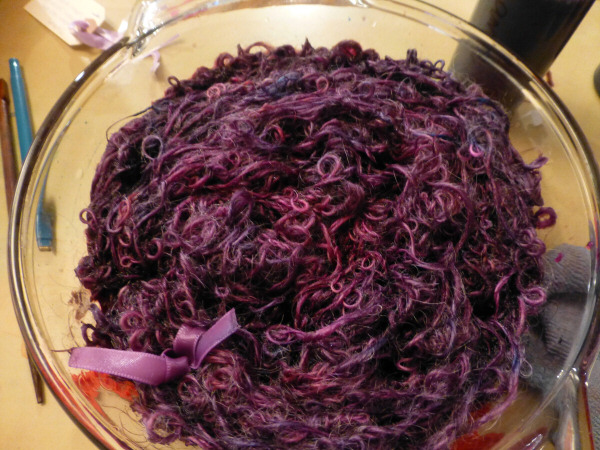
After pressing in the dye, I left it in the crockpot for approximately 1 hour. After rinsing, I was dissatisfied with the result. The color was very muted, I assume because the roving was fully wet, allowing the color to spread a larger distance. Sooooo…back for round 2 it went.
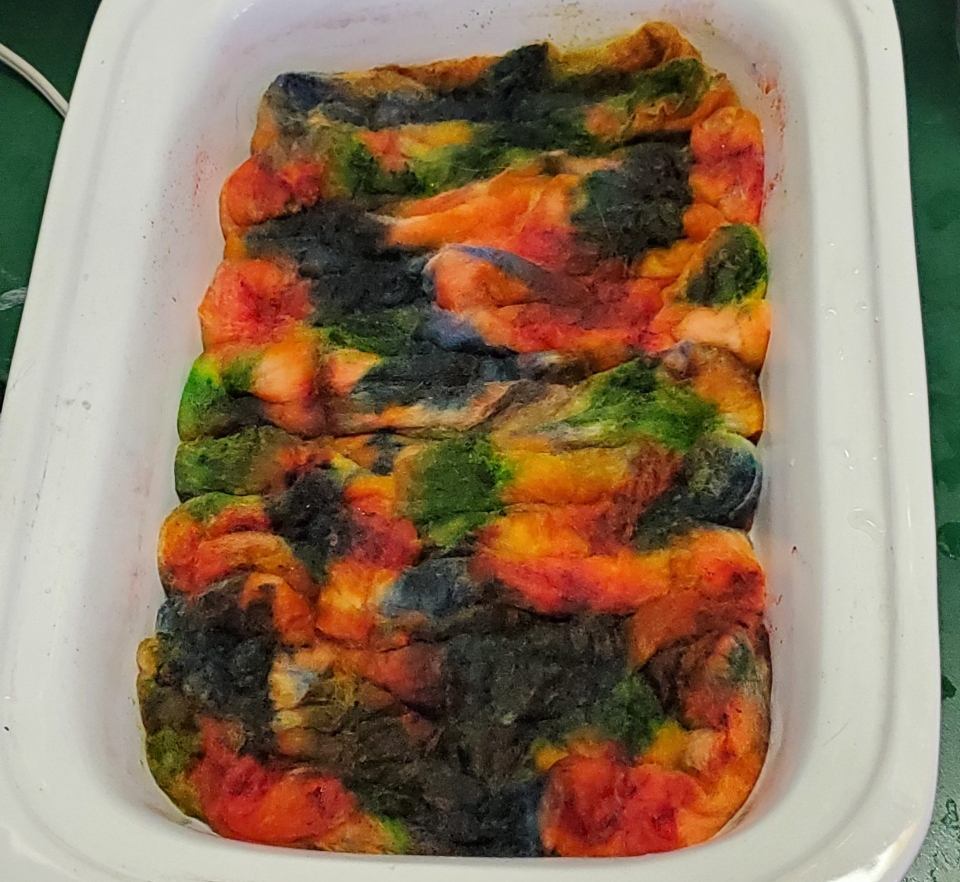
Here’s the end result after rinsing for a second time, then drying:
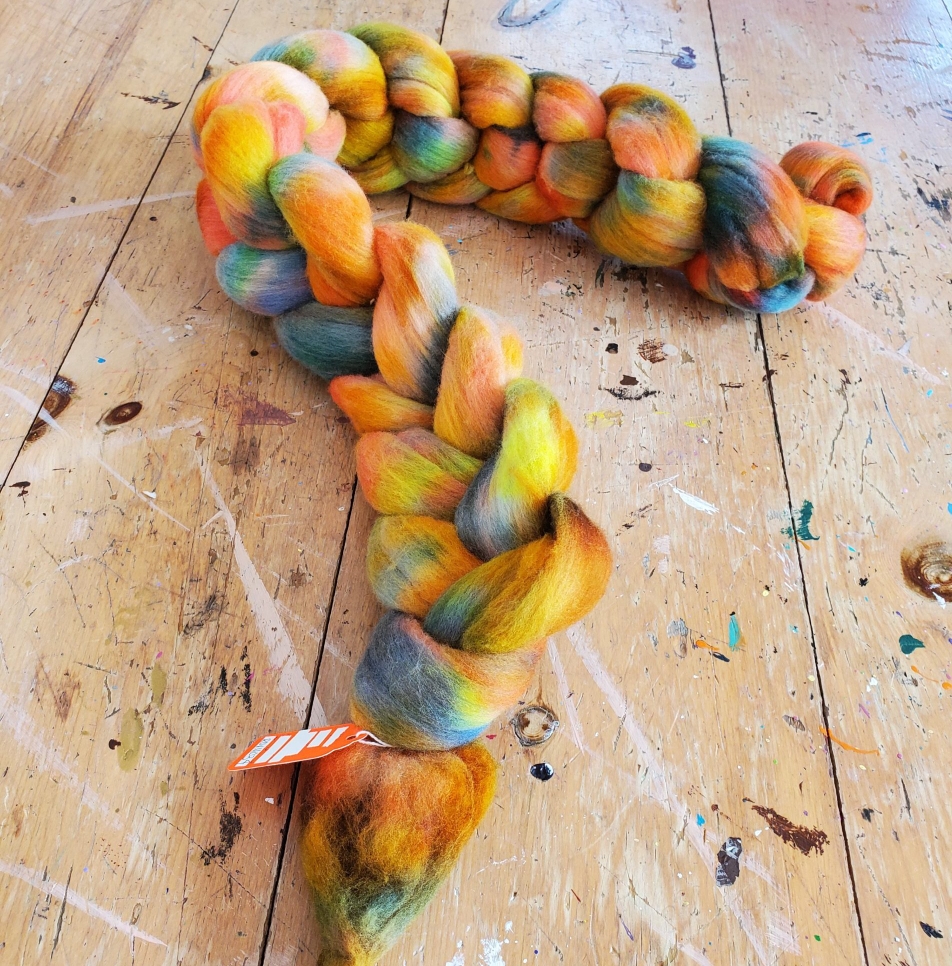
This may be a good contender for plying to the original ugly roving:
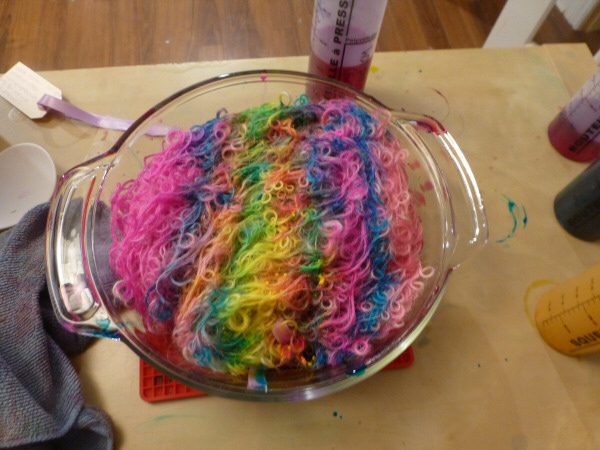
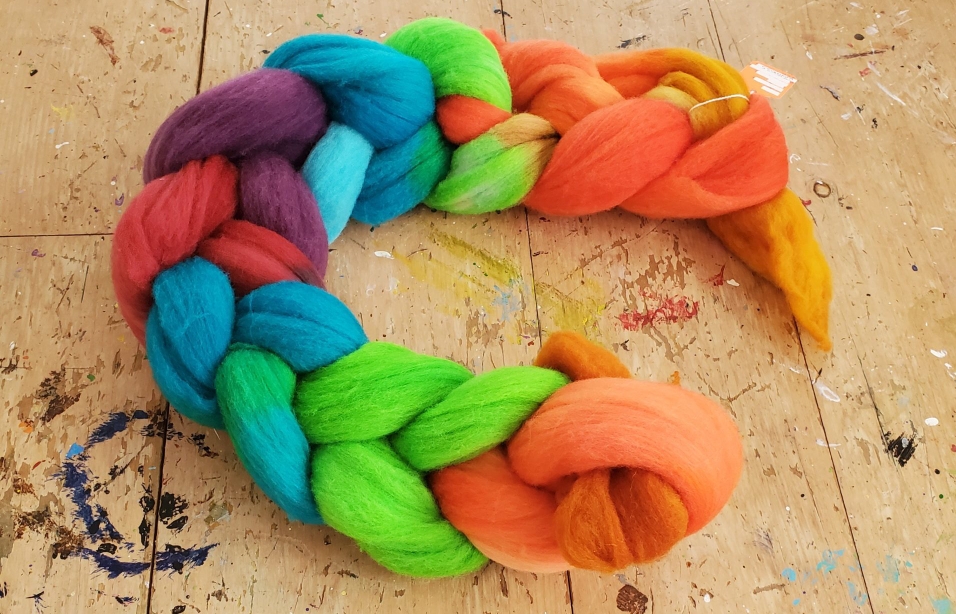
The final roving in this project was a dip dye of these colors for comparison. What a dramatic difference:
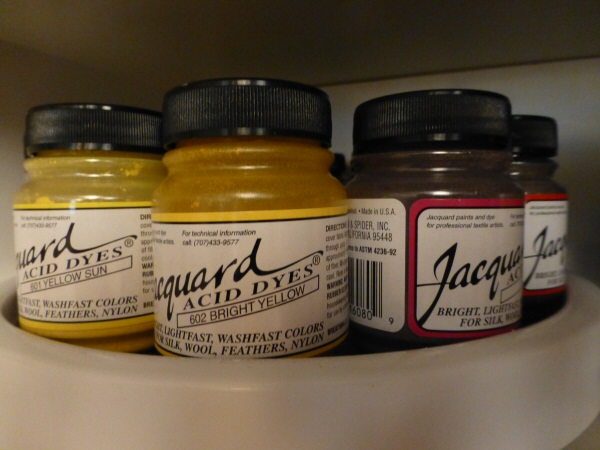
Now that you’ve seen what can be done with just 6 shades of acid dyes, I hope this is inspiration for your next dye project. If you are new to dyeing, I hope this encourages you to simply invest in a handful of colors to get started. I am far from an expert in this topic (obviously!). I’m simply willing to try and share. I hope to do more posts like this in the future, and if I can assist you in any way on your indie dye journey, please do not hesitate to contact me.
2026 Ugly Dye Update
Since this first experiment, I have documented my recent ugly dye adventures on my YouTube Channel. This topic is quickly becoming a channel favorite among viewers. I hope you enjoy and subscribe. 🙂