Spinning (and Dyeing) Ugly Roving

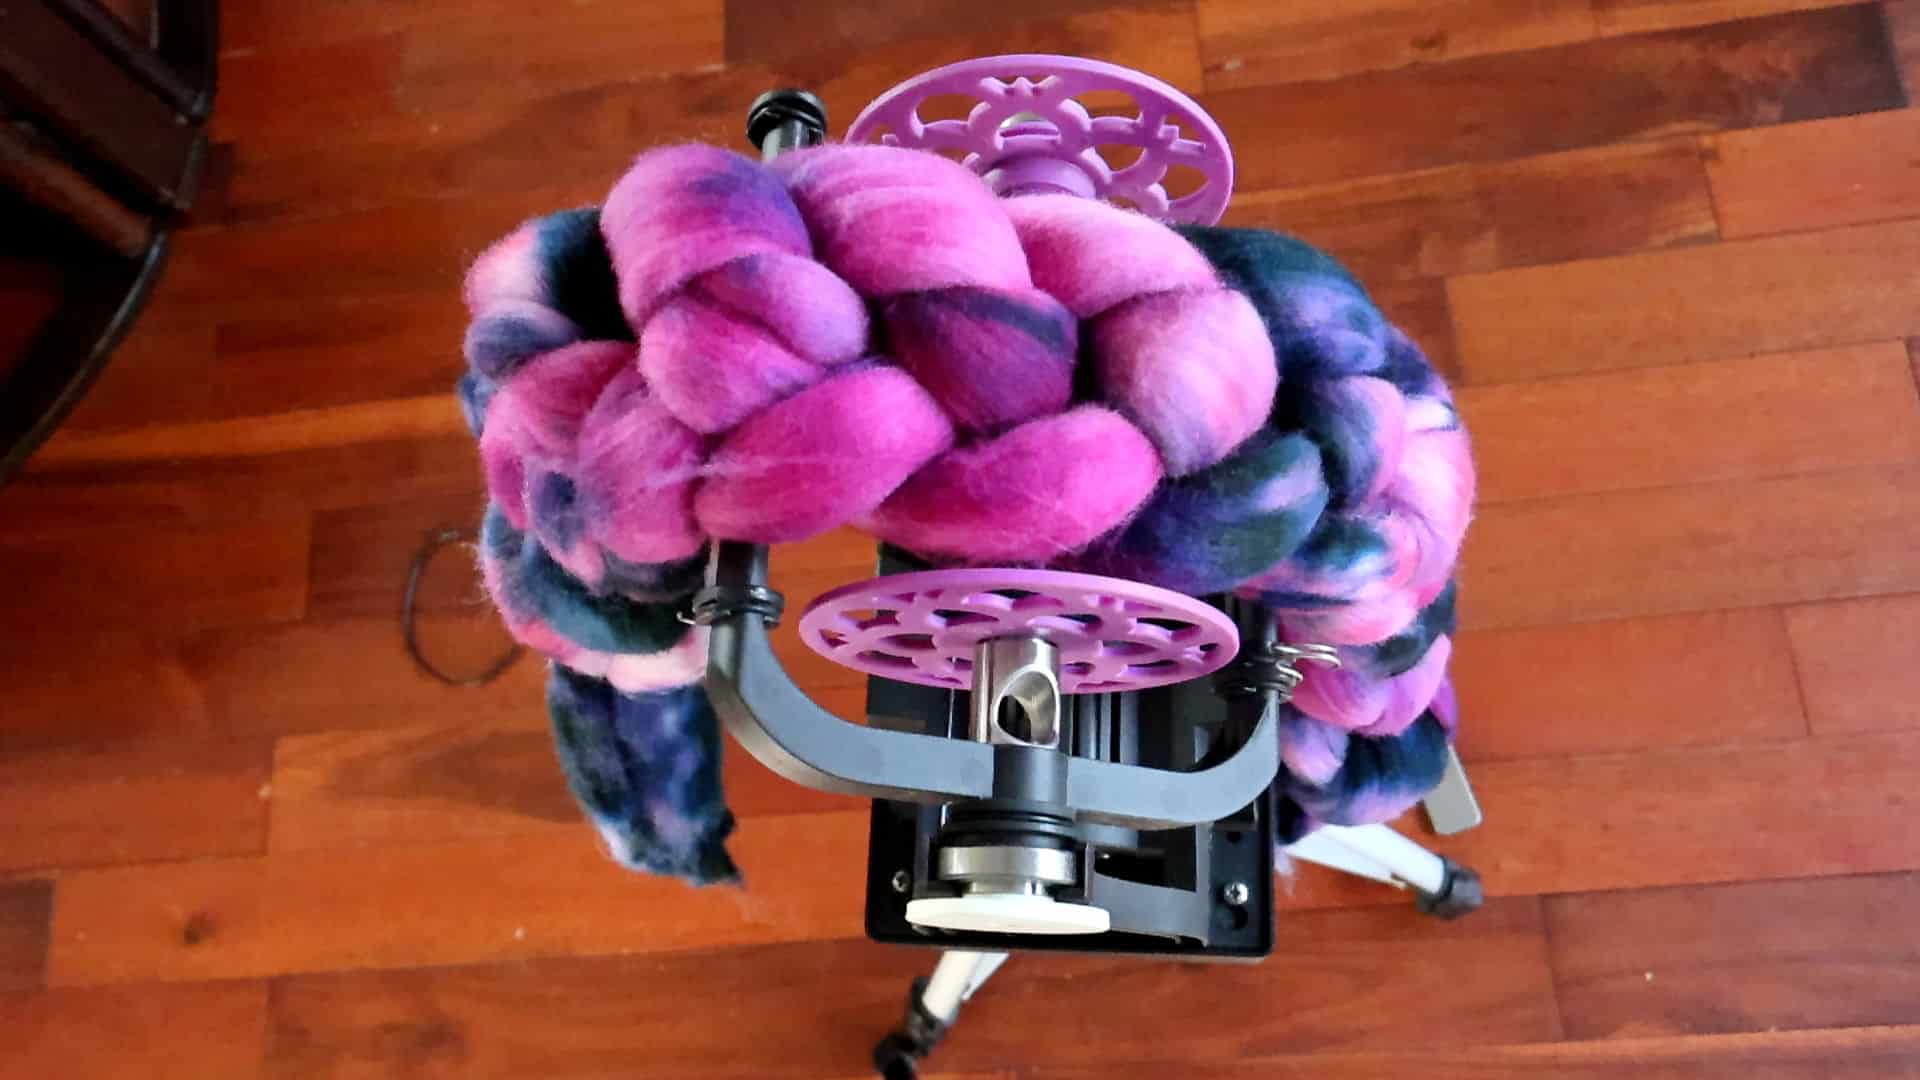
Overhead view of a spinning wheel with thick, braided, multicolored wool roving in shades of pink, purple, and blue draped over it, set on a tripod against a wooden floor background.

What is ugly roving? And why would I want to dye it?
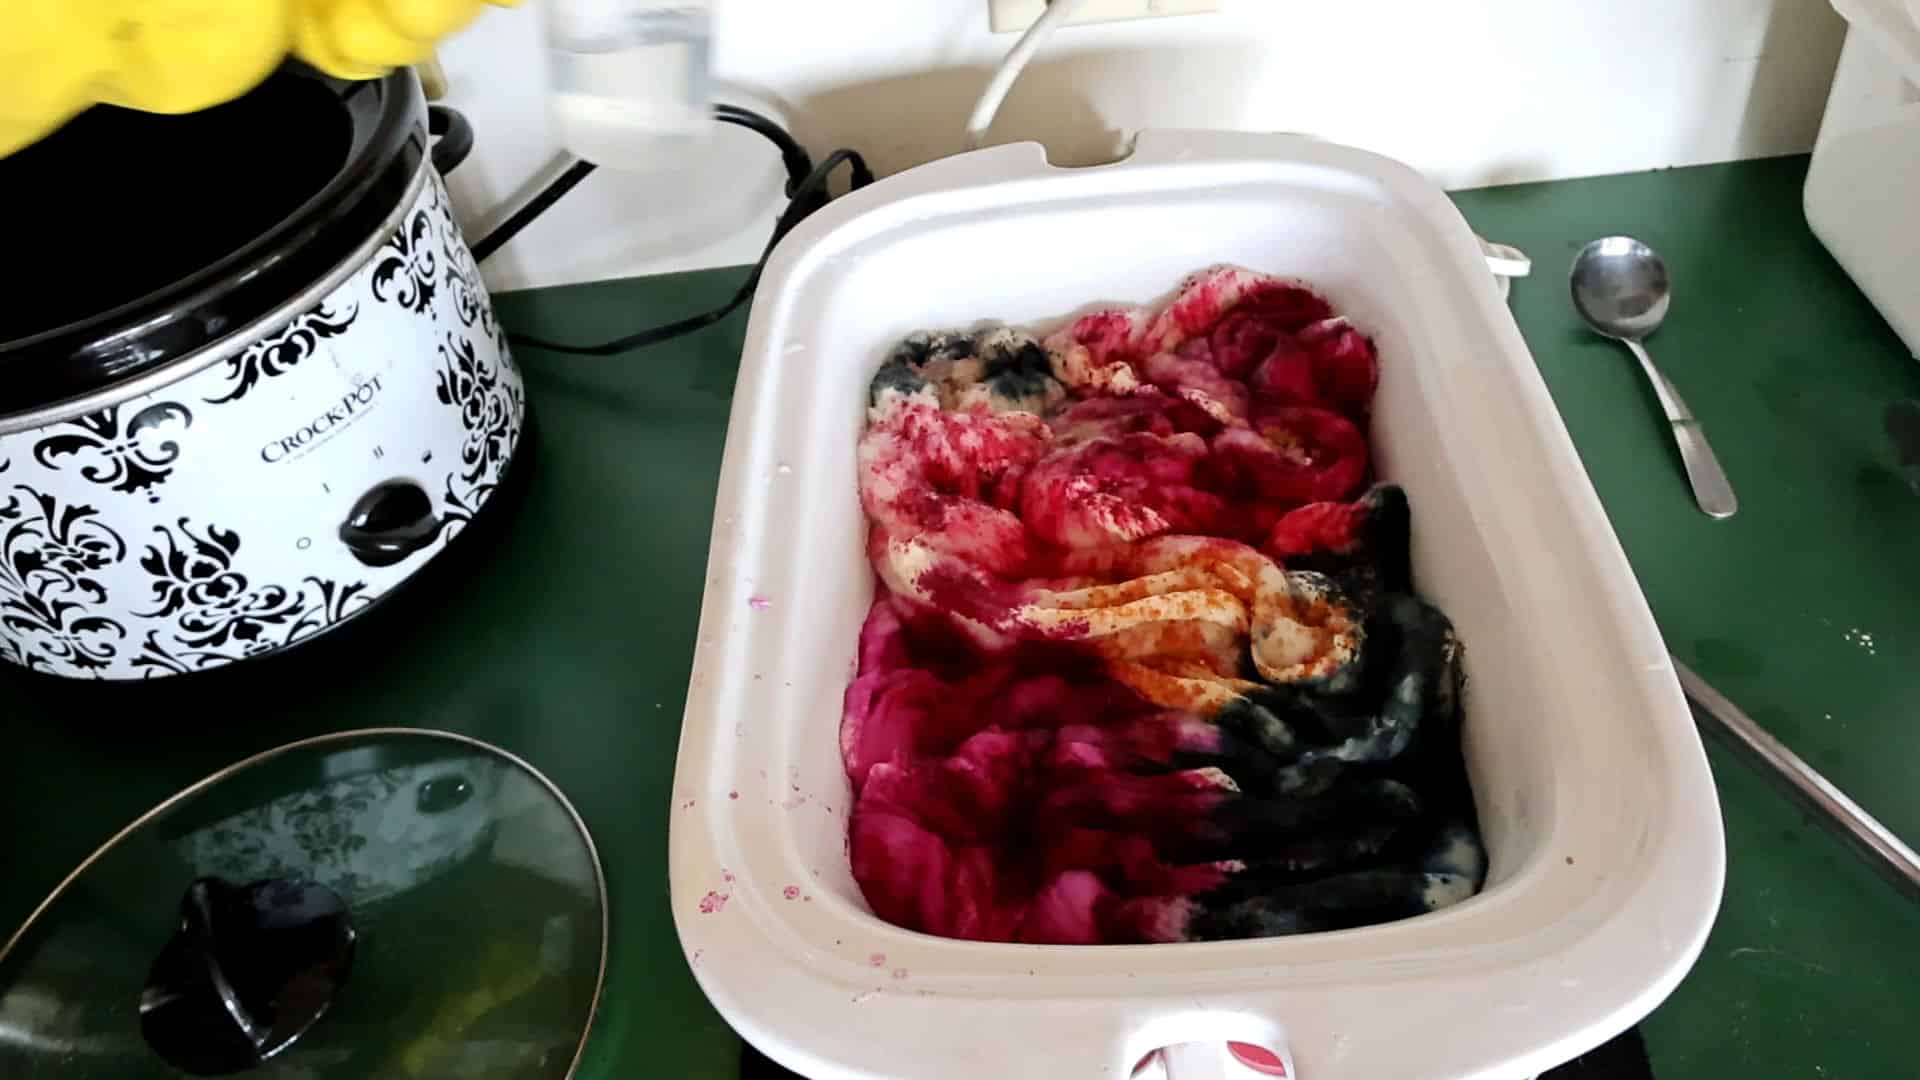
A white slow cooker filled with wool roving spinkled with pink, orange, and dark green swirls of dye. The slow cooker sits on a green countertop next to a spoon and another decorative slow cooker. This is the beginning process of the Ugly Dye Experiment video on YouTube.

My latest spinning experiment over on my YouTube channel was recreating a project I did a few years back, where I challenged myself to dye “ugly roving”.

I was curious as to what would happen if I simply set out to dye a piece of roving, throwing all the rules out the window that I ever learned about dyeing fiber, such as not pre-mixing or even measuring dye for that matter, allowing muddy colors (letting the dye colors to all mix together during low water immersion), not setting out with a plan or choosing colors that will compliment rather than clash, for example.
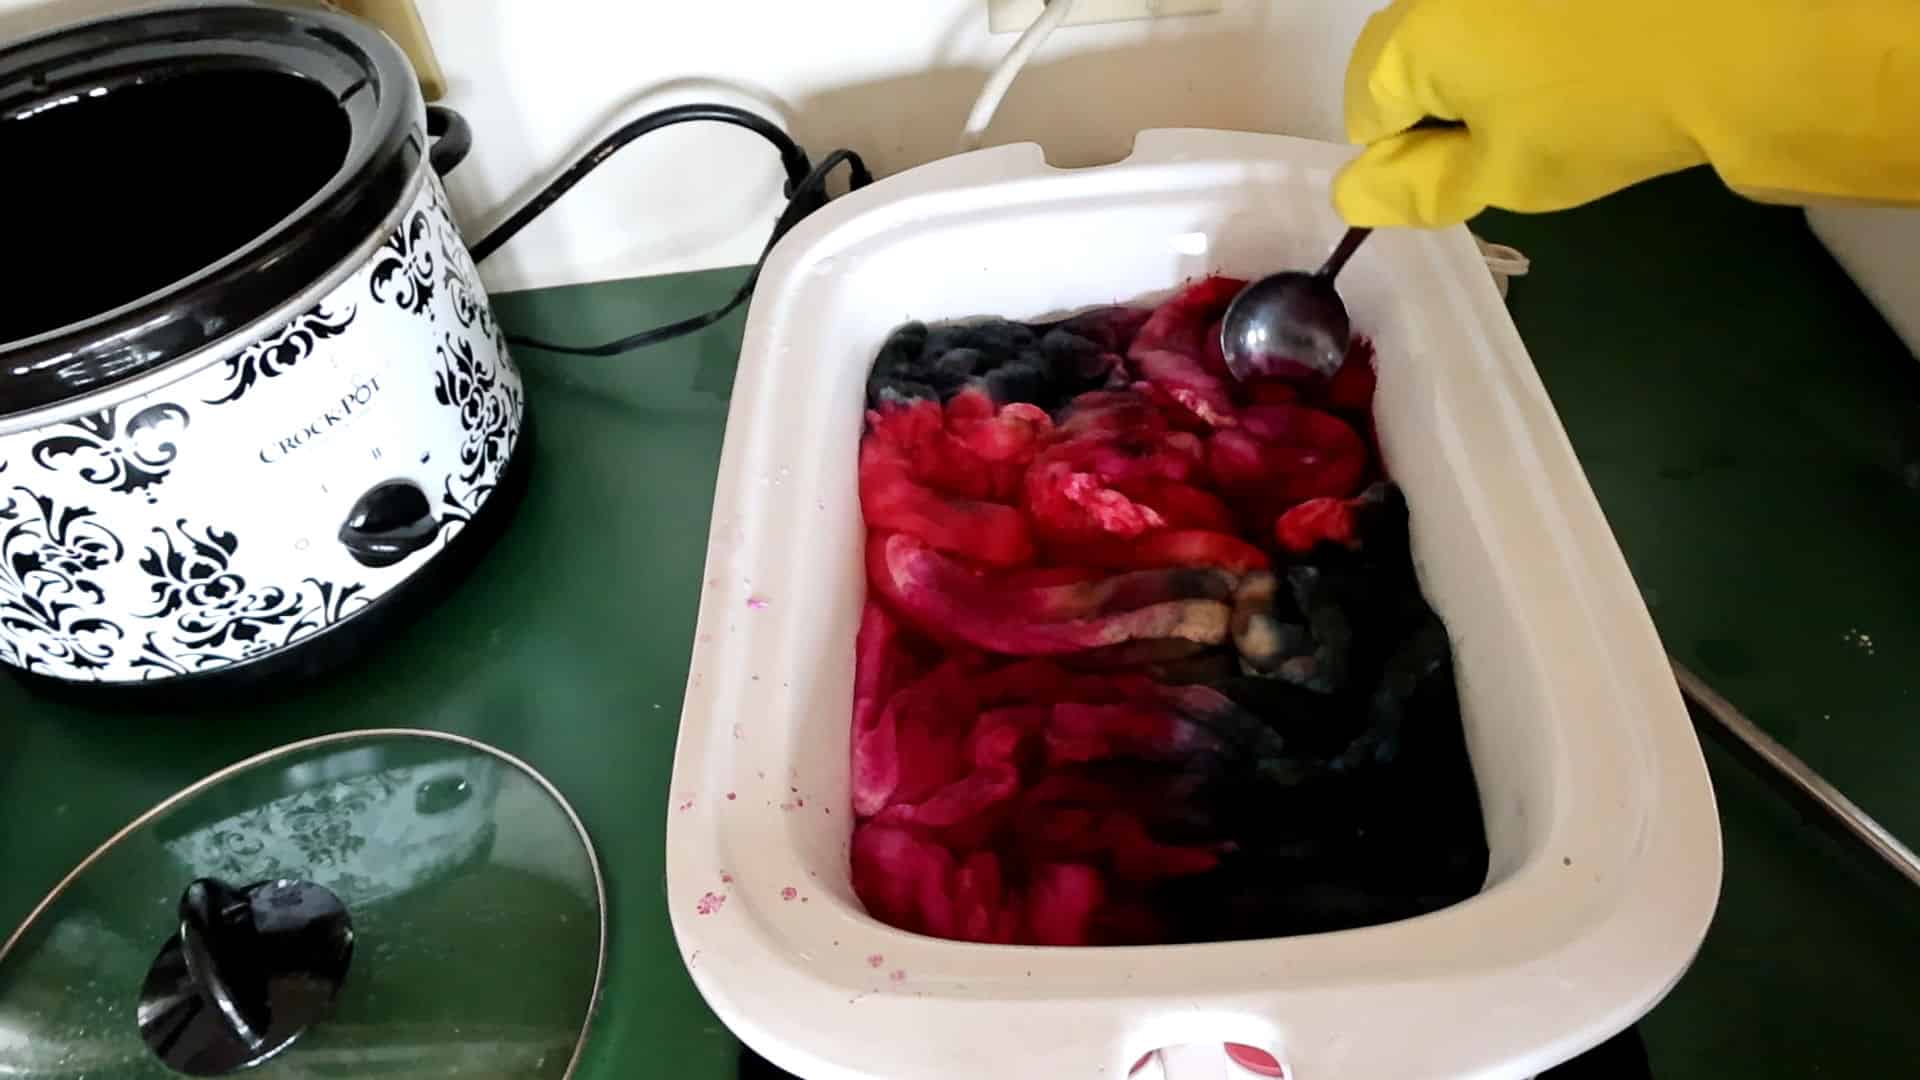
Dyeing ugly roving: a person wearing yellow gloves stirs colorful purplish red and dark blue/green wool fibers in a white slow cooker with a metal spoon. Another decorated slow cooker with a glass lid lies nearby on a green surface, suggesting a dyeing process in progress.

What if I just…dyed roving? Sprinkled on a little powdered dye here and there, what will I end up with, and would the subsequent handspun yarn just be too ugly to even speak of?

What I found is that it’s not so much in how you dye the fiber, but in how you spin it.
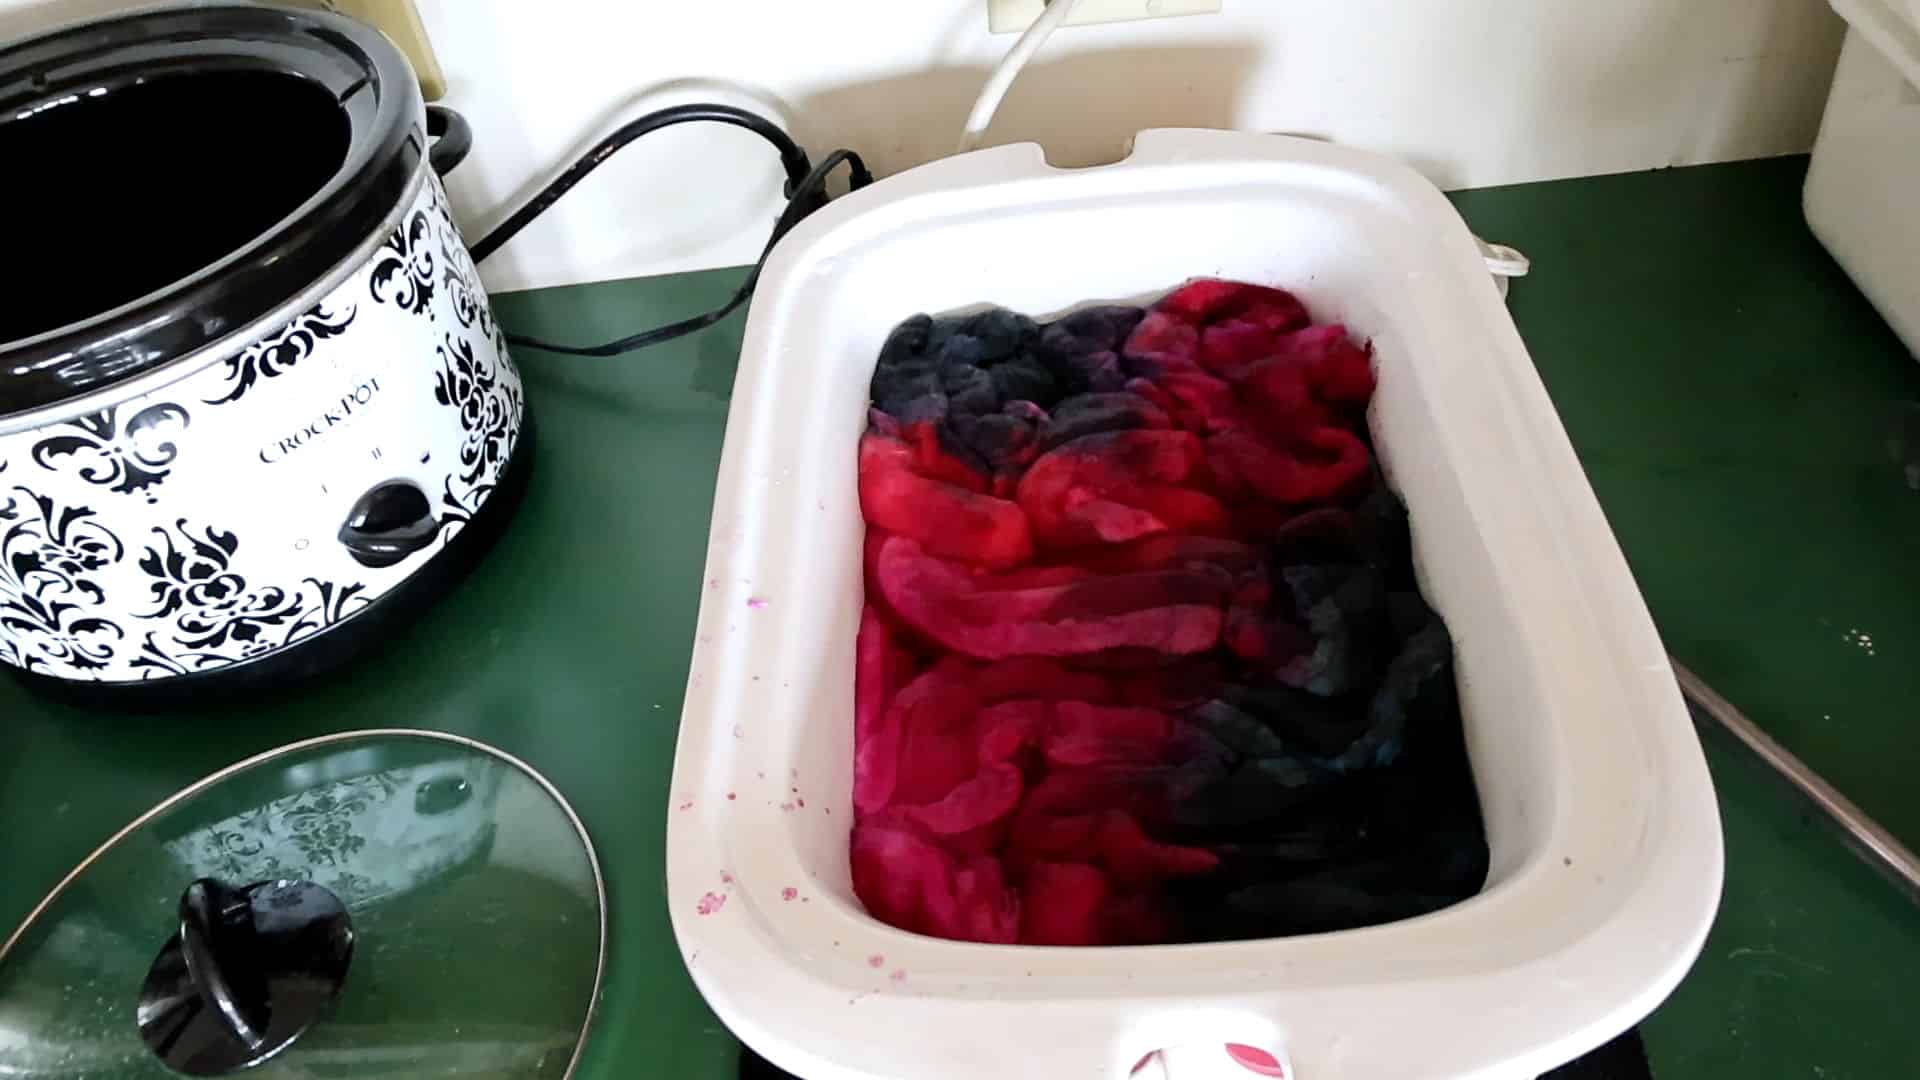
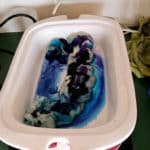
The "ugly dye" has been added to the roving and is now ready to set. A white roasting pan filled with wool roving being dyed in shades of blue and red sits on a green counter. Next to it is a patterned black-and-white Crock-Pot with its glass lid resting nearby. Electrical cords and outlets are visible in the background.

Now, if you are the type of person who dyes fiber for spinning for specific projects, this may not be the technique (or lack thereof) for you. But if you are like me and get excited about spinning based on the color (sometimes a challenge) and the journey, then you might want to give this a try.
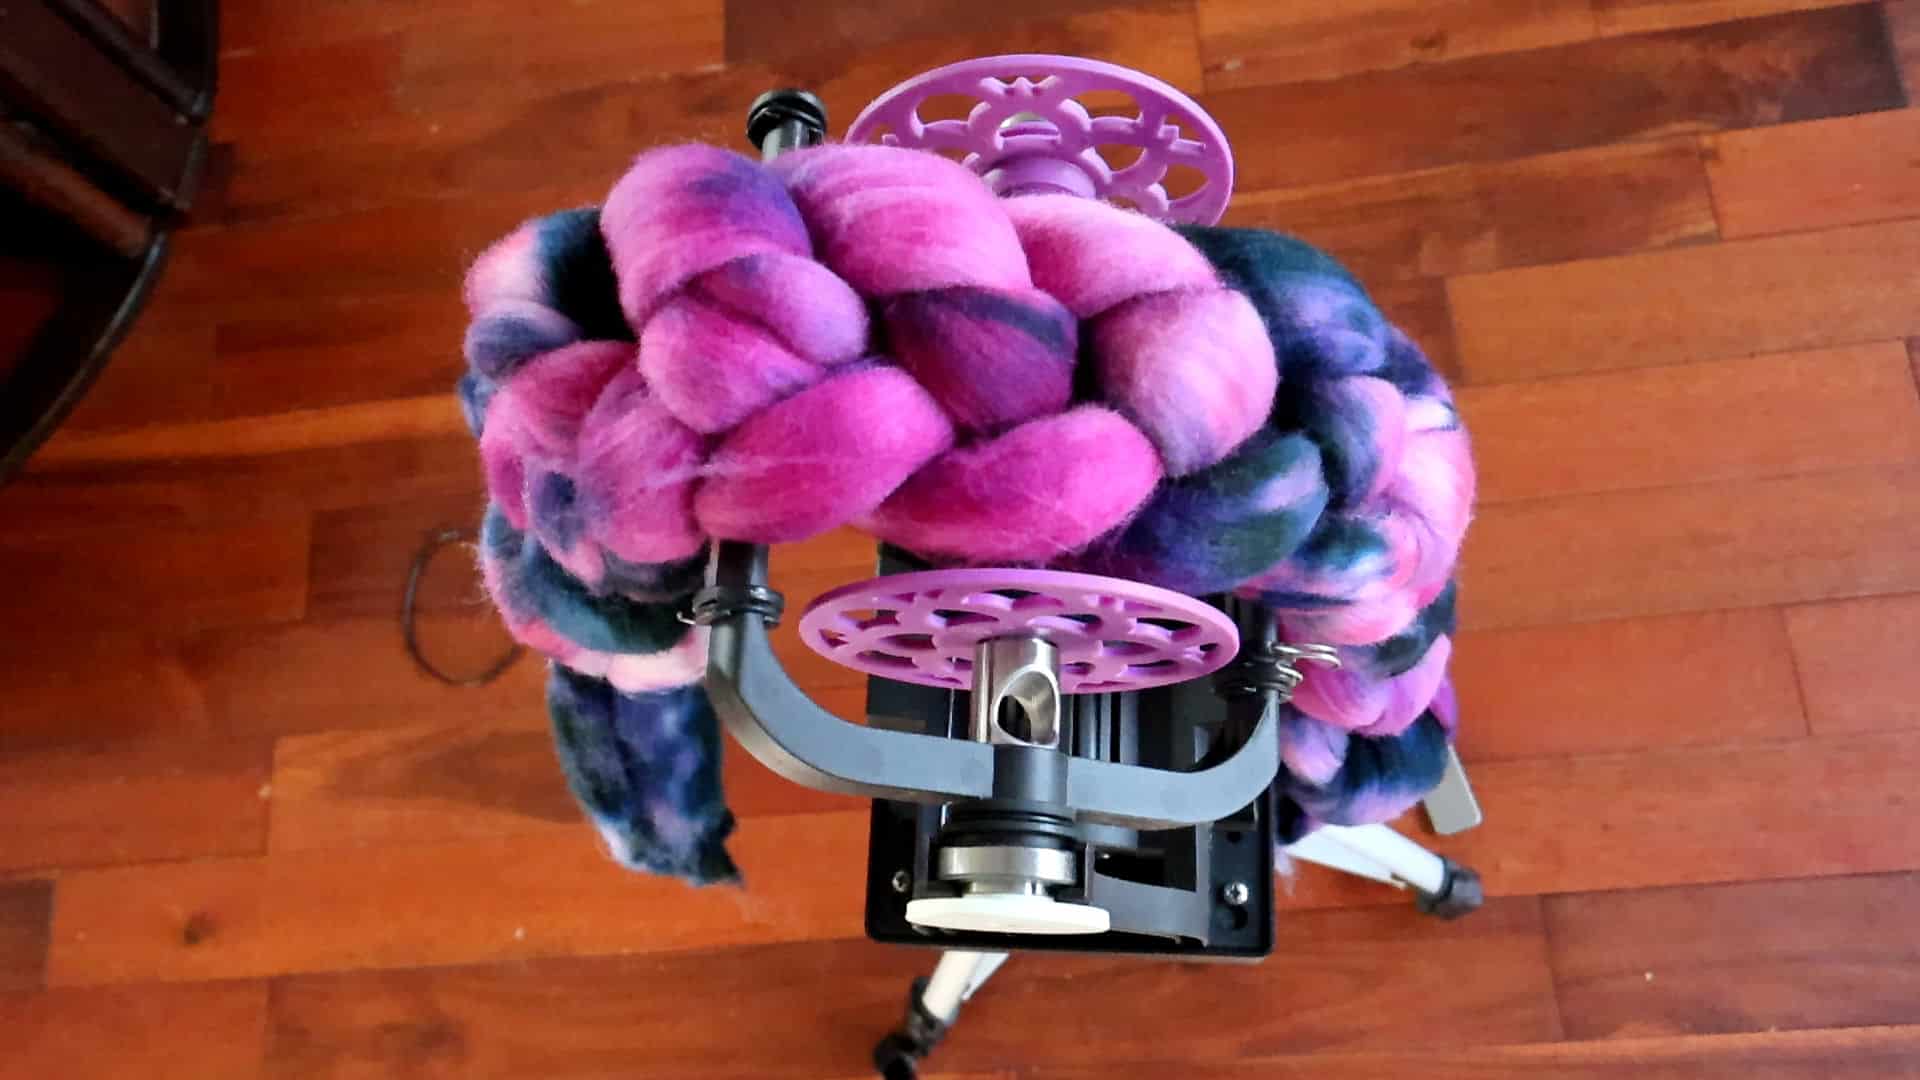
The "ugly roving" from the Ugly Dye Experiment is braided and draped over a black e-spinner with a purple bobbin. The e-spinner is mounted on a tripod. Th ebackfround is a cherry wood hardwood floor.

This is also a great jumping-off point for you if you’ve always wanted to try dyeing but were too scared to try it. Before you reach the level of expertise where you get what you want, I stress the importance of getting a feel for dyeing, much as with spinning or any creative skill.

In Part One I cover the “ugly dye” process:

Dyeing Ugly Roving, Part One

Part two is how I tackled spinning the ugly roving and the final product. Hardly “ugly” – if you ask me. 🙂

Dyeing Ugly Roving, Part Two (the Spinning Part)

Truthfully, I’ve never met a dyed roving I disliked – colorwise anyway. I have bought rovings back in the day at wool shows that were terribly overworked and were slightly felted. They were no fun to spin. So I revamped those by reblending them with either my hackle or drum carder, sometimes with or without added fiber from my studio. This is truly why I love spinning so much – there’s hardly any waste if you are thoughtful. Even if you are learning, you can always revamp those first-time rovings and handspun yarn into other projects (more on that in the future).

Will you give “ugly dyeing” a try or buy that “ugly roving” from the fiber festival? So long as the fibers are not partially felted, rovings of all colors can be a joy (and a pleasant surprise!) to spin.

More “ugly dye” projects are coming up in the future. The best way to know when they are posted is to either check back here on the blog or subscribe to my YouTube channel. I enjoy sharing my spinning experiments and hope they inspire your dyeing and spinning projects.
Leilani signature

Adventures in Yarn Dyeing: Low Water Immersion Technique

P1020361

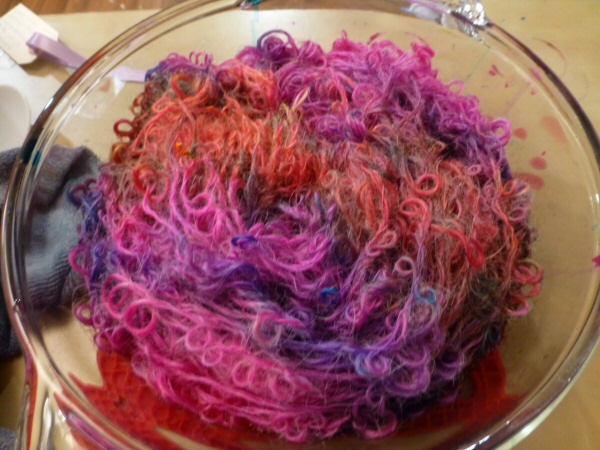
acid dye applied in stripes to dye mohair handspun yarn

Here’s a closer look at the dyeing process from the post Handspun Bouclé: A Closer Look. This is only one technique I use for dyeing animal fibers. This one is super easy/quick with minimal set up or equipment required.

color applied in stripes except for the black with was dotted on randomly

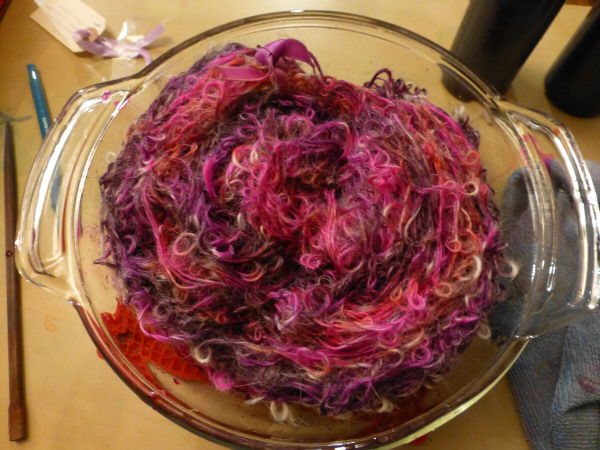
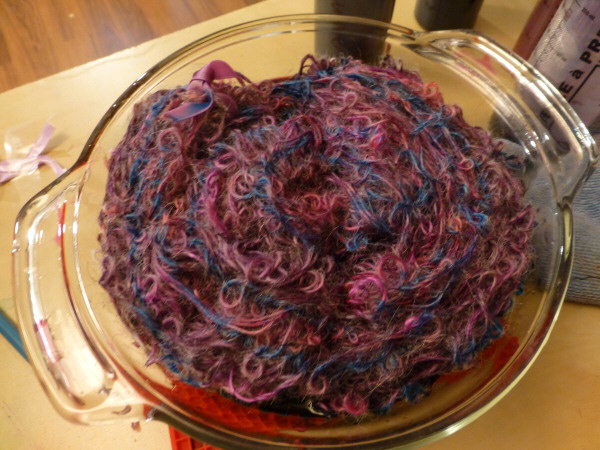
This is my technique for dyeing small amounts of fiber, & it worked well for one skein of yarn. I use an old glass corningware – dedicated to dyeing only, not food – that fits my smallish studio microwave. This microwave is dedicated to crafting only – never used for food. In fact, we don’t even own a microwave for food!

color applied in a swirl (spiral) pattern working from the outside - in.
color applied in a swirl (spiral) pattern working from the outside – in.

The term “acid dye” sounds really toxic and menacing. But it actually refers to the product used to bond the dye to the fiber. A mild acidic agent is used, normally citric acid or good ol’ kitchen vinegar. Acid dyes are non-caustic and very safe to use. You can even buy dyes such as “Greener Shades” that guarantees no heavy metals, although I have heard criticism that that is a rather trumped up claim since acid dyes normally don’t contain heavy metals. Either way, the piece of mind is there and I have used Greener Shades in the past and enjoy their color palette.

thick and thin swirls
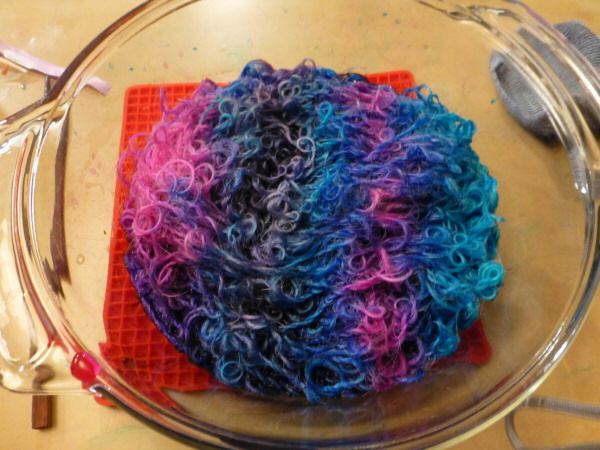
color applied all over then thin turquoise in a spiral pattern. Fuschia is randomly dotted on

I prefer using citric acid over vinegar. I have found that the color seems to absorb and adhere better to the fiber than vinegar. Which means more vibrant colors and less dye down the sink during the rinsing process. Although admittedly I am getting a better feel for vinegar, due to the fact I had run out one day. It is more readily available in large quantities – you can buy it in bulk at Costco. My citric acid I order online in bulk for the best price.

random but even patches of color

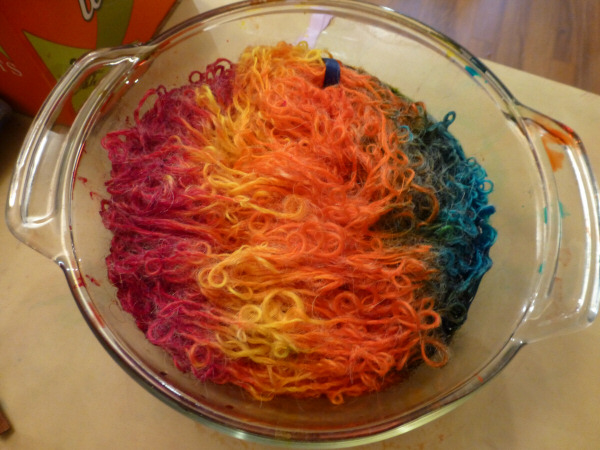
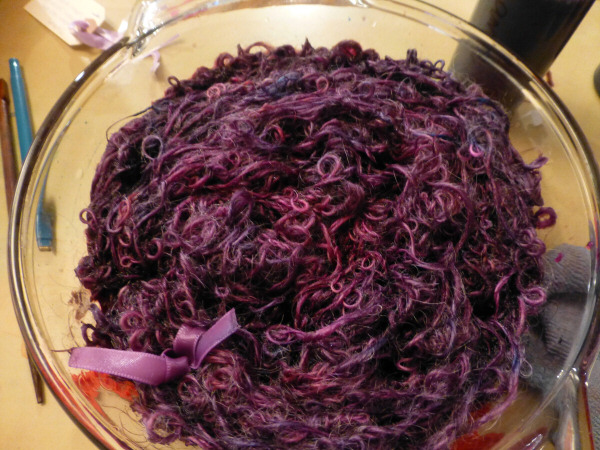
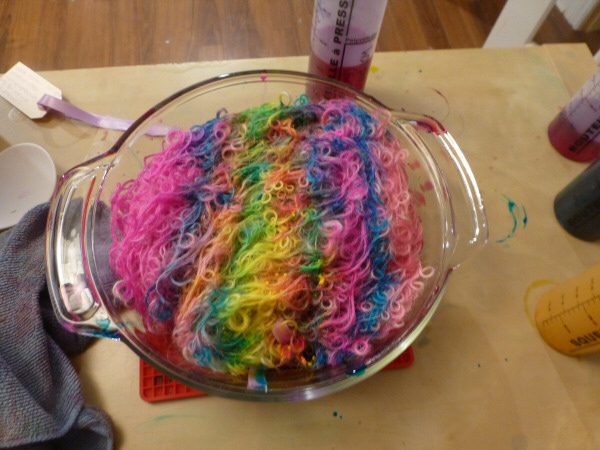
For this particular technique I use low-water immersion. Meaning, there is just enough water to barely cover the yarn. I add either diluted/dissolved citric acid in water or add vinegar to the water. The skein of yarn is carefully placed in the glass bowl, either in a spiral or accordion fashion. I already tied off the yarn in 4 places with ribbon to discourage tangling. Then, I apply the dye via salad dressing bottles bought from the dollar store. The dye comes in powder and I mix it with water ahead of time. I literally squirt on the color!

stripes with small bands of turquoise

The yarn was soaked ahead of time in warm water with a little synthropol, which is a liquid soap that helps open up the yarn fibers to receive the dye. I then cover with saran wrap and will microwave on high at 5- 7 minute intervals (I’ve gone up to 10 – 12 minute intervals for bulkier amounts of fiber).

swirls, stripes and tiny dots of turquoise

If by 10 minutes the color is not entering into the fiber I will add a little more vinegar or citric acid to the water. Then microwave again. It depends on how many times this happens. The goal is for all the color to be absorbed into the fiber leaving behind clear water.

stripes in varying thicknesses

Upon doing this several dozen times, I noticed something interesting. When the water was clear the saran wrap was sucked down into the bowl like an air tight vacuum. The first time I witnessed this I had a heart attack thinking the plastic had melted all over my fleece. But instead it was a perfect dye – water was clear in bowl and no dye escaped when I rinsed it under hot water with a little Dawn dish detergent. Now I continue to microwave in intervals until I see this phenomenon. Then, I let it rest for another 5 minutes before taking it to the sink to rinse.

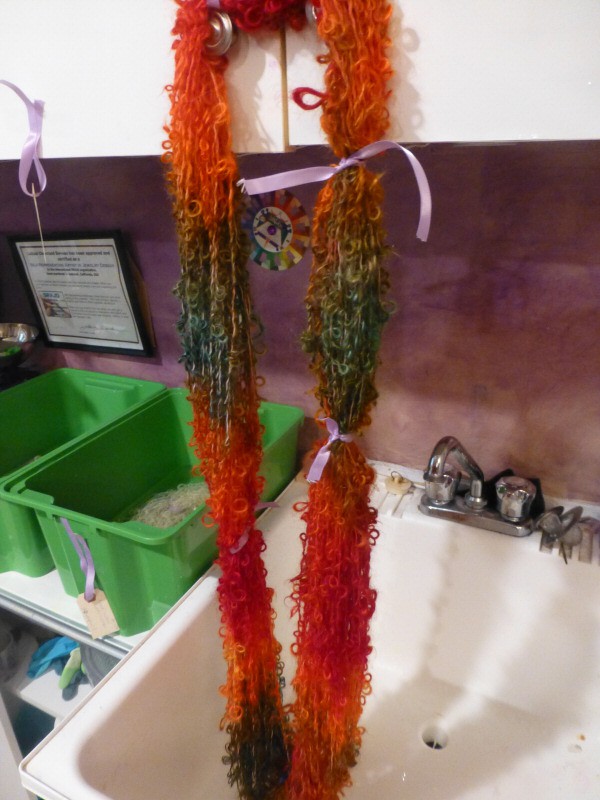
drying in the sink after dyeing

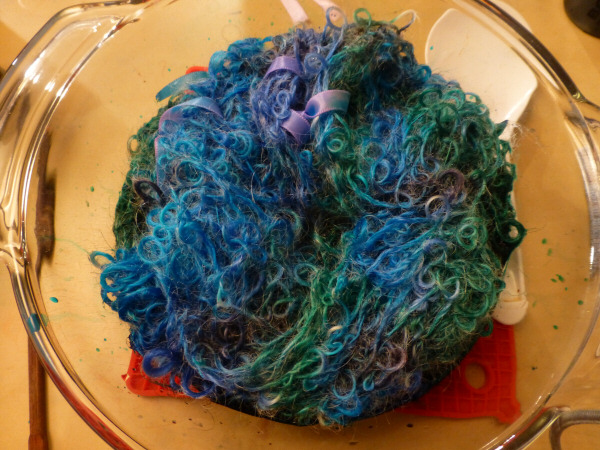
Dyeing seems like an incredibly daunting task until you do it. Then you are amazed at how incredibly simple and satisfying it is. Still, I have a lot to learn with just one year of dyeing fiber under my belt. I need to work on knowing the best combination of colors so not to create a “muddy” color, which I dislike (see the pic above – brilliant oranges and reds, but I was not happy with the turquoise/greens – very dull/muddy. I did remedy this somewhat with a quick overdye to the darker areas. Perhaps another blog post on that technique is warranted). The good news is it is a terribly satisfying practice where the possibilities are as endless as your imagination. And if you don’t like the results, you can always over dye – which gives you a whole new set of results and colors that could blow you away.
signature