What is Ugly Dyeing (or not-so-ugly dyeing)?
Dyeing roving for spinning is a goal that many of us handspinners like to achieve. Ugly dyeing is a term I coined for dyeing with the intention of mixing or muddying the colors when dyeing roving for spinning. This is typically considered a no-no to most dyers, known as the dreaded muddy color. But a few years ago, I wanted to test the theory of whether you could truly dye ugly roving. I have yet to dye a roving with this technique that I didn’t like to spin…the roving, at times, could be… questionable color-wise. The end result has always been a desirable handspun yarn; it’s all in the technique of how you spin it.
Typically for “ugly dyeing,” I would sprinkle several colors all over the roving, let it set, and then flip the fiber to dye the other side. Usually, this is achieved in a casserole-style crockpot in low-water immersion, but there are variants.
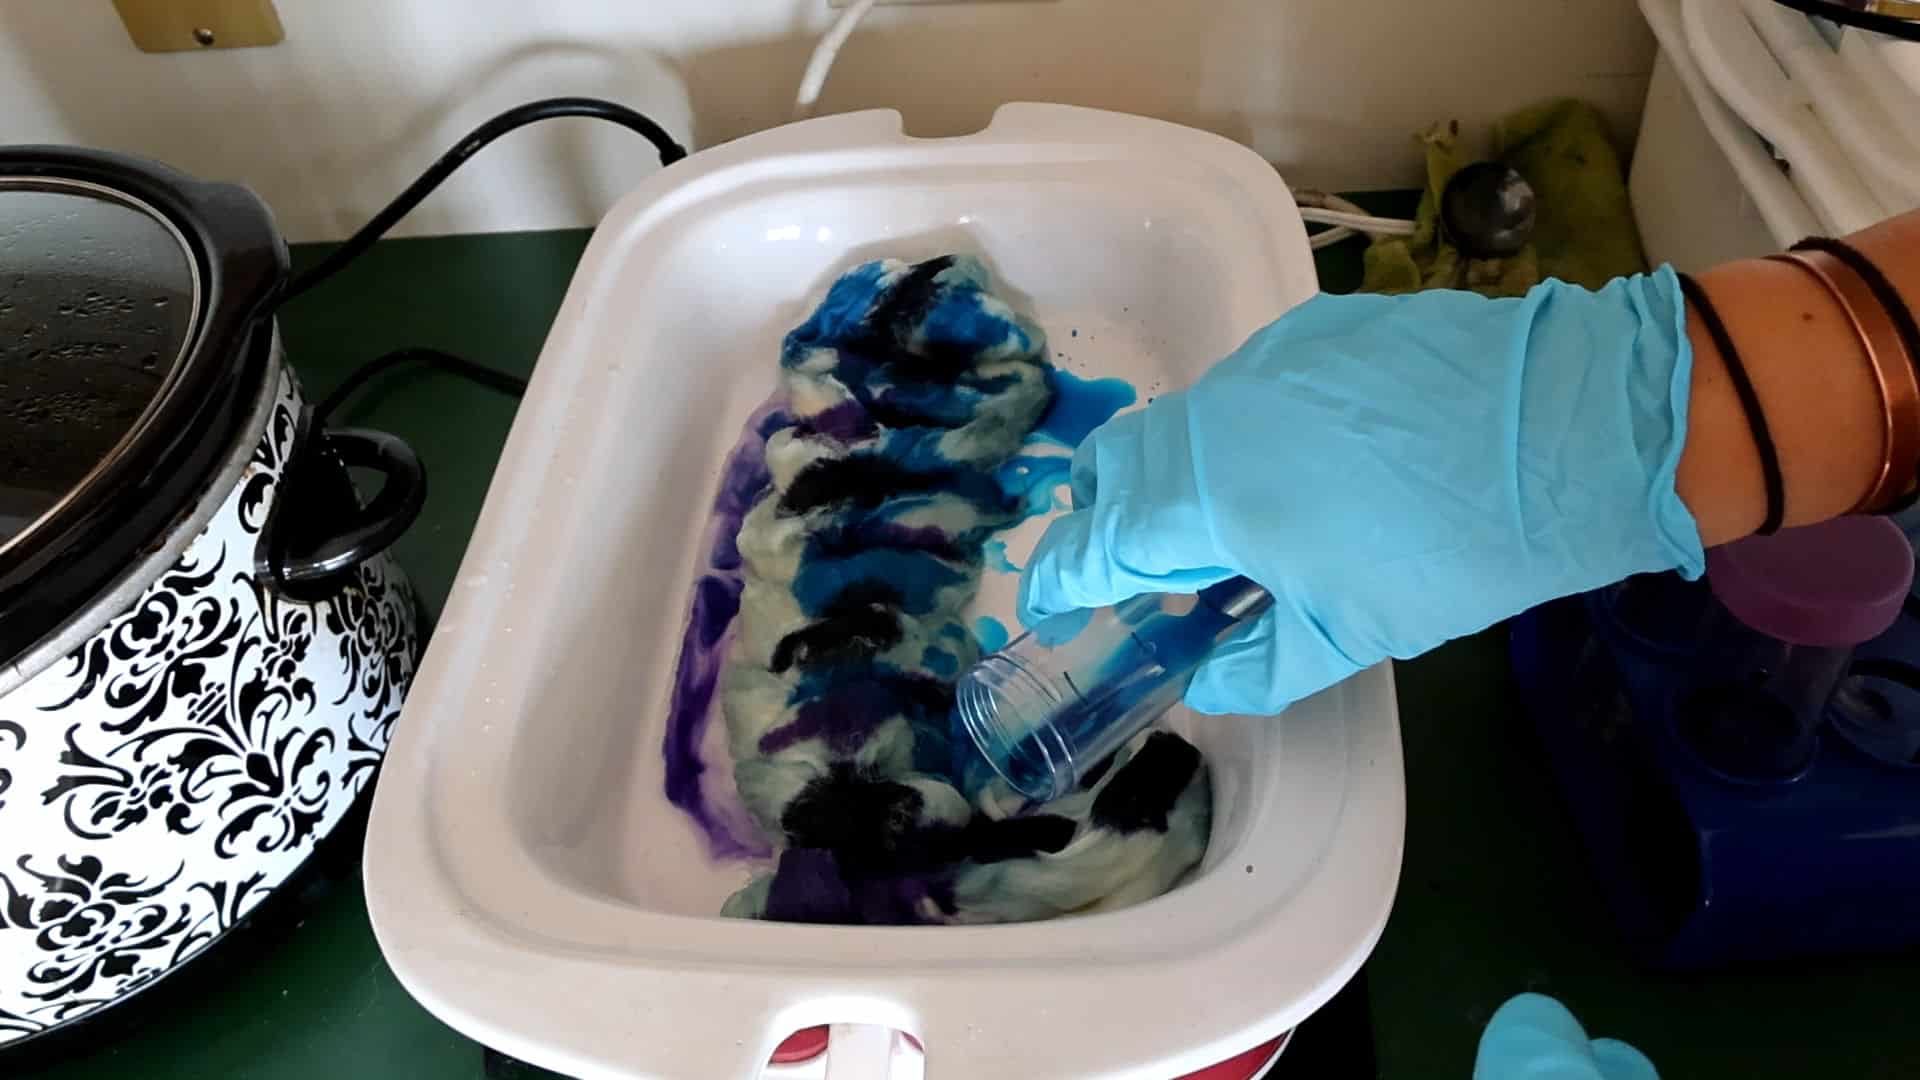
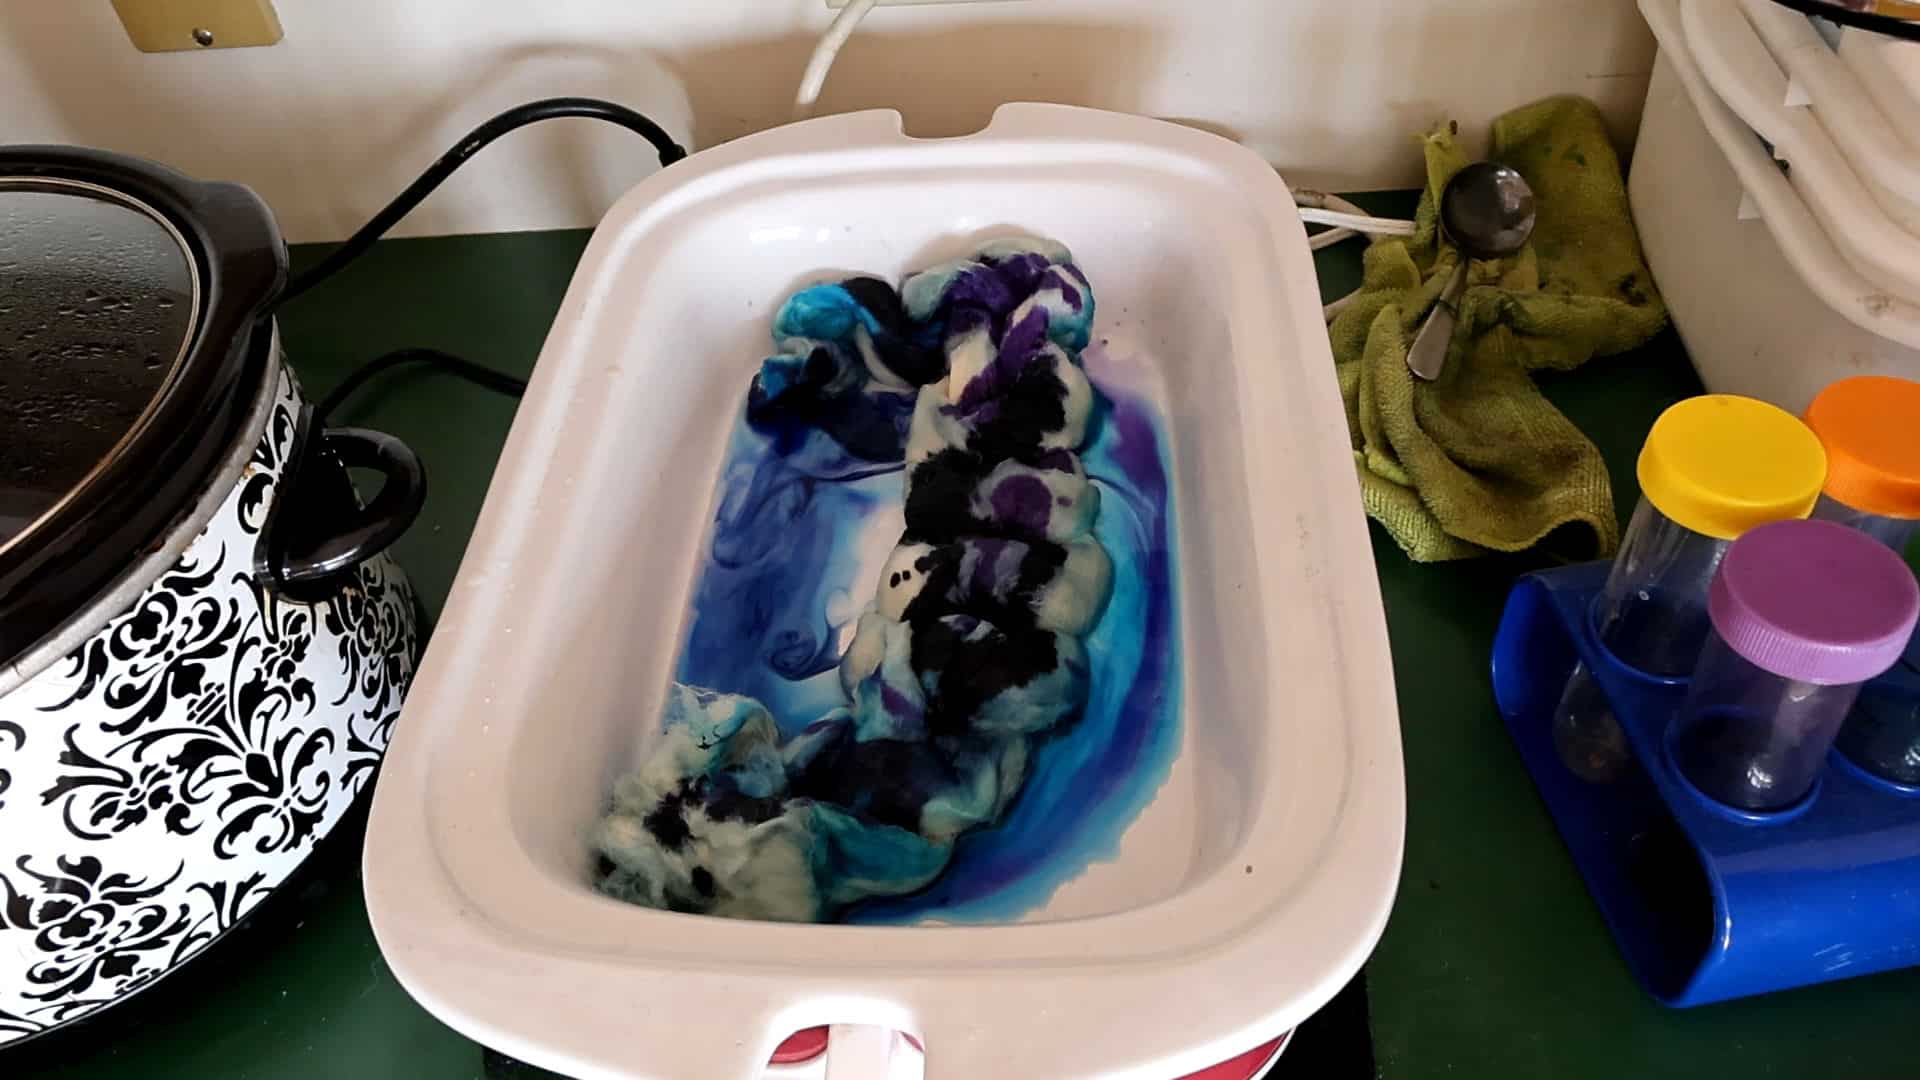
For the not-so-ugly dye, I left the roving braided for the entire dye process. This left a fair bit of white space throughout the roving, making it a lot less…ugly compared to dyeing with the goal of saturating the entire roving with dye. I also used leftover pre-mixed dye rather than sprinkling for this experiment. Usually, I like to sprinkle powdered dye onto the roving.
Why dye roving for spinning?
Dyeing roving for spinning is not only a fun and artistic endeavor, but it also allows you to customize colors and patterns to fit your style and tastes. By the end of this post, I hope you’ll be inspired to transform plain roving into uniquely dyed fiber that will enhance your spinning projects.
Gathering Materials
For this technique, you will need a braid of roving soaked in a mix of warm water and citric acid. You could also use Synthrapol and add the citric acid water later, but I find this works just fine for this technique. We are not going for accuracy here, just a lot of fun color applied onto random areas of the roving.
Keep the roving braided as you add it to your pan, where you will apply gentle, even heat. Acid dyes for wool require heat and citric acid to set. You can use vinegar as well, but I have better luck with citric acid. I add approx. 1 tbsp to a large amount of water. In this instance, I used my traditional round crockpot for soaking. Do not squeeze out any of the water; just transfer it directly to the pan. You could use a steamer pan, a pan on a stove or hot plate, or a glass dish in your microwave, though be cautious with heat for the last two.
Pre-Mixed Dye Supplies
Pre-mix some dye and get ready to pour it randomly on areas of the wet, braided fiber. As this technique is not about accuracy, the amount of dye used in the pre-mix does not matter. I would recommend starting with 1/4 tsp and adding enough water to reach your preferred dilution.
Additionally, you’ll need a container for mixing the dye, gloves to protect your hands, and a workspace that can get messy. Remember, dye may stain your work area, so either cover it with plastic or work in an area you don’t mind getting stained.
For this project, I had leftover pre-mixed dye from a previous project, stored in a children’s chemistry test tube set. These are plastic test tubes, and since my children are too old to use these, I was happy to repurpose them in my studio. Any kind of plastic container you have on hand would work; just remember never to use them for food storage after mixing dye in them.
I also recommend an apron to protect your clothes, goggles, and an N-95 mask.
Again, it goes without saying: don’t mix the tools you use for dyeing with those for food preparation.
Roving Selection
If you are new to dyeing, you may opt to start with a braid of superwash fiber, as you don’t have to worry about felting the fibers, which makes it hard to spin. But ultimately, choose a fiber or fiber blend you would be happy to spin, be mindful of the temperature, and avoid over-agitating your fiber.
I used a blend of Superwash Merino and Silk for the video.
Not-So-Ugly Dyed Roving Start to Finish Handspun Yarn
Watch the preparation and spinning of this yarn in the above video.
Preparing the Roving
Braided Roving
Once your roving and dye supplies are ready, it’s time to prepare the roving for dyeing. A useful technique is to braid your roving, which will leave white space throughout. The braid is achieved much the same way you would do a crochet chain and is a typical way to store/display roving before spinning.
The more dye you use, the more of a “tie-dye” effect you will get. For this roving, we will have quite a bit of white space. We will do one with maximum dye saturation in the future.
Position Your Roving in the Dye Pan
Lay out your braided roving as flat and as spread out as possible. You will need to dye both sides; otherwise, your roving will turn out mostly white, unless that is what you are going for, but your dye colors will be very muted when spun.
Applying the Dye
Pour On the Dye…Randomly
For pouring the dye, you will need to decide how you want to apply it. You can use squeeze bottles, syringes, or small containers to apply the dye directly onto the roving. Start from one end and work your way to the other, applying the dye in sections. Ensure you saturate the fibers evenly, allowing the dye to penetrate through the entire roving for rich, uniform color.
Letting the Dye Set
I love using slow cookers for dyeing yarn and fiber because I can basically set it and forget it. The setting process involves letting the dyed roving sit for a period of time, usually around 30 minutes. I usually check it at the 20-30min mark, and if it needs more time, come back in another 20 minutes or so.
For the rectangular casserole crockpot I use for this style of dyeing, I start it on high, then turn it down to low after 20 minutes, since it gets hotter than my round slow cooker.
You may have to add more water to the slow cooker as your dye sets. I normally will pour a small amount of water onto the roving to check if the dye has set. If no dye runs out of the roving, the dye is exhausted, and it’s ready to be hung up to dry.
Finishing your Dyed Roving
Once all the dye is exhausted and the water is running clear, carefully remove the roving from the pan and set aside to cool off. Alternatively, you can turn off the crockpot and let it cool overnight.
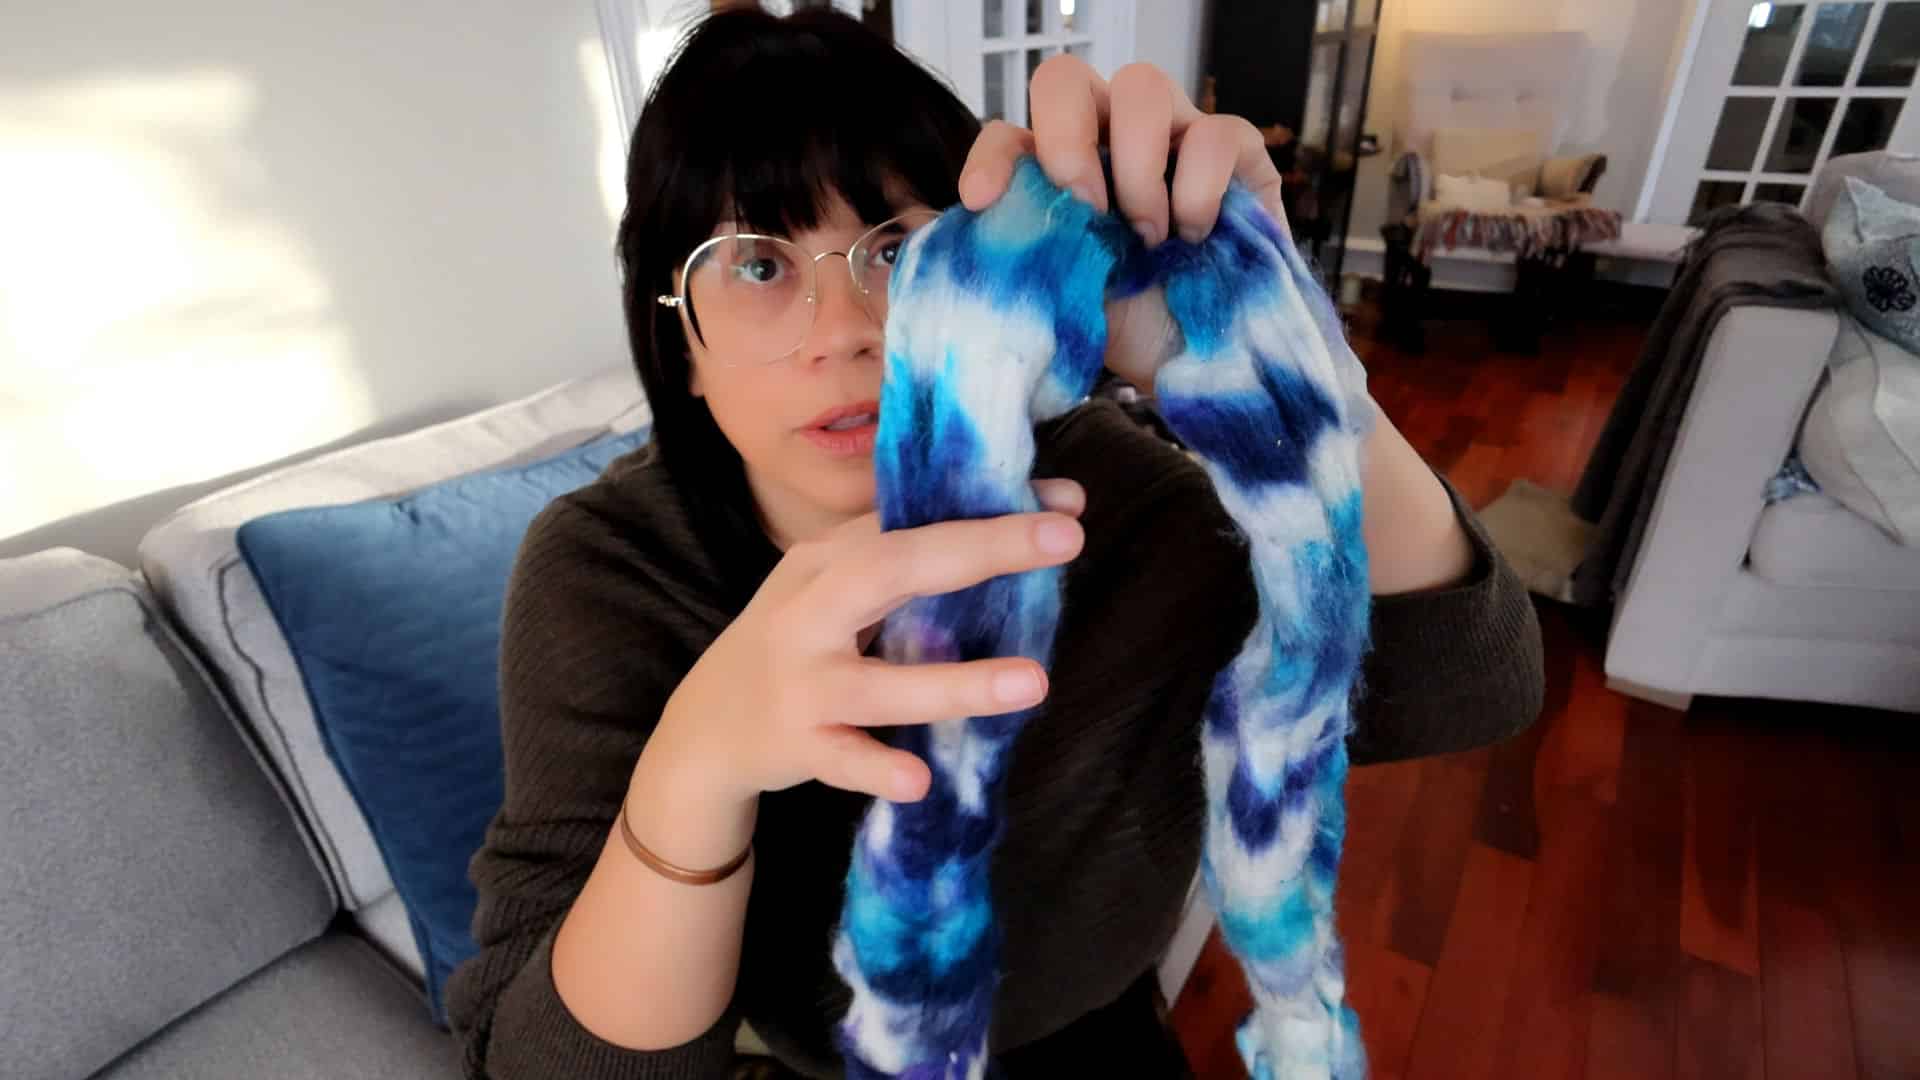
I usually give my superwash roving a final soak with Synthrapol in the sink, but if it is a fiber that will felt, I often skip this step to minimize the chance of felting. I hang it straight up to dry, allowing any excess dye to run out during the final set of the handspun yarn.
Spinning the Dyed Roving
Creating a 3-Ply Yarn
Creating a 3-ply yarn from your dyed roving can add volume and texture to your final product. To do this, split your dyed roving into three equal parts and spin each part separately. Once you have spun all three sections, you can ply them together, which will enhance the thickness and create a more balanced yarn. This method also helps to showcase the beautiful colors of the dyed roving, resulting in a vibrant final product.
Choosing the Right Spinning Method
Once the dye has set and the roving has been rinsed and dried, it’s time to start spinning! The spinning method you choose can greatly influence the texture and appearance of your yarn. As there is a lot of white space, I like to spin the blocks of color rather than spinning straight across the roving.
For example, if I hit a section of blue dye, I will spin all the blue dyed roving from this section before moving on to spin the usual side-by-side way (for me, it’s usually left to right). Refer to the above video for a demonstration.
I chose to do a 3-ply handspun yarn because I prefer the round look of a 3-ply yarn in my projects these days. This dye method would also make a great 2-ply or chain-plied yarn. You could also pair it with other rovings to achieve maximum product. For example, ply it to a natural colored white roving to have a more subtle color effect.
If you are looking for an easy technique for dyeing roving for spinning, I hope you will consider this one.
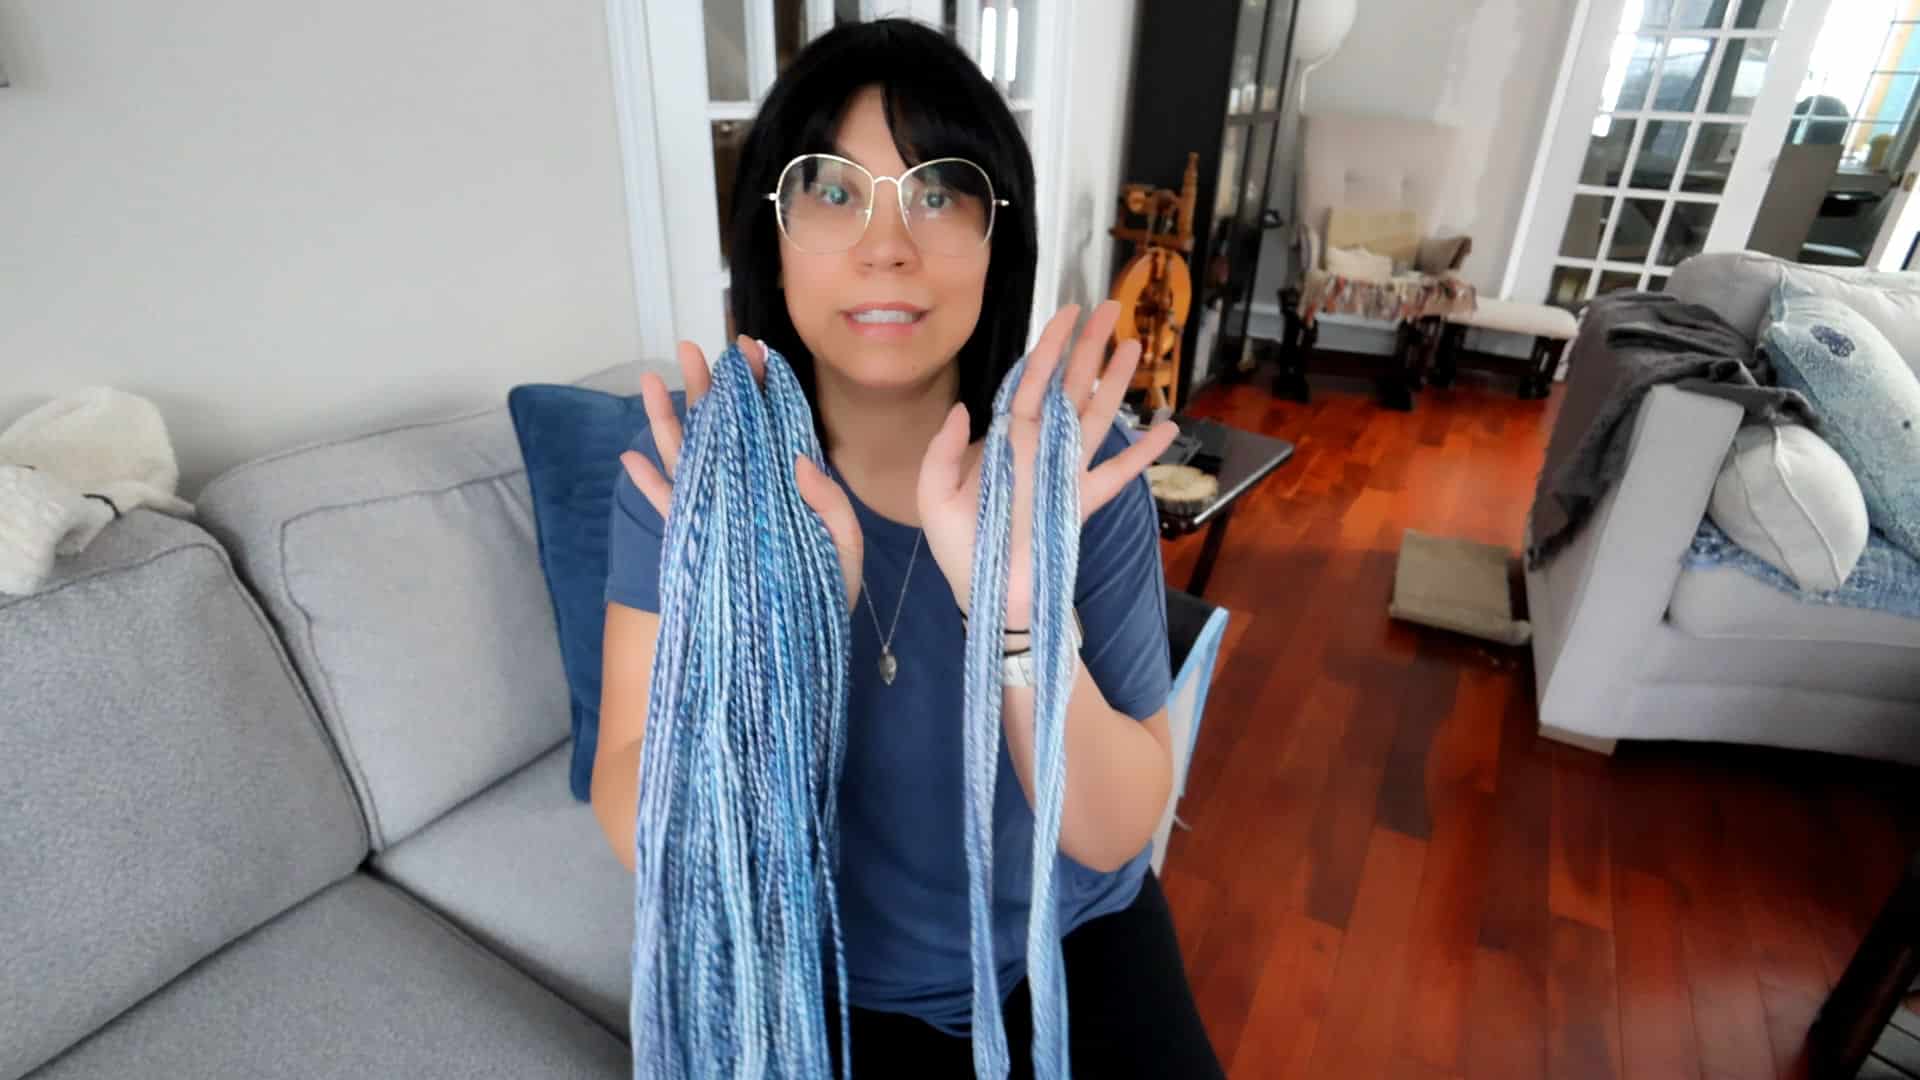
The completed yarn reminded me of denim. I loved the final product. What do you think? Will you give this dyeing technique a try?
Visit my YouTube channel for more dyeing and spinning projects.