Join Me as I Spin Vibrant 2-ply Targhee Wool Yarn

Spinning a Basic 2-ply Yarn

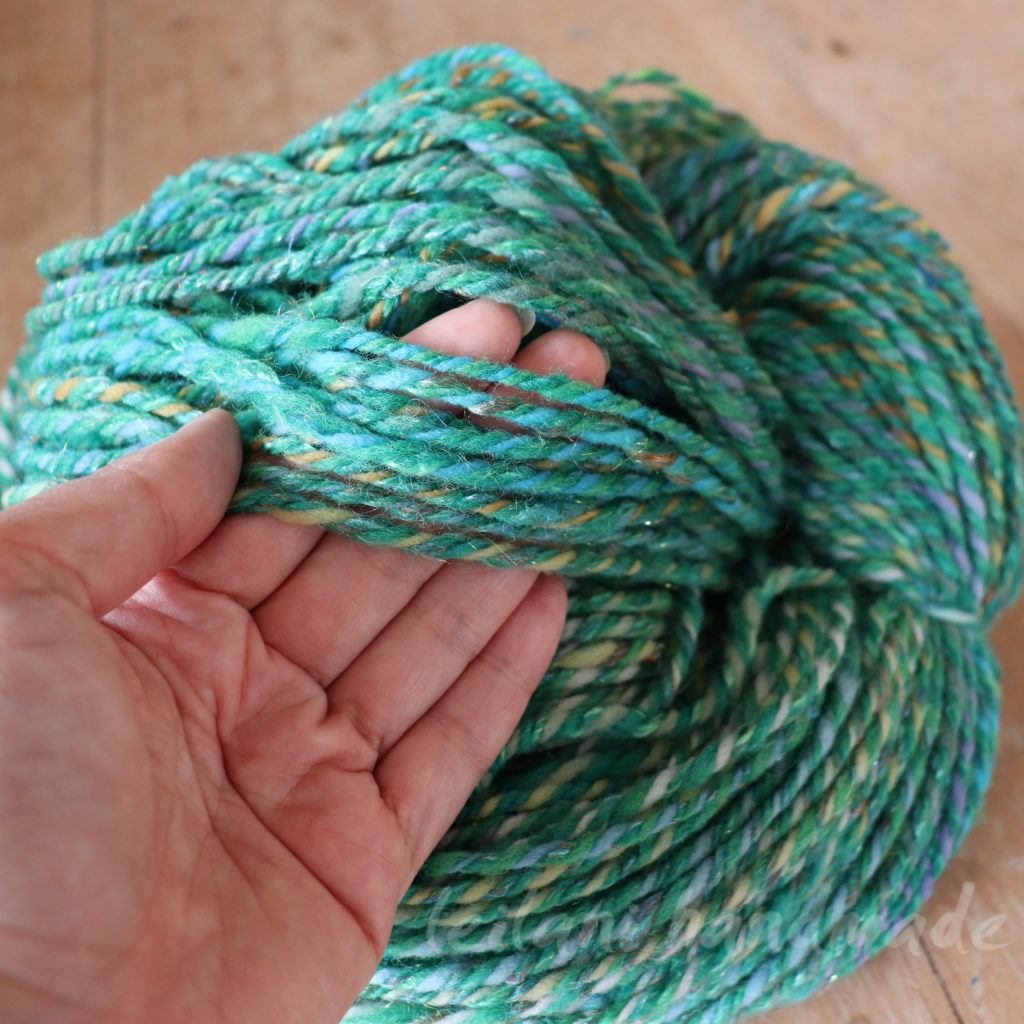
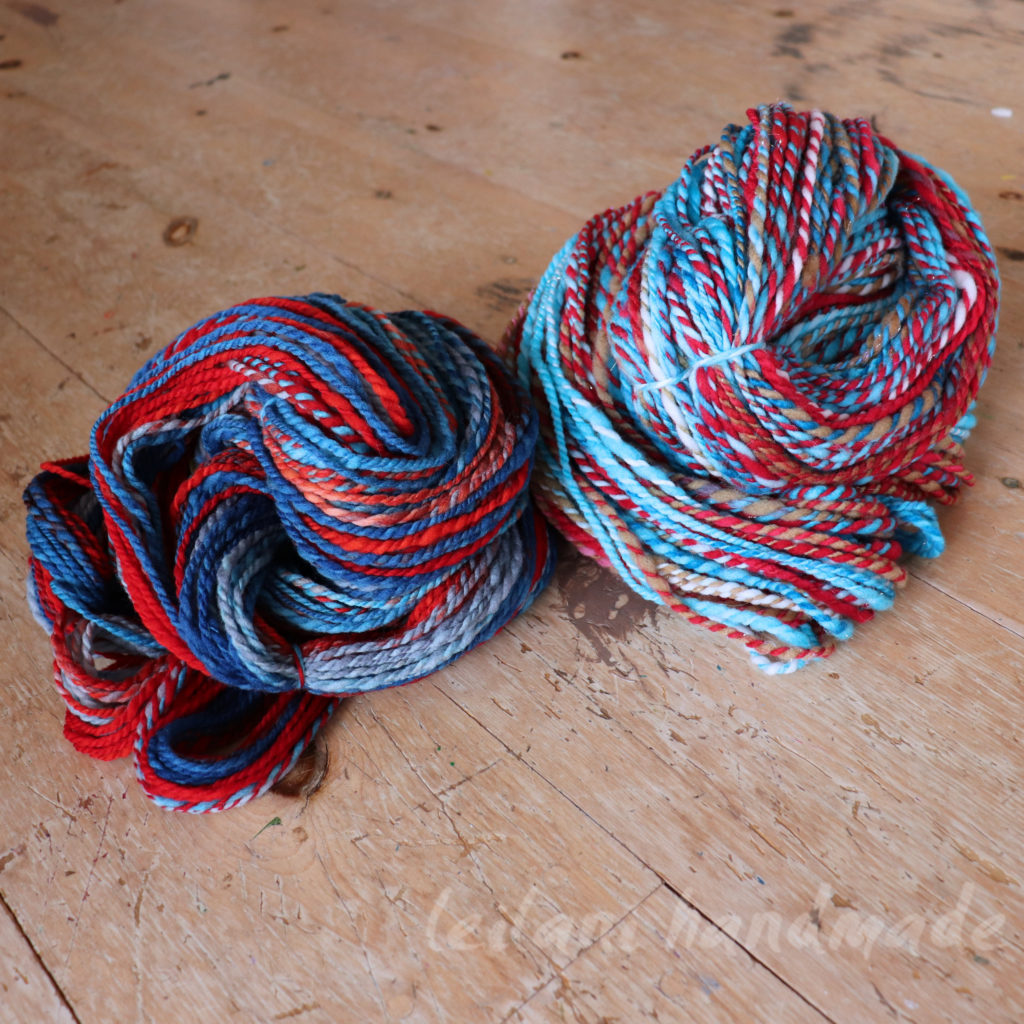
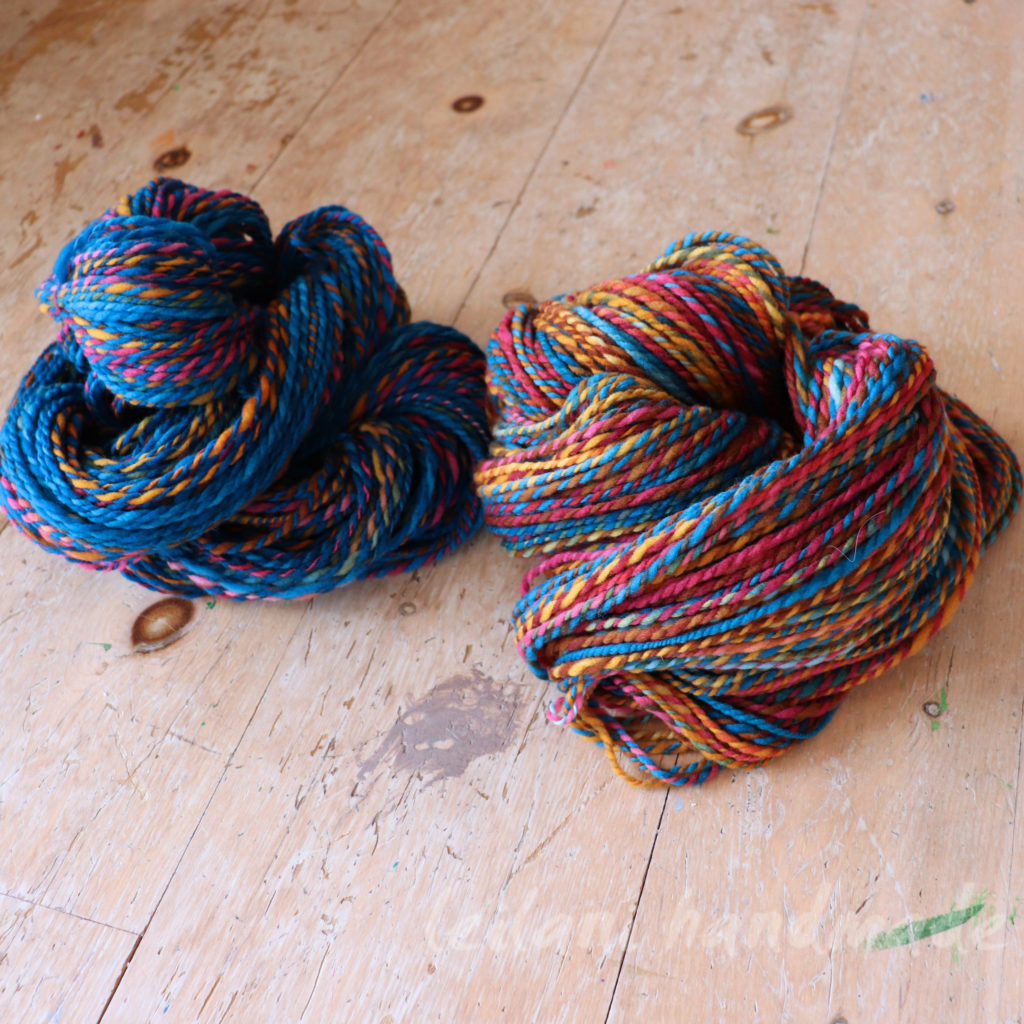
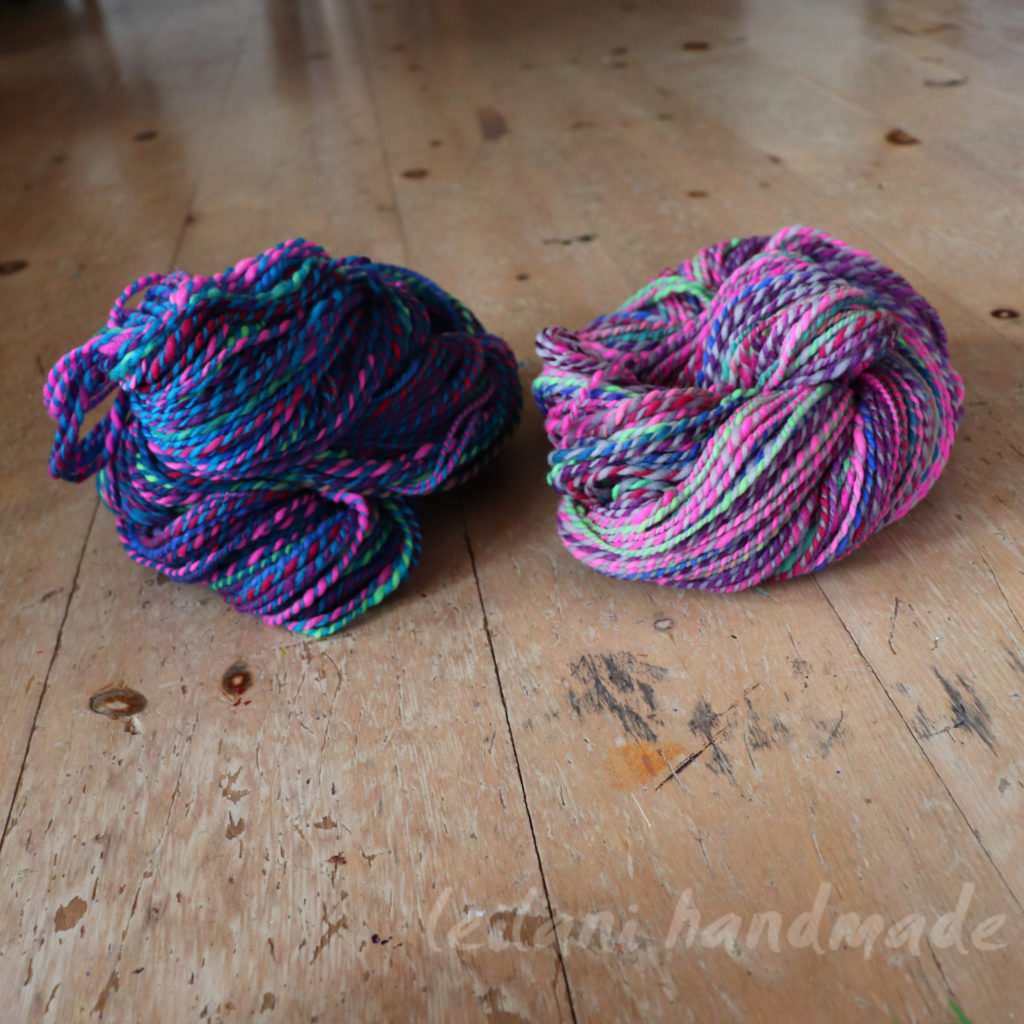
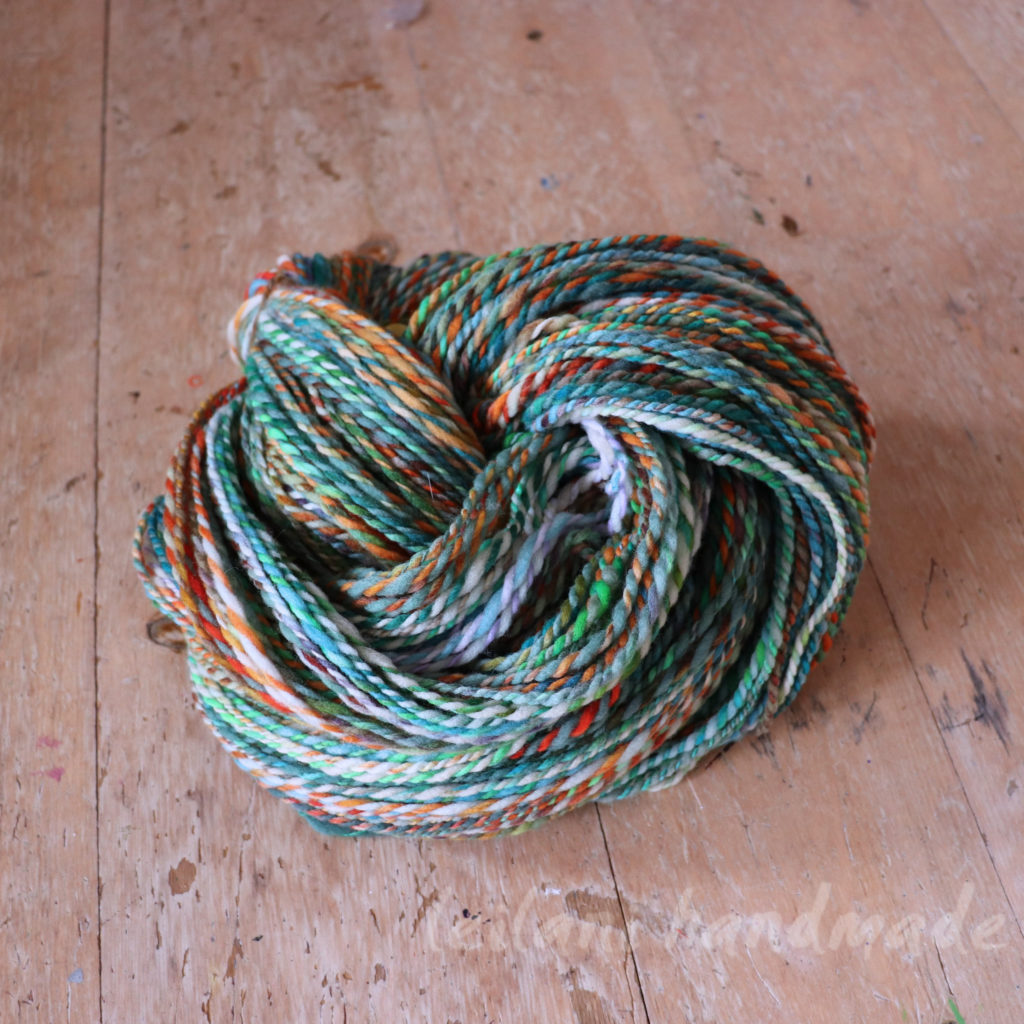
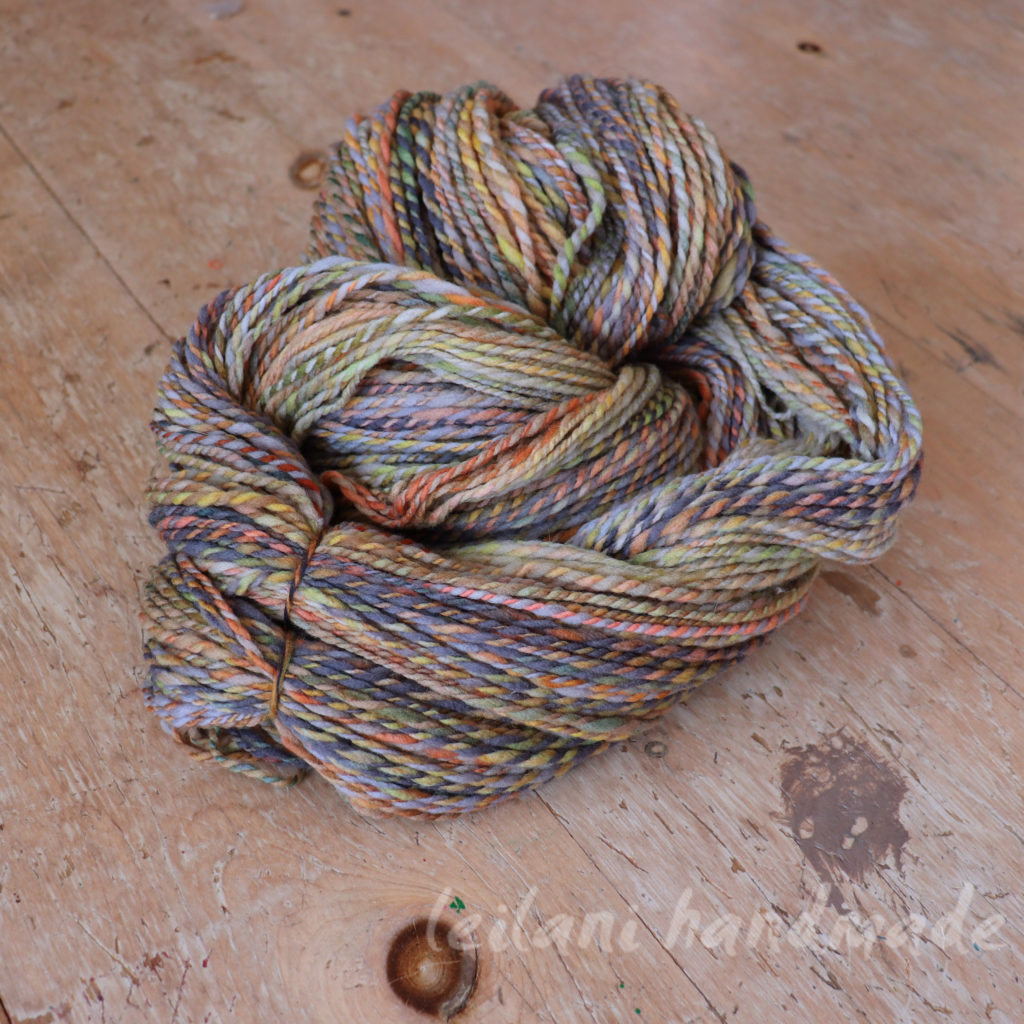
Join me as I spin hand-dyed Targhee top roving into a 2-ply yarn using my electronic spinning “wheel,” AKA e-spinner. I spin the singles first and then ply, using joins where I decide to detach and reattach the singles when the color doesn’t match up just right. The yarn is finished via wet finishing and thwacking.

This video was made with the beginner or novice spinner in mind, or those curious to see how another spinner creates handspun yarn. I am a self-taught indie dyer and spinner with over 12 years of experience. I am by no means an “expert,” but someone passionate about the fiber arts who hopes to inspire others to take up the craft or expand their skill set without intimidation.

You may want to check out my post on How to Dye Yarn in a Crockpot. I hope to do a video in the near future of dyeing roving this way.

I filmed this video in the winter of 2023 – and I’m just getting around to finishing it, in the Fall of 2024. Better late than never, right?

The truth is when I filmed myself making this yarn, I wasn’t sure I was going to do anything with it. Last winter is when I was contemplating whether or not I wanted to make videos for the blog, so much of this was just me playing around with cameras and angles to see if I could get useable footage. All I can do is improve from here, right?? 🙂

Spinning Targhee Wool Roving from Start to Finish

I’ve subtitled the video, so feel free to watch with the sound off. 🙂

I’m still pressed for time so I don’t have the time to write a detailed blog post on this subject, but I am always happy to answer questions or support others in their spinning journey, as best as I can from a distance, anyway! So feel free to ask any questions to this seasoned but by no means perfect, or expert self-taught spinner. 🙂

Video Description

In this short video, I cover:

  • Different ways to split roving for spinning
  • Spinning two sets of singles and weighing them to see if I have an even amount on each bobbin
  • attaching the singles to the leader with a square knot
  • plying two singles together, with my advice for those getting started
  • how to do joins for reattaching yarn in the middle of plying
  • wrapping yarn onto a niddy noddy
  • how I tag/inventory my handspun yarn
  • wet setting my super fast way, great for small skeins
  • thwacking yarn
  • showing the final 2-ply yarn

This is not detailed instruction on how to do the above, but a quick example that will (hopefully) inspire you to continue spinning or to appreciate the art of spinning. 🙂

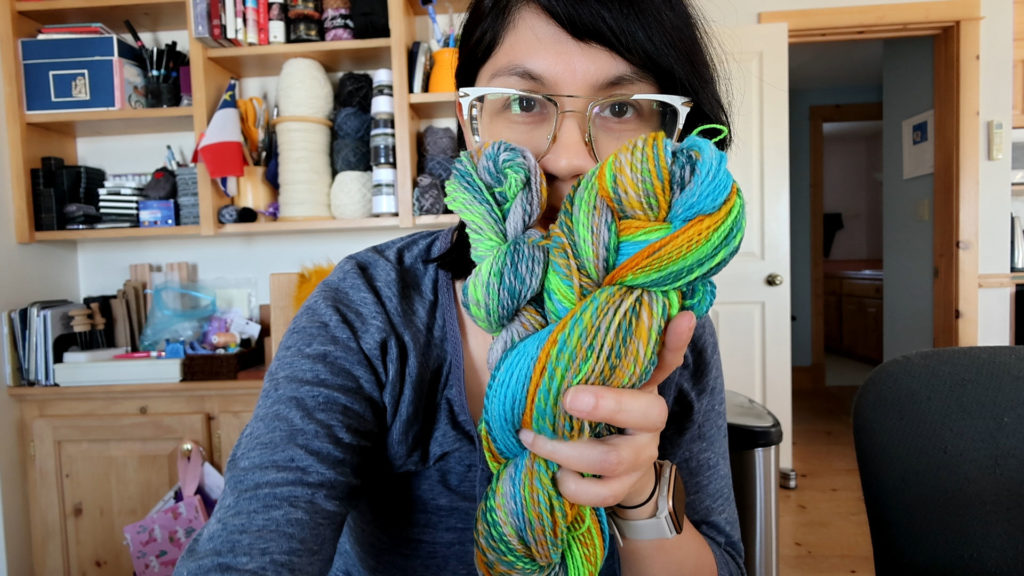
A person with glasses holds colorful skeins of yarn in front of their face. They are in a room with shelves filled with books and more yarn in the background. The yarn is vibrant with green, blue, yellow, and orange hues. Join me as I spin this yarn in the above video.

Thanks for joining me as I spin this hand-dyed targhee top. 🙂

Until next time…

Leilani signature

My slowly growing Youtube Channel (If you like my content, I’d love for you to subscribe! :))

Other Fiber Arts Posts

Setting the Twist With a Snap: A Quick Way to Finish Handspun Yarn

Setting Your Handspun Yarn is Just a Snap (or two, or three!) Away

Thus far, I’ve shared two variations on setting the twist of handspun yarn made with wool: wet-setting handspun yarn with thwacking and steam-setting handspun yarn. Today, I share the third and final way I set handspun. I call it snap setting, but I don’t know if that’s the official name.

It’s a type of wet setting, but instead of thwacking, you do a quick snap between your hands. I like this technique for yarn that is already pretty balanced and just needs a bit of encouragement to fall in line. (haha!)

Let’s face it: thwacking is therapy. 😉 It will always be my favorite way of setting handspun wool yarns. But snap setting is the perfect fast way to get the job done and get on with the day.

A Word of Caution

These techniques are my tried-and-true methods for setting the twist of wool yarns. I have not tested them thoroughly on vegetable fibers because I haven’t made a lot of yarn out of those types of fibers. Silk should not be thwacked (I learned this the hard way), and I doubt snap setting would be compatible either. Silk inclusions in wool yarns are just fine in my experience; it’s just not a good idea for 100% silk yarn. It loses its lustre.

How to Snap Set Handspun Yarn

Here’s a quick video of the process, a closer look at the spiral ply yarn and why I enjoy making this type of yarn

To Soak or Not to Soak

It’s customary to soak handspun yarn in warm to hot water as part of the setting process. I typically soak larger skeins of yarn or if they need a light cleaning.


For example, unless it’s filthy, I prefer to spin Alpaca fleece and wash it after the yarn is completed. The same goes for yarn I suspect might contain dye that will run (like red can do). But a simple rinse under hot tap water with a few pumps of TNA Soap (or Synthrapol or Blue Dawn dish detergent) does the trick for a small skein like this. It’s a resourceful and clever method that saves time and effort.

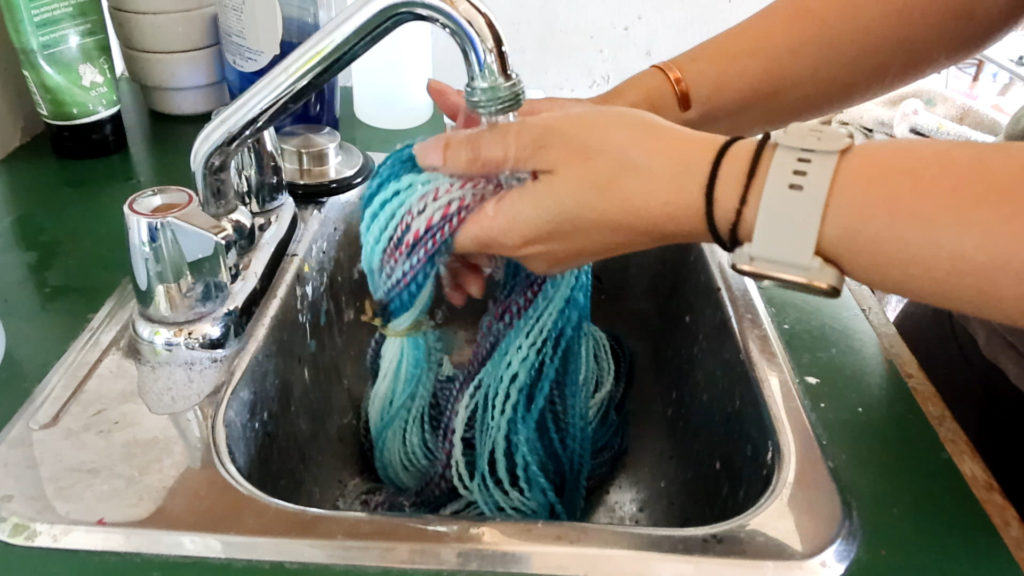
A person wetting a skein of blue and multicolored yarn  under a running tap in a kitchen sink for setting the twist. Their hands are holding the yarn, and their wrists have a watch and bracelets. Various containers and items are visible around the sink.
Rather than soaking the yarn in a sink full of hot, soapy water, I am wetting the skein under the tap and adding a bit of Synthrapol-like soap directly on the skein for setting the twist


I’m also usually doing several things at once, and the thought of soaking all these small skeins of yarn…well, what ends up happening is that they hang in the studio unset for months! So, this rapid method motivates me to move that yarn into the finished pile. In my opinion, it works just as well. I appreciate the time savings.

Water Conservation

Water conservation would be another reason to soak versus quickly wetting under the tap. We have a very deep well with lots of water at our disposal, not metered municipal water, so I can use water to my heart’s content. However, I’m still mindful of how much water I’m using. Running such a small skein under the tap will have a minimal impact on our water supply.

If water use is a concern, I recommend soaking several skeins at once in the sink. Tie them together so that they don’t become entangled.

Snap Setting

After your skein is well-soaked and you have gently squeezed out as much water as possible, it’s time to do the snap setting. Hold the yarn in both hands at either end of the skein, gently gripping inside the skein (think of a donut and gripping each side, or how you would tie off a skein at both ends).

Then, move your hands apart quickly, giving the yarn a good snap. Do this three or four times, preferably moving your hands to different positions on the skein so that most areas get a snap. You can see an example of what I mean in the video above.

This only takes seconds to do, and then you can hang it up to dry. Outside in the sunshine is always a nice choice, but if you must hang it indoors, choose a well-ventilated area and place a towel or pan underneath to catch any drips. You could gently squeeze out the water with a towel or cloth when you see it dripping.

Setting the twist of handspun yarn can be daunting, especially if we want to hurry up and use it! I hope this technique allows you to set yarn quickly and easily, especially if you get on a spinning tangent and the skeins are backing up. 😉

Until next time…

Leilani signature

Hello, 2024 – January Studio Update

“Any new beginning is forged from the shards of the past, not from the abandonment of the past.”

– Craig D. Lounsbrough

The New Year is off to a Fast Start

I considered skipping this month’s update, as I realize we are at the month’s final days, and I had yet to do one. I (still) don’t have any new products developed. However, I have been inspired to do a bit of experimenting to offer a closer, more in-depth look at the studio behind the scenes. I’m in a great place in my life and finally have a clearer, more expansive view of how to step forward this year.

I am starting 2024 with this overwhelming feeling of gratitude for all areas of my life, and I want to fulfill a goal that I’ve had on my to-do list for many years. That is, to document myself more precisely at work so that you can get a better look at my creative process and, hopefully, inspire YOU to start or expand your creative journey.

This post lets me preview some content I will offer in the coming months. I’m including short snippets of videos I’m working on that will hopefully turn into longer posts. I’m getting more comfortable with the camera, especially speaking (I’ve always hated the sound of my voice!) and some light editing. Although it’s all new to me, putting another possible skill under my belt is rewarding.

The Making of a Keepsake Scarf

One of my favourite keepsake projects was this scarf I wove on my cute and straightforward Ashford SampleIt loom. I’m now making a secondary one with the leftover yarn, but smaller in size. In the video below, you will see a preview of the process.

Before Setting Handspun Yarn

The video below is an example of yarn that was spun and plied right away, vs. spinning and plying after some time. I will set these yarns, and we’ll see if there is any noticeable difference in the twist.

The setting and drying of these two yarns will be put together in a longer video.

Finishing Touches (Silent Video)

Here, I am in the middle of packaging a recent stitch marker order. This shows a finishing touch I put on the package before mailing it to the customer. I usually finish my stitch marker orders this way. Along with a handmade notecard, I tie a piece of leftover handspun yarn to make a mini package and attach a couple of extra markers as a small thank-you gift.

I often use older handspun that didn’t turn out so well. It’s perfect for decorative purposes, and I love that it doesn’t go to waste.

Etsy Change – Canada Buyers Only

Etsyshopscreenshot

I decided to offer shipping to Canadian addresses only for my Etsy shop, at least for now. There are a few reasons for this change. Partly because I want to concentrate more on the local market and partially because the market in the US is already so saturated on Etsy. There have also been some business decisions on the platform that have the potential to make it difficult for me to offer the personalized service I have come to expect in the cottage (handmade) industry. I will consider selling to the US again in the future. I doubt I will go back to selling internationally again. There have been too many lost packages in the past, and the shipping times are so long. It’s not to my level of customer service.

We are Not Amazon

To add a quick reminder, when you are shopping online from an independent business or individual, mainly an Artist or a Maker, we put our heart and soul into what we do. We are not a faceless brand inside a big corporation. There is a person on the other end who wants you to be delighted with your order but would like to be treated fairly as well. We cannot make our items for pennies or compete with the big guys regarding free two-day shipping or no-questions-asked refunds without receiving the item back. That is money out of our pockets and, thus, potentially food out of the mouths of our families. Many of us deeply discount our work to compete with the overseas knockoffs or just out of a passion to have others enjoy our work. (Never mind that much of our work is stolen to be mass-produced – but that is a post for another day.)

I’m mentioning this because I am deeply disturbed by the growing trend of abuse that sellers on platforms such as Etsy seem to be privy to. I’m not active on social media but keep tabs on several selling forums to support my fellow online sellers. Sure, there are scammers pretending to be handmade, but with a little due diligence, it should be pretty easy to spot. We don’t deserve to be treated like we are out to scam you; thus, you get to keep our goods free of charge.

Although I have not experienced this kind of behaviour myself, it makes me suspicious of selling online. Non-realistic delivery requirements, ordering items “by mistake,” not wanting to return the item for a refund, or simply making an excuse to get an item refunded without working it out with the seller makes it harder for us to provide our creations online. And (it goes without saying) abusive language and threats is totally uncalled for.

I have much to say on this topic, and perhaps I will write a separate post about it. Because it seems the public has forgotten that the people behind the goods being sold are your neighbours and peers. For those who are still passionate about handmade and supporting us, THANK YOU. It is appreciated more than you know.

The Natural Intuitive: Nurturing Your Intuitive Soul Course

Naturalintuitivetestimonial

Recently, I got the opportunity to give a new course a test drive for another local empath. Laura has created the perfect course for those ready to explore your intuition and nurture your soft side. If you are an empath like me, the world can be incredibly taxing and draining without the proper self-care. This course approaches the subject from a practical psychological point of view, so it’s very relatable to most, easy on the head and not too demanding or intimidating. If you want to hone your intuition or are simply curious, check it out! It’s currently being offered at a huge discount. 🙂

Vision Statement: Do you have one?

You’ve probably heard of a Mission Statement, but have you heard of a Vision Statement?

According to the Oxford Dictionary, a mission statement is a formal summary of the aims and values of a company, organization, or individual.

A Vision Statement, however, is an idealistic, inspirational statement on the emotional future of a group or individual. (I don’t know about the idealistic part – that sounds intimidating! But I guess you plan for perfection and get as close as possible.)

My Vision statement: To Inspire, Empower, Break the Rules, & Honor my Ancestors

To Inspire: My goal has always been to inspire others simply by how I live my life. Set the example and have a positive ripple effect on the world.

To Empower: through my experiences, I encourage and give others the confidence to try or accomplish a new skill or life improvement.

Break the Rules: When finding one’s path, it is not necessary to do things the “right” or expected way. This is so true with creating and crafting!

Honour my Ancestors: The more confident and at ease in my body I become, the more I am made aware of the women in my family tree who came before me. I honour them throughout my creativity and personal growth.

Do you have a Vision Statement for your life, or have you ever considered making one?

That’s all I got for now, friends. Until next time,

Leilani signature

Busy, Tired, Happy: My week at a glance

Image Editor Output Image1679773438 1639358225563.jpg

“The intuitive mind is a sacred gift and the rational mind is a faithful servant. We have created a society that honors the servant and has forgotten the gift.” – Albert Einstein

My week at glance, at least the creative projects I’ve tackled this week anyway! It’s getting close to the Christmas holidays and thus my “me” time is limited. Still, I have made the commitment to invest in myself more. That means more time for my personal projects and goals. Including, listening more to my intuition, trusting in myself and slowing down to hone my gifts, both physically and spiritually.

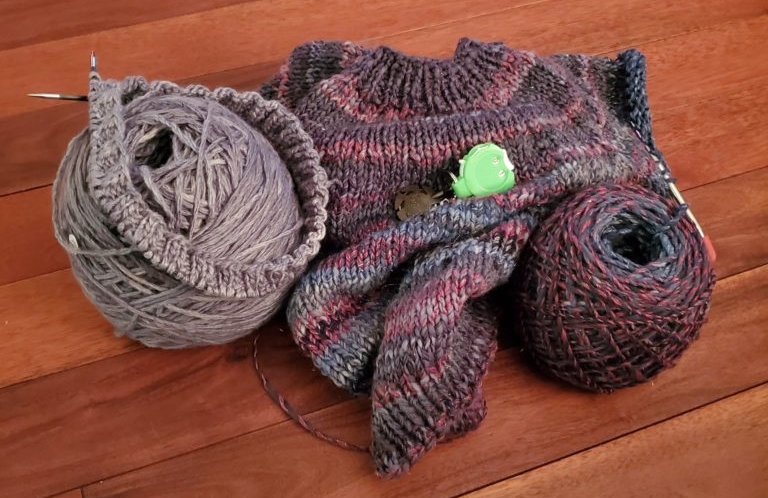
Some of the current knitting projects I have on the go. Please tell me I’m not the only one who likes to work at more than one project at a time!

Most Satisfying Moment this week

My most accomplished moment this week, was getting my yarn backlog sorted, tagged and listed. It is always a job getting my handspun weighed, measured and priced, not to mention photographed! Descriptions are also hard. I really wish there was a way you could touch and experience my yarns with all your senses. I am quite confident that you would be intrigued and excited to work with my fiber creations.

You can view all my yarns offered in the handspun yarn section. I also have most of my yarn available for sale on etsy, but the full compliment is available on this website.

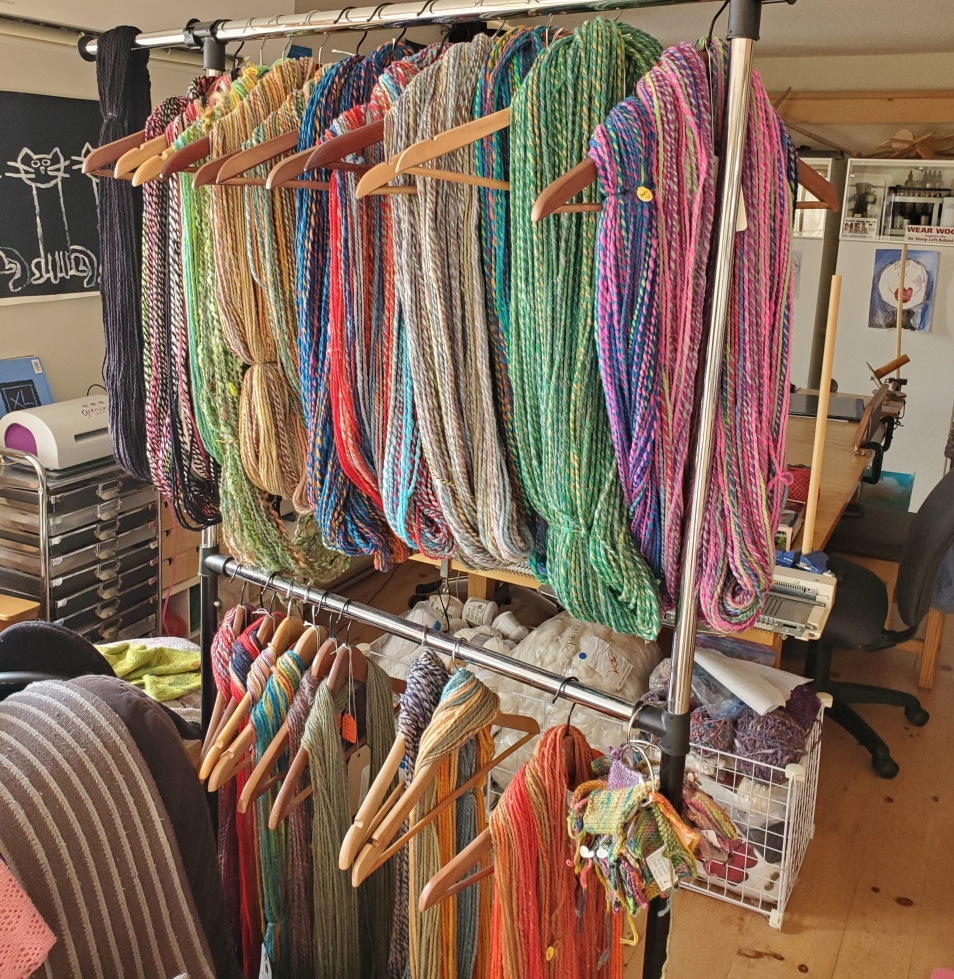
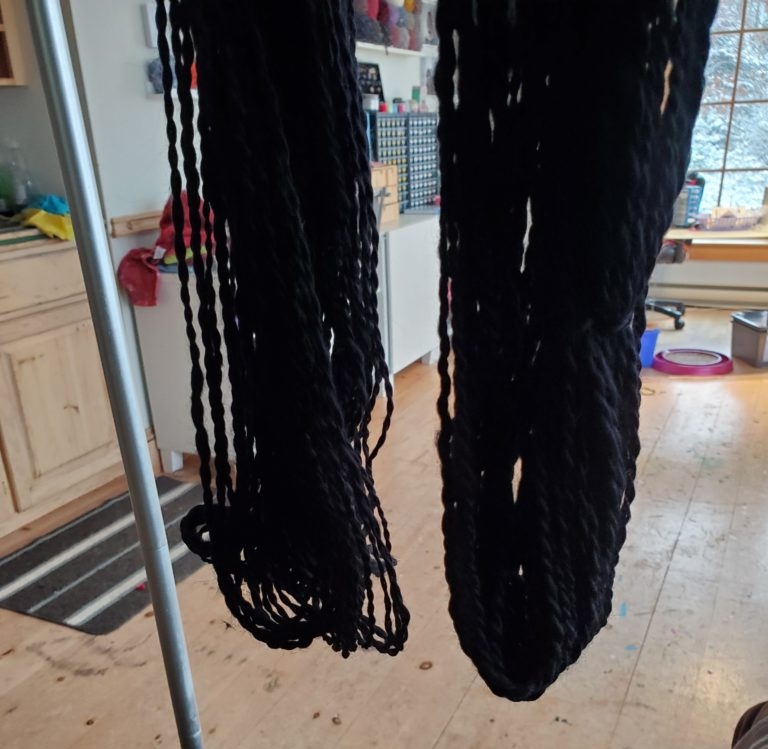
The – to sort, price and list rack, before it was prepped for sale. It is now clear all but 3 skeins that I am not sure what I want to do with yet.

Some of the New Yarns at a Glace

Yarn Revamp

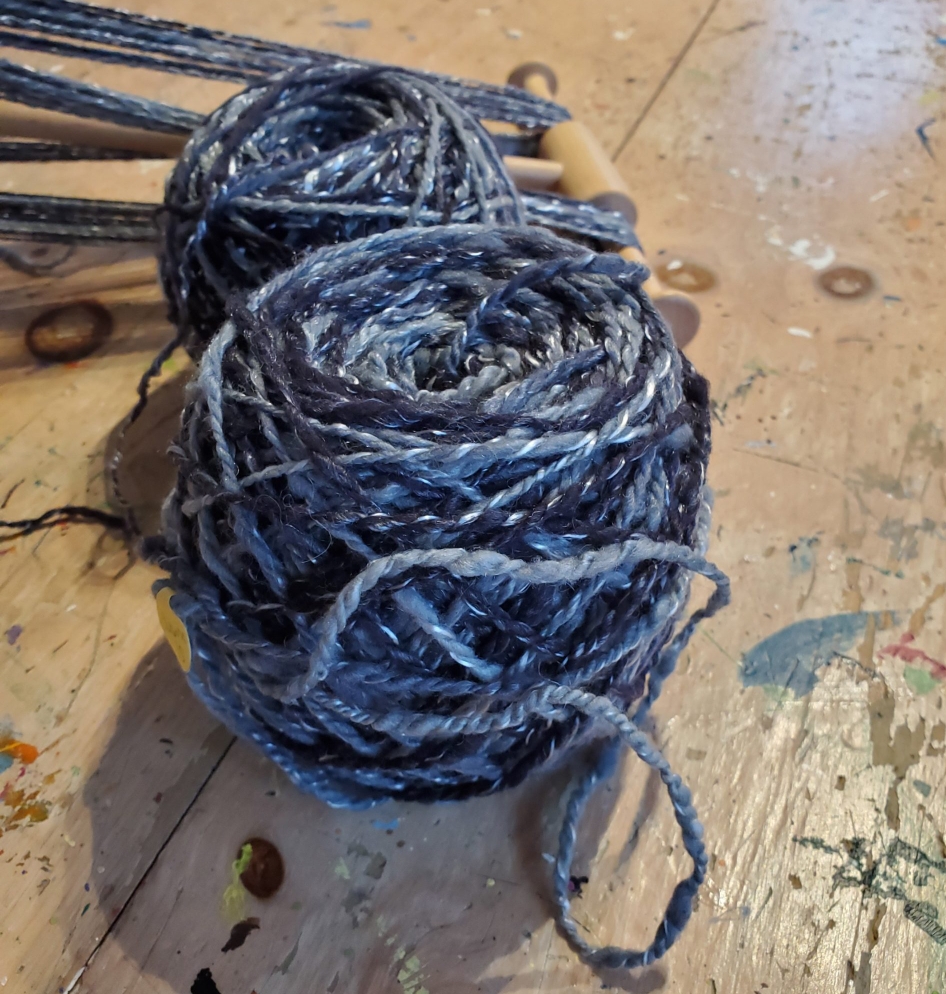
One reason why I love working with fiber, is that it is incredibly versatile. Not just for the items that can be made with it, but for the fact you can revamp it if you are unsatisfied with the finished project. Like this handspun superwash merino & tencel.

Tencel is a cellulose based fiber, so it’s very much like bamboo or cotton fiber. I blended tencel and merino together and spun it, I assume for socks but I really can’t remember why now. Sometimes I just want to experience spinning blended fibers.

After spinning I dyed the yarn. Tencel being a plant based fiber will not dye with acid dyes, so my thought at the time was to leave the tencel showing as little bits through the wool. In the end, I didn’t like the effect and shelved the project.

The wool and tencel mix was dyed with acid dyes, that dyed the animal fibers but not the tencel, a plant based fiber. This left the bits of tencel throughout the yarn as little white bits, which I thought I would like but was not happy with the finished product.

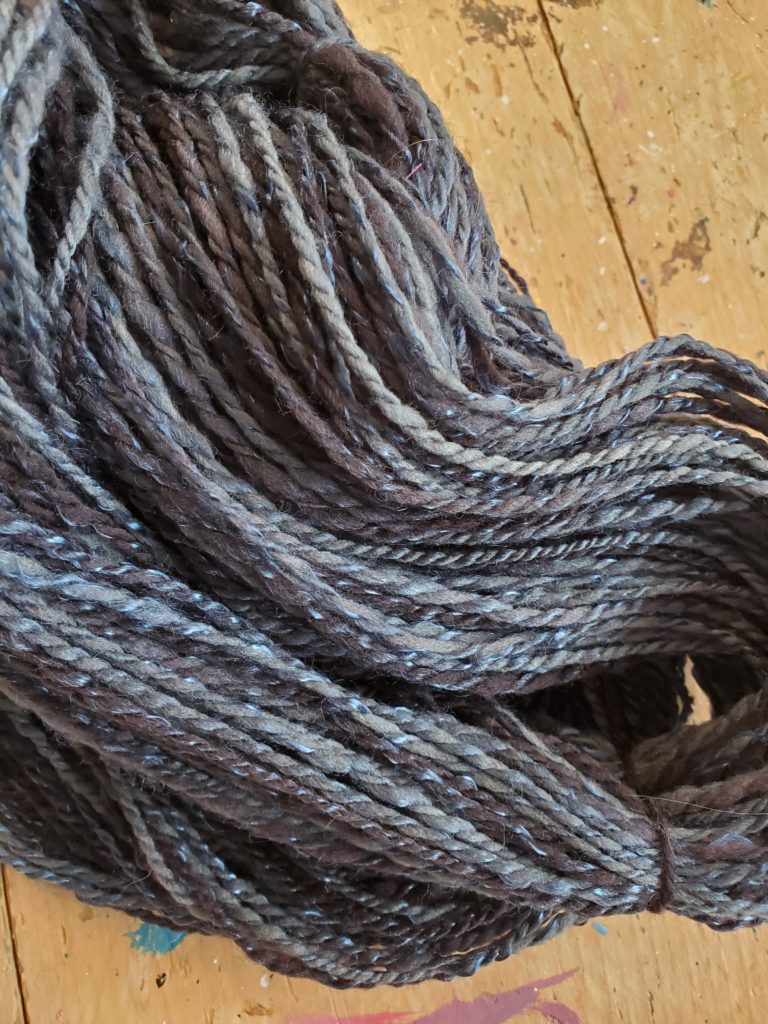
So I decided to re-skein the 2 balls and have them take a bath in MX Fiber Reactive dyes. This dye will work on the tencel but leave the merino wool unchanged. I did a mix of slate and grey, and set the yarn to dye overnight. You can read my post on dyeing cotton yarn for more info on dyeing plant based fibers.

I love the final effect with the tencel now dyed. It adds grey-blue bits throughout the yarn which i prefer over the undyed.

After the yarn was rinsed and dried, I loved the grey-blue bits of tencel showing through.

A note on tencel: although tencel is cellulose based (derived from wood pulp) it is technically a man-made fiber, so not exactly “natural” as bamboo, cotton or wool would be.

Experimenting With Setting Yarn with Steam

Two skeins of yarn from the same spin: the one on the left has not been steamed, the one on the right after steaming.

A few years ago, I saw a video either on a blog or social media where the spinner set their yarns using steam from an iron, rather than going the whole soak and dry route. I was really intrigued by this, esp. by how you could watch the plies of the yarn align simply by the steam.

I really enjoy washing and setting my yarns in the sunshine – something about them being charged in the sun adds to all the good energy I put in when I spin them…not to mention how much I enjoy giving them a good thwack on the side of the house! 😉 But now that it is winter setting yarns indoors becomes a bit of a pain.

The other day it occured to me that I could use my garment steamer to set my yarns. It is an under used tool (I bought it to steam my wedding dress back in 2006 thinking I would use it often after that, but it’s pretty much been sitting in one closet or another over the years). The results were great and very satisfying to watch. I now want to try setting my knitted items with steam, so I may do a separate post on the entire process.

Why My Creations Make Great Gifts

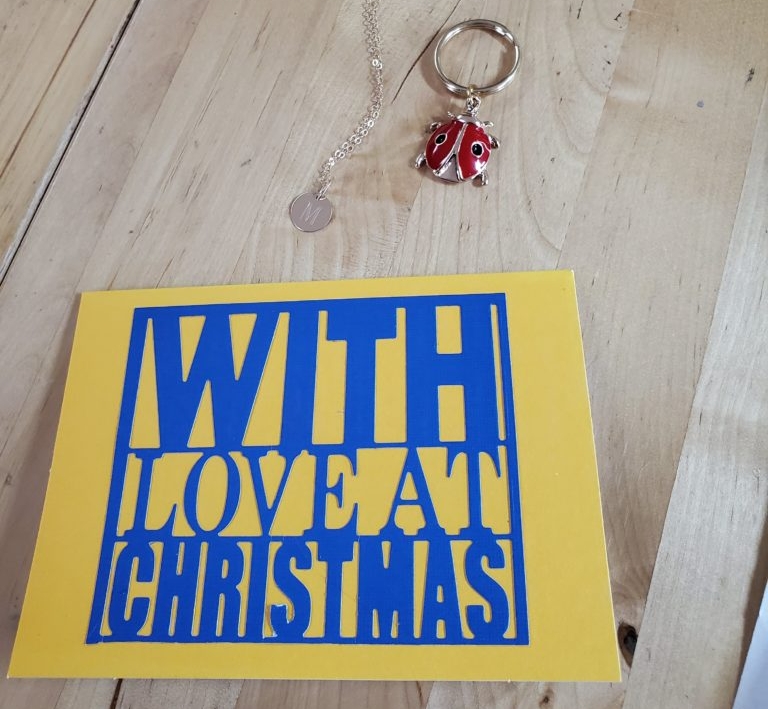
An order this week that especially touched me. Personalized gold-filled letter charm necklace, manually engraved

I adore all my orders but the special gifts really excite me the most. It is my calling to uplift others, support them and be there when their loved ones can’t. So when I am asked to send a special Christmas gift to a fellow Maritimer from someone thinking of them on the west coast, I am more than happy to oblige. I also made a simple note card for their gift message. I really hope they like their new necklace!

Larger projects

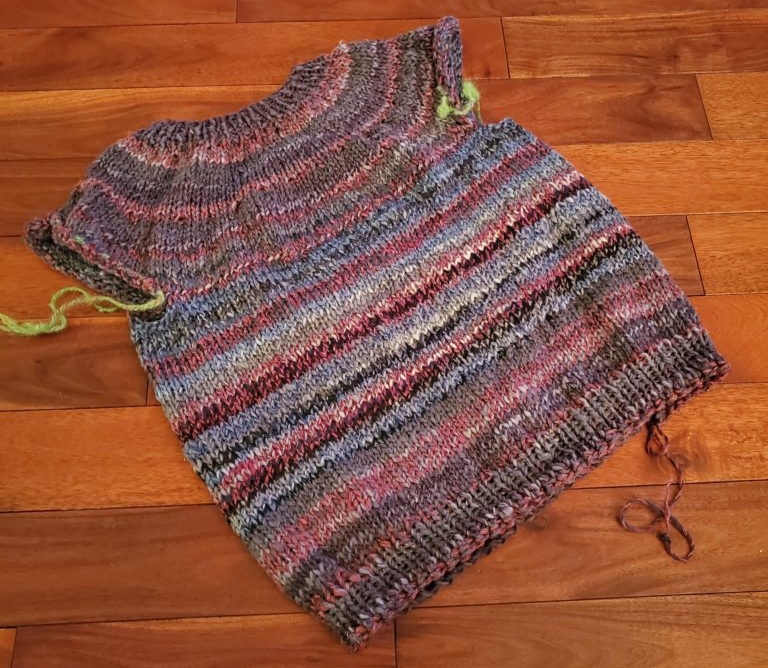
Making progress on my third knitted sweater, with a combination of my handspun. I think it works quite well together. Now on to the sleeves!

It’s no joke that I love to spin, and in order to get good at something, you have to put the time in. Needless to say after hundreds of hours spinning over the past 10 years I have amassed a lot of yarn. I do sell some of it, but much of it is here to be used, mostly because I feel it’s simply not up to par to sell.

It was time to do some larger projects, because hats, socks and mitts were not making a big enough dent. I started making sweaters over the summer and this is my 3rd one, I’ll have to do a separate post on the pattern and tutorial I bought to kick start my sweater knitting.

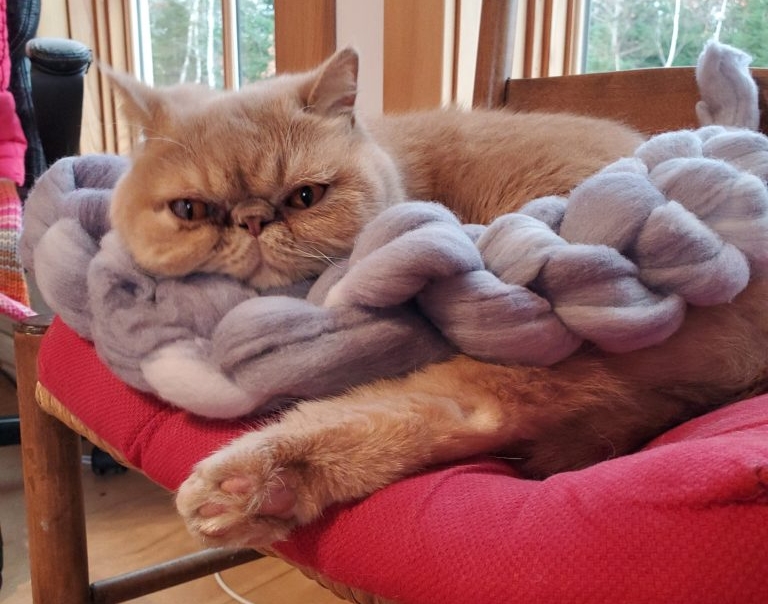
Mr. Peanut is the keeper of the fiber – and he says, goodnight! 🙂

It’s getting late and my bed is calling…until next time,

Leilani signature

Adventures in (Faux) Tailspinning

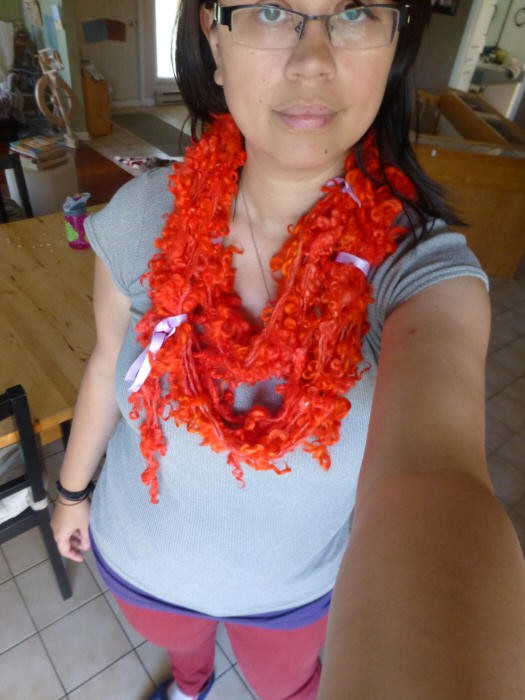
Wearing The Locks

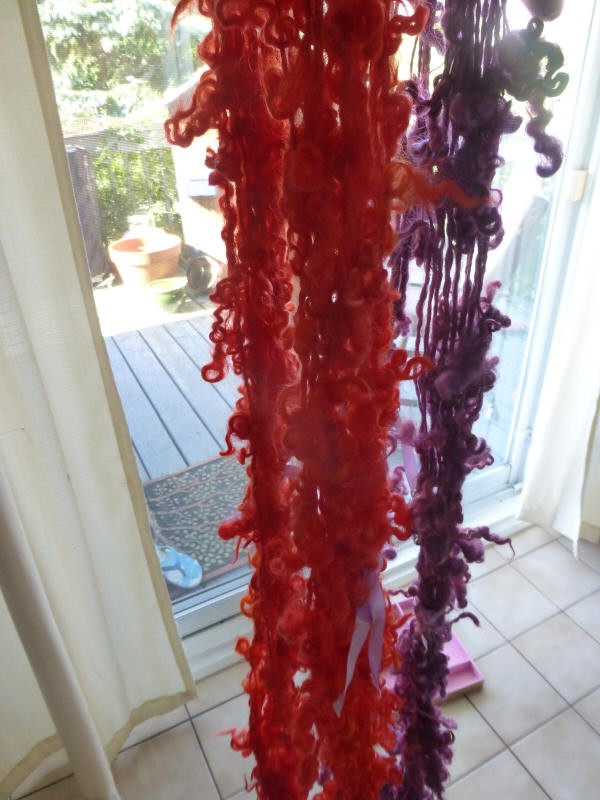
experimenting with variations of tailspinning locks handprocessed/hand dyed fleece

I’ve been experimenting with variations of tailspinning locks of fleece (in this instance mohair locks). This would actually be classified as a faux tailspun as I sandwiched each lock in between 2 plies of handspun via my spinning wheel and then re-plied it with metallic thread for added strength/definition. Typically tail spinning is characterized by spinning the locks around a core. I like to play around with different ways of doing things and this came about simply because I have a bunch of one plies done that I am bored with plying together to make traditional 2-ply or 3-ply yarn.

This sample skein would make a nice scarf all on its own.

Once spun the sample skeins went into the dyepot. The orange sample had locks spaced approximately 3/4″ to 1″ apart, while the purple sample had locks sandwiched approximately 3 inches apart. Although I like the overall fullness of the orange sample the purple was fun to knit up as well, and honestly they don’t look that much different in the end. It’s all about the size of needles used.  The orange skein would make a fab scarf on its own, don’t you agree?

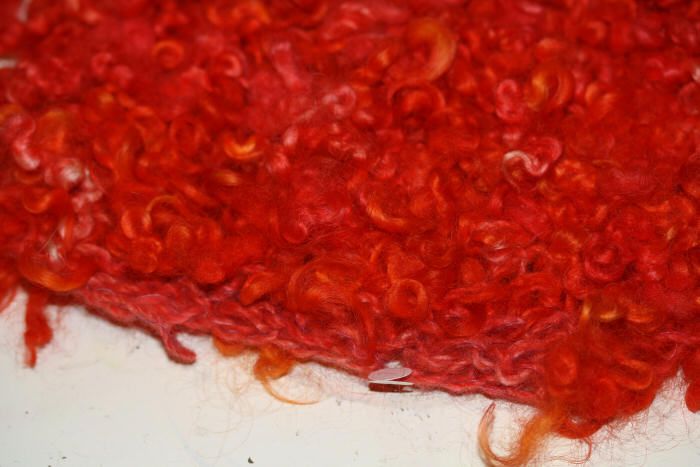
knitted sample of faux tailspun yarn

This is the orange knitted with a #17 needle. I had my macro lense on my camera so this may be a tad too much detail. I went with a larger needle size to let the locks spread out. You could easily use a smaller size as well if you want a tighter knit.

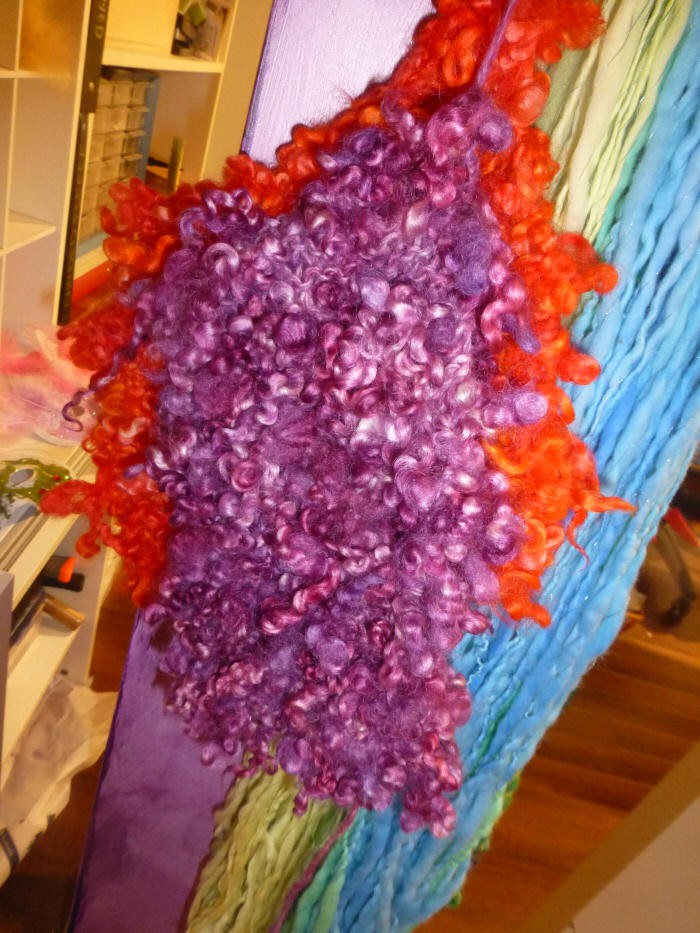
Purple faux locks adoring the studio wall

Here’s a quick shot of the purple sample. I used a #10.5 needle. The locks are more spaced out in this sample. I should also mention I knit every row in both samples.

So what to do with this? I could see it as a beautiful scarf, trim for a hat, or I was thinking the shoulders of a shrug. What about a stuffed animal friend? I really appreciate yarn hat resembles the animal it came from – it is probably why I am so drawn to artistic textured yarns. I’d say the experiment was a success. Definitely more of this on the horizon…

signature