What happens when two Skeins of Yarn go for an Extra Dip in the Dye Pot
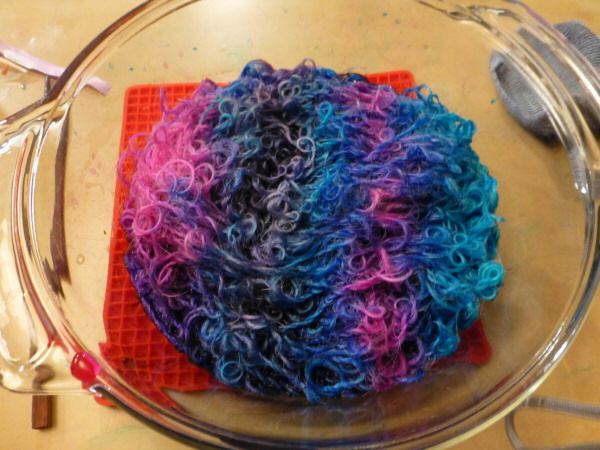
This month’s post involves over-dyeing my handspun yarn with two grey hues to see what it does to the overall color.
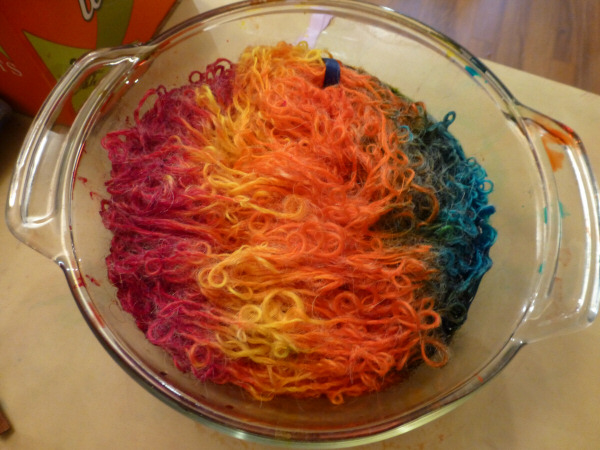
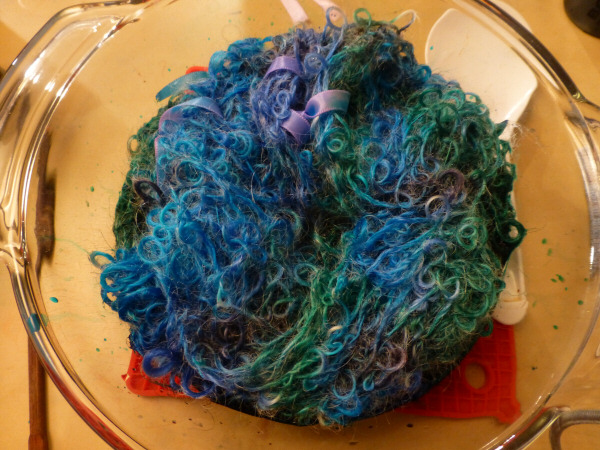
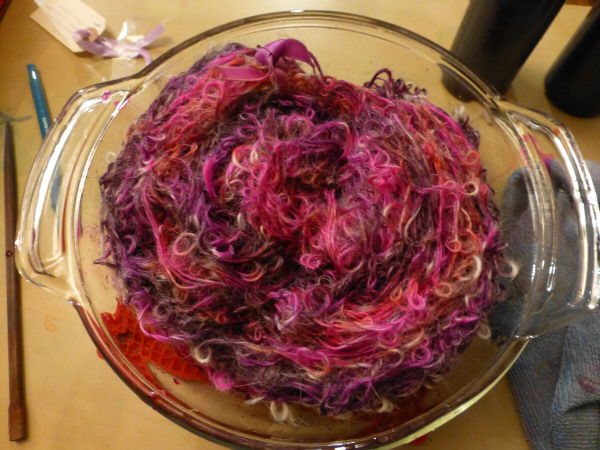
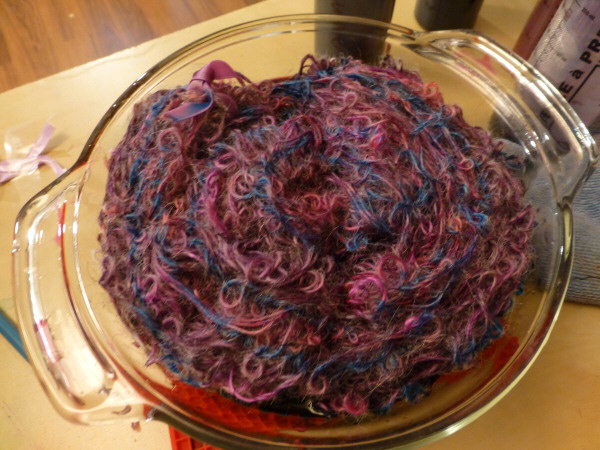
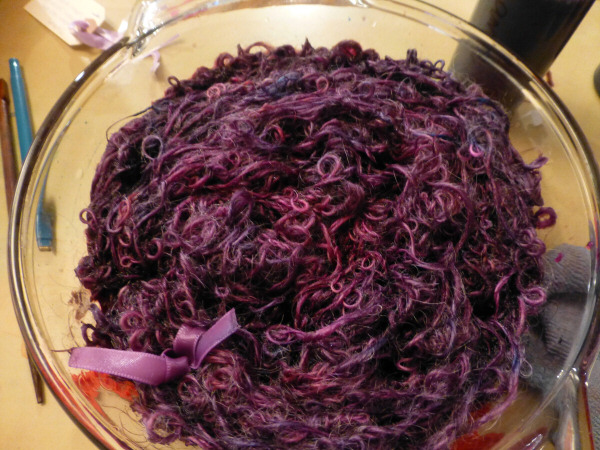
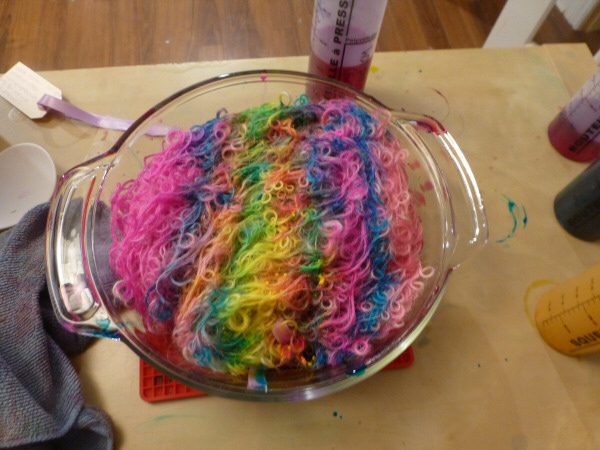
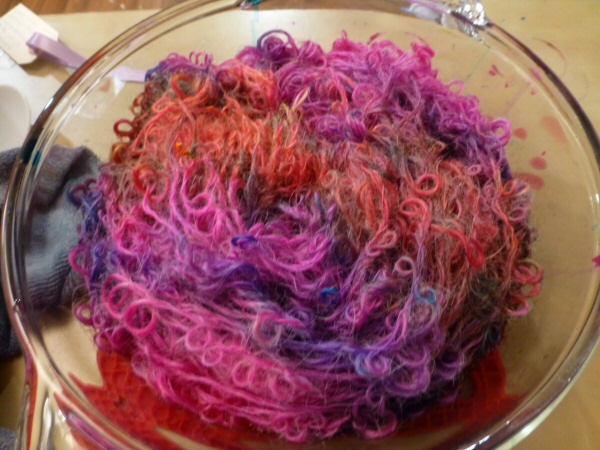
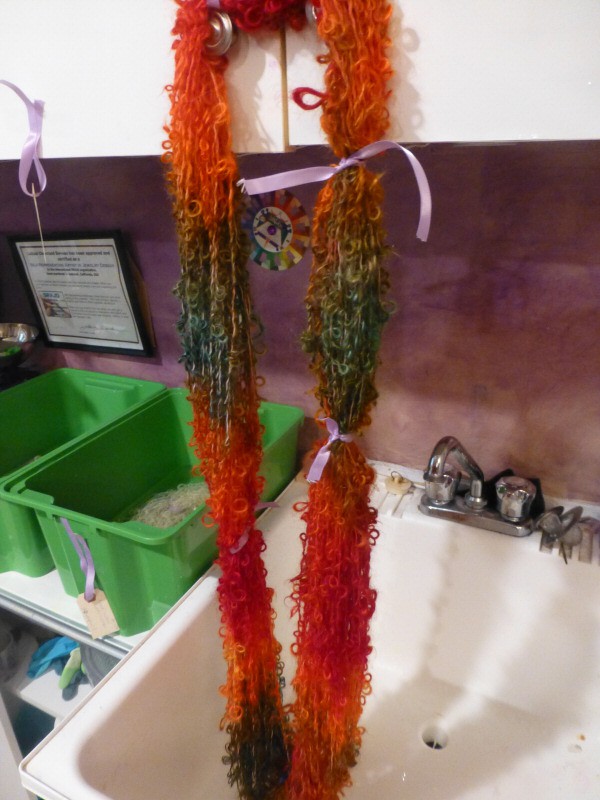
I chose two skeins of yarn. One was a freshly spun spiral ply that was really pink. I have nothing against pink, but this is just too much pink for me. The other is a bulky chain ply I did some time ago for a hat pattern featured in my 5 Free and Easy Patterns to Make with Handspun Yarn post. The hat turned out nice, but I didn’t wear it, so I decided to unravel and reuse it.
Curiosity Gets the Best of Me
I don’t necessarily dislike either of these yarns. Even the really pink one, I’m sure I could find a project for it. I’m more curious about what would happen if I changed one element of the color. Curiosity gets the best of me in the studio. Once I know I want to try something, I must go for it, for better or worse. And yes, I’ve often regretted not leaving well enough alone.
That said, every time I try over-dyeing, I learn valuable lessons about dyeing and color. So even the mistakes have their place, and probably mean a third dip in the dye pot to meet my friend black dye. 😉
The Yarn Used for the Experiment
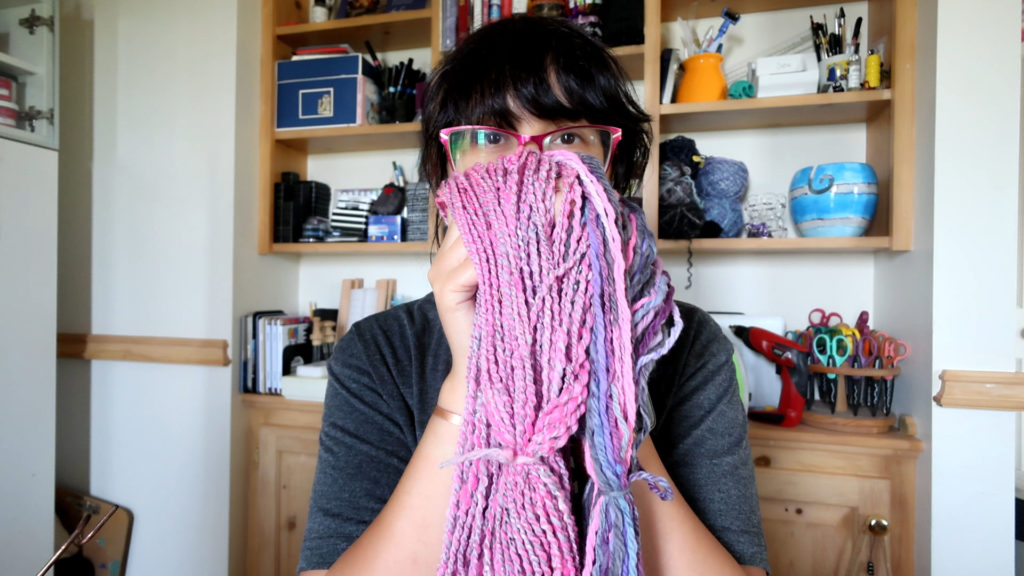
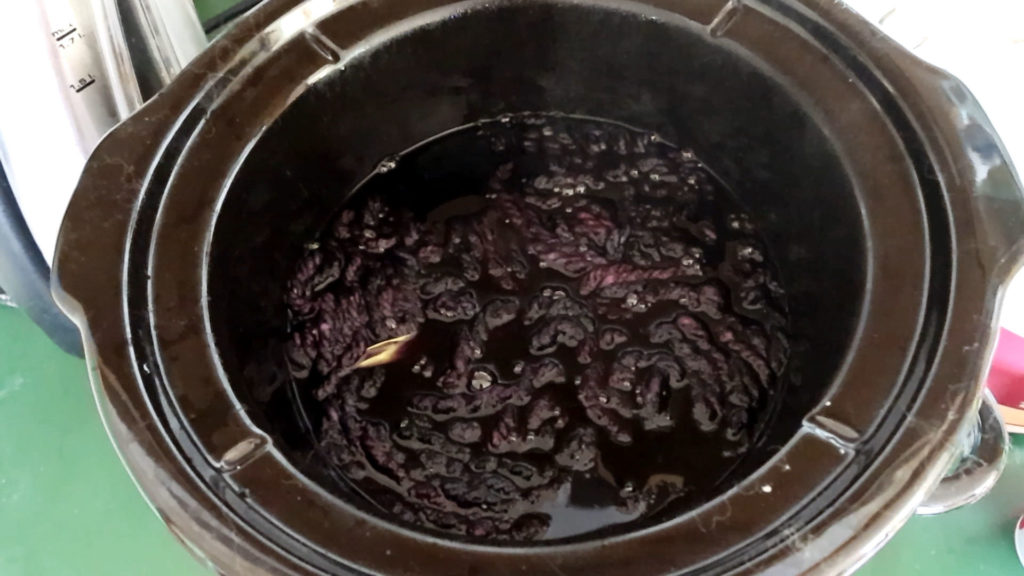
I’m doing a light silver-grey on the spiral ply. Hopefully, it will tone down the pink. I’m going to do a dark charcoal over the chain ply. I’m most concerned with this one. I don’t know how patchy or dull the charcoal grey will be over this vibrant color. This yarn has also been set, knit, unraveled, and dyed again. That’s a lot of friction on a non-superwash wool. Hopefully, I won’t be left with a strange felted mess! I do not know how this will turn out, and I’m taking you on the journey with me in the video below.
Why Over-dye Your Handspun
The main reason why you’d over-dye your handspun is simply because you dislike the color. Most of the time, you’ll hear of people using black as an over-dye, and I’ve certainly done this several times. I’ve spun yarn and realized the color is clashy or dull, so black is the most successful color for eradicating handspun sins. 🙂
In my experience, black doesn’t completely cover the color in yarn. Darker pieces will show through, and I like that effect. The color underneath will also blend with the black to give different undertones. But you can use other colors to over-dye wool yarn, as well. Typically, you’ll want to use a color darker than the yarn you’re over-dyeing. But as with the silver grey I use in this video, you can use lighter colors to subtly change or tone down the original color.
The main reason I like to over-dye is education and experimentation. I get bored of yarn that sits around the studio. Truthfully, I spin more yarn than I use. Often, I think, “Hey, I like this yarn in structure, but I don’t think I’d wear this color. I wonder what it’d look like if I applied this color over it?” Over-dyeing often breathes new life into the yarn for me, and then I get excited to use it.
Also, over-dyeing is a great way to gain experience with dyeing and color without breaking the bank. Start with the yarn you have laying around that you’re not 100% about. Unravel an old project like I did here and throw it in the dye pot. You have less to lose with less-loved or recycled yarn. You’ll be gaining knowledge about dyeing yarn without any feelings of deep regret. Once you perfect your skills, move on to the new/better stuff.
Why Grey?
For this experiment we’re playing it somewhat safe with grey. But I figured it would give me the best success of what I wanted to achieve, plus show that you don’t need to invest in many different dye colors to over-dye. I find grey is less harsh than black and therefore more forgiving if the over-dye is patchy.
Reduce, Reuse, Recycle
Yet another reason to over-dye your yarn is to simply re-use it. As in the case of the chunky chain ply in this experiment, why not over-dye your yarn and reuse it in another way? You could do this with leftover yarn from a project or yarn unraveled from an old project you’re no longer interested in or didn’t turn out just how you’d hoped.
One reason I got into fiber is how versatile and waste-free it is. Even the unusable fleece after picking can be composted in the garden. I like taking this further and ensuring I have many ways to use and reuse my yarn as well.
Over-Dyeing Commercial Yarn
You can over-dye commercial wool yarn. Oh yes I’ve done it. My dad once got me a whole bag of brushed alpaca yarn from an early 90’s Sweater kit at his church yard sale. The hue of red was not my cup of tea. I over-dyed it blue and it made a terrific dark purple color.
I’ve even over-dyed commercial cotton yarn (dyeing vegetable fibers is a completely different experience from dyeing animal fibers. You can read about it here in my post on Dyeing Cotton Yarn). However, I don’t have any expertise in dyeing synthetic commercial yarns.
What to Use for Over-dyeing
My recommendation for over-dyeing is to use a dye pot, whether on the stove or, as I prefer, in a crockpot. You really need to saturate the color into the skein, and I feel the kettle dyeing method is the best and easiest way to do this.
It’s helpful to have a color wheel available if you decide to over-dye with colors other than black or grey. It’s very easy to end up with some shade of brown, and if that’s not what you’re going for, be prepared to be disappointed. I’ve also made many ugly grass green to forest green over-dyes. They weren’t very attractive and were harsh in tone.
Now it’s Your Turn: Go For It! 🙂
I hope this post inspires you to try over-dyeing yarn, whether it’s your own handspun or commercial. You will learn lots, and although you may not necessarily love the results at first, you will gain immensely in dyeing experience.
Be sure to check out my YouTube channel for more fiber arts content. I’m slowly adding to it monthly.
Until next time,

