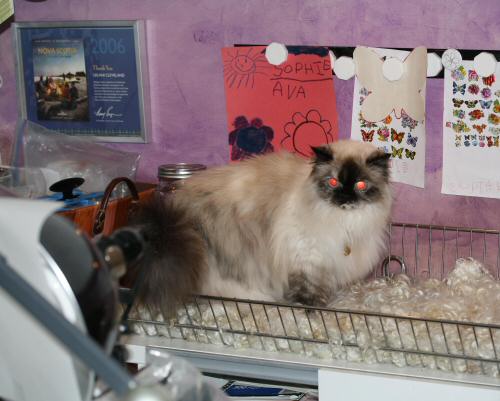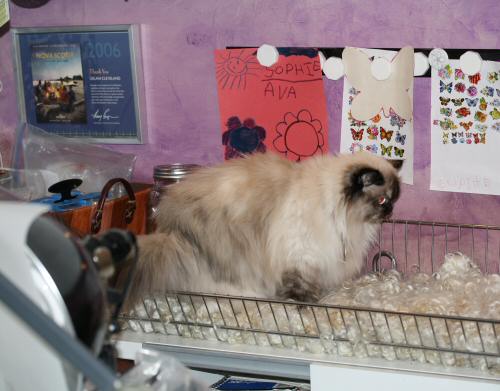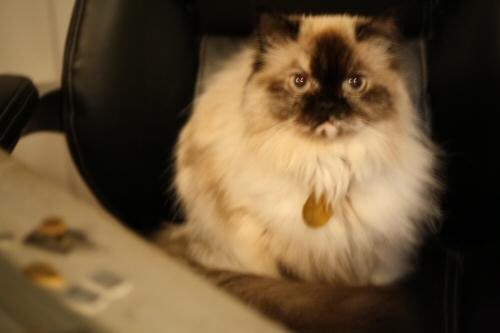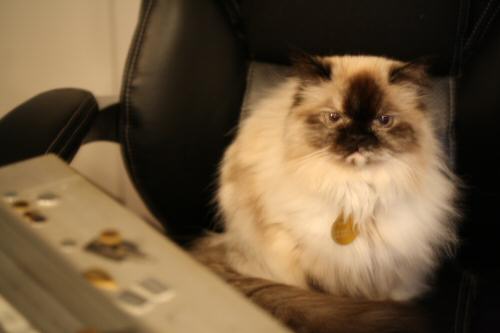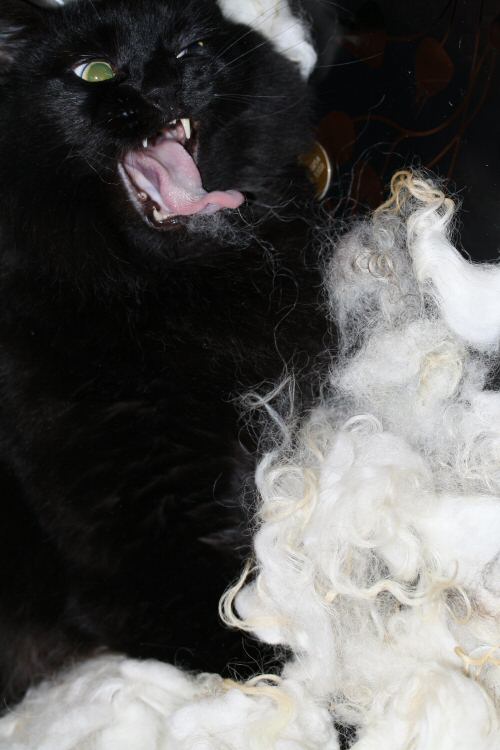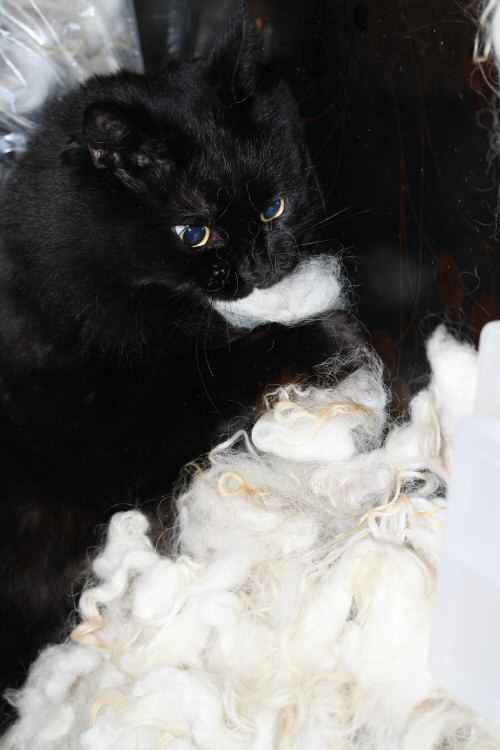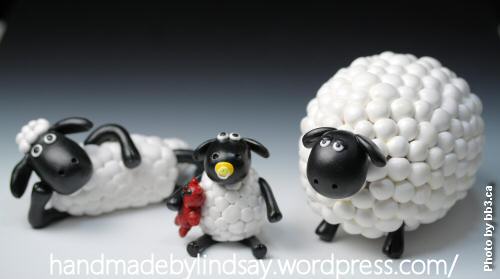
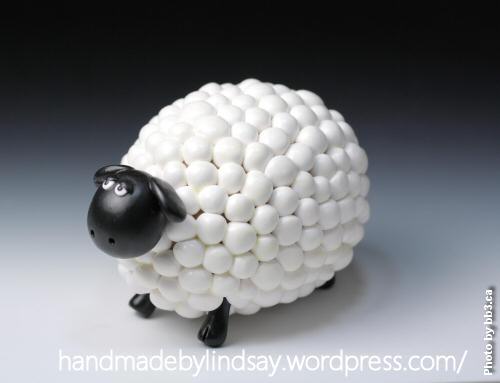
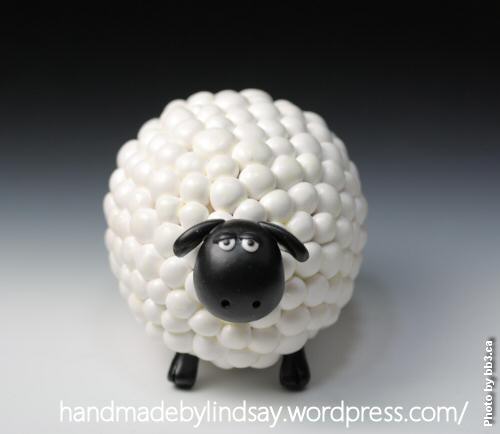
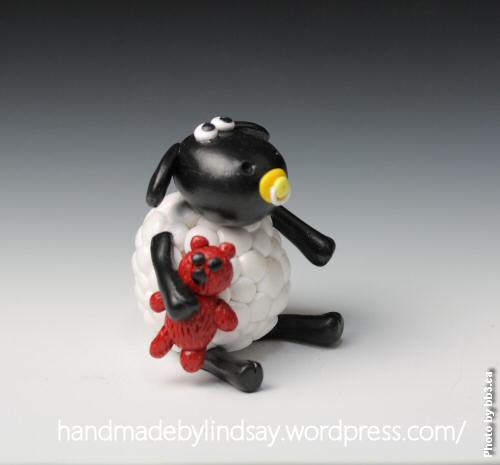
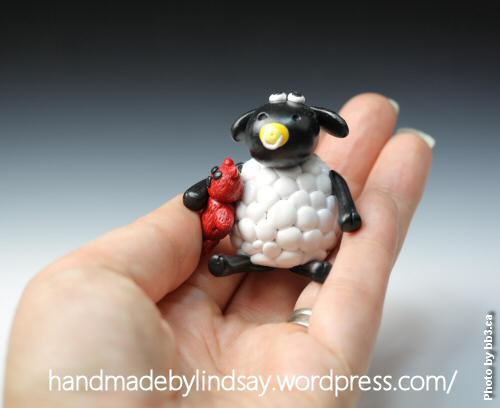
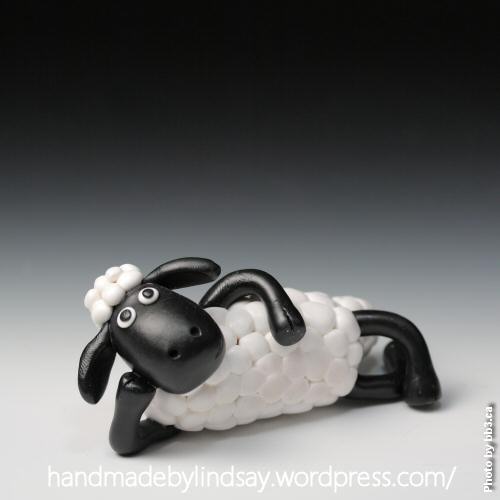
Look what visited me in the studio – the perfect subjects to test out my new photography setup. It’s Shaun, Timmy & a fat mama sheep from the claymation cartoon “Shaun the Sheep”. I commissioned my friend Lindsay McGrath from Handmade by Lindsay: Ploymer Clay Creations in Ottawa, Ontario to make them for my growing sheep collection.
I’ve known Lindsay for several years, about as long as I have been dating my now husband, and they were friends in University. This is a relatively new form of artistic expression for her, & I asked her to do a quick interview as this is the type of inspiration we all need to get started finding our own creative outlet (and artist within us all!)…
How long have you been creating with clay?
I picked up polymer clay for the very first time in the fall of 2011. I’d never used anything like it since childhood, playing with playdoh.

What made you start creating with clay?
I started because my children were asking for toys of characters from a video game called Katamari Damacy, and none existed. My brother-in-law has been making things out of polymer clay for years and I had some magnets that he’d made for us; I thought that it might work for making the characters. So I picked some up and gave it a try, and was very surprised that it seemed to come naturally to me. I’d never considered myself an artist, and certainly not a sculptor, but I find polymer clay very easy to work with, and there is a ton of info and tutorials on the internet, which has been very helpful.
What inspires your designs?
Most of what I’ve been making lately have been custom orders, but when I get the chance to make whatever I want I tend to gravitate to geeky-type things. I love everything about geek culture (being a huge geek myself), and the creative possibilities with it are endless! I’m finding that lately I am especially gravitating to Doctor Who themed things. I have some projects in the works that I am very excited about!

What are your favorite pieces to make/creations you have made?
I recently made a gift for my children’s teacher, an owl sitting on top of a stack of books. It was a lot of fun to make, and I think it turned out pretty cute. I’ve also made some Christmas ornaments that I’m really proud of, especially my Christmas Borg, Shark, and Tardis.
Where do you sell your work?
I do most of my selling on-line, whether it’s to people who stumbled upon my blog and Etsy shop, or to my friends across the country who put in their requests through Facebook. Last fall, however, I did my first craft show, the Ottawa Geek Market. I shared a table with another talented artist, and it was a lot of fun. I will be selling at the Geek Market this year too, and I’ll have a whole table instead of a half.
Do you accept custom work?
I do accept custom work! It is my primary source of business. While I do love geeky things, I also do non-geek work, and I’m open to trying just about anything!
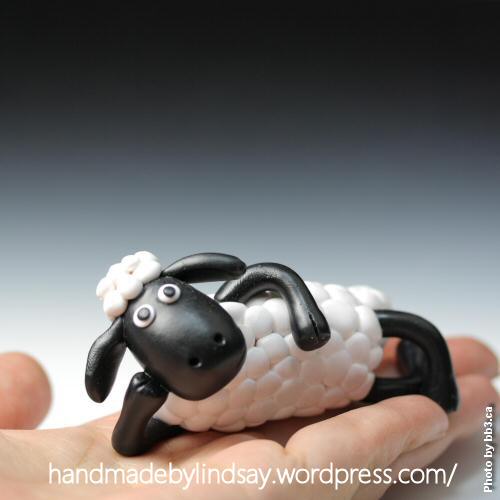
Be sure to check out Lindsay’s blog, Handmade by Lindsay to see more of her kick-ass polymer clay work! 🙂

Are you an artist inspired? I’m looking to share your story here and in my monthly newsletter. Inspire me; inspire others! E-mail me or leave a comment to be considered. All you need is an online presence (blog, website, Etsy shop, etc.) so that the international audience the internet attracts can get to know you & your product better. This is my contribution to the handmade/artist community, & I am honored to do so! Look forward to hearing from you…