Documenting My Process of Dyeing and Spinning Superwash BFL for the First Time
I’ve spun BFL (Blue Faced Leicester) wool and enjoyed it. I call it the workhorse of my studio. It tends to be much more affordable than some of the finer fibers, like Merino, and therefore, I can spin a huge batch of it for projects such as experimenting with yarn dyeing.
I picked up the Superwash version on a whim to try it out. I’ve spun Superwash Merino before, but not BFL. I love to knit socks, so I thought I should add Superwash to my repertoire, especially since some of my knits have accidentally made it into the washing machine.
I’m not a big fan of spinning superwash, at least the Merino version, and there are some tricks to knitting superwash yarn to obtain the proper size since it’s so limp and likes to lose shape. But as I do gift knits on occasion and know folks who are allergic to wool but can wear the superwash version, I think there’s merit in giving it a try or at least getting comfortable spinning it when necessary.
A Quick Summary of my Thoughts on Superwash BFL
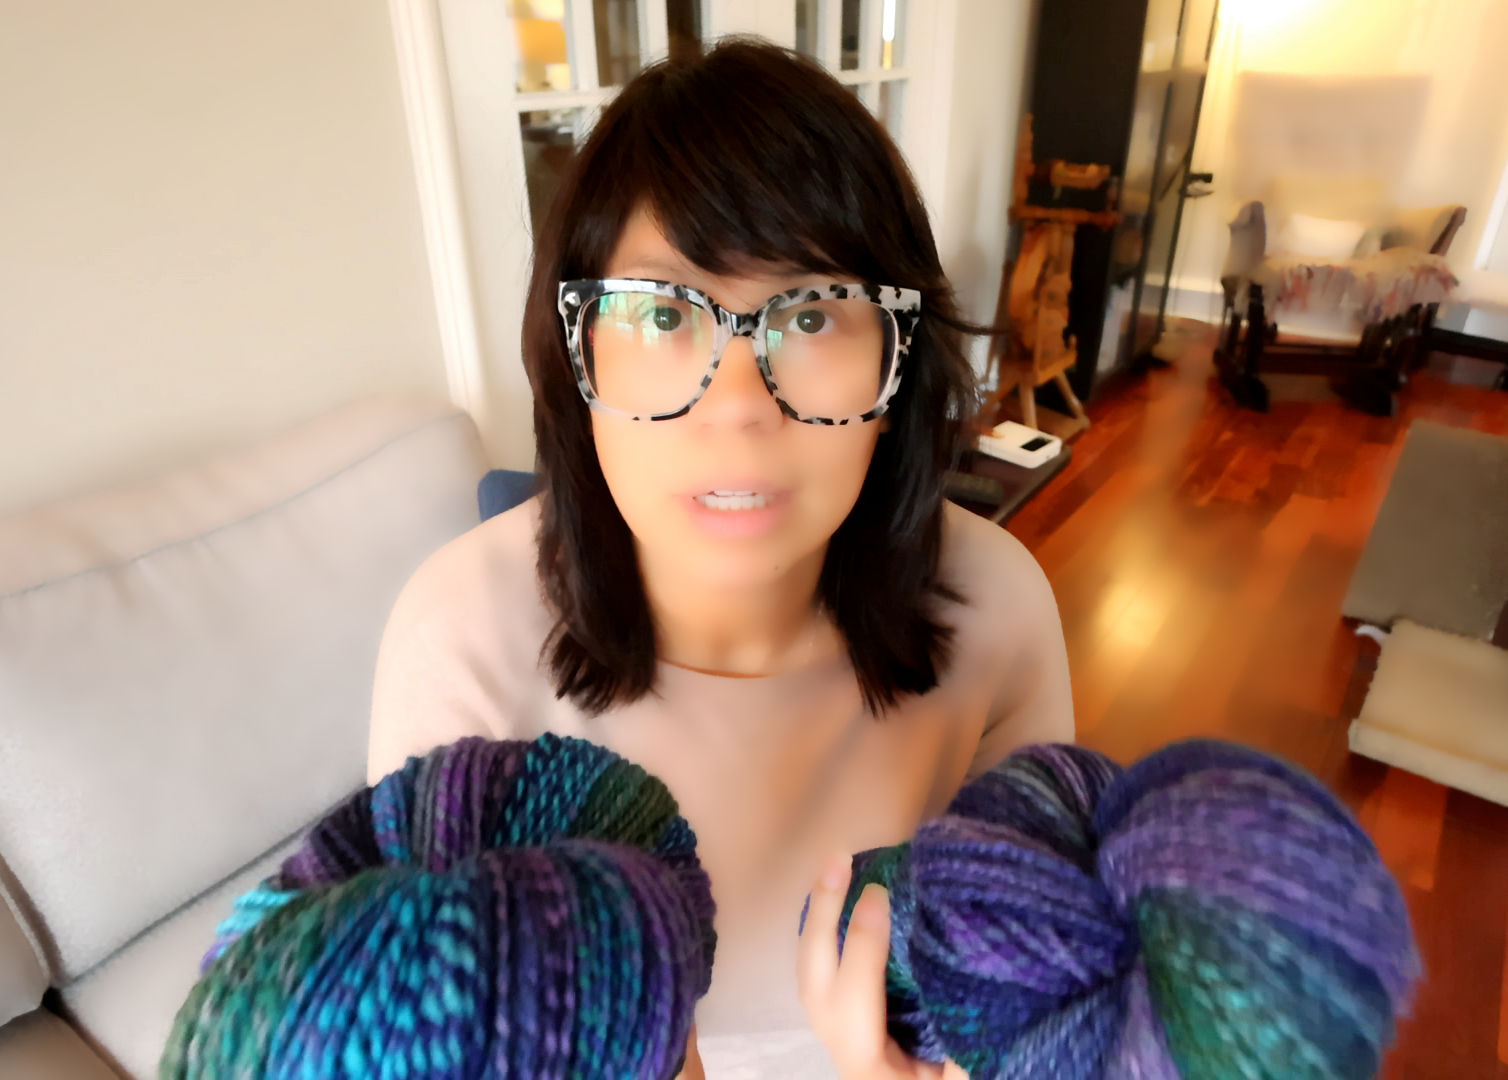
Spinning Superwash BFL
I found that the fiber itself didn’t feel as “fake” or “plastic-y” as with Superwash Merino. Maybe because the fibers are not so dense? Or is it processed less because it’s not as thick as Merino? I can only guess, but I didn’t mind spinning this so much. I enjoyed the colors I dyed it, so that certainly helps! 🙂
The final yarn had much more of a spring to it than I was anticipating.
It’s a fairly bouncy yarn, which I was not expecting at all! I’m sure the fact that I like to put a lot of twist in both my singles and during plying helped with this. I will take mental note to be sure to add lots of twist whenever I spin Superwash BFL.
There is (was) a mild chemical smell.
Oddly when I set the yarn with soapy hot water it emitted a chemical-like smell that lingered after it dried. I was taken aback by this because it didn’t have any type of smell that I can recall when I dyed it. It’s definitely not a acid dye smell, I am used to that, especially with black. Plus, those scents off-gas quite quickly from the set yarn.
Reflecting on it I think it’s a mixture of things, BFL in general has a very distinct sheep, barn-like smell. I figure between that and the processing to take out the crimp, and possibly the acid dye gave it a slightly unpleasant smell.
I’m happy to report that since filming this video, the chemical smell has dissipated.
Watch The Process of Creating This Superwash BFL Yarn
Dyeing Extra Superwash BFL Roving to Finish Yarn
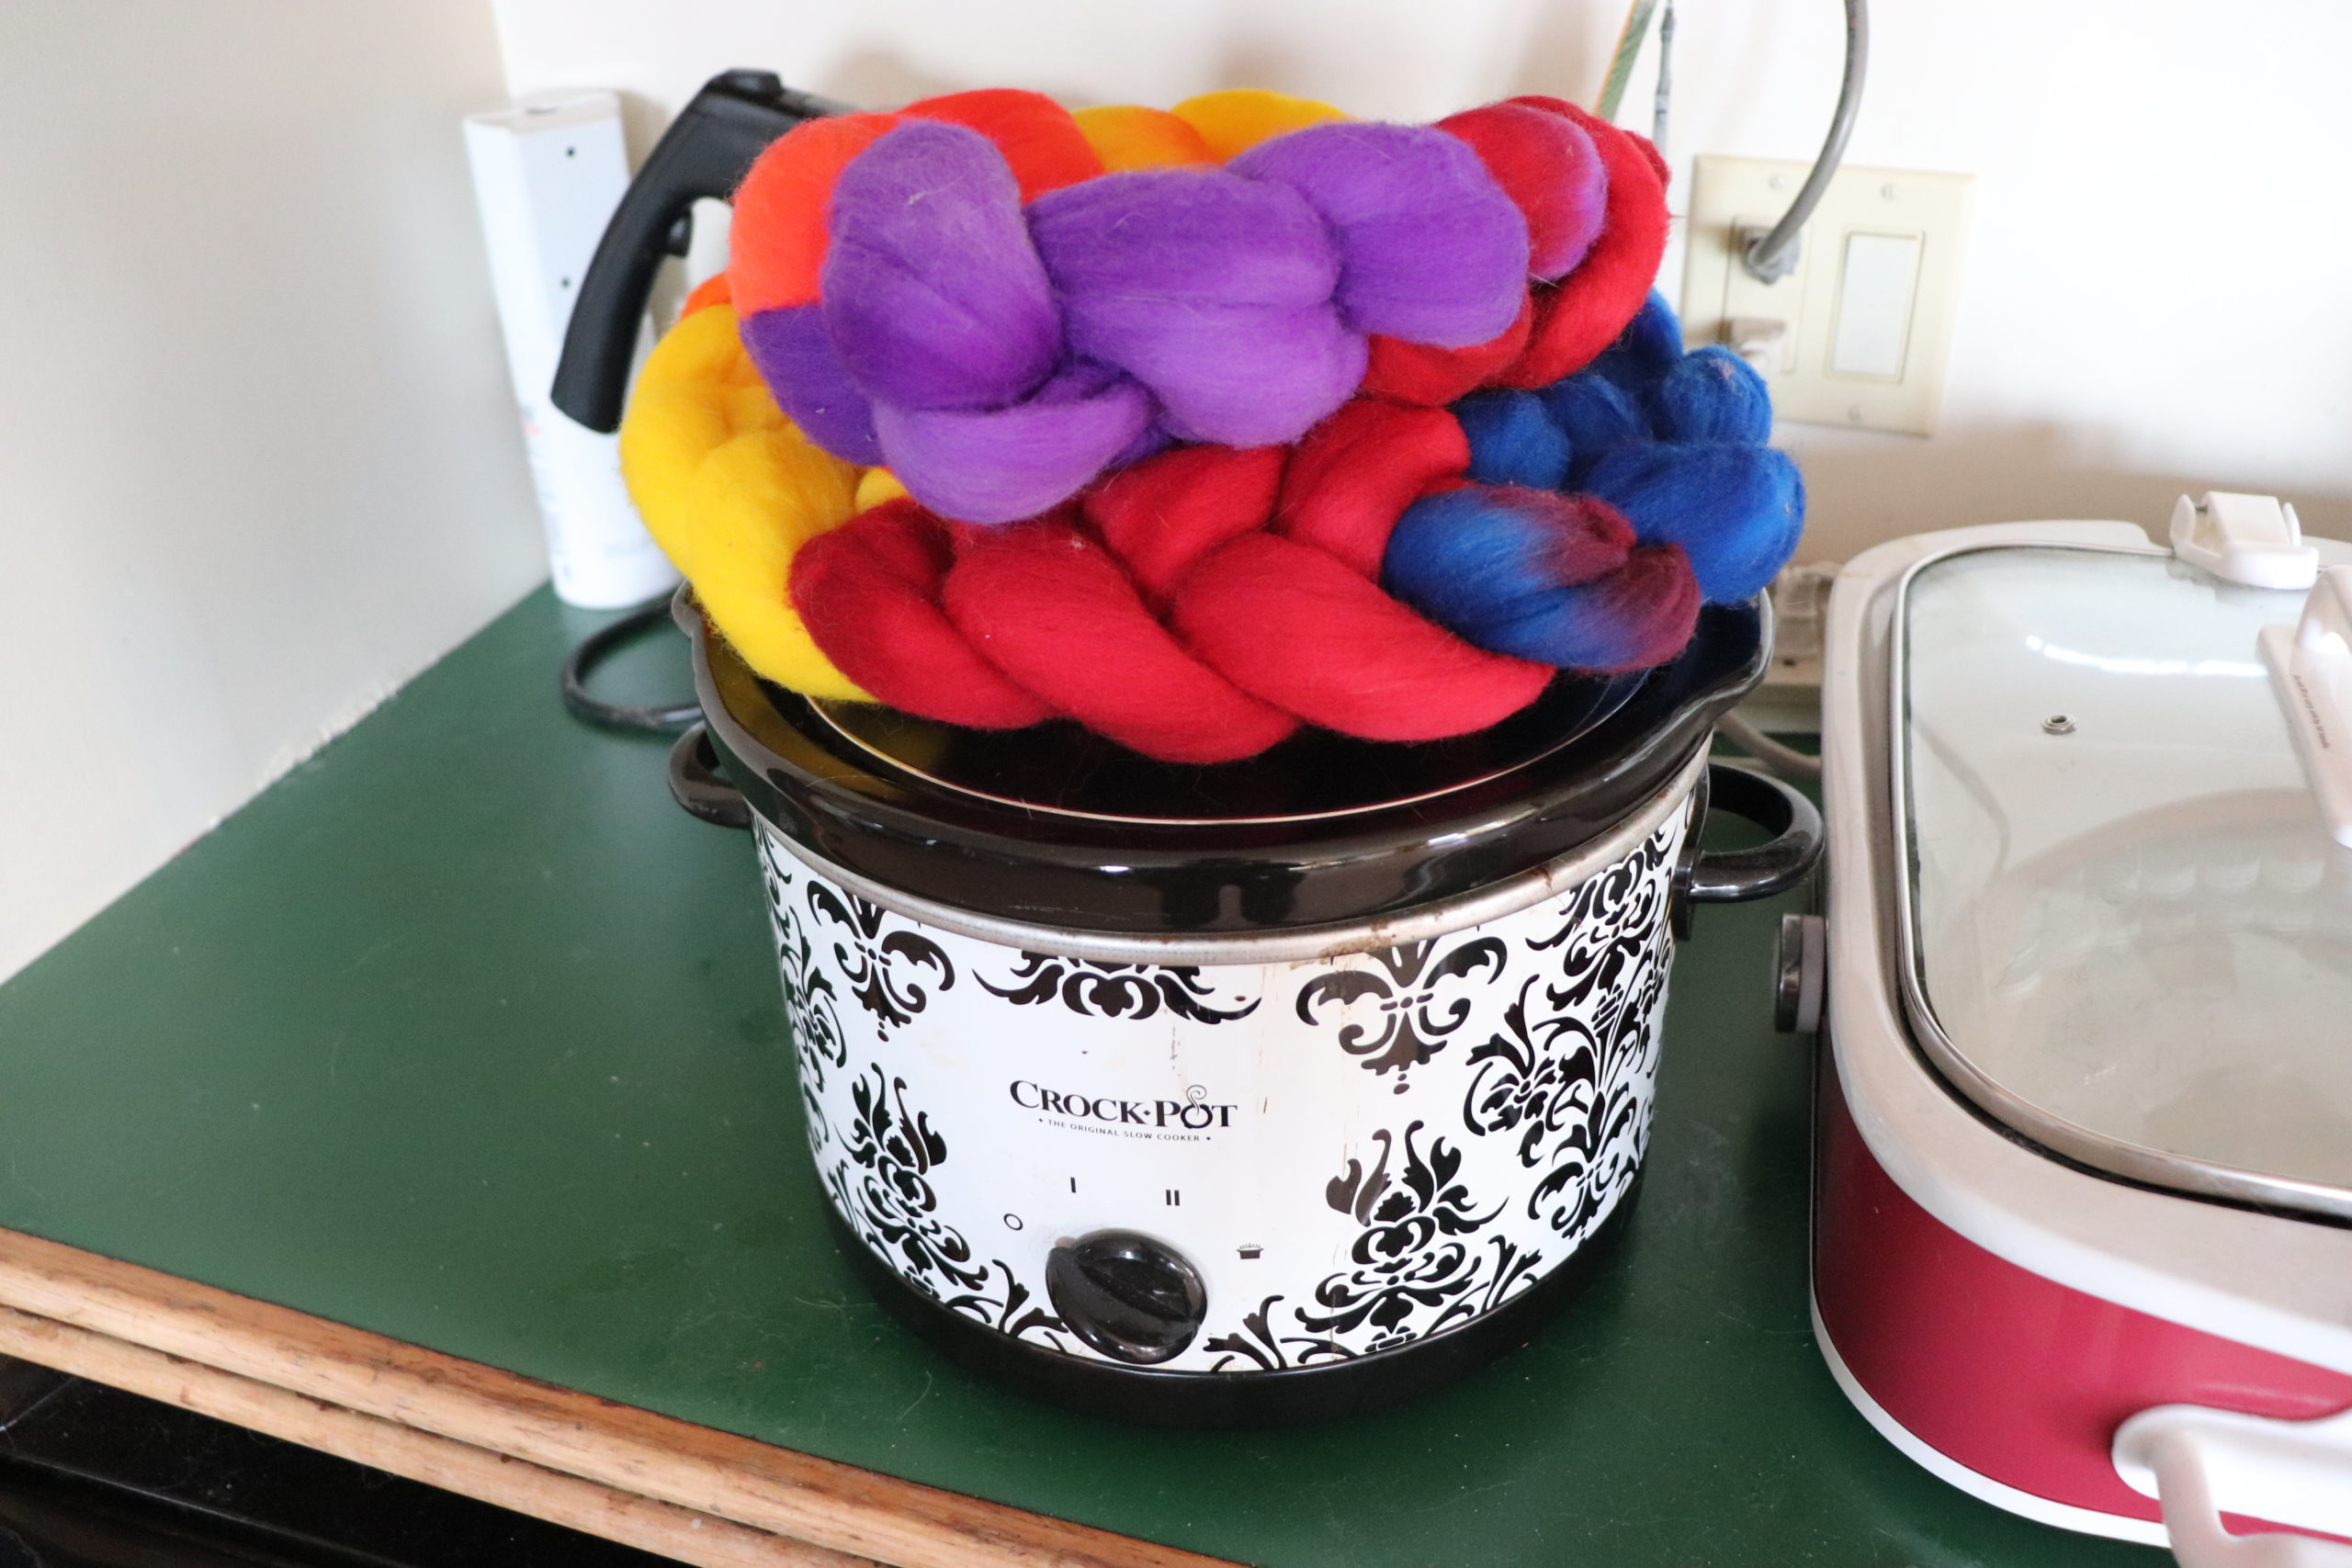
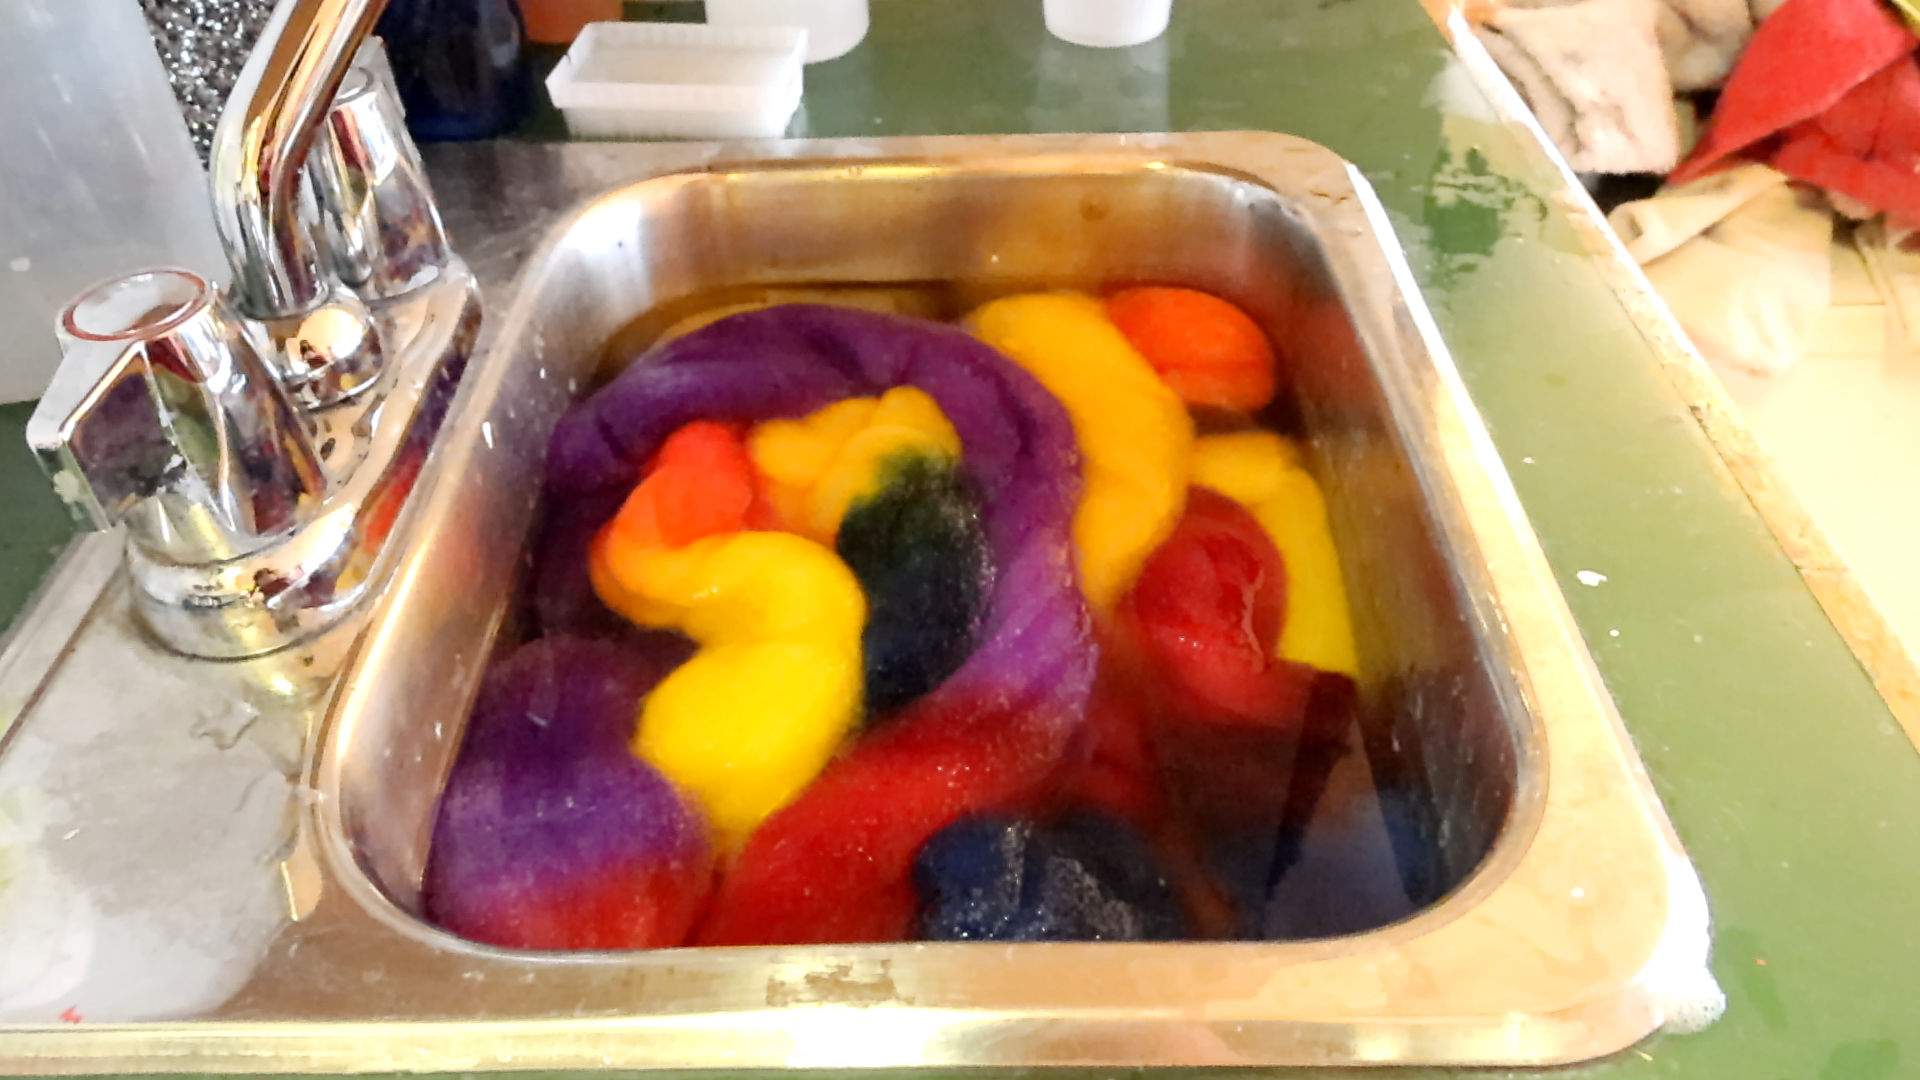
I had a fair amount of one singles left from skein #2 of this project, so I decided to dye a bit more roving to finish the project. The original roving would have been dyed using my crockpot method, where I add powdered dye straight to the hot water before dipping in the fiber.
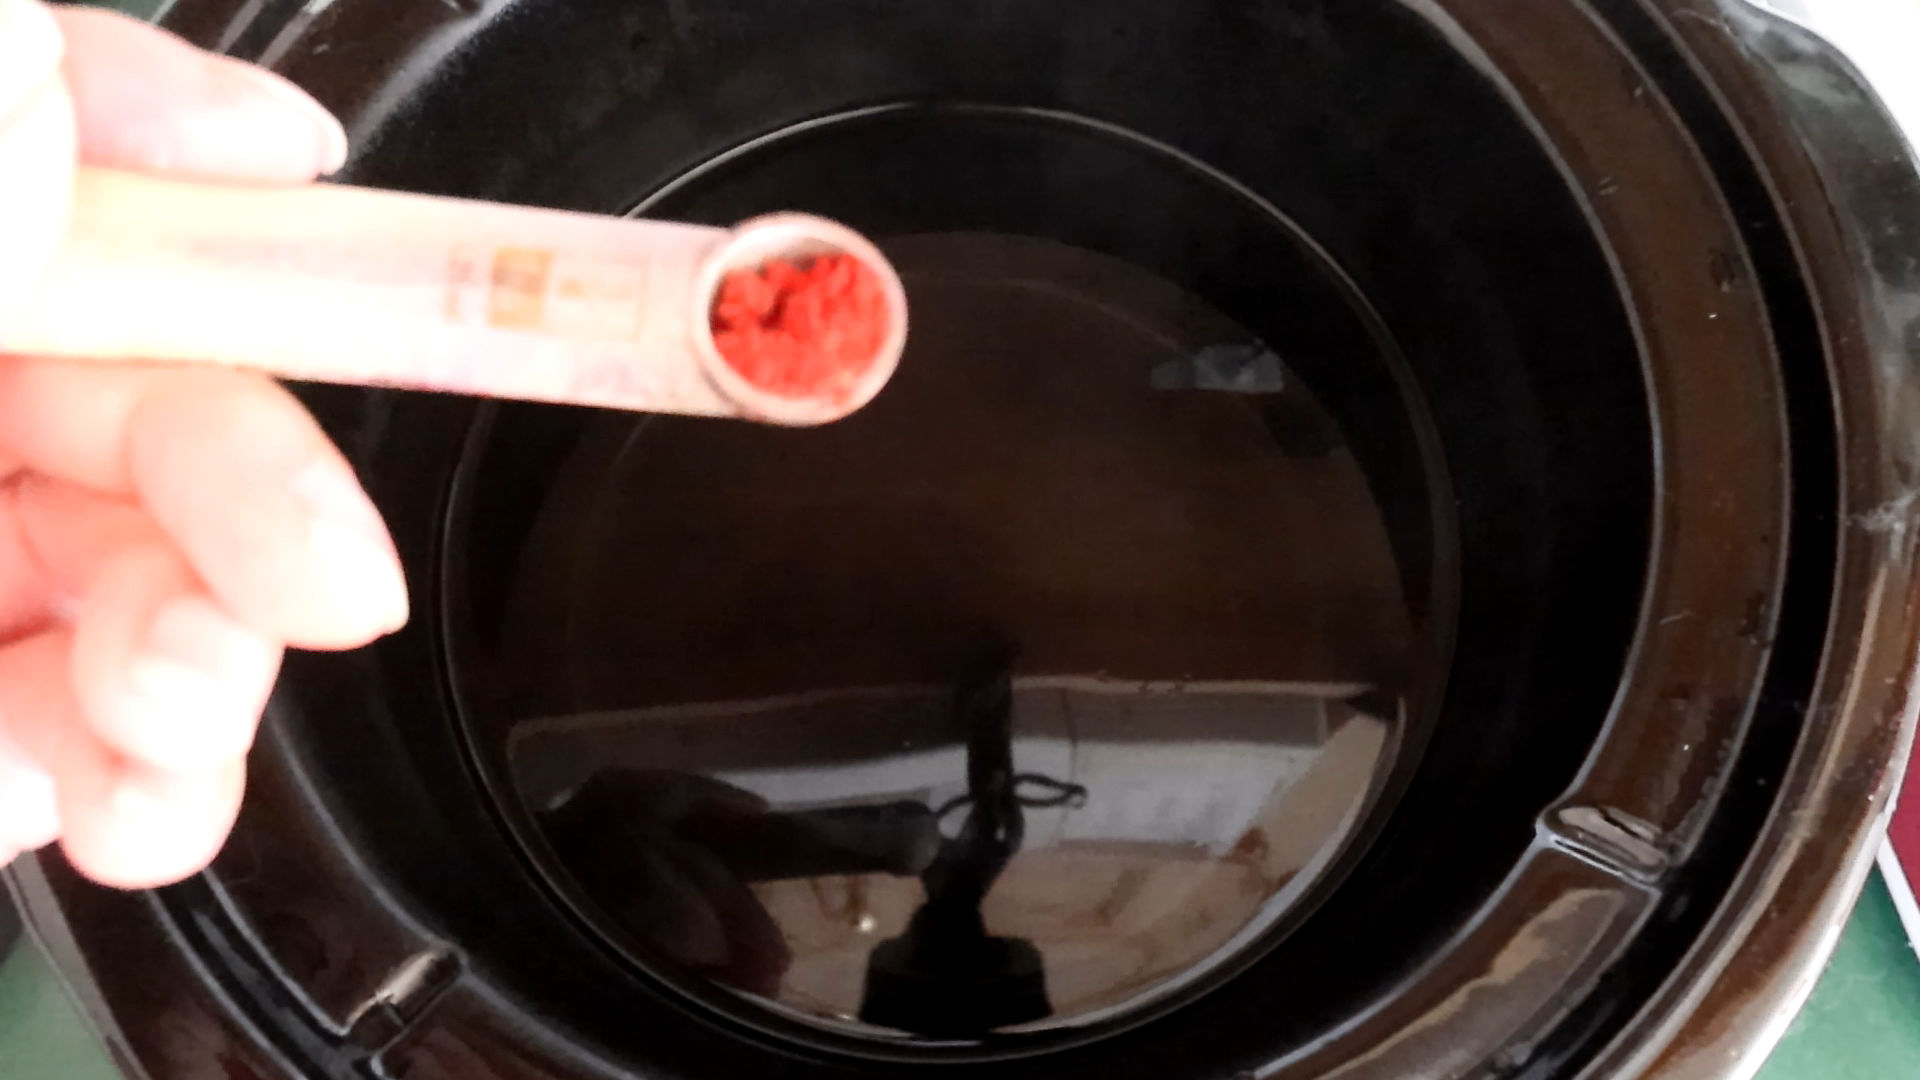
For this small amount of roving, I decided to inject the color using syringes, and set it with my rectangular crockpot. This method uses very little water and is great for small amounts of roving. Not to mention it’s a lot of fun! 🙂 I highly recommend this method if you want to get comfortable with dyeing before dyeing larger amounts.
I have yet to knit up this Yarn
The verdict is still out regarding the performance of this superwash yarn as I’ve yet to knit it up. Lately I have been dedicating my time to spinning and dyeing as time for me is limited and I have to pick and choose the projects I do. I will no doubt have a backlog of yarn yet again. I’ll be sure to post my experience when I do get around to creating with this yarn.
Have you ever spun Superwash BFL, or knit with it? I’d love to hear your experience with it. 🙂
Until next time,

I am a jewelry artist, spinner, and indie dyer in Nova Scotia, Canada, self-taught in all areas. I hope these posts help encourage and inspire you along your creative journey, no matter if you approach your craft my way or not.
Check out my About Me page for more info and the Fiber Arts/Spinning/Dyeing Category for more content like this andbe sure to subscribe to my YouTube Channel.