Textured Chunky Batts on a Drum Carder

I’ve owned my Brother Drum Carder for ten, if not 12 years. At the time, it was considered the most affordable drum carder on the market. Although they are still in the cheaper category drum carder wise, the price has increased significantly (what hasn’t?!), which makes me wonder who is affording a drum carder these days!

That said, I wanted to create a video showing how I make textured batts on my drum carder, which I feel very privileged to own these days, given the current economic climate.

Batts vs. Rovings

This post is a companion post to textured blending with a hackle, which is a more cost effective way to texture blend fiber for spinning. I really enjoy my hackle and use it more than my drum carder, though I must say, I do like having the option of using either.

By the way, although this post showcases making batts, you can also use a diz to pull rovings off the drum carder just like with a hackle.

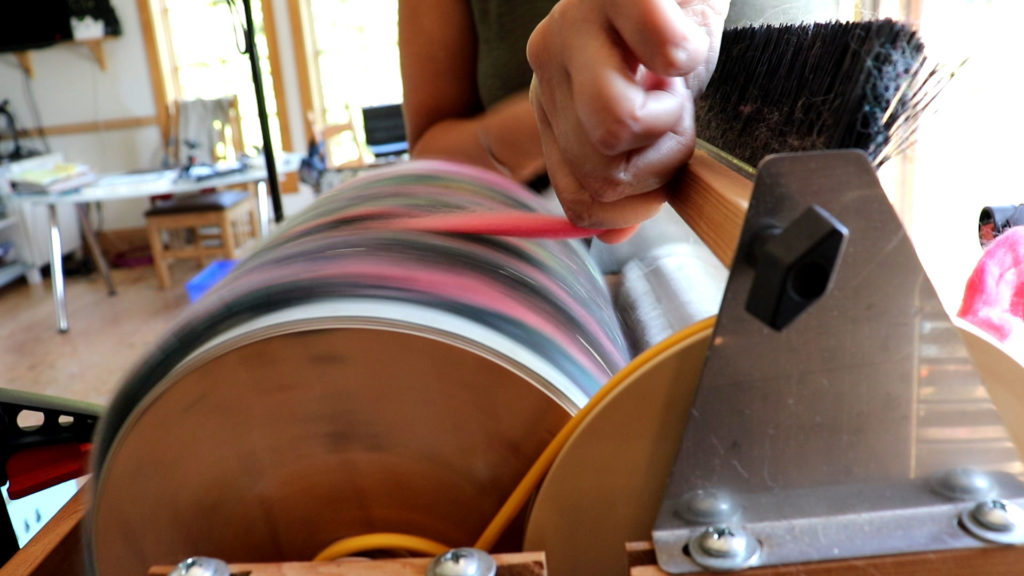
A close-up of a hand using a drum carder to process wool fiber. The drum is spinning, blending colorful fibers, while a hand feeds wool in and another holds a wooden tool with a brush, combing the fibers. Workshop equipment and natural light are visible in the background.

The Wrong Carding Cloth

When I decided to get a drum carder, I really didn’t have that much experience with one, well, I had none really. Just what I saw at wool shows and online as other people demo’d them. It just made common sense to me to have one since I was doing my own fiber processing. I really didn’t understand the different carding cloths and what would suit my needs. So I went with a medium carding cloth, because it’s right in the middle. So that should be precisely what I need, right?

For blending traditional style batts, either out of top or raw (scoured) fiber, the medium cloth is perfect. What I wasn’t expecting was that the batts I preferred to spin were chunky and textured. I should have known, since I was always drawn to the bulky, funky, textured art yarns. You would think I would have realized that I would need a course carding cloth. But noooo…

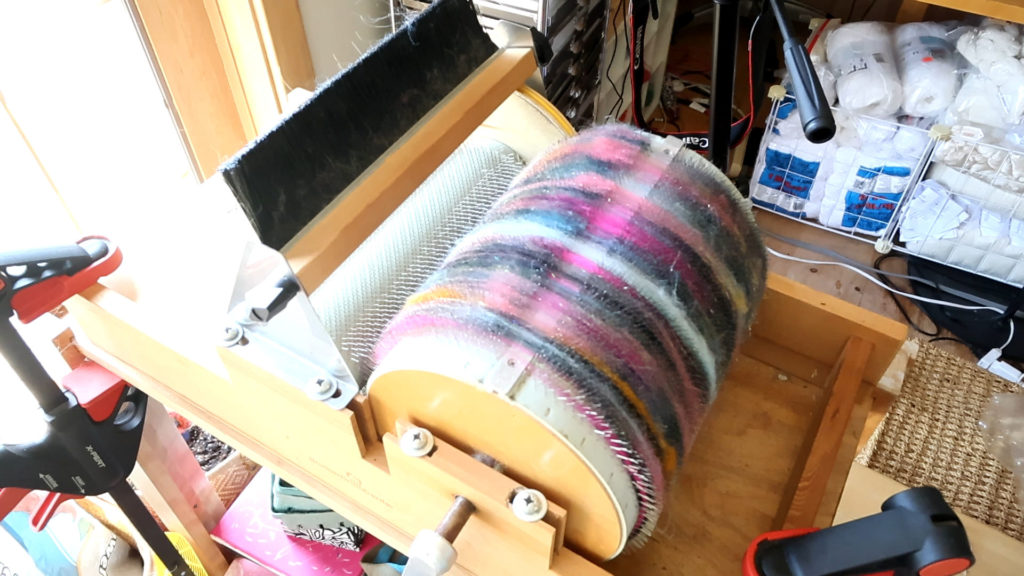
A drum carder loaded with colorful, blended fibers in shades of pink, purple, white, orange, and black sits on a wooden table. Various crafting supplies and equipment are visible in the background.

Stuck with a medium carding cloth but the desire for chunky batts, what should I do? The easiest and most obvious solution is to buy another carding cloth. But truthfully, by that time I had purchased quite a bit of fiber tools, including another spinning wheel (of which I have four now…two were used, okay? 😉 ). I didn’t want to spend any more money.

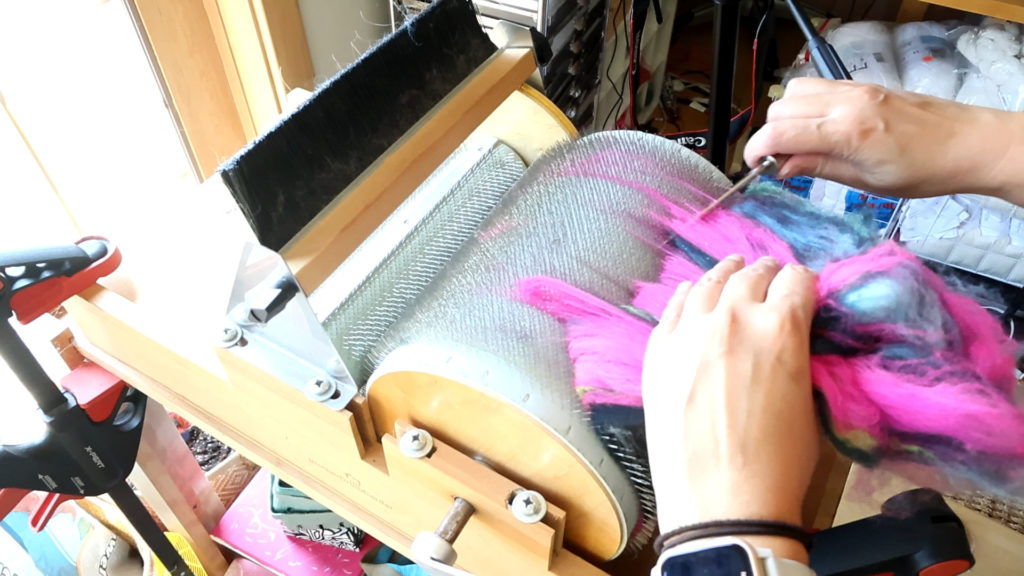
A person uses a drum carder to blend pink, blue, and black fibers for spinning. Their hands guide the fibers off the carding drum using a doffer to remove the fibers. Sunlight streams in from the left, and various tools and yarn are visible in the background. The person wears a smartwatch.

An Unexpected Solution

One day, I was blending some silk and became frustrated with how the carder was up-taking the fiber. Too much was going on to the licker-in (the smaller drum). I wasn’t happy with cleaning the licker-in with perfectly fine-to-use silk fiber, and feeding it through again and again. I also couldn’t get the silk divided and fed through so it would blend evenly.

So I got the idea to feed the silk directly onto the main drum while I cranked the handle slowly. And lo’ and behold, this worked wonderfully! I could place the silk wherever I wanted, and it blended just to my liking. I got to thinking: could I make chunky, textured batts this way?

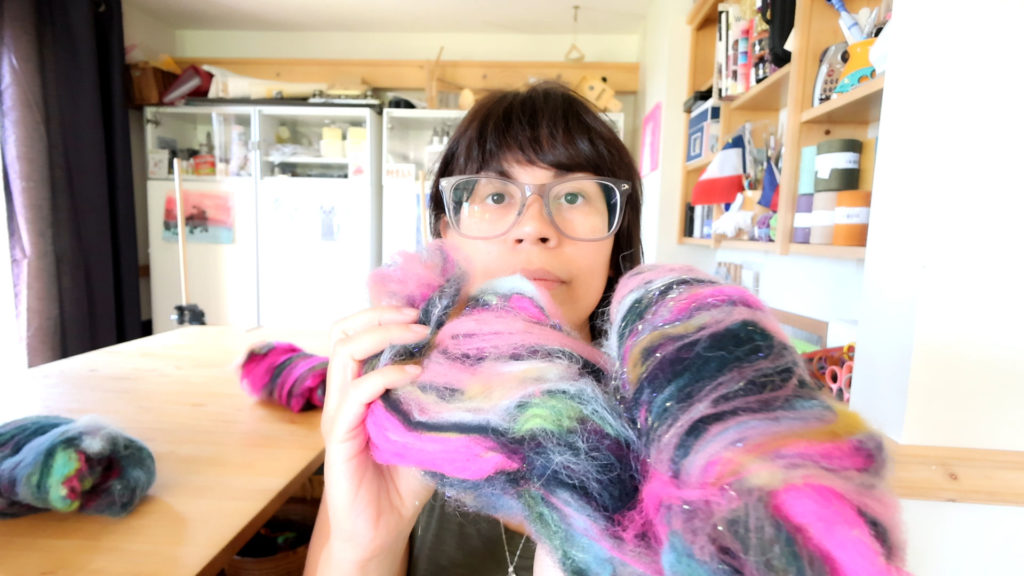
A person with glasses and short dark hair holds up a colorful wool batt with pink, blue, green, and black fibers in a bright, cozy craft room filled with shelves, supplies, and a wooden table.

And so this is how this technique was born: a way to achieve a textured chunky batt without a coarse carding cloth.

Watch the Video Demonstrating the Technique

To demonstrate how I make textured chunky batts I set out to blend random bits of fiber left over in the studio.As the fiber chosen is all very random, the batt colors are…interesting to say the least.

The subsequent batts are a blend of many colors of hand-dyed merino roving, angora rabbit fiber, silk and Angelina fibers.

Should you purchase a Drum Carder?

Do you need a drum carder? I’m still an advocate for a hackle over a drum carder, particularly in terms of affordability for blending fiber. However, if you ever get your hands on one or have the opportunity to use one at your local guild, keep this method in mind if you want to create a textured batt. Just be sure to go slowly and not force the fiber on, as you might bend the teeth; however, all drum carder teeth will wear out eventually.

If you’ve ever tried this technique or a similar one, please drop me a line here or on YouTube and share your thoughts. I’m sure I’m not the only person who’s thought of loading fiber on the drum directly. 🙂

Leilani signature

Spinning Superwash BFL: A Review

Documenting My Process of Dyeing and Spinning Superwash BFL for the First Time

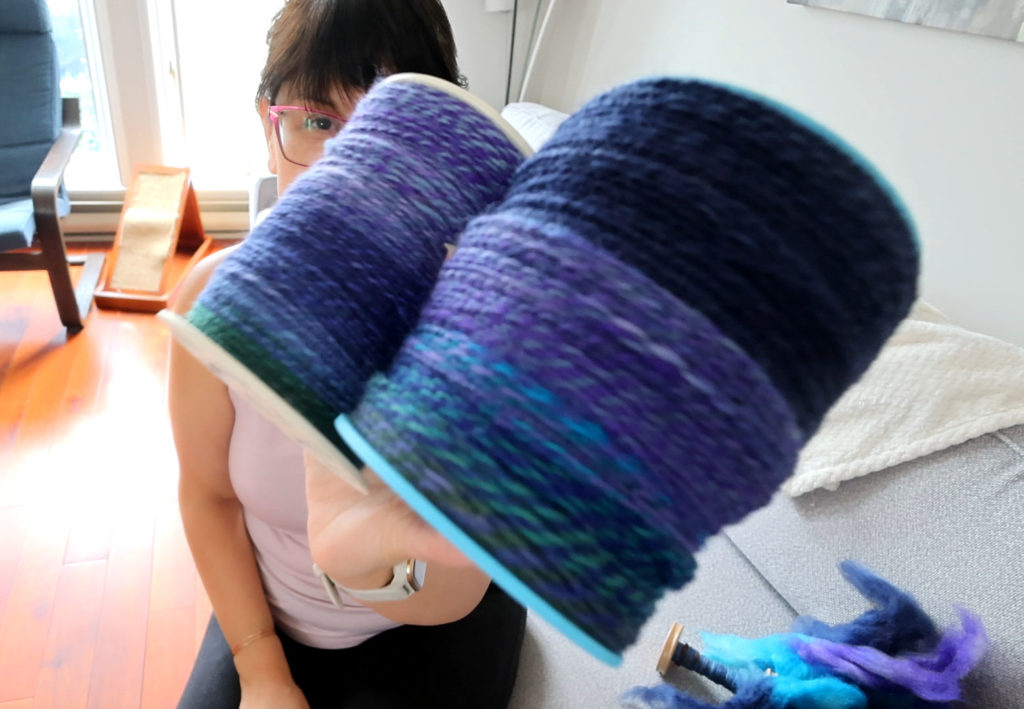
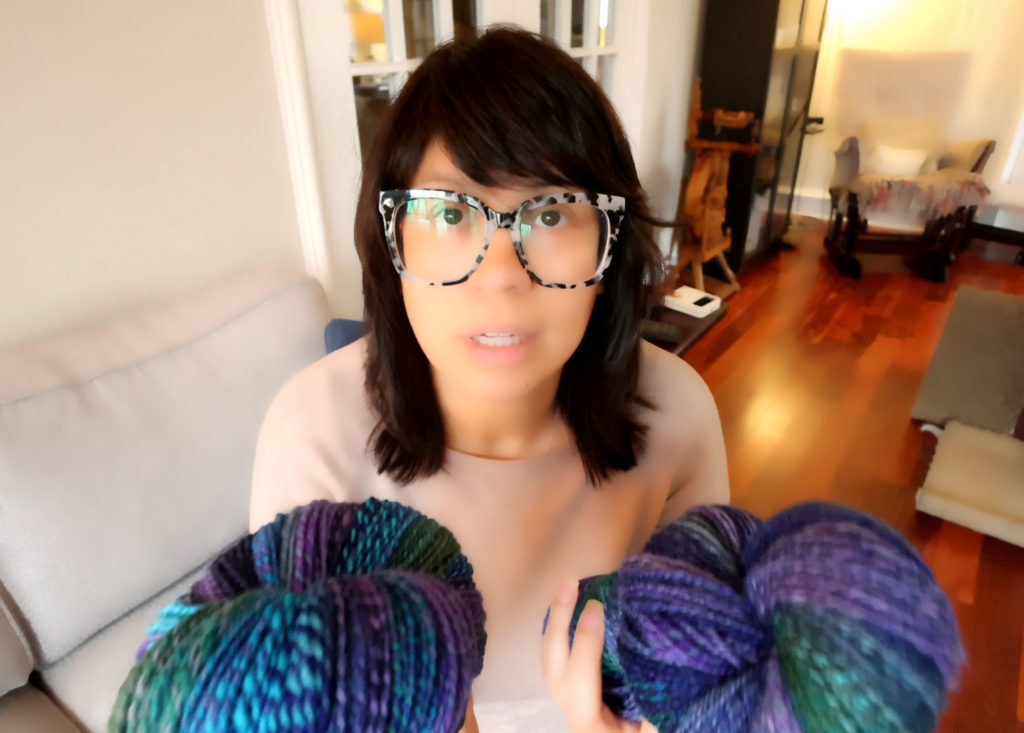
A person holds up two large spools of handspun yarn in shades of blue and purple, with their face partially obscured. Yarn fibers and a spinning wheel are visible in the background.
Spinning these two skeins of Superwash BFL had a lot more twists and turns than I was expecting.

I’ve spun BFL (Blue Faced Leicester) wool and enjoyed it. I call it the workhorse of my studio. It tends to be much more affordable than some of the finer fibers, like Merino, and therefore, I can spin a huge batch of it for projects such as experimenting with yarn dyeing.

I picked up the Superwash version on a whim to try it out. I’ve spun Superwash Merino before, but not BFL. I love to knit socks, so I thought I should add Superwash to my repertoire, especially since some of my knits have accidentally made it into the washing machine.

I’m not a big fan of spinning superwash, at least the Merino version, and there are some tricks to knitting superwash yarn to obtain the proper size since it’s so limp and likes to lose shape. But as I do gift knits on occasion and know folks who are allergic to wool but can wear the superwash version, I think there’s merit in giving it a try or at least getting comfortable spinning it when necessary.

A Quick Summary of my Thoughts on Superwash BFL

A person with dark hair and large glasses holds two skeins of multicolored superwash BFL yarn, featuring blue, purple, and green shades, while sitting on a couch in a cozy, well-lit living room.
Superwash BFL surprised me. It wasn’t as bad as I had anticipated, but it certainly fell flat in some areas.

Spinning Superwash BFL

I found that the fiber itself didn’t feel as “fake” or “plastic-y” as with Superwash Merino. Maybe because the fibers are not so dense? Or is it processed less because it’s not as thick as Merino? I can only guess, but I didn’t mind spinning this so much. I enjoyed the colors I dyed it, so that certainly helps! 🙂

The final yarn had much more of a spring to it than I was anticipating.

It’s a fairly bouncy yarn, which I was not expecting at all! I’m sure the fact that I like to put a lot of twist in both my singles and during plying helped with this. I will take mental note to be sure to add lots of twist whenever I spin Superwash BFL.

There is (was) a mild chemical smell.

Oddly when I set the yarn with soapy hot water it emitted a chemical-like smell that lingered after it dried. I was taken aback by this because it didn’t have any type of smell that I can recall when I dyed it. It’s definitely not a acid dye smell, I am used to that, especially with black. Plus, those scents off-gas quite quickly from the set yarn.

Reflecting on it I think it’s a mixture of things, BFL in general has a very distinct sheep, barn-like smell. I figure between that and the processing to take out the crimp, and possibly the acid dye gave it a slightly unpleasant smell.

I’m happy to report that since filming this video, the chemical smell has dissipated.

Watch The Process of Creating This Superwash BFL Yarn

Dyeing Extra Superwash BFL Roving to Finish Yarn

I had a fair amount of one singles left from skein #2 of this project, so I decided to dye a bit more roving to finish the project. The original roving would have been dyed using my crockpot method, where I add powdered dye straight to the hot water before dipping in the fiber.

For this small amount of roving, I decided to inject the color using syringes, and set it with my rectangular crockpot. This method uses very little water and is great for small amounts of roving. Not to mention it’s a lot of fun! 🙂 I highly recommend this method if you want to get comfortable with dyeing before dyeing larger amounts.

I have yet to knit up this Yarn

The verdict is still out regarding the performance of this superwash yarn as I’ve yet to knit it up. Lately I have been dedicating my time to spinning and dyeing as time for me is limited and I have to pick and choose the projects I do. I will no doubt have a backlog of yarn yet again. I’ll be sure to post my experience when I do get around to creating with this yarn.

Have you ever spun Superwash BFL, or knit with it? I’d love to hear your experience with it. 🙂

Until next time,

Leilani signature

I am a jewelry artist, spinner, and indie dyer in Nova Scotia, Canada, self-taught in all areas. I hope these posts help encourage and inspire you along your creative journey, no matter if you approach your craft my way or not.

Check out my About Me page for more info and the Fiber Arts/Spinning/Dyeing Category for more content like this andbe sure to subscribe to my YouTube Channel.