In my last post I promised that I would blog more. So I put it under “goals” on my to-do list to do one post a week. I don’t seem to get the urge to blog anymore, so now it has been penciled in. ????????
After that was decided, the question was: what shall I write about this week? Then this happened: I broke one of my smallest sets of bamboo circular needles. ???? I’d love to say I broke them after a fierce session of sock knitting, but it was due to my own carelessness.
I’m a huge believer in mindfulness, and try to make a point to be present, in-the-moment, for most of my day. Even during the most mundane of tasks (you won’t believe the epiphanies I’ve had whilst folding laundry by simply staying in the moment!).
On the other hand, I am also someone who possesses a great deal of energy and motivation to plow through and get shit done, so I can get back to creating. When I get going, I can be a bit of a bull in a china shop (I am a Taurus, afterall!). ????
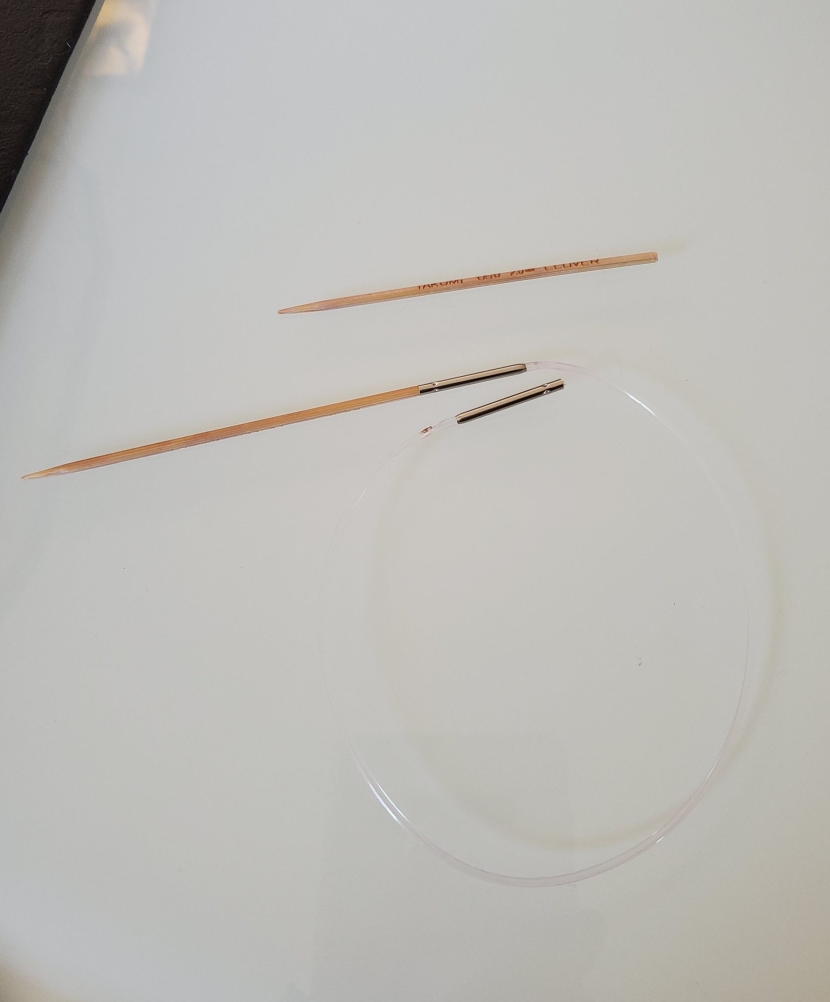
So I was going thru the yarn bin in my bedroom, and saw a ball of handspun silk yarn I thought was in the wrong place. This yarn bin is for in progress projects. I was not knitting any projects with silk, to my knowledge. I picked up the ball, and – huh. The end of the yarn was stuck on something. So I gently tugged. Still was stuck. I pulled a little harder, and harder until the ball came free. I was confused because not only did I have the yarn, but circulars with knitting on it…well, I had 75% of the circulars anyway. Seems I started a pair of socks months ago I totally forgot about.
Yup. I broke a set of circulars just being careless. ???? I was really upset with myself: not only did I break a useful tool, I absolutely hate waste. What am I going to do with a broken set of circulars? Can I re-purpose them? Then I thought, maybe I can fix them…
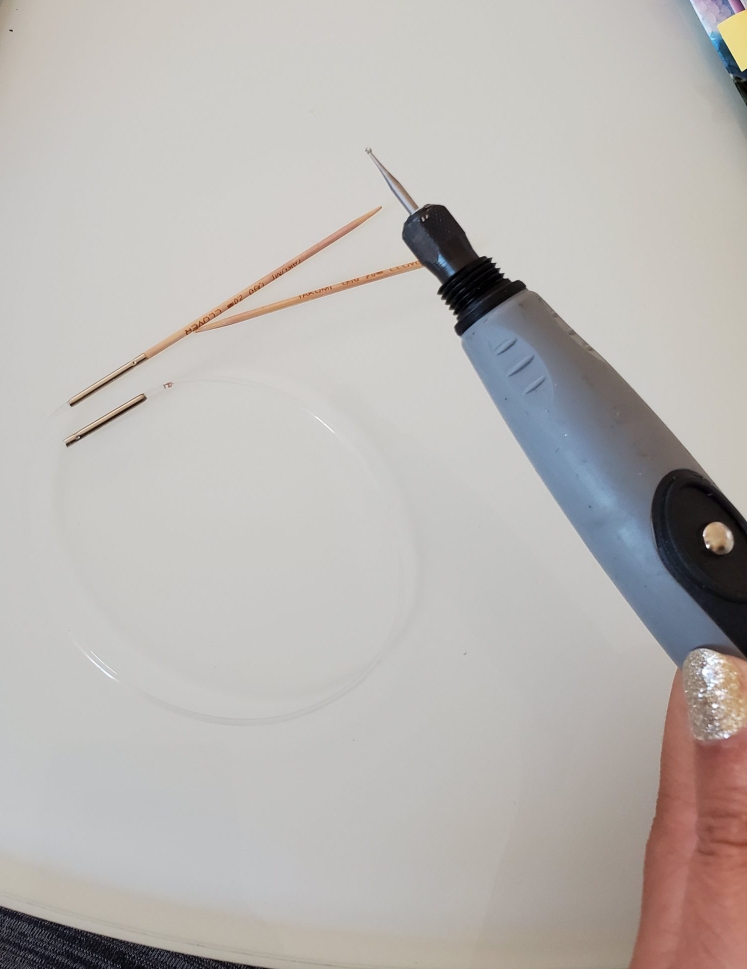
Before I was a fiber artist, I was an avid jewelry maker (still am!) so I have quite a few tools at my disposal. The tools are for working on small objects, so I thought I may have just the thing to help fix these. Off to the tool closet to dig in the Dremel bits. A-ha! A tiny burr which happens to be the same size as the opening where the bamboo needle attaches. I had to ream out all the wood that snapped inside if I had any chance of re-attaching the needle.
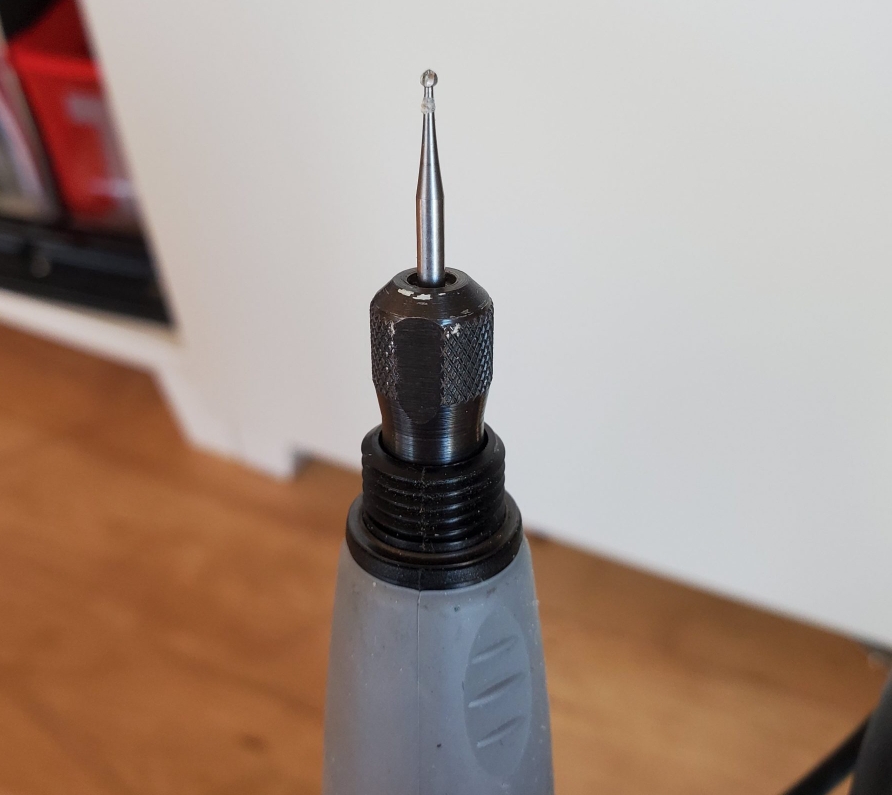
Steadying the arm holding the circular end on the arm of my chair, I rested the arm holding the Dremel on the side of said chair arm. I have a flex shaft attachment on my Dremel so I find holding it super easy – I’m sure this would work fine without, you just need a steady hand. On the lowest speed I got to work slowly. Before I knew it, the bit goes clear in the metal end and it’s completely clear of bits of bamboo. It also made the cutest little pile of saw dust.

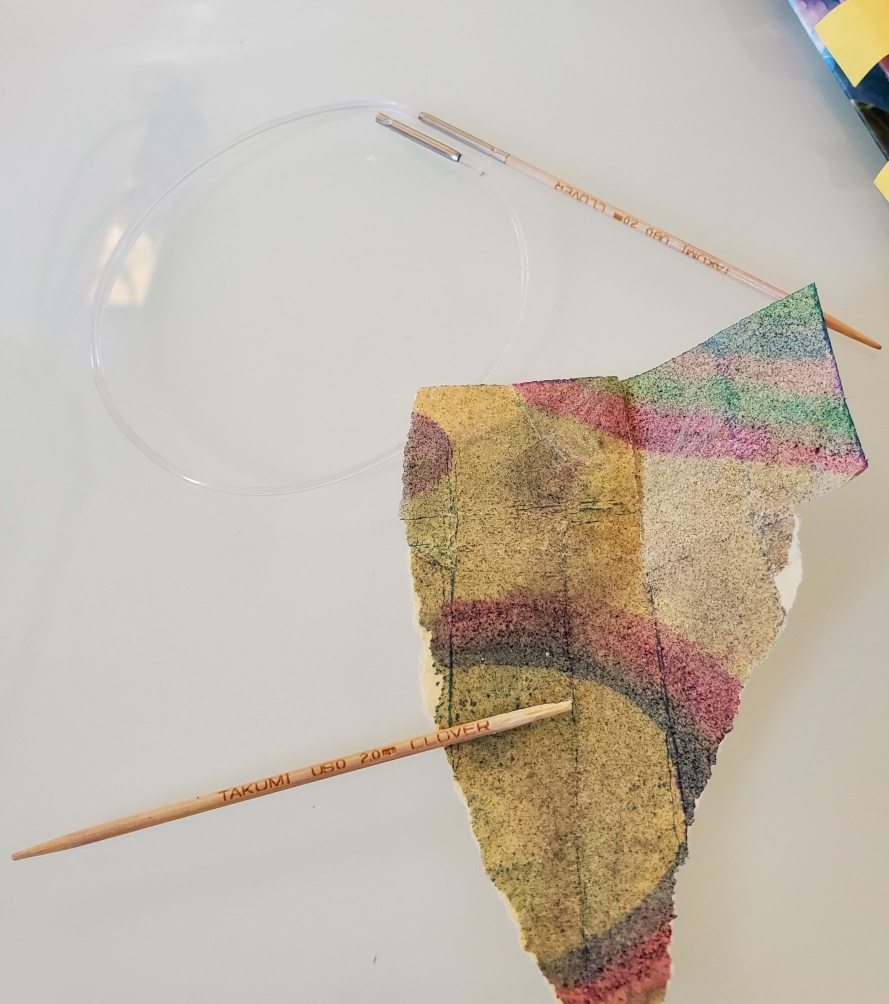
I used the same burr to shave down the end of the needle. It was slightly wider than the opening and wouldn’t fit as us. Then, I used a piece of sandpaper to give it a smoother texture. I admit I could have done a better job at smoothing out the end, but at this point I was getting anxious to see if it had worked. I did a couple of fittings before getting enough shaved down that it felt snug inside the metal.
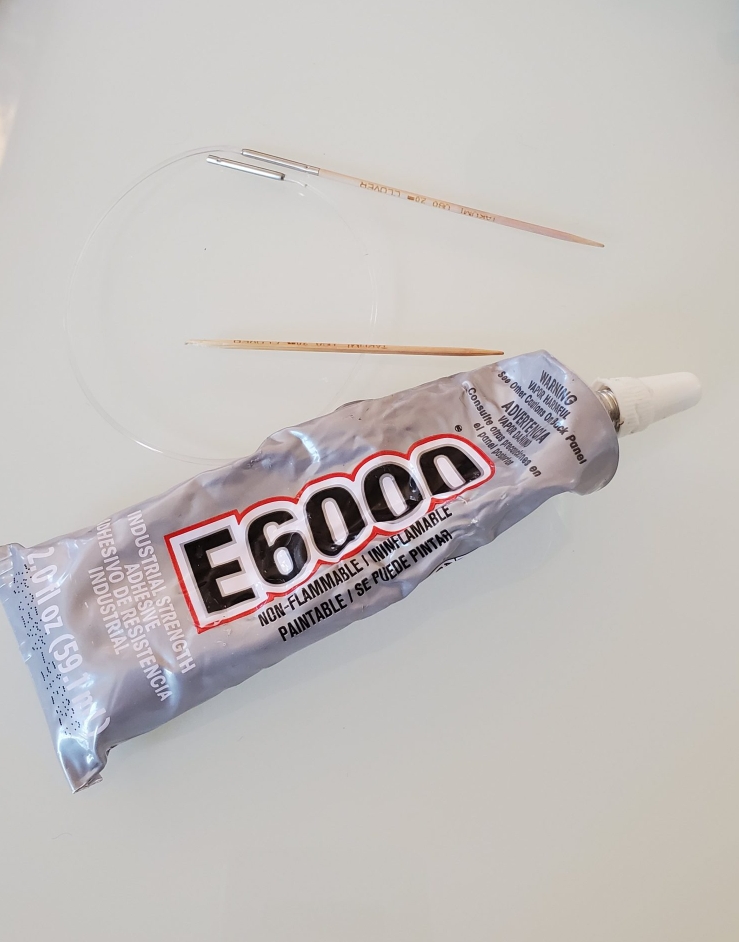
As an added precaution to make sure that needle end stayed put, I went looking for an appropriate adhesive. E6000 seems to be in every jewelry maker’s arsenal. I applied a small amount to the needle’s end, before returning it to its rightful place on the circulars. Now to wait for the adhesive to dry.
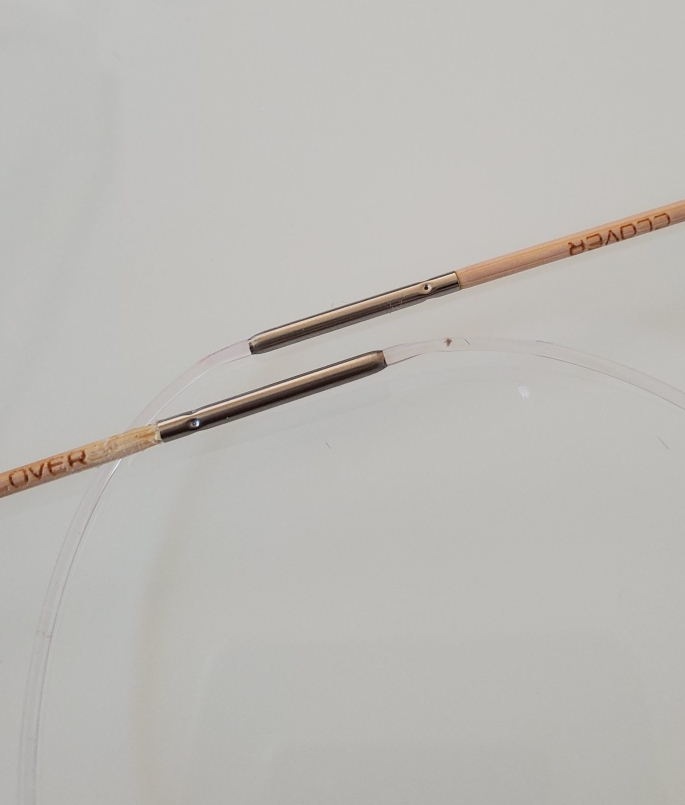
Close up it does look like a puppy chewed on the end, but not so bad in real life. It certainly doesn’t feel like stitches would snag on them. We’ll know for sure once I put them to use.
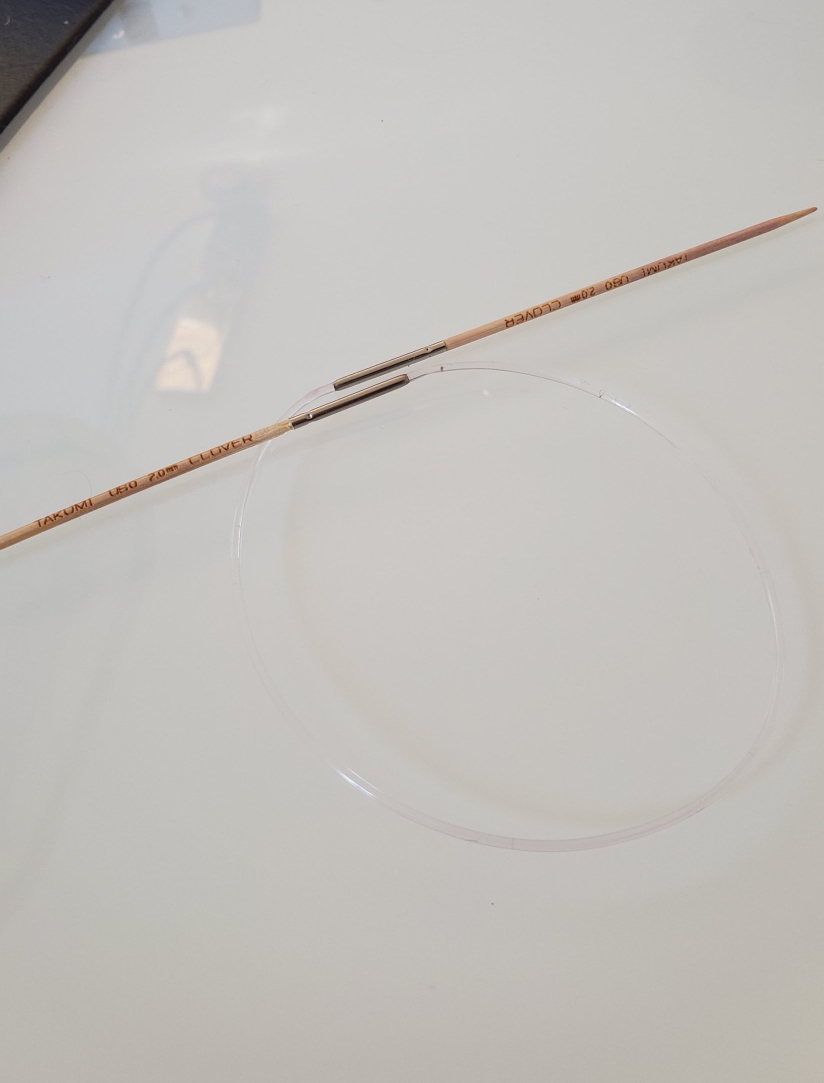
After they had rested for a few hours I was seriously impressed at how solid they felt. I’ll know for sure if they are truly fixed once I knit with them. I will get a replacement set, just in case. Probably another brand, maybe steel just because I like to have different tools at my disposal. You never can have too many knitting needles in my opinion! ????
I live in a rural area so will have to order a new set, if you have any suggestions of what to get I’d love to hear it!
Thanks for reading about my broken needle saga. I hope I’ve inspired you to try fixing a broken item before throwing it away. You just never know! ????