“Go with the flow. Force nothing. Let it happen, or not happen…trusting that whichever way it goes, it’s for the best”
– Mandy Hale
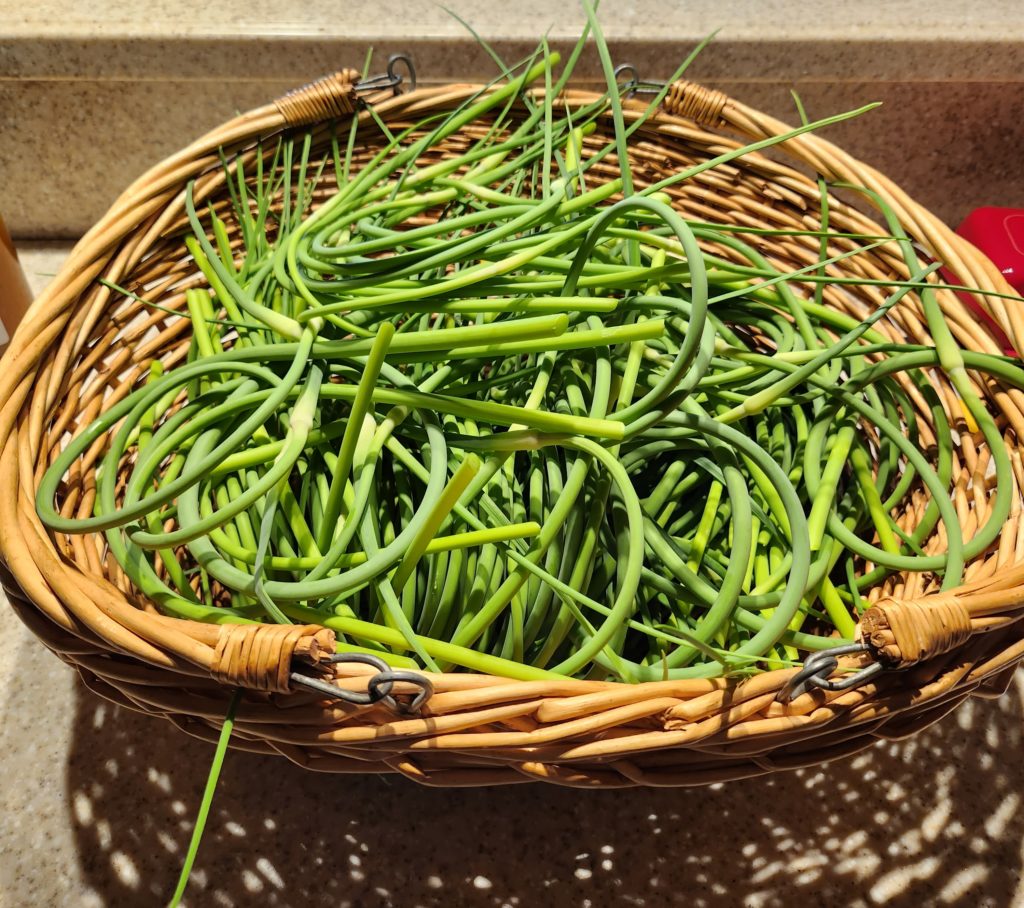
Here in Nova Scotia, we went from worrisome dry weather to worrisome wet weather. Although the wet means no more forest fires, us gardeners know how devastating the constant rain has been on our gardens. It was really nice (and exciting!) to haul a large harvest of garlic scapes. I was beginning to wonder if I’d get anything out of the garden this season.
Now that we’ve had a stretch of sunny days there is hope the garden will recover! It also means it’s time to get back to work out there.
Since I’ve been stuck indoors after weeks of rain you’d think I’d get tons done in the studio, but nope. I’m trying to update all my current designs or at least take fresh new photos, but I’m totally stuck especially when it comes to my engraving designs. I wanted to have several necklaces revamped or at least freshly photographed but I can’t seem to get any traction creatively there.
So I’ve just been going with the flow, allowing myself to feel out my projects even though the responsible side of me is screaming: YOU SHOULD BE RE-DOING THOSE PIECES! I should know by now that creativity cannot be forced.
What’s New (or rather returning)
Nevertheless I have the final revamped stitch markers listed, and with a little luck I can get into the necklace revamp this month.
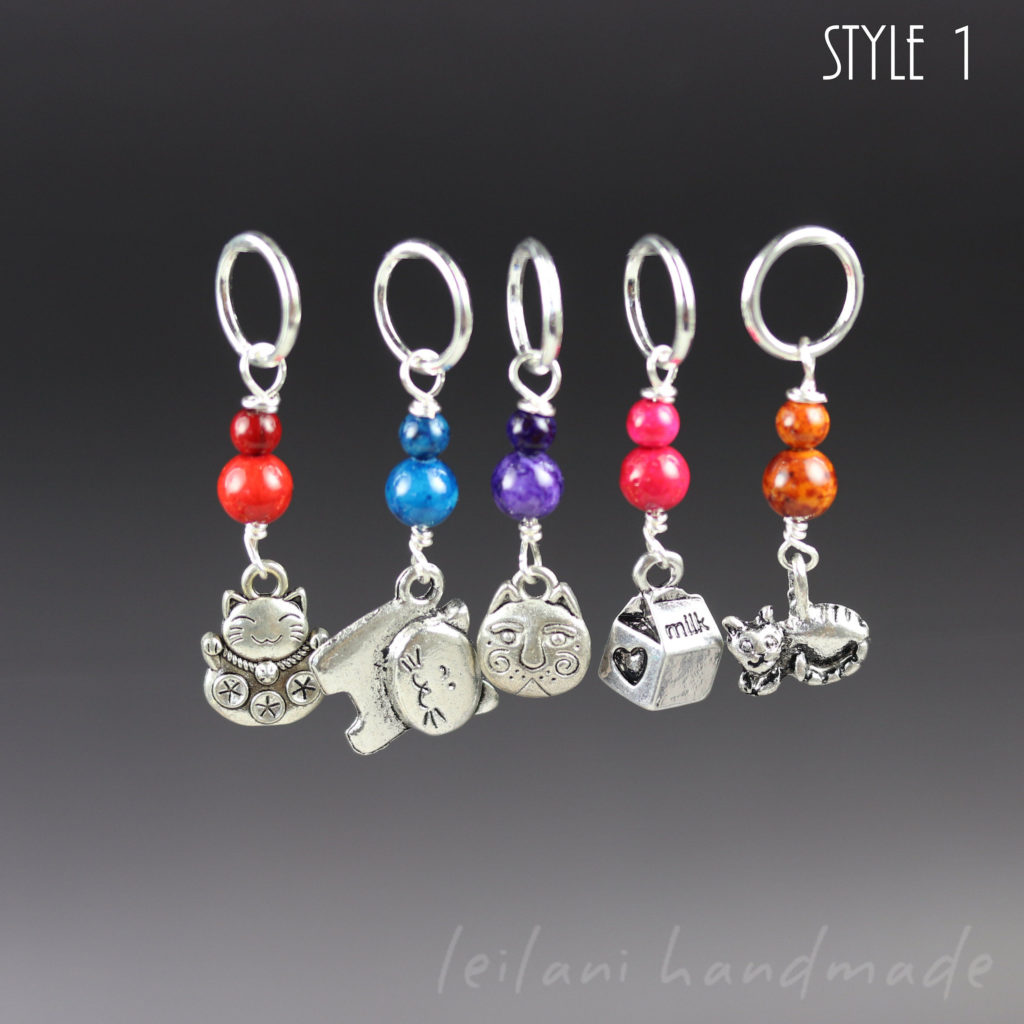
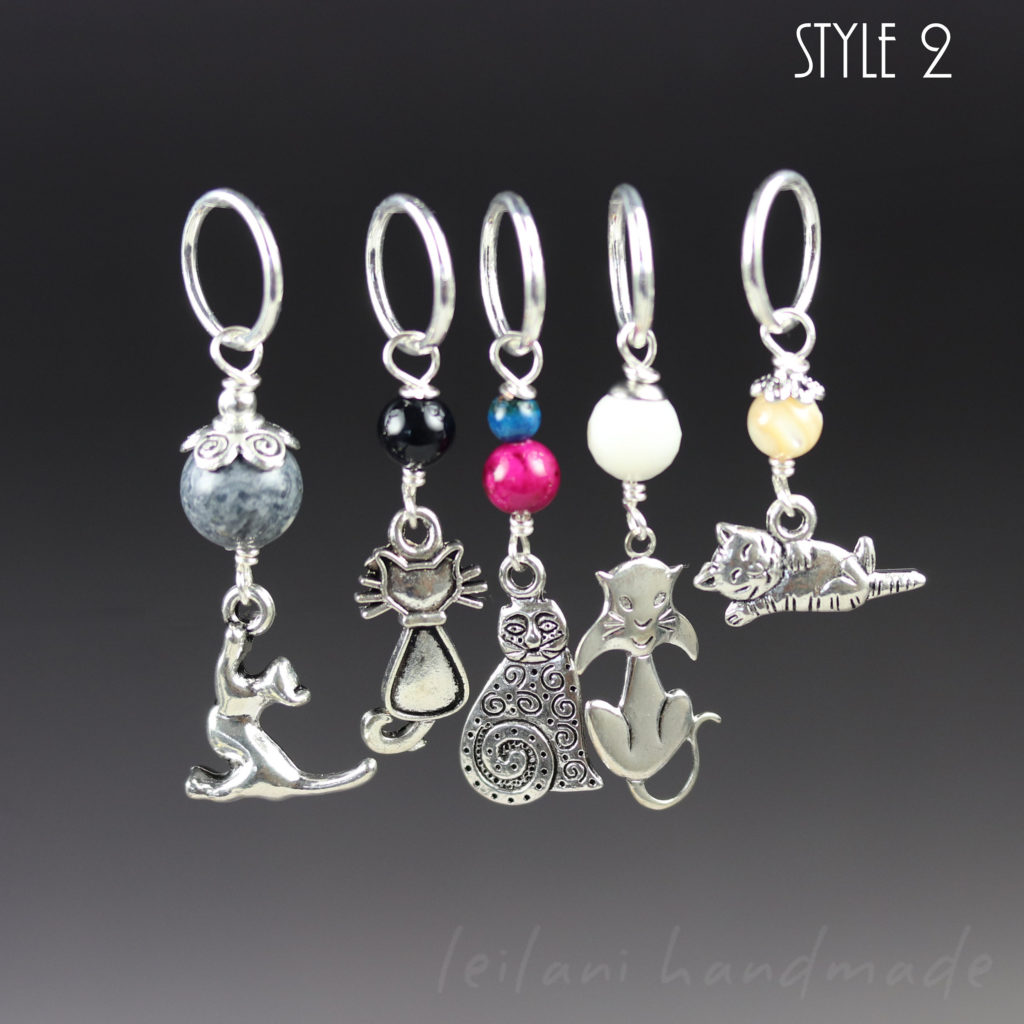
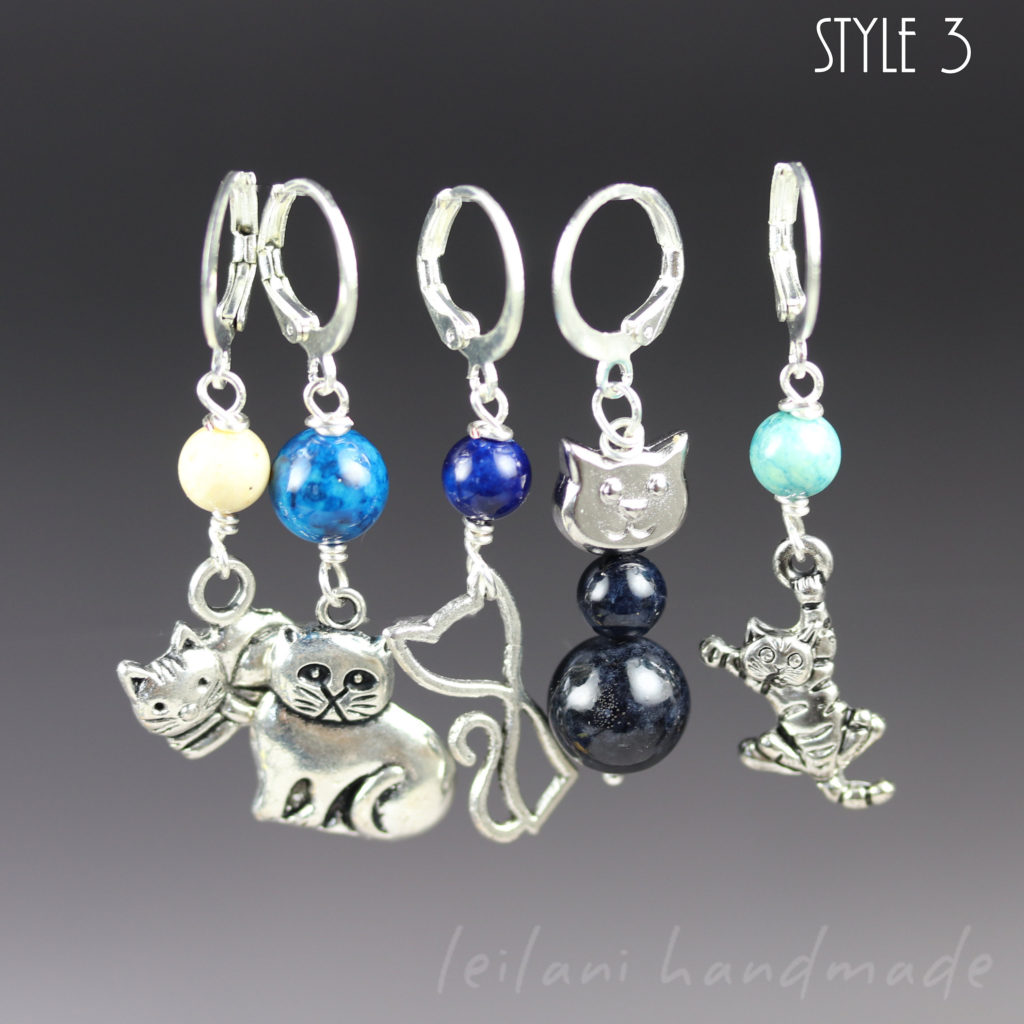
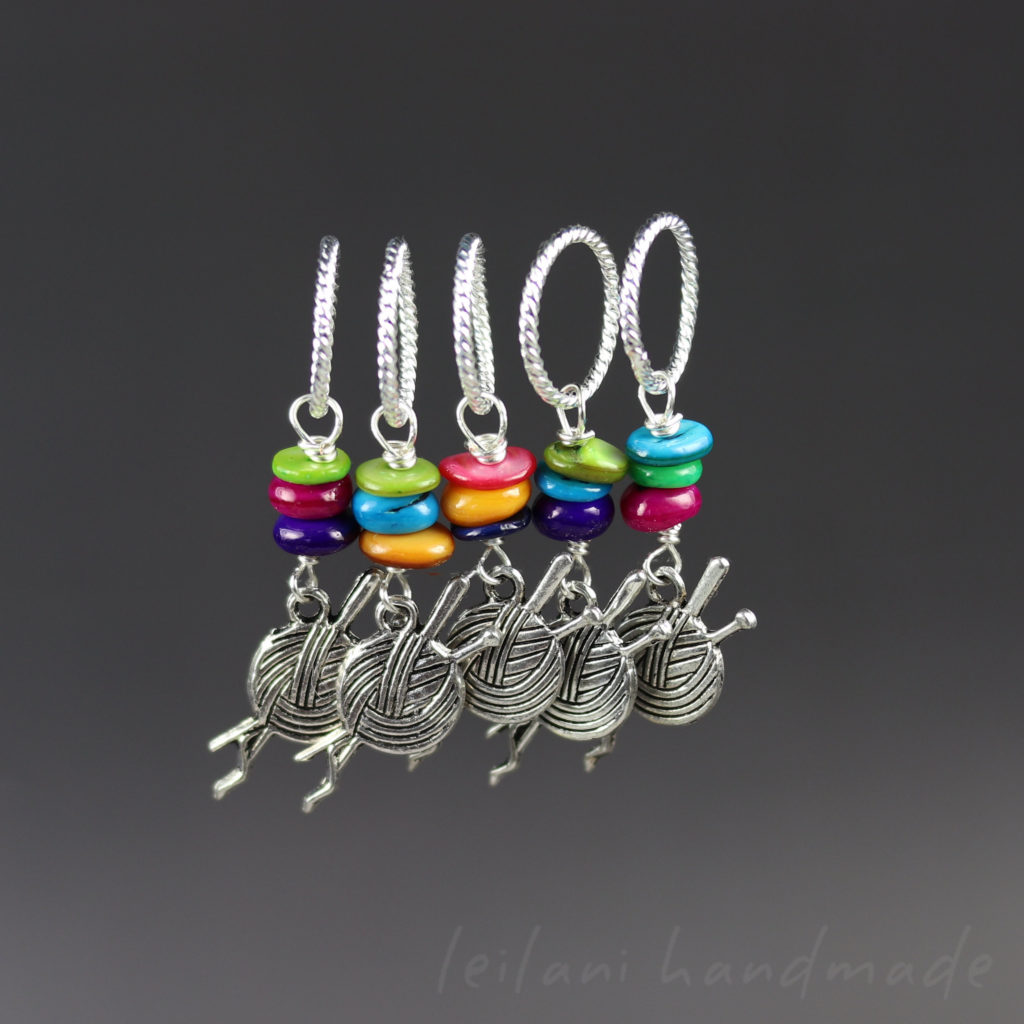
Several stitch markers have gotten a fresh new look and as mentioned last month, I’m trying to vary up the amount in each set so to cover a wide range of prices/budgets.
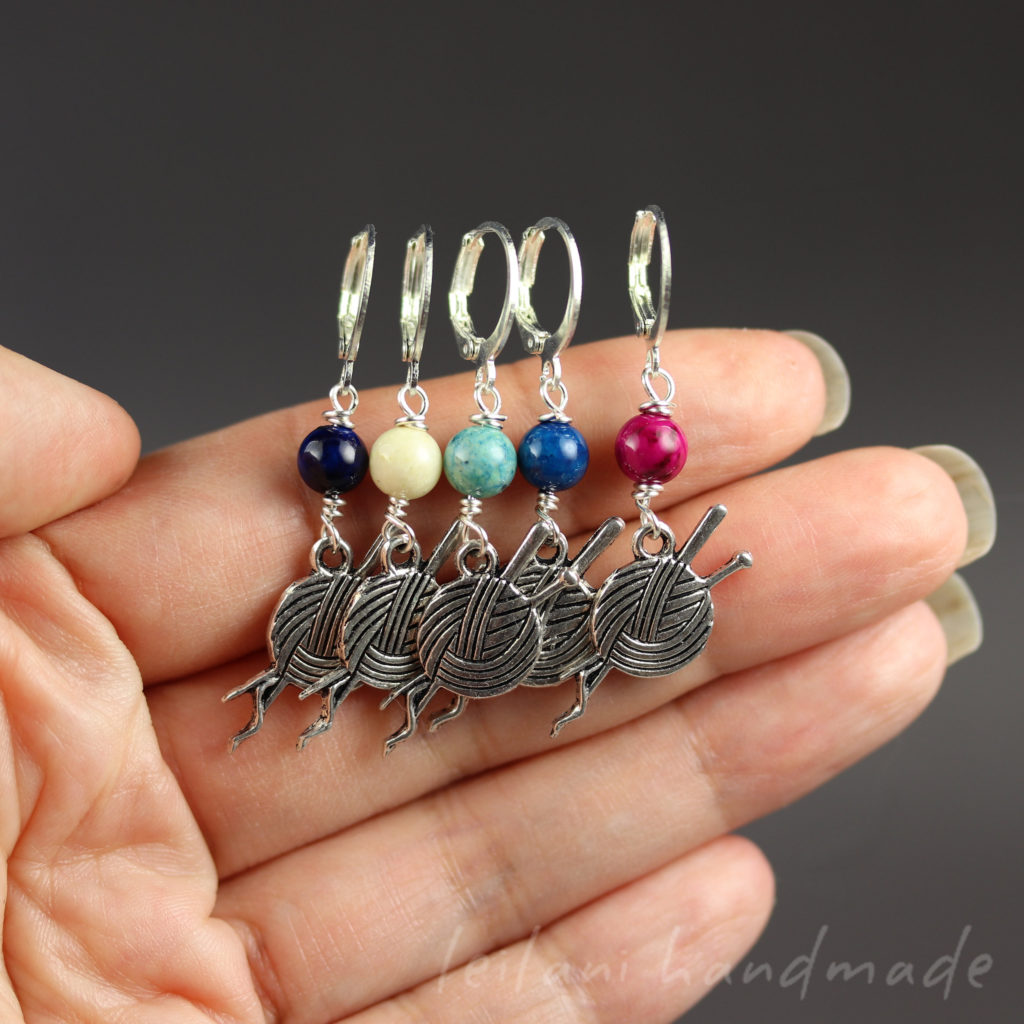
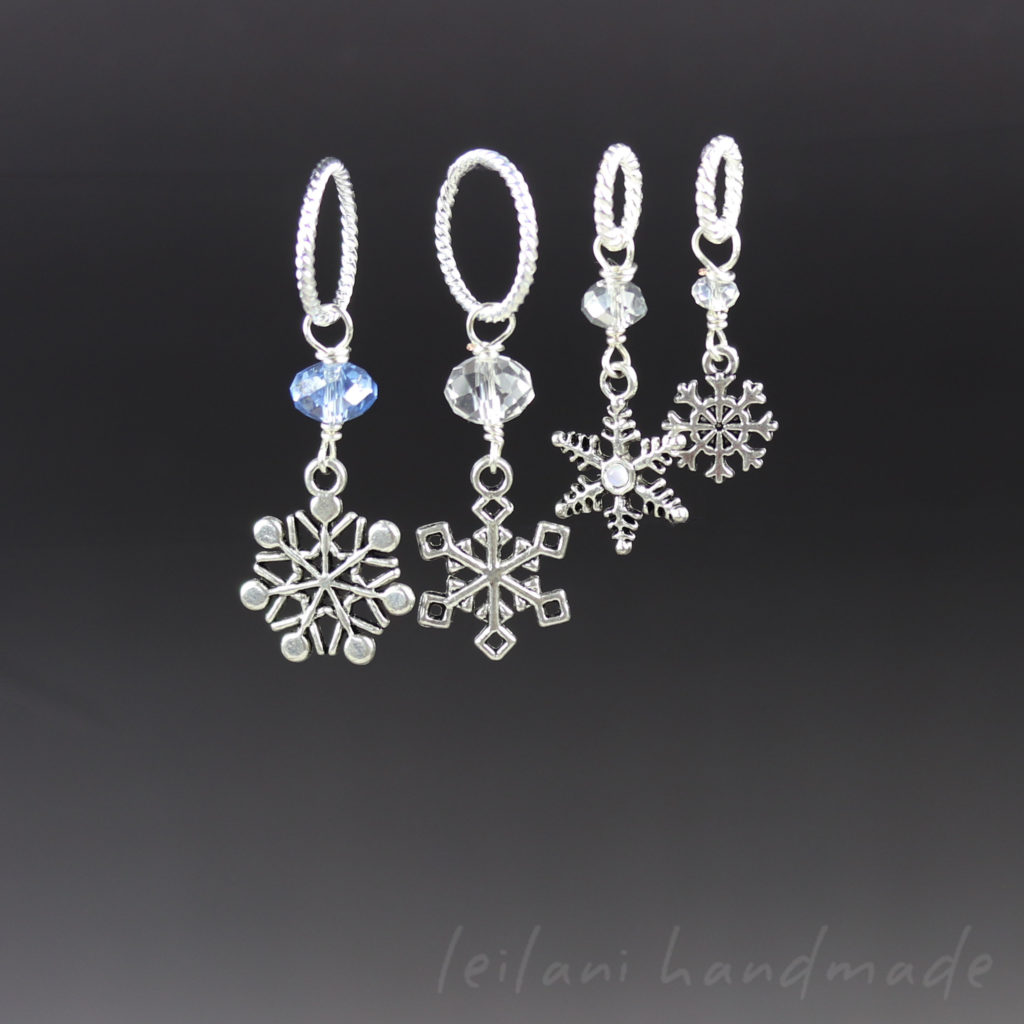
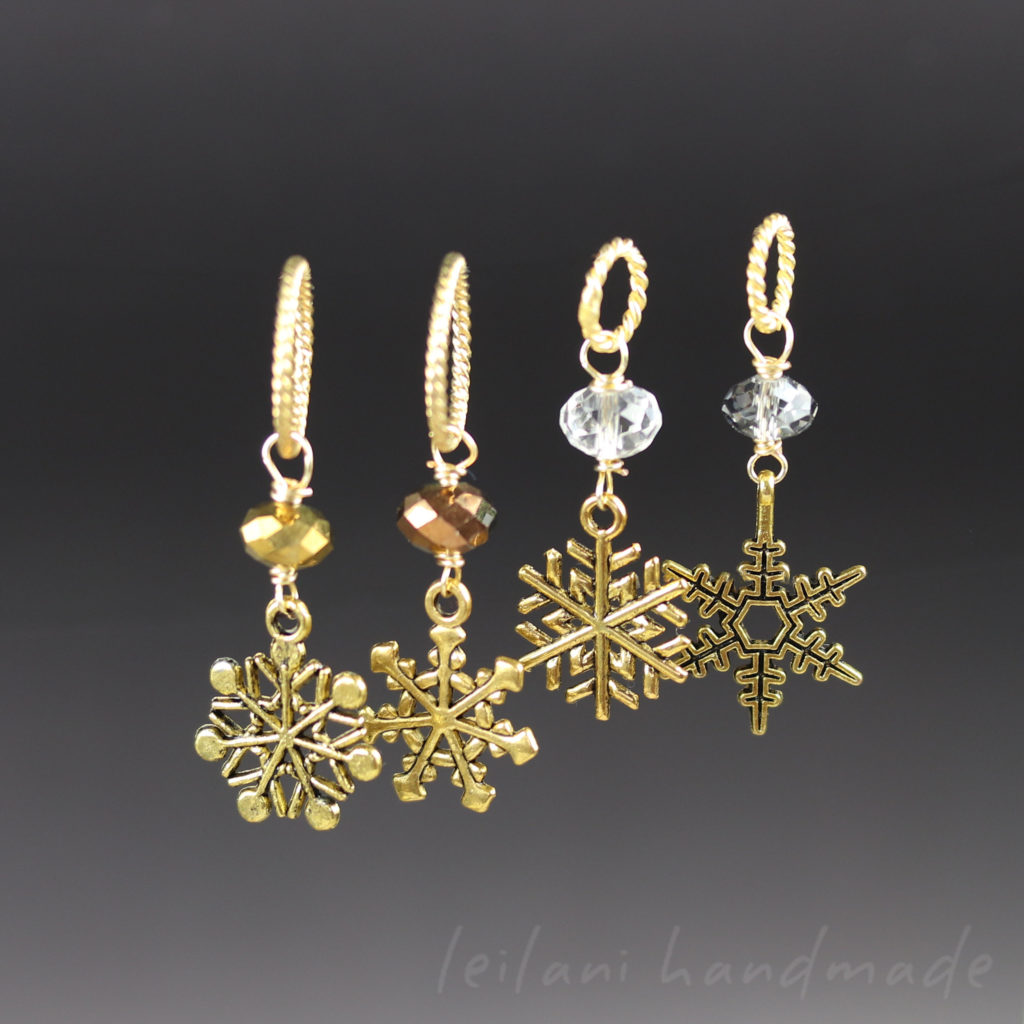
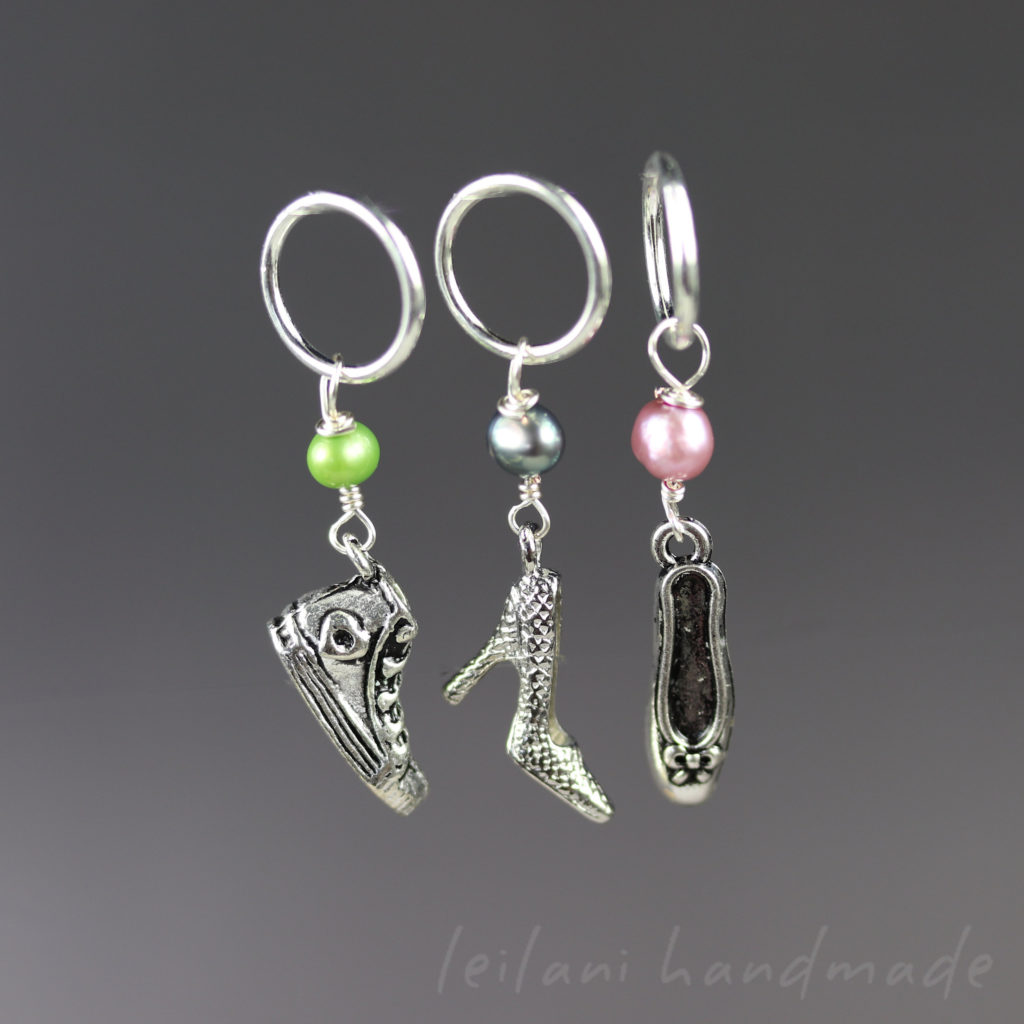
More Info on the Different Sets
The Must Love cats series is now available under one listing, with 3 sets to choose from. The charms are paired with fun dyed fossil and Mother-of- Pearl beads, with a small discount if you buy two or three. There is a discount on Etsy if you buy all three.
My original Knitting Bling – AKA the first set of stitch markers I ever made – is now available in 2 types. The original extra large slip on ring are paired with dyed mother of pearl rondelles. Something about the combination reminded me of dyed roving, so I thought it would be a good upgrade. The clip-on option however, is paired with dyed fossil beads. Also available in my Etsy shop.
I’ve revamped the Snowflake sets to a smaller set of 4 instead of 8. Available in silver or gold, also on Etsy. These charms make great little embellishments on handmade cards and gifts, too.
A Thing for Shoes is now known as A Shoe for Every Occasion, now a mini-set of 3 and paired with freshwater pearls. Check it out also on Etsy.
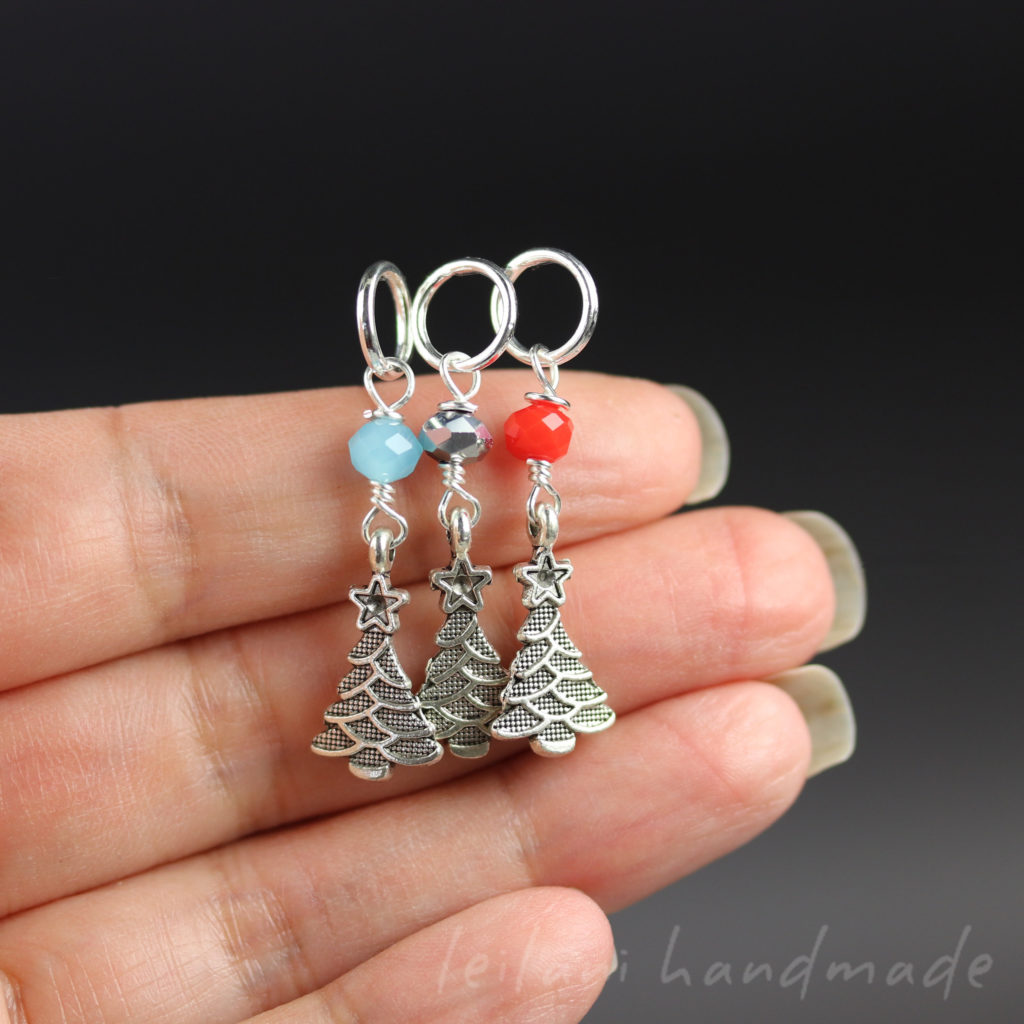
Also now a mini-set of 3 is O Christmas Tree. These would also be cute on gifts and cards (in fact, I originally bought these charms for this reason). See them here on Etsy as well.
What I’m Working On
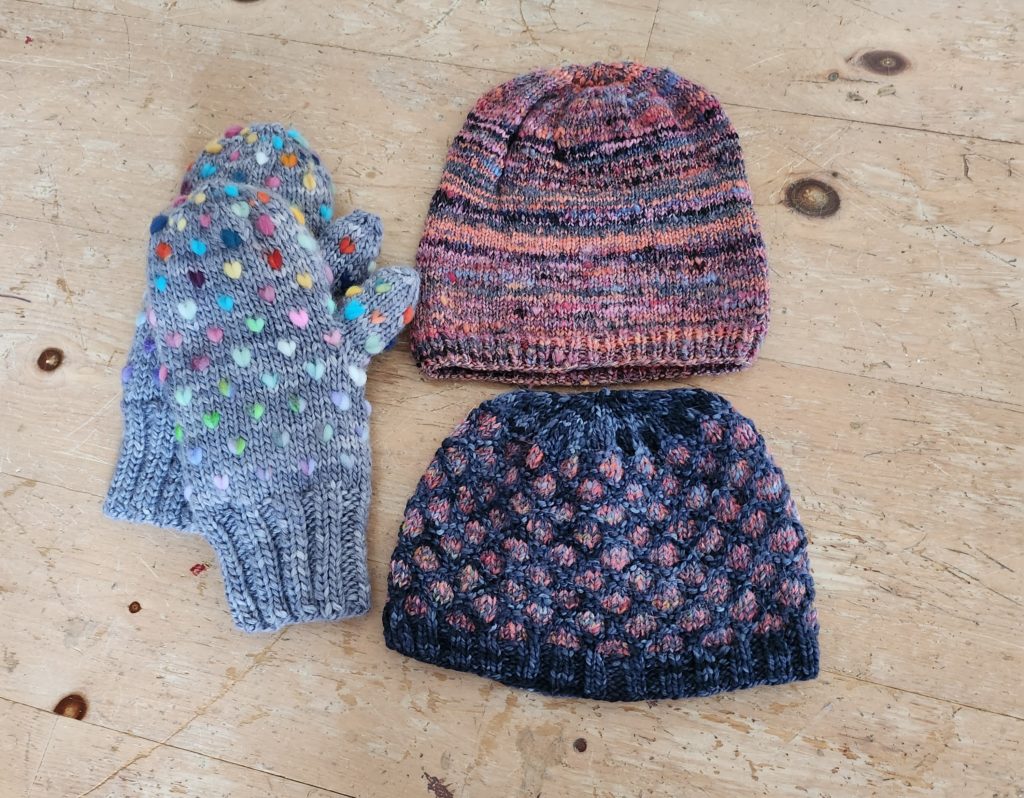
I finished a few knitting projects last month, including the thrummed mittens and slip stitch hat started last month.
Thrummed Mittens: Super warm and Cozy
The thrummed mittens were really fun to make – only I was reminded that I really hate making cuff down mittens (!!) – probably for the same reason I dislike making cuff down socks. I really dislike Kitchener Stitching…I always seem to have to fuss with the tensioning to get it to look just right.
Besides that, I simply prefer to start out my socks and mittens from the fingers/toes up. There is something so satisfying of having that section finished and watching the project evolve in this manner. It feels…more “finished” to me this way and thus I am motivated to keep going. I know that probably doesn’t make sense but that’s my brain for you!
In the case of socks, I like that you can stop when you run out of yarn at the leg instead of being stuck with an unfinished toe. I also know several stretchy bind offs so starting in the opposite direction is more appealing to me. I know that doesn’t work for every pattern, but this is just my preference.
I’m curious to see if I can reverse engineer the thrummed mittens pattern to start from the finger tips down, so that is on my to-do list to try… 🙂
Slip Stitch Hat – still a work in progress
The slip stitch hat I started from scratch (sans pattern) is technically done….but I don’t like the crown decrease. I tried 3 different styles of decreases and disliked every single one. So I didn’t weave in the ends yet in case a want to frog it back for a 4th time. Trust me: it may sit around for months but it’s most likely I will be deconstructing this in the future.
I’m picky with my hat decreases. I’m not a fan of the heavily gathered look, but trying to avoid that made this hat rather flat at top which I don’t like either. Yes. I’m fussy! It’s from years of jewelry design where I expect the pieces to hang. just. right. So when I knit I tend to have the same…fussiness. 😉
Take the other hat in the photo, for instance. That hat started out as a slouchy hat pattern free from the internet. I liked how it worked up until I realized the top pretty much had that draw string look. So, I combed through my collection of hat patterns until I found a crown decrease I liked. I need to do the same for the slip stitch hat, I think.
Weaving Dishcloths
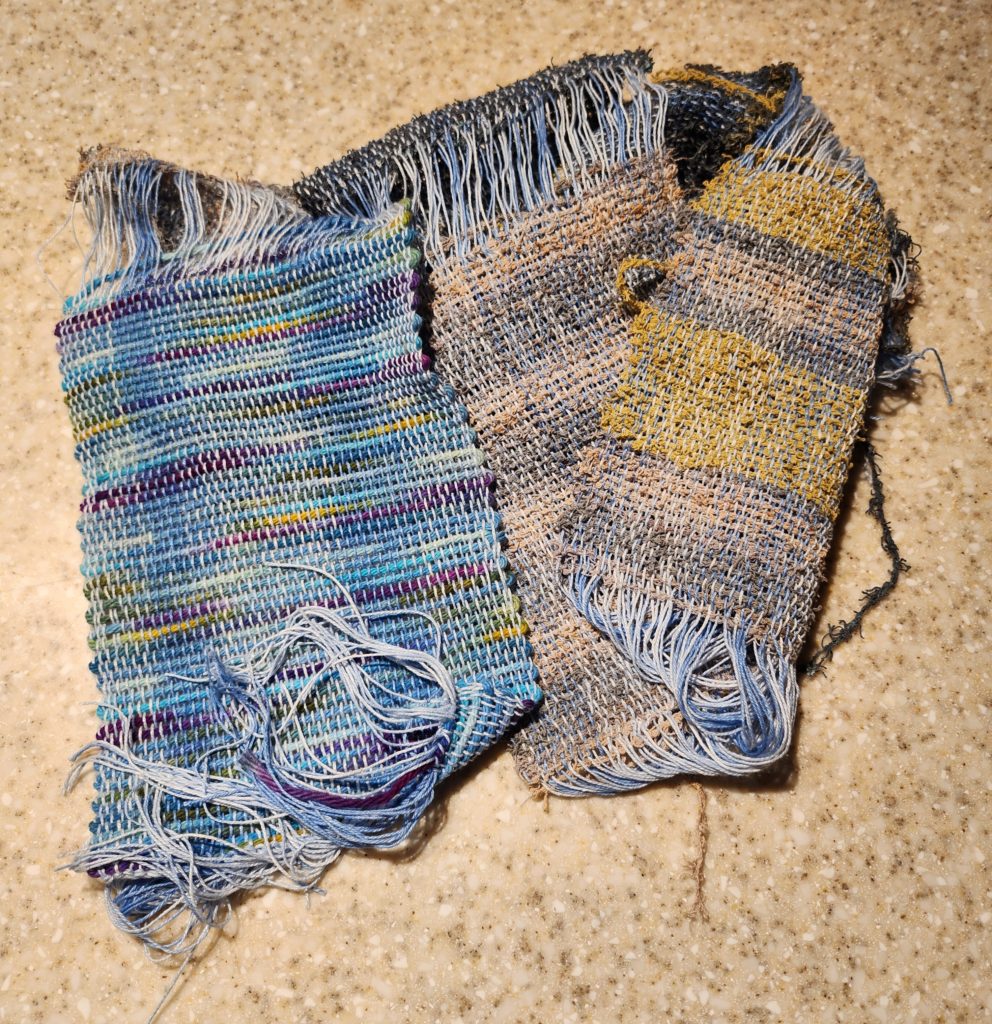
I love to knit and crochet dishcloths instead of buying them, and using cotton or bamboo yarn instead of synthetic fibers. Since I got my little SampleIt loom I’ve been really curious about making dishcloths. After finishing yet another wool panel in handspun yarn I decided to put that project on pause to start making dishcloths.
I’m using No. 10 crochet thread for the warp and commercial cotton yarn (smooth and scrubby) for the weft. I finally got to try out my laceweight reed! I thought the first bunch was…okay. I’ve decided for the next bunch to keep the cotton thread weft doubled and…oh my: now we’re talking!
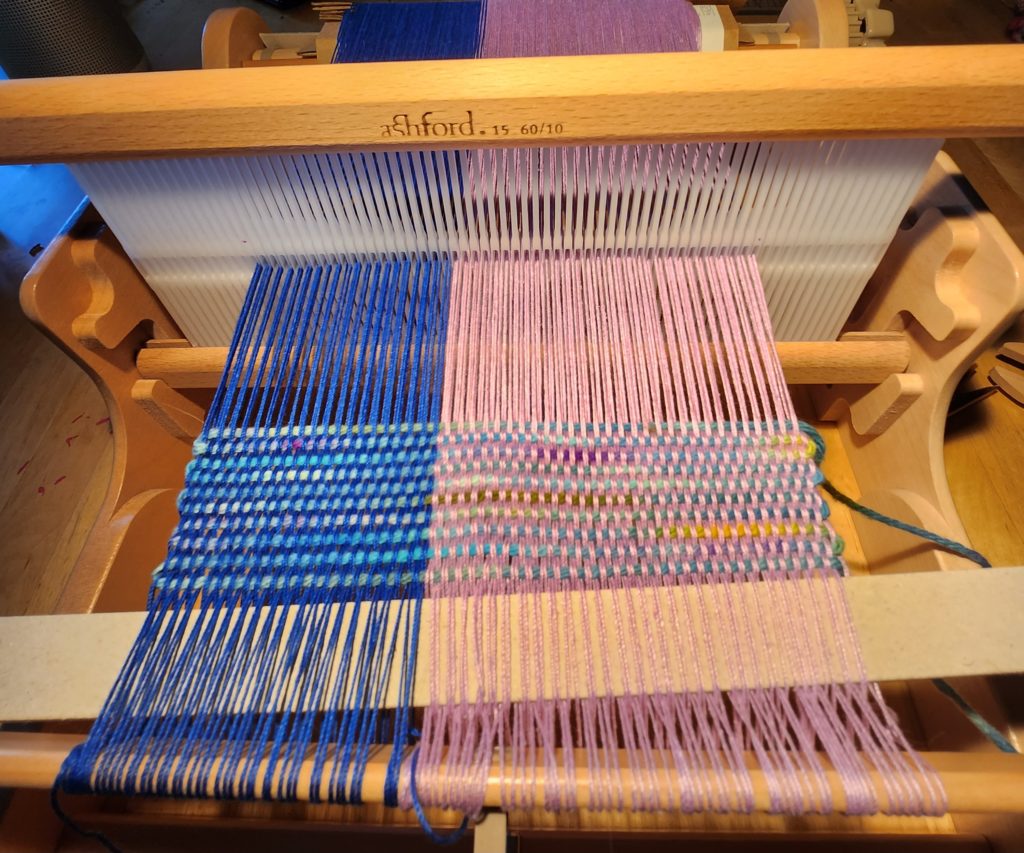
For this new set I decided to go with 2 different colors for the warp. The weft is a commercial cotton yarn I hand dyed. The contrast really works, and I love the asymmetrical contrast colors of the warp. I’m going to use the basic hemstitch at the start and finish of each dishcloth. I had my oldest zig-zag sew the edges with the sewing machine on the scrubbies since they were much thinner than these, but I think we’d need to upgrade to a surger to have the ends finished correctly.
Swing Chair Macrame, Part 2
Last month I mentioned that I was working to restore 2 old swing chairs by spray painting with Rust-Oleum and then re-stringing with crochet hooks and macrame cord. The first one I finished, but the second one sat outside half done due to all the torrential rain of the past month. I finally got fed up and asked the Hubs if he could help me bring it into the studio. In a comfy environment, I finished it in an afternoon!
First I decided to remove the original first pass with the white macrame cord. I found the way I did the first chair caused too much sag in the seat, which I disliked. So I decided to to the weave on the seat part only, and only the verticle portion of the weave on the back, separately. I also switched to navy and tan cord which I love! It matched the chair cushion I luckily found online beautifully.
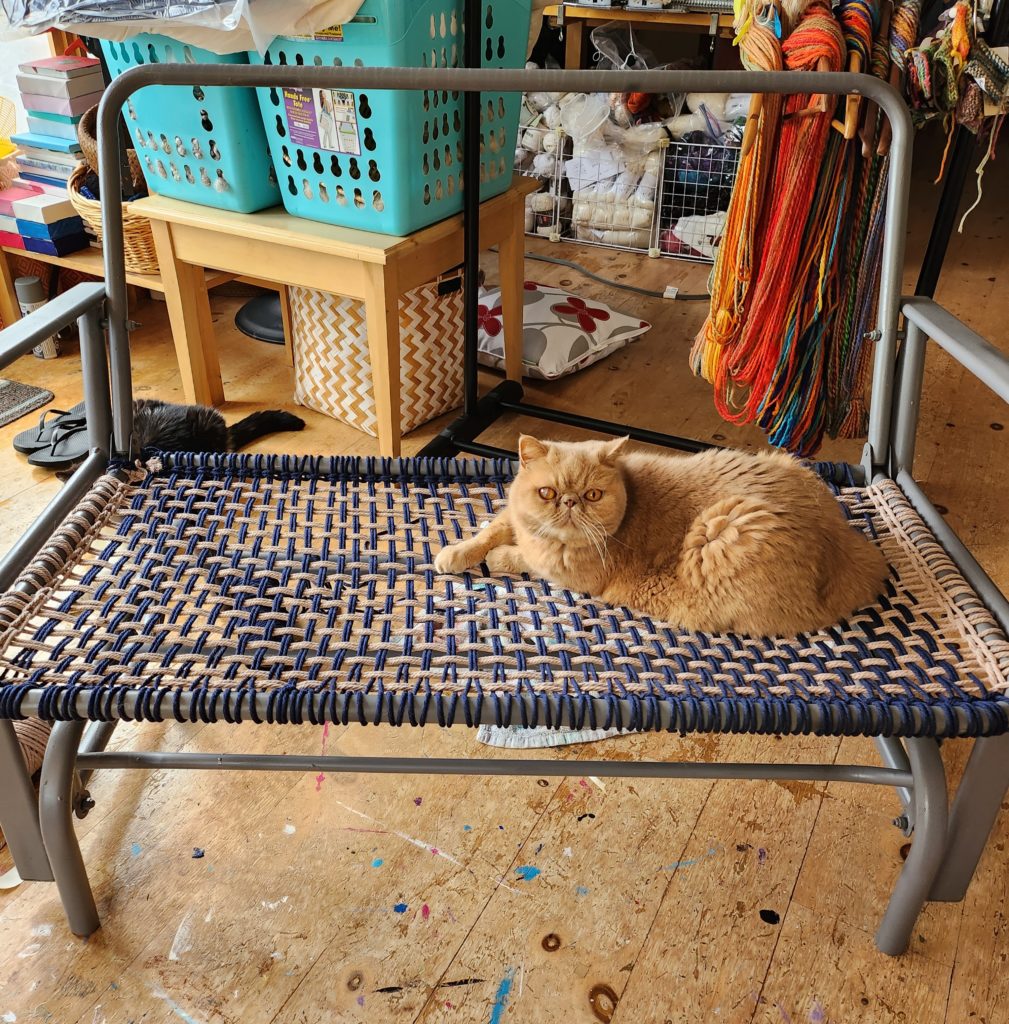
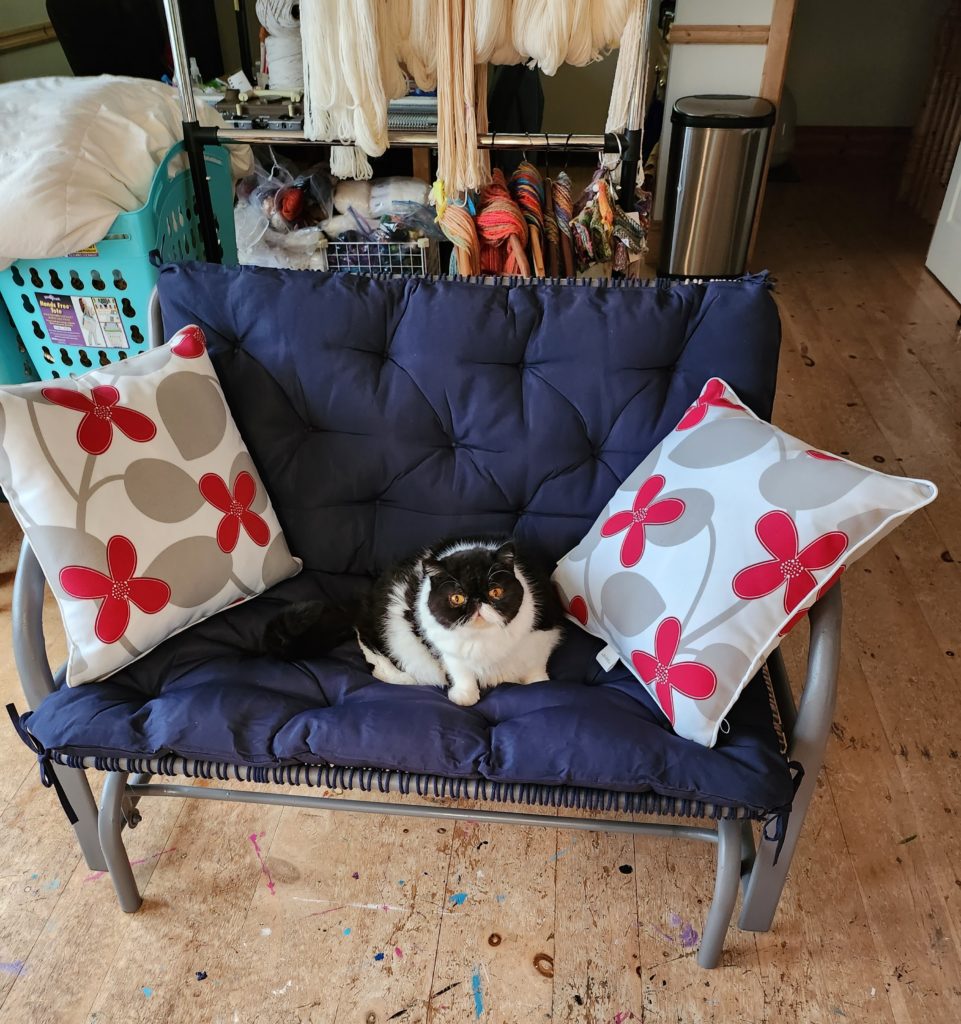
Peanut enjoyed the work in progress, while Osuna was caught enjoying the the final product! 🙂
The second chair turned out so much nicer than the first, I think I will bring chair number 1 inside and re-do it. I know I won’t be able to help myself… 😉
I’m off to enjoy more summer. Until next time…

