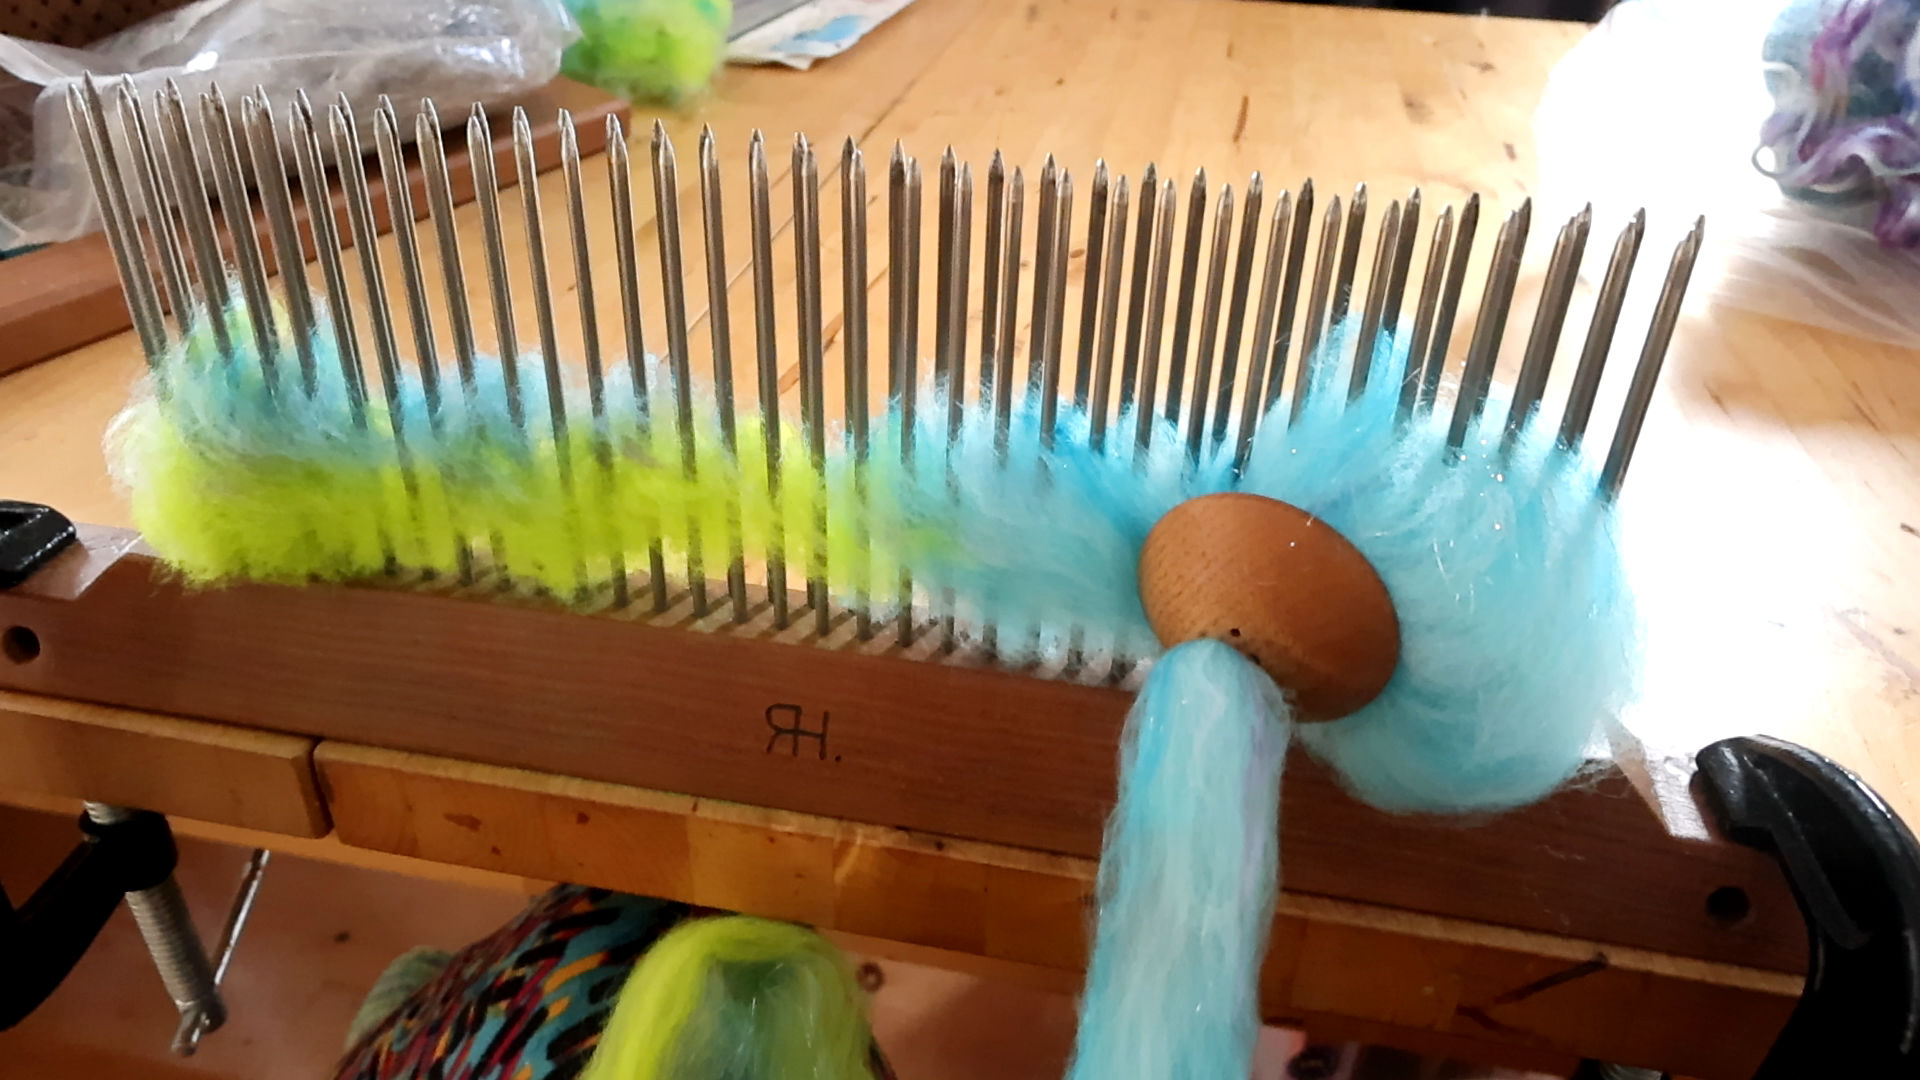
“Sandwiching” Fibers on a Hackle
When I was very young and learning to read, my favorite book was called “The Biggest Sandwich Ever,” in which a man enters a park and starts assembling a gigantic sandwich with everything you could ever imagine on it. I loved how this book rhymed, but most of all, I loved all the different types of food that were piled onto this humongous sandwich.
It’s no surprise that, as an adult, I’ve become a total foodie who loves cuisine from all over the world. I find this food theme even enters my jewelry and fiber arts endeavours, with many of my projects referring to or named after food. Everything reminds me of food! 🙂
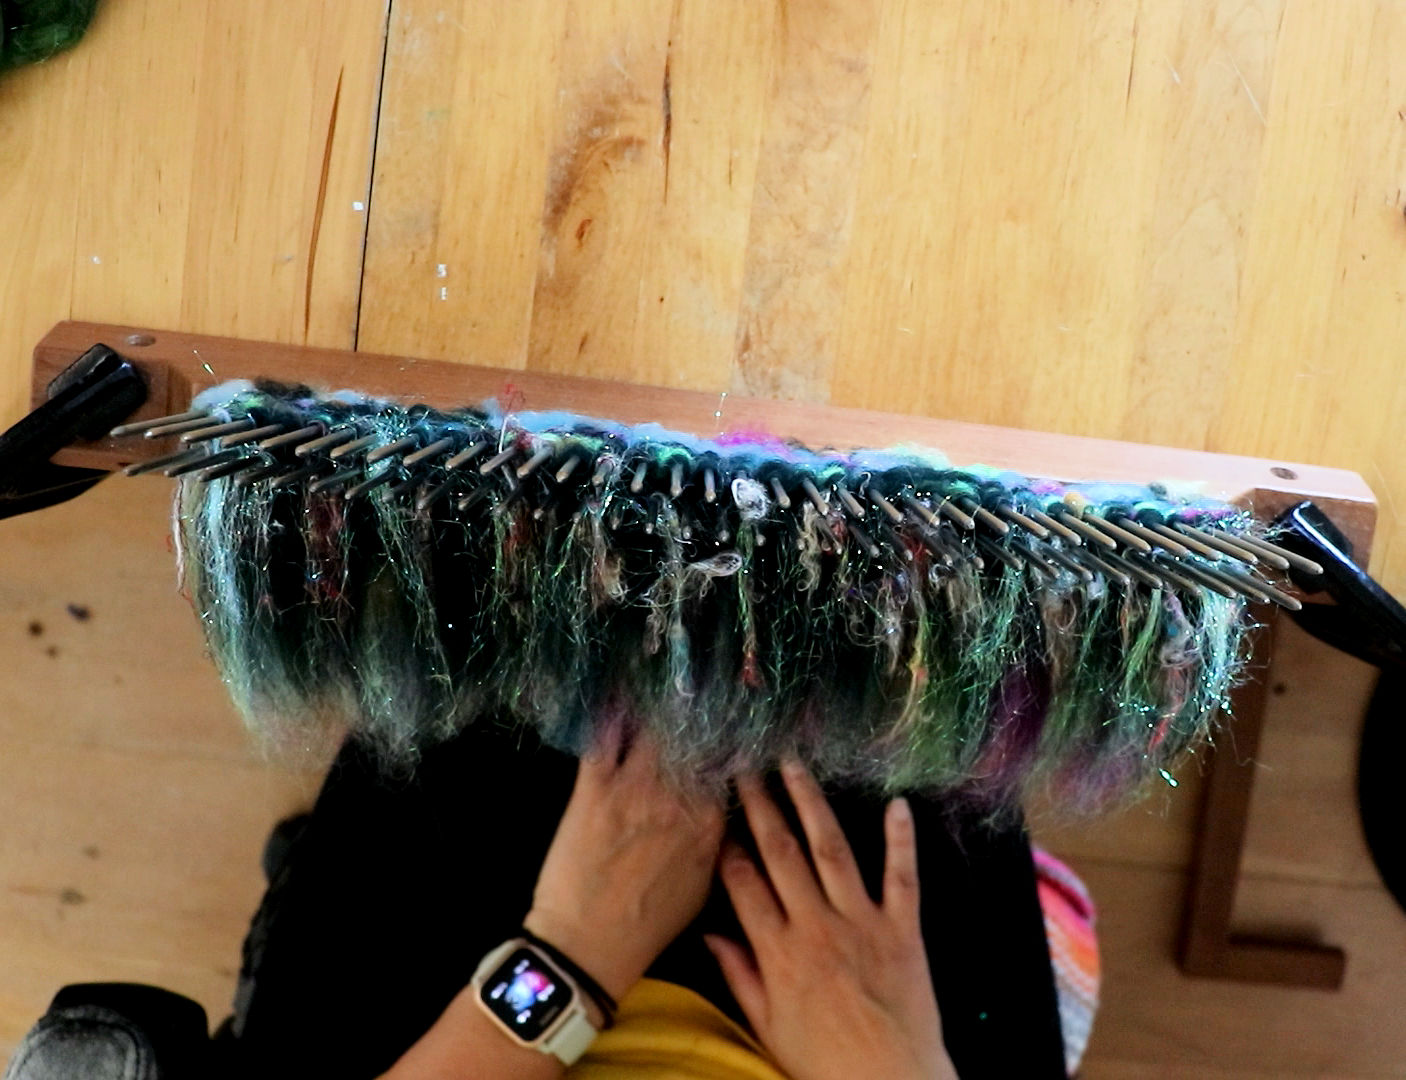
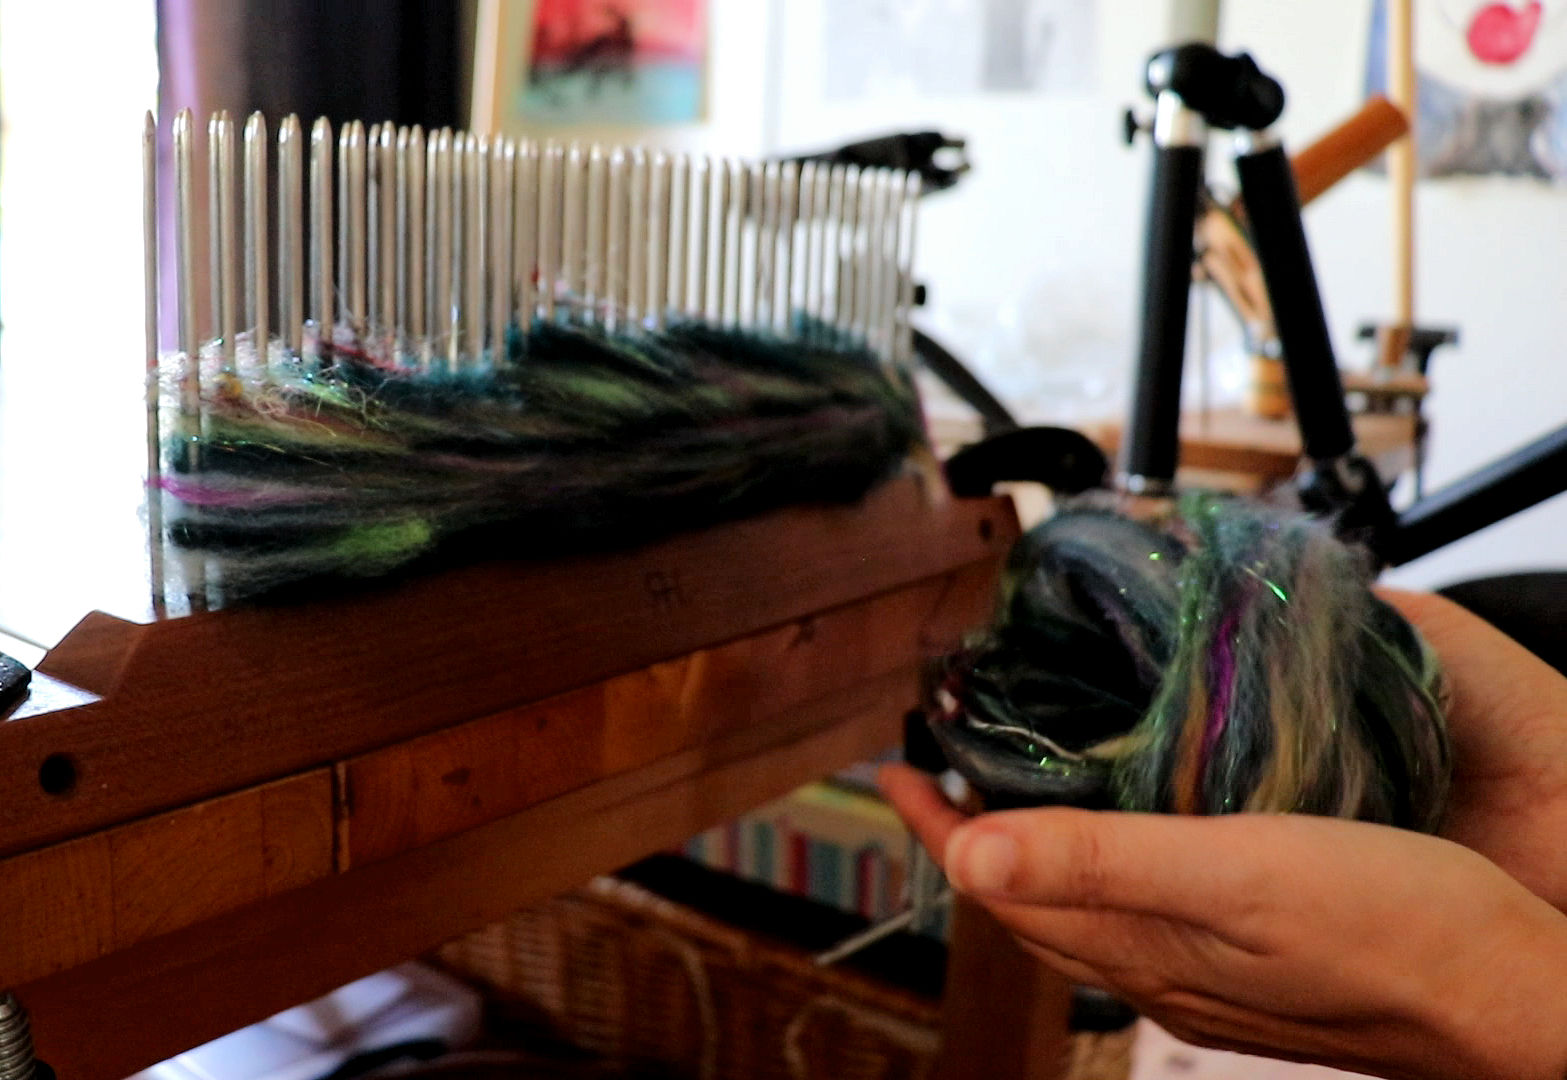
I have nicknamed this hackle blending technique “sandwiching” because I layer many different types of fibers for spinning on top of each other, and repeat the process, “sandwiching” the fibers together before pulling them off with a diz.
Above: a mixture of Merino, Silk, Angora, and Angelina fibers forms this mini roving, pulled off my hackle with a diz and ready for some fun hand spinning!
Why Blended Textured Fibers
I love playing with color and creating unique handspun yarn. I get satisfaction in watching all the colors come together when spinning or plying yarn.
I know some people dislike texture in their yarn, and you can still do this sandwiching technique with just wool top of different colors to create a uniquely blended top, colorwise. Life’s too short for spinning boring fiber. 😉
Another reason to blend fibers is to create different strengths or structure in your yarn. Blending dyed nylon for a stronger sock yarn, for example, or adding in bamboo or cotton for its absorbent or anti-microbial properties. Adding in a luxury fiber, such as silk, to your project is always divine!
For me, textured blending is all about the uniqueness of my handspun. The unpredictability and unreplicability of the fiber are what make it enjoyable and motivating to spin. Although all handspun yarn is art yarn, spinning textured blended fiber embodies that definition in its entirety.
Hackle vs. Drum Carder
You can achieve similar results with a drum carder. With a drum carder, you will pull off a batt, whereas a hackle is used to create roving. I do find that the fibers on a drum carder can blend more effectively than on a hackle. I have a trick to this that I will share in an upcoming video & post, because when I am making textured fiber for spinning, I don’t want the fiber to be overly blended.
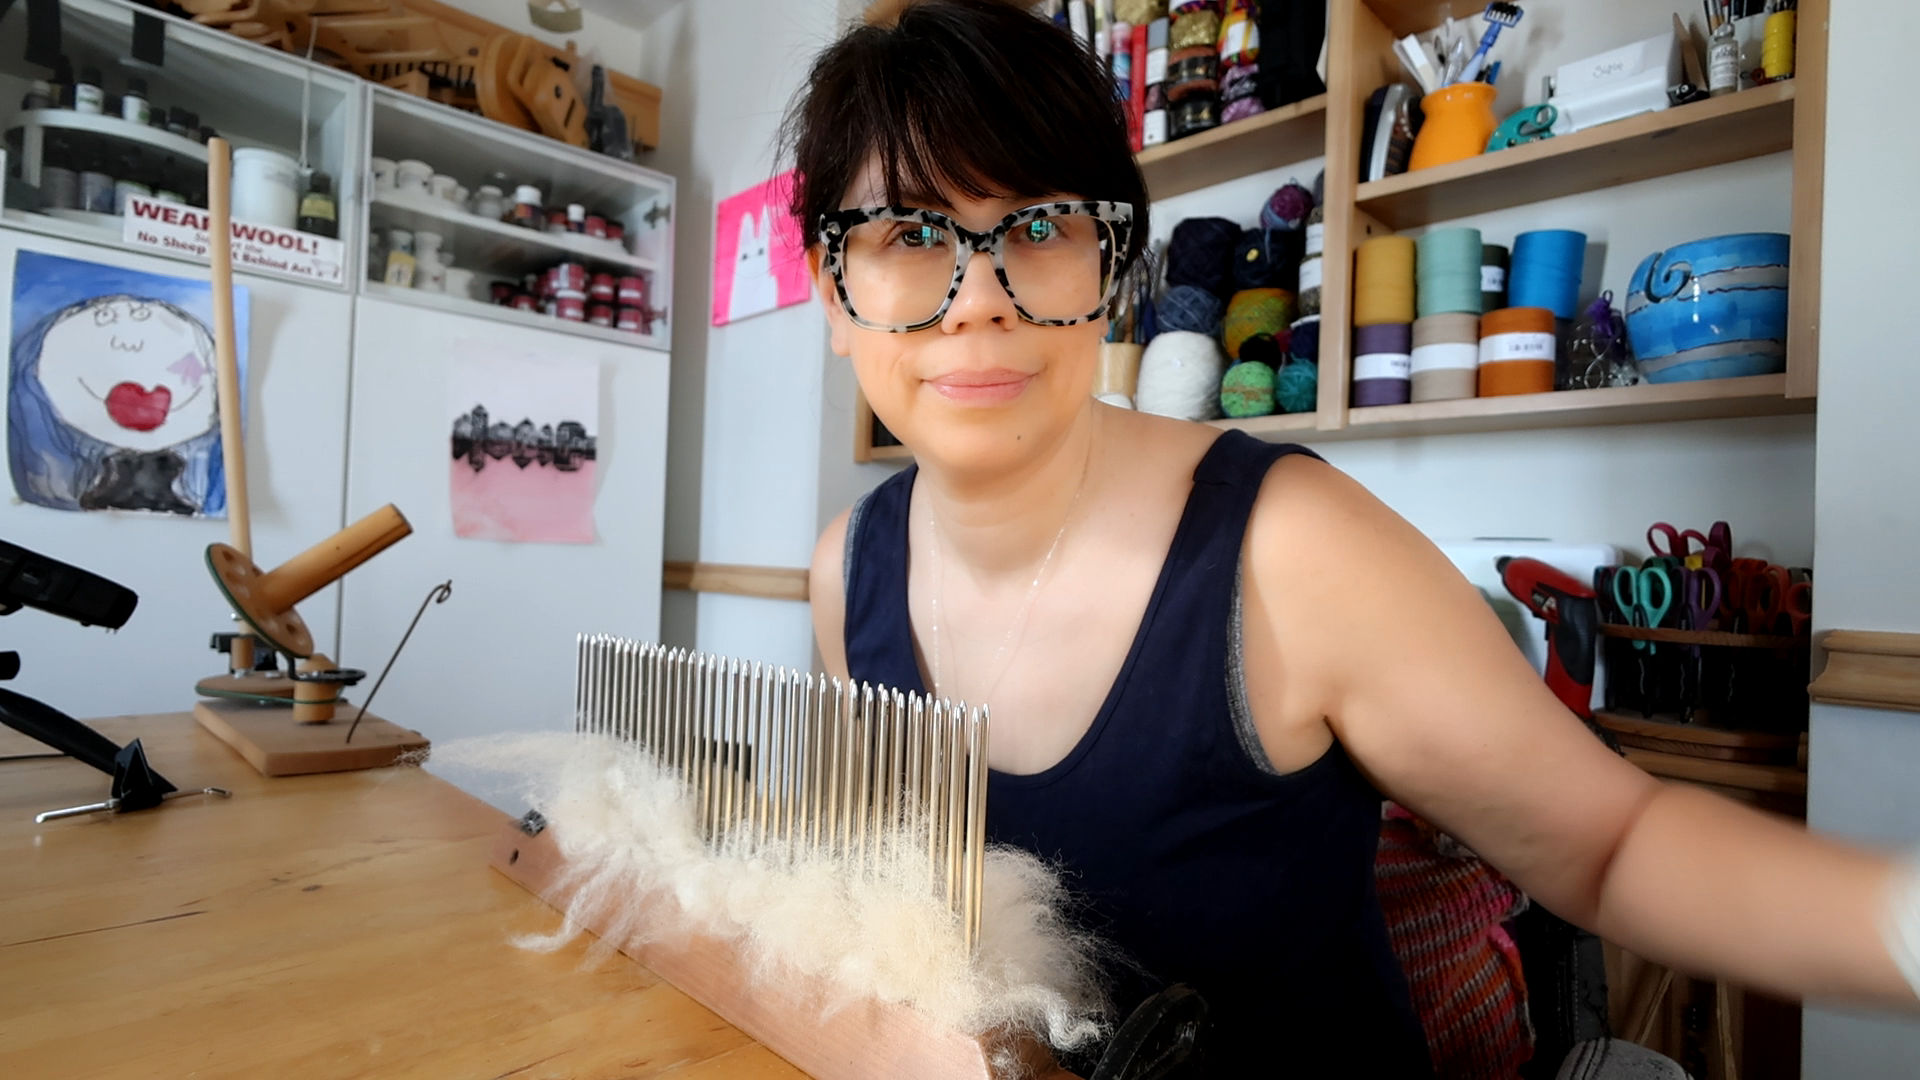
Watch: Sandwich Blending Fiber on a Hackle
Tips for Successful Fiber Blending on a Hackle
Don’t Overload the Hackle
It’s tempting to fill a hackle as full as possible, but from my experience, all this does is compact the fibers, making it harder to pull off with the diz. This results in a significant amount of leftover fiber, which you will need to either re-run through the hackle or remove in what I refer to as a “mini-batt” (demonstrated in the video). Because I want to preserve the chunky blending and have every roving match, I don’t run it back through the hackle.
Pull Roving with a Firm but Gentle Pressure
You will want to be firm and steady when pulling the fiber through the diz, BUT not aggressively. Pulling too hard only results in the fiber breaking on the roving prematurely. It also feels like you are fighting the fiber; much more resistance is created, and thus it becomes harder to pull. Not to mention this is very hard on the body.
In the video, you will see me alternate hands while pulling off the roving. Usually, I would guide the diz with one hand and pull with the other, but I have a bad shoulder and neck issues from being hit by a car years ago, so I find the repetitive motion of fiber prep and spinning exacerbates that injury.
Slow and steady is always the way to go when pulling a roving.
Take breaks when needed.
I am guilty of getting so into my hackle blending that I don’t take adequate breaks, resulting in some serious neck, shoulder, and back pain. It’s essential to find balance in tasks that require repetitive motion to keep them enjoyable; otherwise, you may wind up with repetitive strain injury and needing to visit the massage therapist or physiotherapist more often, or even worse, have to quit altogether.
Overall, a hackle is a versatile and generally affordable tool for blending fiber for spinning. See my other hackle post for general hackle use tips, and be sure to check out my YouTube Channel for more spinning and fiber inspiration.