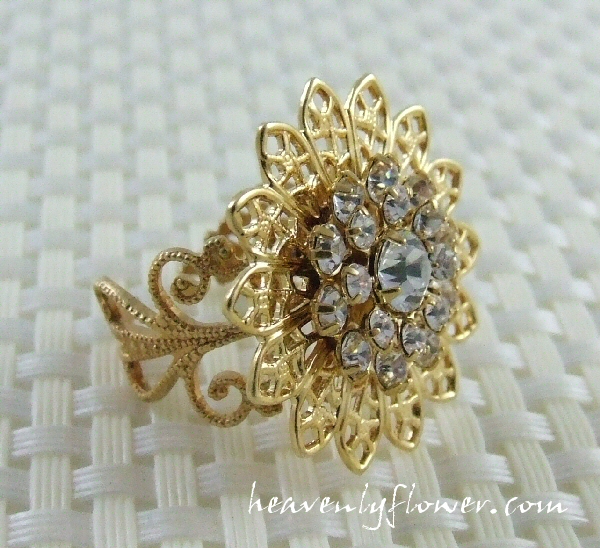
Artbeads allowed me to pick out some Swarovski components to try out free of charge. I decided that one of the items I wanted to try were these Swarovski Filligree Flowers as I had not seen this type of component up close & personal before. When it arrived, it certainly lived up to the standards I have come to expect from Swarovski: solid design and the crystals sparkle beautifully.
At first I didn’t know what to do with it. The flower itself has a very vintage feel, so it is unlike my usual modern funky design. It has such an elegant yet bold factor on its own: paring it with stones and beads just made it feel very busy and over done. I realized that this component on it’s own would make a very nice piece: like a nice brooch or earrings…then it hit me. I immediately had to purchase more from Artbeads, because these would make the perfect hairpins!
I usually shy away from making this type of jewelry because there doesn’t seem to be any challenge design wise. Glue the component onto a hair pin. Okaaay…now what? Seems very uninspired for someone who wants to inspire & be inspired.
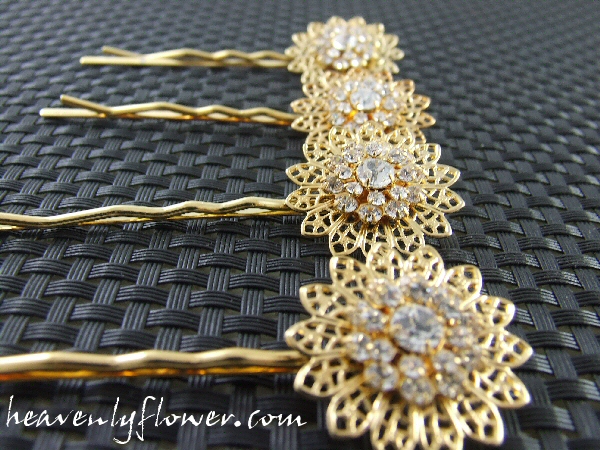
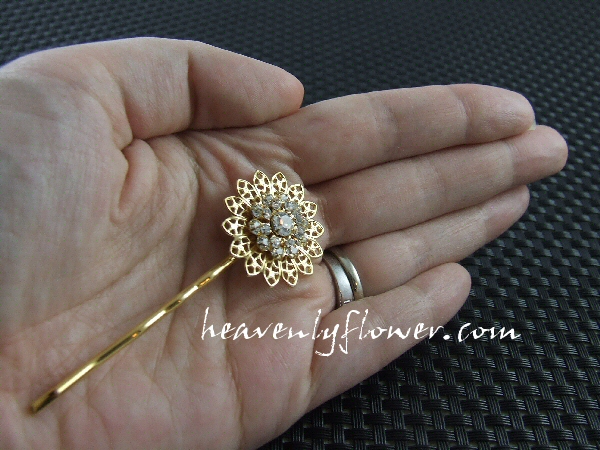
But when the order arrived from Artbeads with my extra Swarovski flowers I knew I made the right decision. I can totally see these as hair adornment: perfect for a bridal party, the prom or any formal event – or even just to jazz up your hair any day of the week.
And remember when I said this would be not very challenging? I was left scratching my head when trying to decide what glue to use. I have just about every kind of glue you could imagine for jewelry making or crafting. I decided the best glue for this would be Zap-A-Gap: it’s like Super Glue, but also waterproof & will adhere to any surface, even oily ones, and dries clear. Seemed pretty fool proof.
Only it was slightly tricky. I had to find just the right pressure to hold the component onto the hair pin and keep it really straight so that it would adhere evenly. I did not want to use a clamp or tool for this in case it damaged the Swarovski component. So it was a little tense & frustrating to start out trying to decide how much pressure and for how long to hold…and not glue my fingers to it! 😉
But once experimenting with one the other three worked up quite quickly.
I was excited with the results. The glue cured for 24 hours and this is one solid unit.
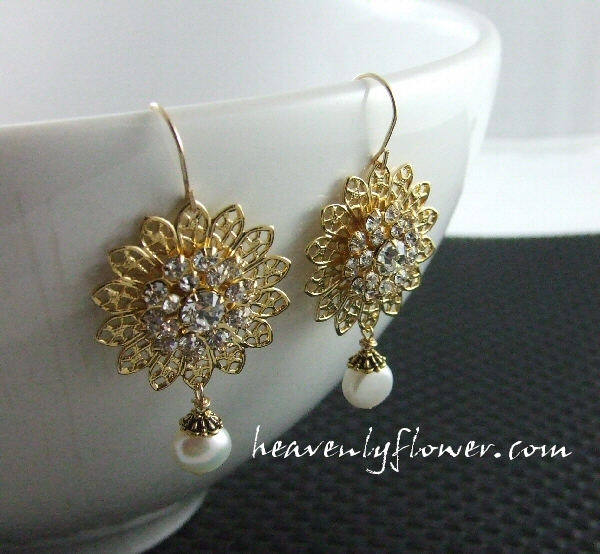
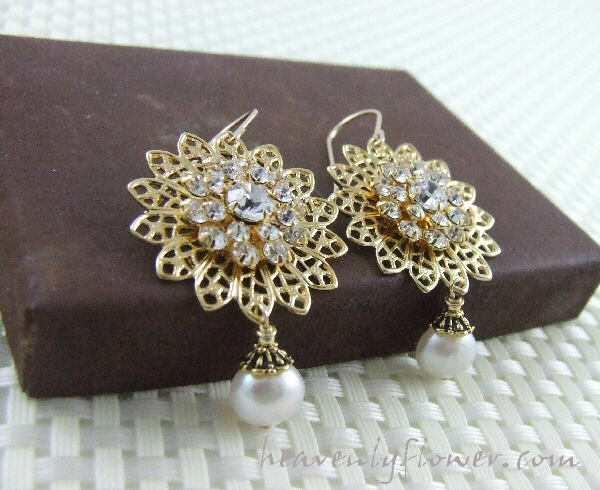
I decided an elegant pair of earrings to go with these were in order. I simply paired them with 8mm freshwater pearls, antique gold culinary grade lead free pewter bead caps and gold filled ear hooks….
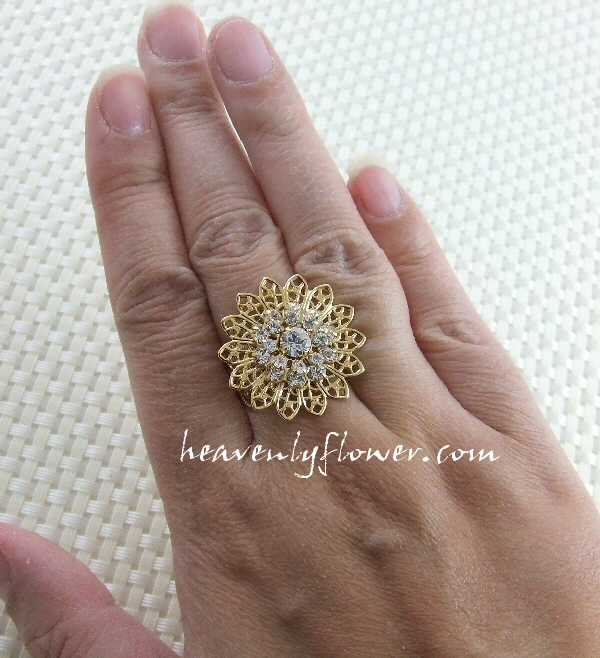
Remember that original component Artbeads sent me that inspired this whole project? Well, I made a ring out of it, glued onto an adjustable filigree ring base:
I am really impressed with how this project turned out (and am now totally hooked on Swarovski flowers!!) and will definitely be offering this on a by request basis on my website. Stay tuned!

